• Ships of Scale has incorportated an extra level of security when you log In. Please follow on-screen prompts to acknowledge that you are not a robot via a "Check Box" or a "Pictorial Check Box Puzzle". This is needed due to higher level of AI Activity Security.
  • SUBSCRIBE TO SHIPS IN SCALE TODAY!

    The beloved Ships in Scale Magazine is back and charting a new course for 2026!
    Discover new skills, new techniques, and new inspirations in every issue.

    NOTE THAT OUR NEXT ISSUE WILL BE July/August 2026
  • Win a Free Custom Engraved Brass Coin!!!
    As a way to introduce our brass coins to the community, we will raffle off a free coin during the month of August. Follow link ABOVE for instructions for entering.

HMS Victory 1:78 Mantua/Panart by Nat League

Joined
Aug 19, 2026
Messages
4
Points
3
OK, So I decided on the Mantua/Panart model of the HMS Victory for two reasons. One is the price of the Mantua was half the price of the Caldercraft. The other is that with the Caldercraft they provide pre-cut gunport strips. I prefer making my own gunports. So, the kit is on order and I will publish my progress here, once I get the kit.......
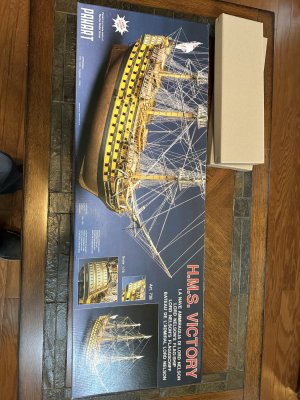
 
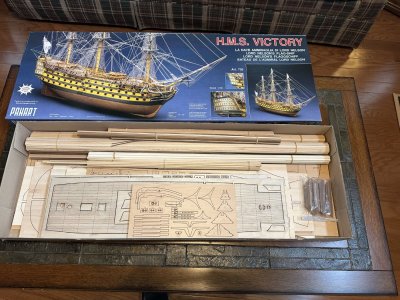
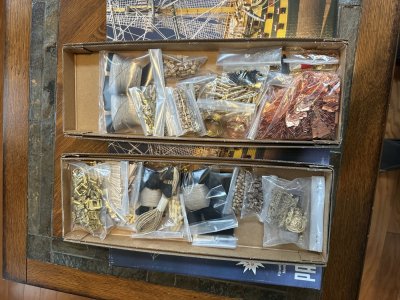
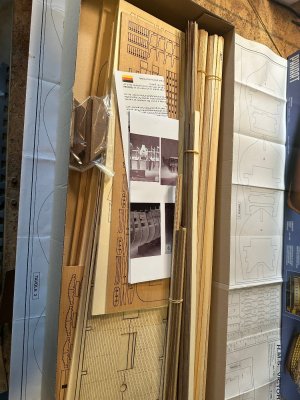
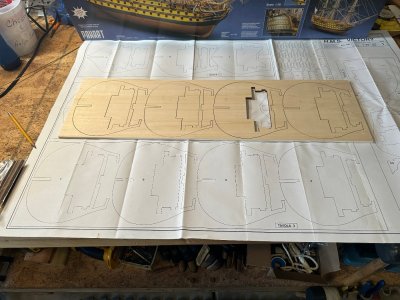
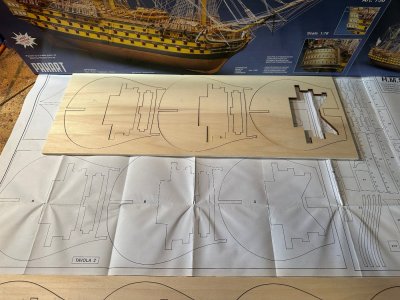
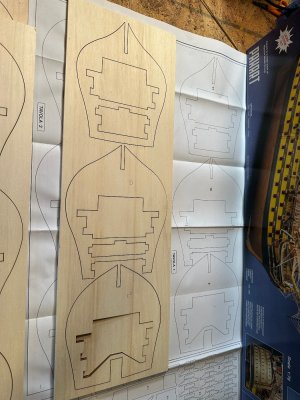
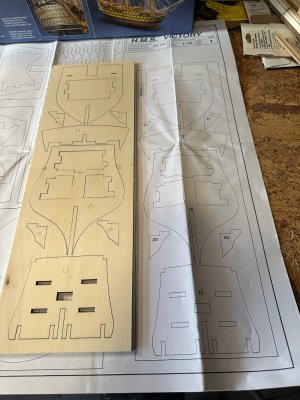
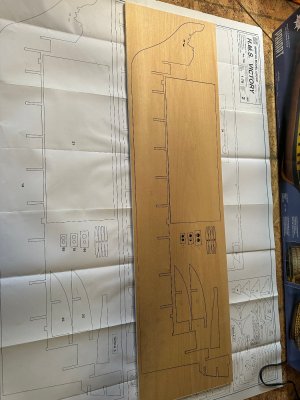
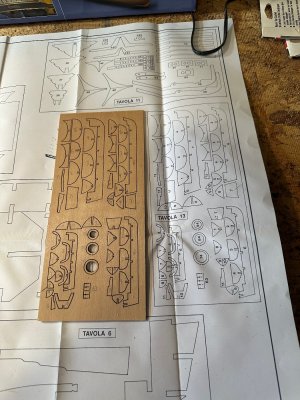
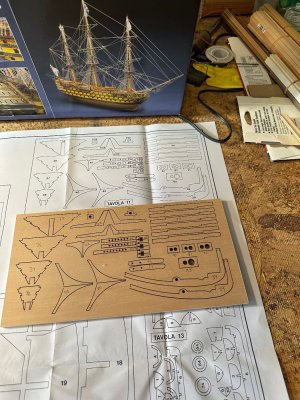
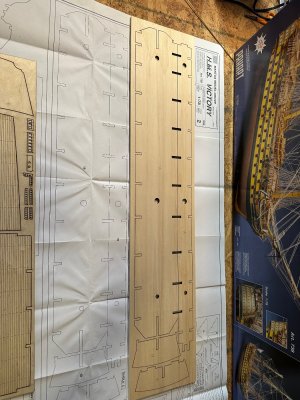
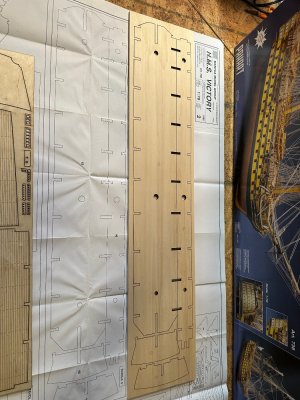
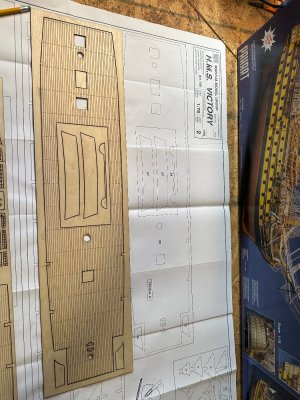
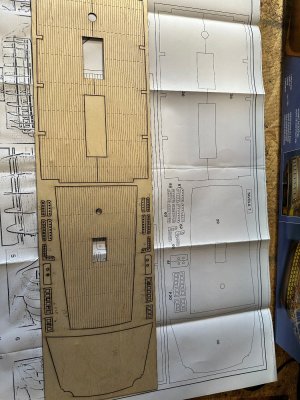
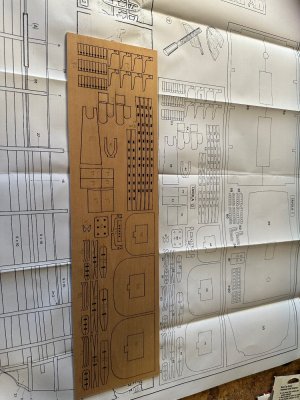
I received my Mantua/Panart 1:78 model kit for the HMS Victory. I have reviewed the items in the kit; everything seems in order so far. I have reviewed the instructions and the 8 drawing sheets that came with the kit. The instructions are presented in Italian, English, German, French and Dutch. I have found many typos in the English translation. My initial concern is that the instructions are sparse and I will have to depend a lot on the pictures and data sheets provided as well as whatever I can learn from watching videos of other modellers who have build the same kit. The first 3 of the 8 drawing sheets are for part number identification of the parts on the laser-cut sheets. The instructions state that one should mark each part on the wooden sheets using drawing sheets 1-3 as a guide. I did this and found the data sheets to be easy to follow for this first step. I have included herewith some pictures of the marking of the parts. In the instructions it is recommended to buy part number Mantua 8155 (a keel clamp). At first I was going to make my own keel clamp. But, I noticed that later in the instructions the keel clamp is used to hold and shape some of the planking. So, I think I will buy their keel clamp thru Amazon.

img_5418.jpeg

img_5419.jpeg

img_5420.jpeg

IMG_5421.JPG

IMG_5426.JPG

IMG_5427.JPG

IMG_5428.JPG

IMG_5429.JPG

IMG_5431.JPG

IMG_5432.JPG

IMG_5434.JPG

IMG_5435.JPG

IMG_5436.JPG

IMG_5437.JPG

IMG_5439.JPG

IMG_5441.JPG
 
Nat League,
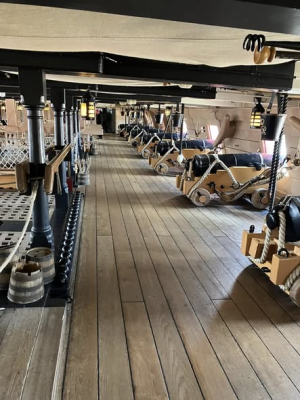
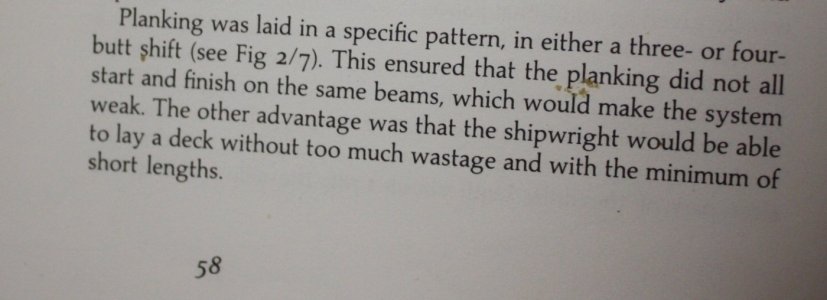
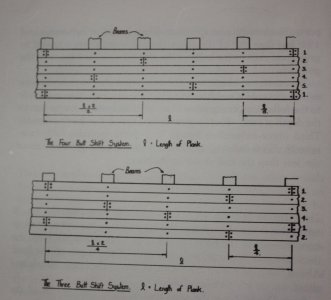
Do you or anyone following your build know why some kits seem to forget about the correct butt shift on the deck planking? These old ships did not have a two butt shift, but instead, they usually had a three or four butt shift for the deck planks. Probably just me, but this seems pretty basic and it is so noticeable. Victory today has a jumbled shift with three to six butt shifts in some areas, but mostly three butt shifts and never two. The laser cutting on the surface of the decking could have been done like on a real ship at virtually no extra cost.

One of HMS Victory's gundecks
1788278270301.png

From Peter Goodwin's The Construction and Fitting of the English Man of War pages 58-59
1788277808172.jpeg
1788277829034.jpeg
 
Allan, This is only my second wooden model. On the Vasa which I built, I used a 2 butt shift; probably per the instructions. I would have probably done the same on the Victory. However, I will reconsider based on your inquiry and some follow up research that I have done. I am assuming that I don't have to follow the butting shift etched into the decks in the kit. Thanks for bringing this up......... Nat League
 
Nat League----- sounds like a baseball fan name, very cool if it is :)

Fixing these kinds of mistakes (kit bashing) like you are getting into is a great thing for many folks. Kudos for giving it a go!

Allan
 
Back
Top