Hms Victory - Constructo by Pale rider

Joined
Mar 16, 2021
Messages
25
Points
48

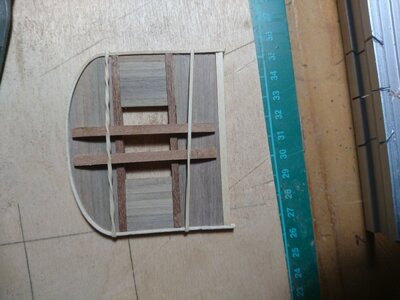
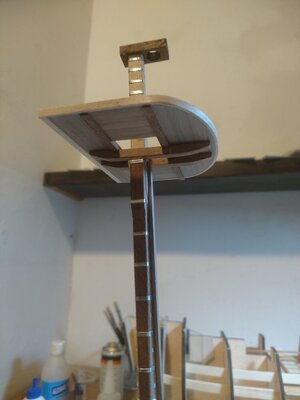
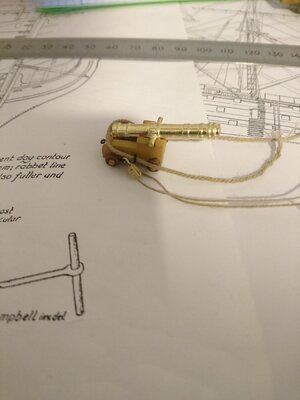
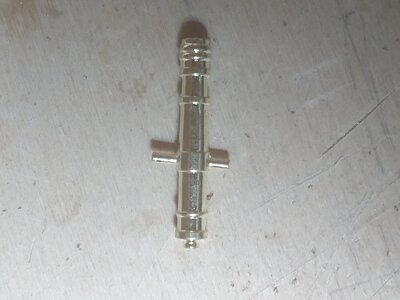
Hi everyone back in december of 2020 I decided to have a go at building a model ship. I have never built a model before and I don't know why I decided on this fools erand. I thought buy the kit stick the bits together, job done. I looked in the box and at the drawings and wondered where all the bits where, and why there was just a big bunch of wood. It appeared to me that the instructions only made sense to someone who didn't need them. I looked on the internet for some help and ordered the book The Anatomy of Nelsons Ships by C Nepean Longridge, but while I waited for it to arrive I thought i would try to stick some bits together. I will start with something simple, the carronades, there is only two how hard can it be. I opened the bag of bits, both barrels are drilled differently and none of the bits fit in any of the holes, I thought never mind it will all come clearer a bit later on. Putting them back in the bag I had a look at the canons and glued a few of the sides and base together and thinking I was making some progress until I looked at the canons themselves to find the pivots comming out the sides of the barrels where not at 90 degrees to the barrels and didn't fit in the grooves in the carriages. Never mind It will all become clearer later, I put them all back in the bag. I looked at the false keel, which was bent but glued the frames in position as per the drawings and following the instruction planked the lower decks. Guessed at the gun rail positions because there is no labelling or indication in the plans as to which is which. Why not try a mast next, the main mast would be best, the fore mast would have been a better choice. But I did make progress. I made the main mast deck. My book arrived and I knew I was on my way to building this boat. So I thought.
DSC_0298.JPGDSC_0249.JPGDSC_0250.JPG
 
Hallo and welcome to the forum
Your test post are looking very good - so we hope, that you start a building log of your project.....
BTW: Usually we like to have to full sized photos in the posts - so here the first test post
 
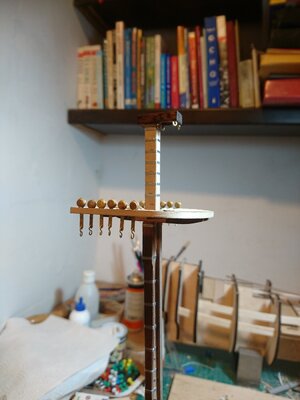
Hi, again I have continued on with work on the mast and added the dead eyes. Working on the top mast things are getting so small I can't see them. I am not used to working this small and it is difficult. It is a skill I will have to learn.

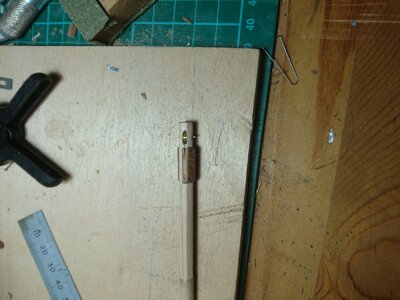
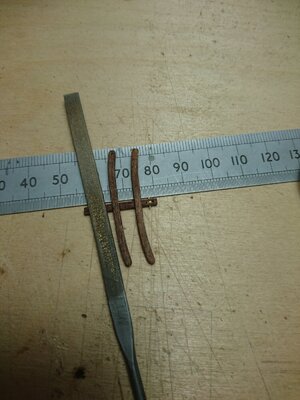
When I started on the top mast I found I needed to make sheaves so small everytime I breathed they disappeared, try picking them up with tweezers and they were gone.View attachment 222640View attachment 222632DSC_0256.JPGDSC_0269.JPG
 
Last edited:
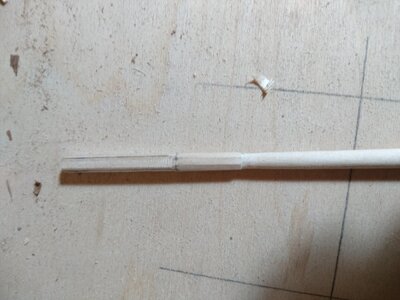
Hi thank you for your welcomes they are much appreciated. I went a little bit out of order of what I did. I started working in the main top mast, filing all the octagonal faces and the blocks at the bottom.
It was then that I made the sheave for the bottom of the main top mast.


DSC_0260.JPGDSC_0277.JPG
 
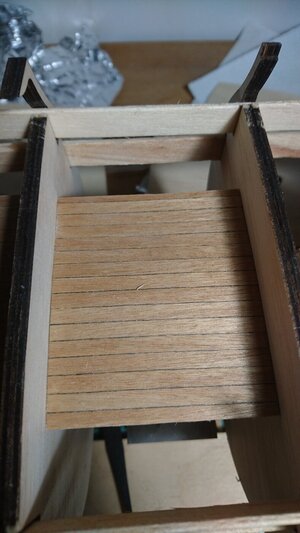
Then the deck. to simulate the caulking as so many do I used a permanant marker pen. I clamped a few planks into a pack and did tham all at once.
I don't recommend this because the ink bled down between the planks and ruined them all. Do them one at a time.DSC_0247.JPGDSC_0286.JPG
 
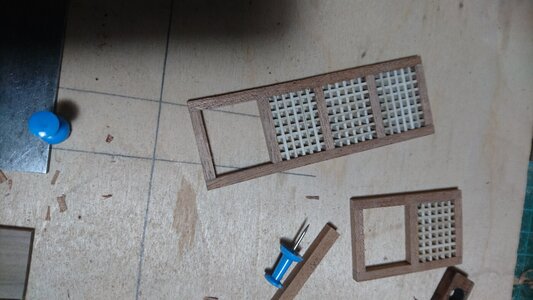
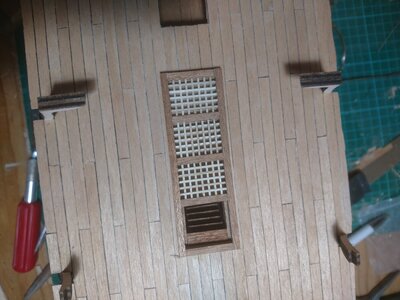
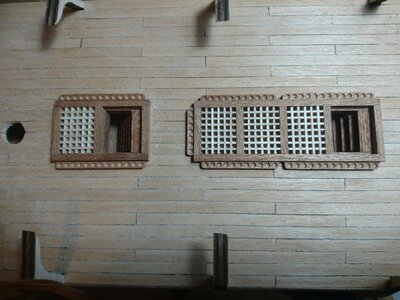
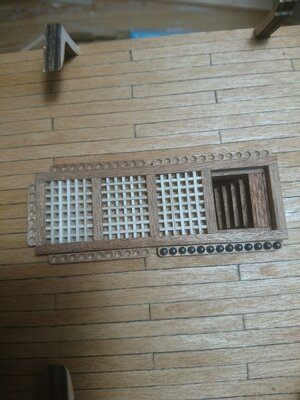
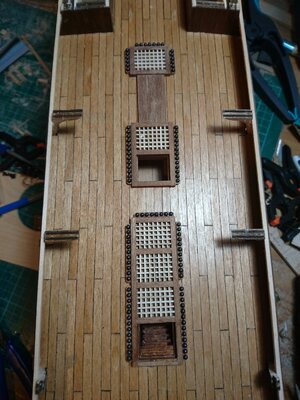
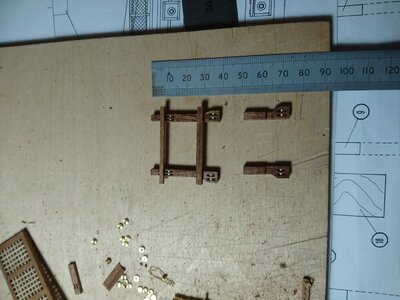
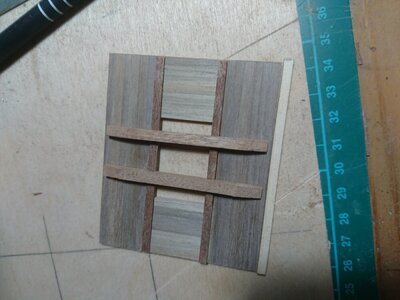
I continued with the deck and gratings and amunition racks. I am not going to glue any of this into place at the minute just see how it looks.

The companion way stairs are not correct they should face opposite directions. Not enough treads seems to make them look narrower than they should.

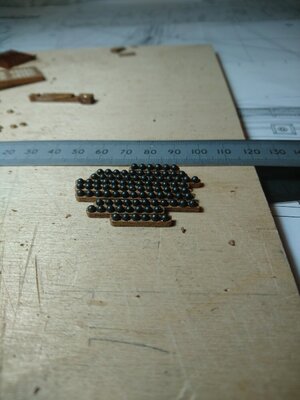
The canon balls are from a shot gun cartridge,DSC_0288.JPGDSC_0296.JPG probably scale wise too large but looks ok.
 
Some more amunition racks. The next set or gratings are not on the plans but are in the book. There is a sort of apron between the two gratings which is handy because the main mast is not in the correct position and this will help to cover the pre-cut hole in the deck.DSC_0307.JPGDSC_0313.JPG
 
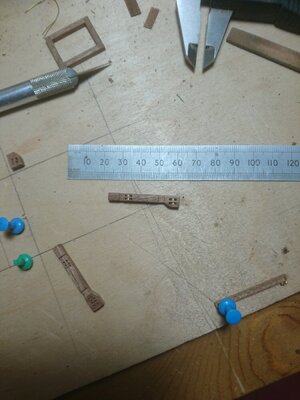
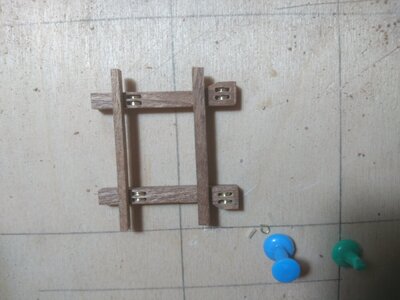
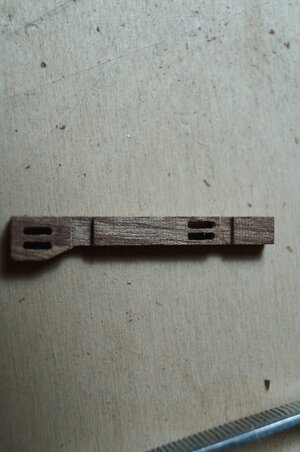
I then had a go at making what I think is called the main mast bitts. Some ropes come from something called the jeers and go around some pulleys, there is surposed to be three in the bottom part but I can only get two in, not sure how that will pan out later, we will see.
DSC_0292.JPGDSC_0293.JPG
DSC09323.JPGDSC_0302.JPG
 
Last edited:
Thank you for the likes Jimsky and DonRobinson they are much appreciated.
The next step in the instructions say fit the quarter deck and the plank it, but there are canons under there which would make the fitting of them some what difficult. Also the aft most and fore most canons on the upper gun deck are just glued in the gun rails. I am sure with a sqint, one eye closed and your tounge in the right place they could be seen so really need to be full canon and trucks. I would eventually be 4 of the full canon barrels short so some how would have to make them.DSC_0314.JPG
 
Last edited:
For the wheel axles I use dress makers pins and painted the heads and trimmed them to lenght and glued them to the underneath of the truck.
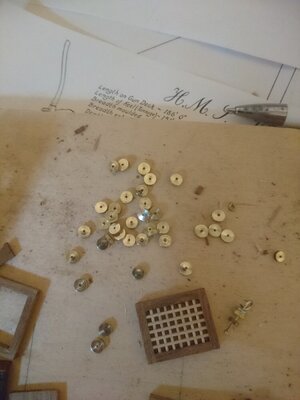
The wheels are supplied rough cast metal, I don't like them. I may make some from brass.
 
The wheels at the front of the canon truck s are larger than the rear ones, at scale 5mm for the front and 4mm for the rear. 36 front and 36 rear wheels.

I found an old toilet fill valve with a ball arm of 5mm brass bar and made the front wheels and drilled holes for the dress makers pins.. I mean truck axles. I don't have any 4mm bar, I could ofcourse turn the 5mm down but decided to wait, I may find some.


DSC_0327.JPG
 
Last edited:
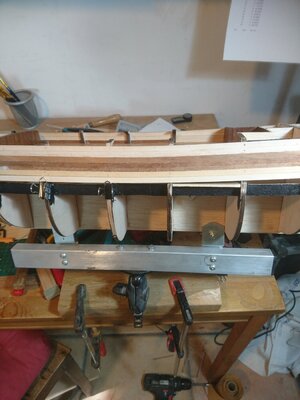
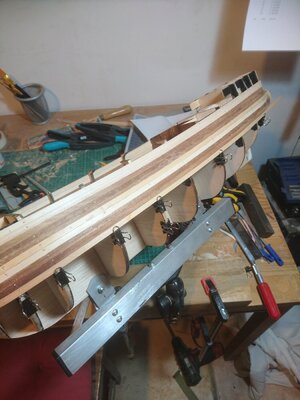
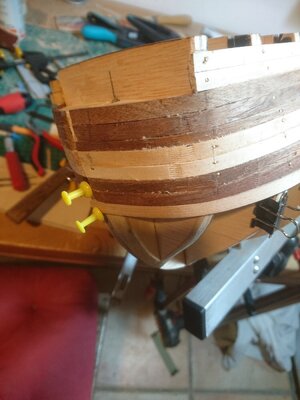
After some thinking it seemed wrong to do all these deck fittings and the turn everything over with the risk of damage to plank the hull. So I made myself a keel clamp from an old piece of aluminium and the gps mount off of my motor bike and started planking.

DSC_0317.JPGDSC_0325.JPG

DSC_0326.JPG

I didn't have any trouble bending the planks at the bow, in the morning before work I put 2 in the spout of an old kettle boiled the for 20 minutes while I ate my toast and then clamped them on the model. One on one side and one on the other. When I came home I fixed them with glue and pins... After kissing the wife first of course, I don't want the build to come between us lol.
 
Back
Top