-
LUCZORAMA SHIPWRECK SCAVENGER HUNT GIVEAWAY. 4 Weeks of Fun • 1 Legendary Prize ((OcCre’s Fram Ship)) • Global Crew Welcome!
**VIEW THREAD HERE**
You are using an out of date browser. It may not display this or other websites correctly.
You should upgrade or use an alternative browser.
You should upgrade or use an alternative browser.
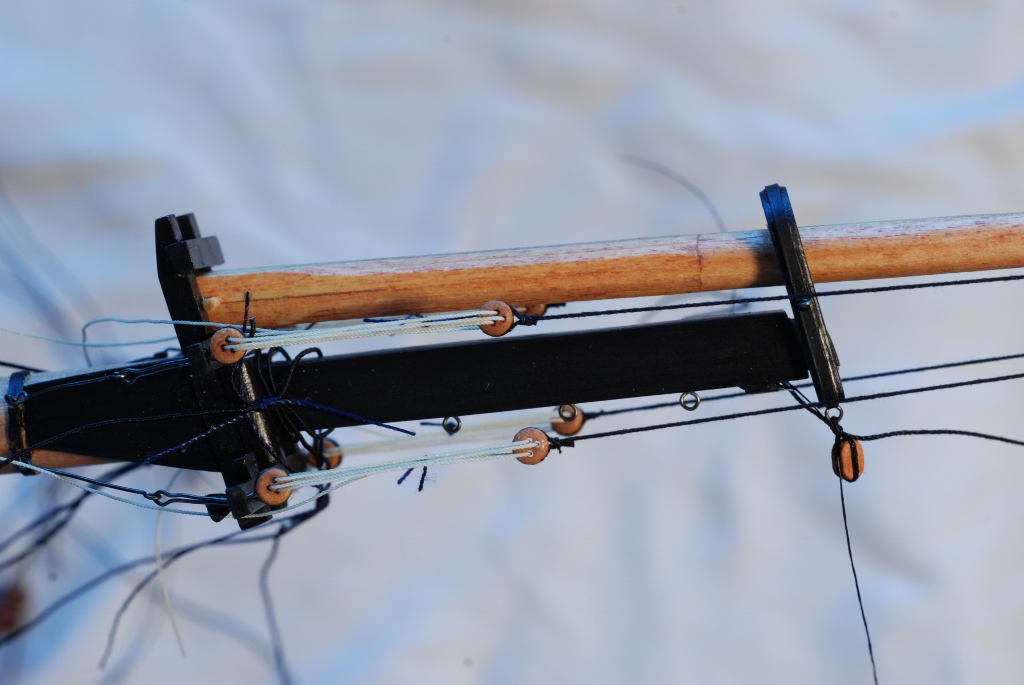
This has been driving me up a wall for almost a year. All the methods I've seen overlap the strop between the block and the loop. It's only overlapped for about 1/16" but I guess the serving and glue hold it together. It looks iffy to me but that seems to be how its done. A few links.
 modelshipworld.com
 modelshipworld.com

My humble method of making strops for blocks
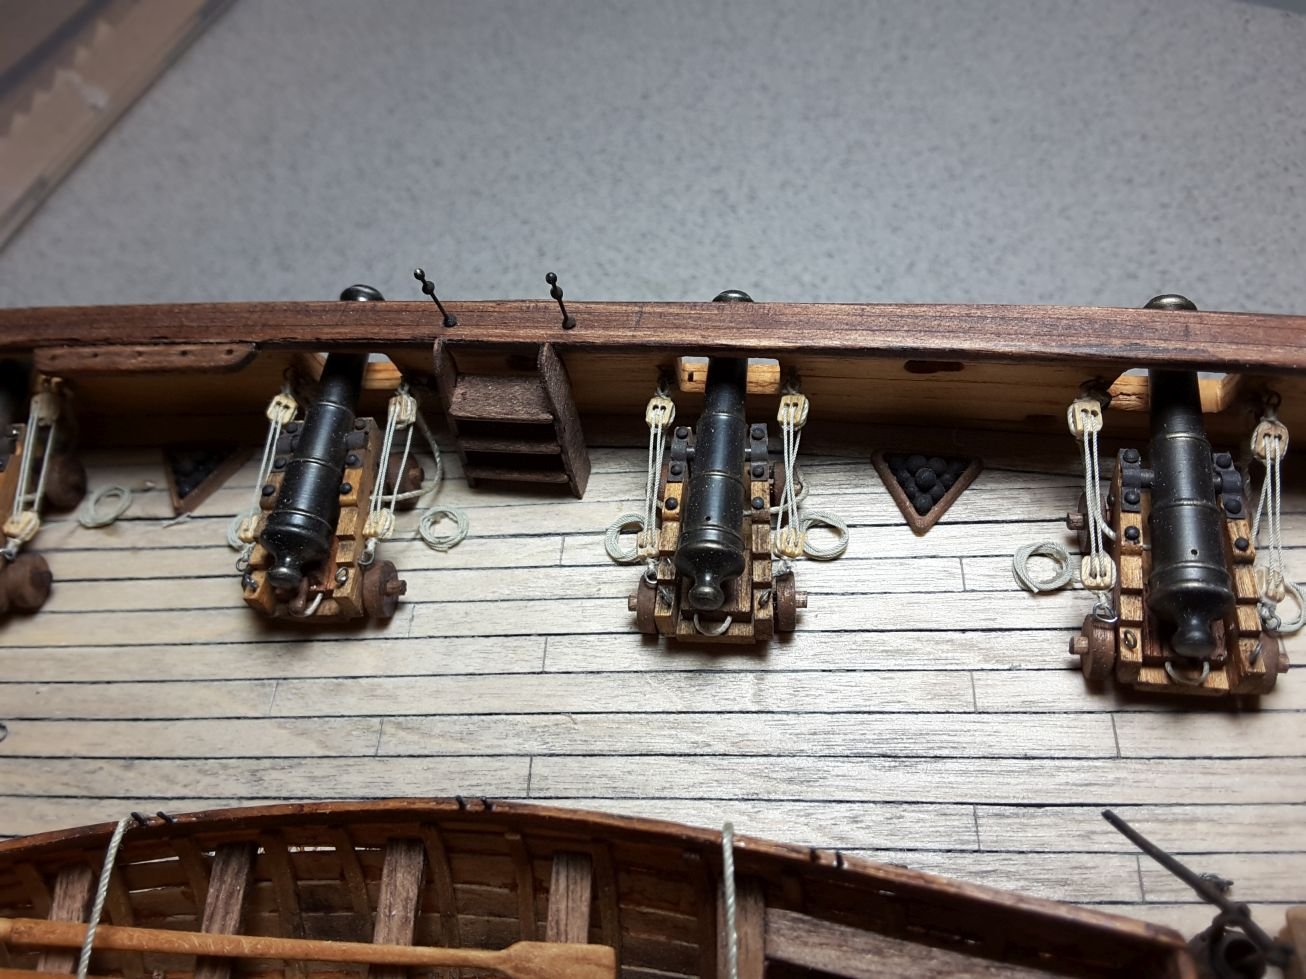
There has been recently many methods shown to make strops around small blocks. When rigging the guns for my Le Cerf I needed a big number of small 3 mm double blocks. For making strops around these I made this simple fixture, which fullfilled it`s task quite reasonably. First a simple constructio...
 modelshipworld.com

Stropping Blocks
A question that I have prior to rigging the Endeavour. I have been using annealed, Plastic coated wire in my previous Models, 19th century or later as this represents Iron Strops for this period. (And is pretty easy to form.) For a 18th century Ship, I believe that the Blocks were Stropped with r...
 modelshipworld.com
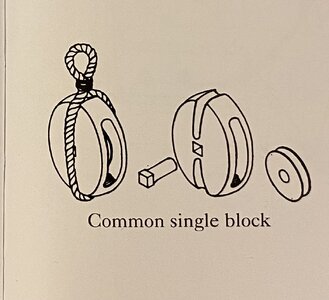
I guess that in real life a rope grommet is made to put round the block. web sites show how to make these. It would need a lot of patience to ceate them in quantity at 1:90 scale.
Main problem is how you connect the rope ends into a grommet. Could you provide links to these sites? I am looking for as much details as possible.web sites show how to make these
Thanks, Don, this helps.A few links.
I think that to make a grommet they unwrapped a length of rope into it's three strands. Then they took one strand and kind of wrapped it around itself to recreate the rope in a loop. That's a crumby explanation. How about they took one strand, tied a half hitch in it, and then just kept sticking the ends through the loop until the rope was recreated. Not much better but maybe you can see it'
This is in real life rope size. I had seen video how it is being done. It is not possible for 1:90 scale on 3 mm tall block.
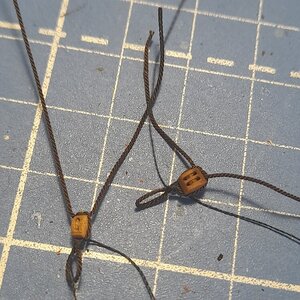
Yuri, just make a knot at the end of the block, tighten it tightly, drop a drop of CA on the knot and bite off the excess on both sides. Even Dmitry Shevelev does this on a small scale
Thanks. This makes sense. This is what I will do.Yuri, just make a knot at the end of the block, tighten it tightly, drop a drop of CA on the knot and bite off the excess on both sides. Even Dmitry Shevelev does this on a small scale
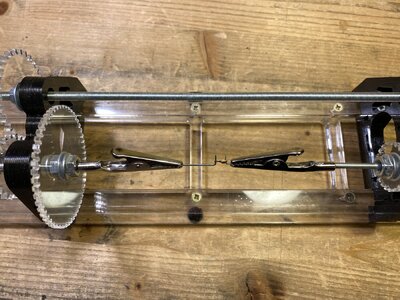
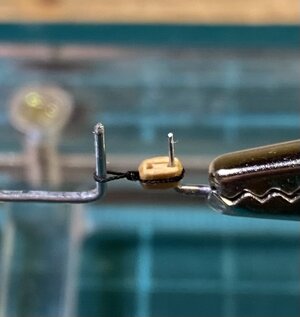
I made this jig to help me. It has various clamps and clips to hold stuff. I clamp the back edge in the vise and the two arms give me room to get my hands around stuff. It allows me to make most rigging off the ship. Working rigging on the ship has proven very difficult for me. There is two spools of serving thread on the back edge. The thread leads through a hole so I can jam it tight so I can pull against it. The front left corner has removable pieces that fit different size blocks. The two alligator clips
on the wires are adjustable to tension the lines while I serve(or whatever) them.
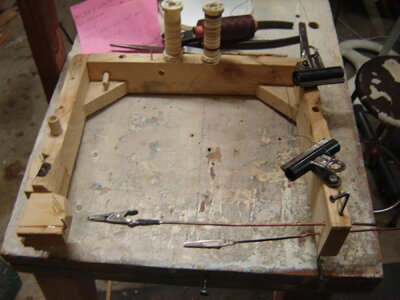
on the wires are adjustable to tension the lines while I serve(or whatever) them.

Wow. Thanks. You came up with another great way.I would suggest the steps on the photos.
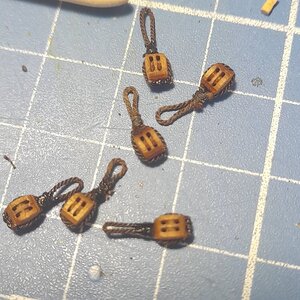
Yuri, then you need to switch to the Admiralty models, there are a minimum of threads and you can only get by with PVA glueI went by Alexander’s suggestion. Here is what I got. Looks not bad. But this is something like a fourth attempt. I must admit I hate working with threads and CA glue. I would rather do some wood work.
I must admit I hate working with threads and CA glue. I would rather do some wood work.
Yuri, then you need to switch to the Admiralty models, there are a minimum of threads and you can only get by with PVA glue
I agree. This must be considered after I finish Victory rigging (if ever). May be it is only from the start so repulsive and later I will start enjoying it? I mean it could be same as with starting drinking an alcohol or smoking.
Your time will shorten up.  I too, am finding rigging to be tedious. I'm finding I have to research each piece of rigging for at least a day and then another day to make and attach it. In the end, though I think the rigging will make it more interesting to the "common folk"(family)
 that will be looking at it.
The family they want to see the sails on the model. For them the model with no sails is incomplete.In the end, though I think the rigging will make it more interesting to the "common folk"(family)that will be looking at it.
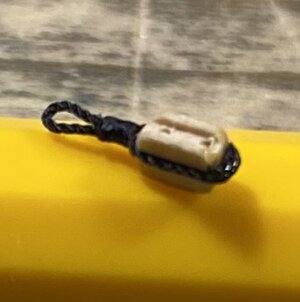
I wound a thicker rope 0.34 mm diameter. Here is the result. But it takes me about 10 minutes per block! Isn’t it a bit too much?
View attachment 424861
I think that looks great for 10 minutes worth of work.
I consider myself as bit lazy so that's why I'm trying to shorten the time on anything on my models...I wound a thicker rope 0.34 mm diameter. Here is the result. But it takes me about 10 minutes per block! Isn’t it a bit too much?
When I have many pieces, I divide the work in stages, making each time the same thing on all ones.
So try this. Make 5 stroped blocks with Alexander’s suggestion and then 5 ones with mine.
Proceed to each method with stages. First make the loops on all 5 and the the seizing on all ones.
See with what worth the time.
Thx
Last edited:


