initial Soleil royal using the heller 1/100 scale kit (post prepared in advance)

I just copied new version - with new No and delete previous one which I had ...
due to my brilliant French ,to see if/what there is difference between them I need to spend couple + x 2 of months:)(plan for my upcoming vacation) or more with google translator ... or I did something wrong ? Why did You ask what version is that? :)
 
"So, tonight I have decided that since I have to do the other side, which some of the surgical work is already done, I was wondering whether anyone would be interested in having some tips for your own kit....I will take pics, and try to describe what is done...as best I can... "
or You meant something else and that attachment LE SOLEIL ROYAL et les vaisseaux royaux de Louis XIV 11022023 was made by mistake?
but than where is that "... some tips for your own kit....I will take pics, and try to describe what is done...as best I can..." ? :)))
 
I have a later one, but it only adds an observation on the front herpes location.....A couple of extra lines and a drawing....
Do you want that one?
 
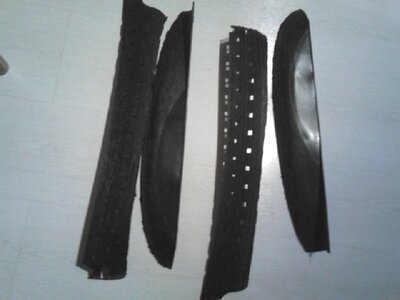
Hello, sorry for my absence, I took a break from the soleil royal by finnishing my zvezda captured by ukraine T14 at 1/72 scale (1st kit done of the year and a what if) and I'm working on a meng T90A too. I asked someone with a dremel and the good blades to cut the hulls and it worked this time (only issue being a hornet coming in the house somehow, since I got a phobia of whasp already, I'm not good with hornet either).
DSC_7539.jpg
 
Hi; you haven't given yourself much room to make it nice and straight:) How do you plan to do that?
 
I don't know how you went about this, in the first place, but hopefully you maintained a baseline reference-line that you are working towards. Having done this, and made mistakes doing it, I would recommend that you have a full-length, dead-flat sanding surface, and make frequent checks - alternately working one side and then the other - to make sure that your stem halves remain perpendicular and parallel to each other. The amount of after-work I had to do - because the cut hull halves flex a lot during the sanding/straightening process - was pretty amazing; I ended up having to add a lot of plastic back, along the length to get the stem to mate back together, properly, and ensure a nice flat surface for joining to the plastic plinth base. Proceed slowly and with caution and you will save yourself an incredible amount of after-work.
 
Try a belt sander with coarse texture belt; then go to smoother paper as you get close to your desired waterline; shaving will take a very long time if you take the proper amount of care, and you'll still need to sand. If you don't have the electric tool, use a 2x4 and wrap it with coarse sanding paper, you'll get the same result, but with more time:)
 
I expect a lot of sanding work too, not just with the hull, with the deck as well.I don't think I can use a belt sander tho.
 
Well, if you have one it will save you some time, but if you don't, use a piece of woog thick enough so you cam hold it tight and wrap coarse sand paper around it; When you get close to where you want your waterline to be, just change the grit to a finer sand paper sheet.....
 
Ok! Today, I centered my work on the gun carriages and I wonder if, on the gun ports, I need to sand the injection marks.
 
"So, tonight I have decided that since I have to do the other side, which some of the surgical work is already done, I was wondering whether anyone would be interested in having some tips for your own kit....I will take pics, and try to describe what is done...as best I can... "
or You meant something else and that attachment LE SOLEIL ROYAL et les vaisseaux royaux de Louis XIV 11022023 was made by mistake?
but than where is that "... some tips for your own kit....I will take pics, and try to describe what is done...as best I can..." ? :)))
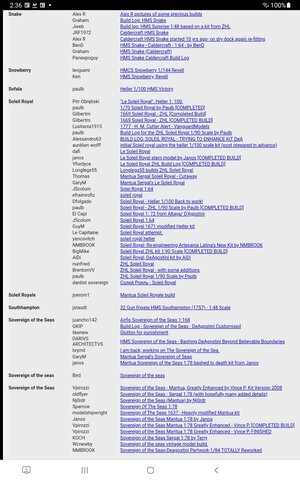
So, I guess you know about the Build Logs. There are a lot of Le Soleil builds to seeScreenshot_20230515-143634_Chrome.jpg
 
Last edited:
Hi; no; I meant that since I have made modifications which are related to my document, I could give some tips on what I used ( extra parts from another kit) and where I cut those parts to mimic the ones already on the walls of the ship; as with the fifth port on the quarter deck, the window pushed a couple of milimeters, the second poop deck port, the inside of the galleries, and in the future the modifications of the front arches to reflect the set up on the Royal Duc/Reyne, the decorations, etc.......I'm basing the modifications on the information I found in the document I made.....
 
Ok! Today, I centered my work on the gun carriages and I wonder if, on the gun ports, I need to sand the injection marks.
As a rule of thumb, if the evidence of injection marks will be visible on the finished model, it is advisable to fill and sand them flush. Paint, alone, will not conceal them, and in fact will highlight their presence. It may seem like a tedious chore, but it's a small effort really, and you will never regret doing it.
 
Ok, so before adding the symbols, I should sand the injection mark. Do you think I have to add the plastic sheet like you added on your gunport for a 1668 SR or not?
Thanks!
 
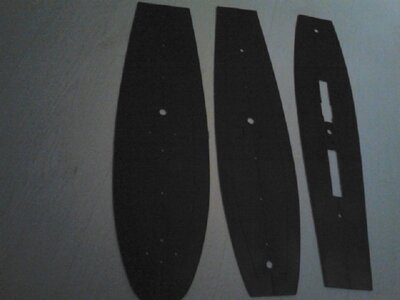
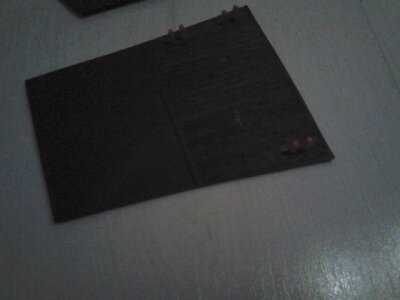
I'm asking Hubac here :) Here's this month/week and evening work. I finnished more "ensemble B" gun carriages and tonight I did some work on part 11 (least fun part being a part jumping from the sprue):
DSC_7543.jpgDSC_7544.jpgDSC_7545.jpg
 
Back
Top