- Joined
- Apr 10, 2020
- Messages
- 94
- Points
- 143

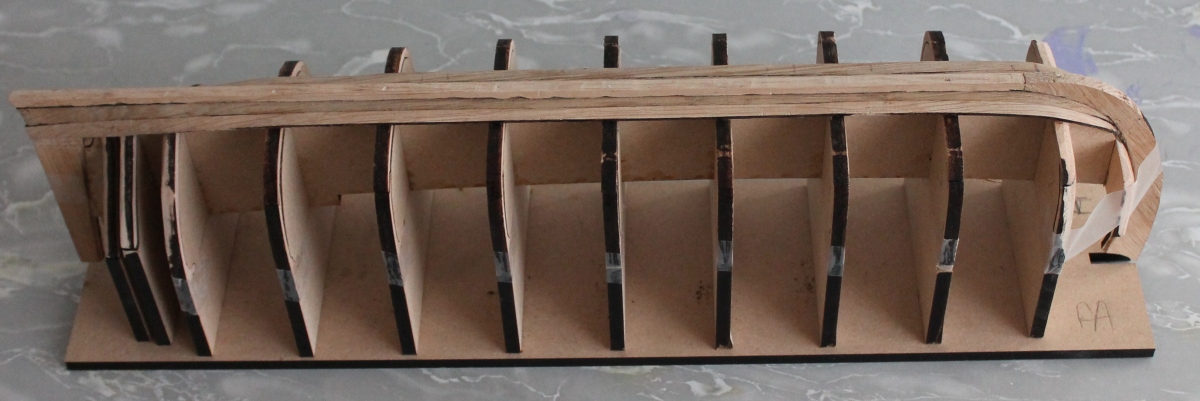
A Flute Ship in Oak.
For a long time I had planned to build a flute. A flute was the most common type of ship for freighters in the 17th century. They mainly sailed on the Baltic Sea with the "moedernegotie". Many were also equipped as wood grinders because shipbuilding was booming in the Zaan region at that time. A lot of sawmills were built there at that time which allowed logs to be cut into planks much faster.
The flute I wanted to build was to be a wood-carrier.
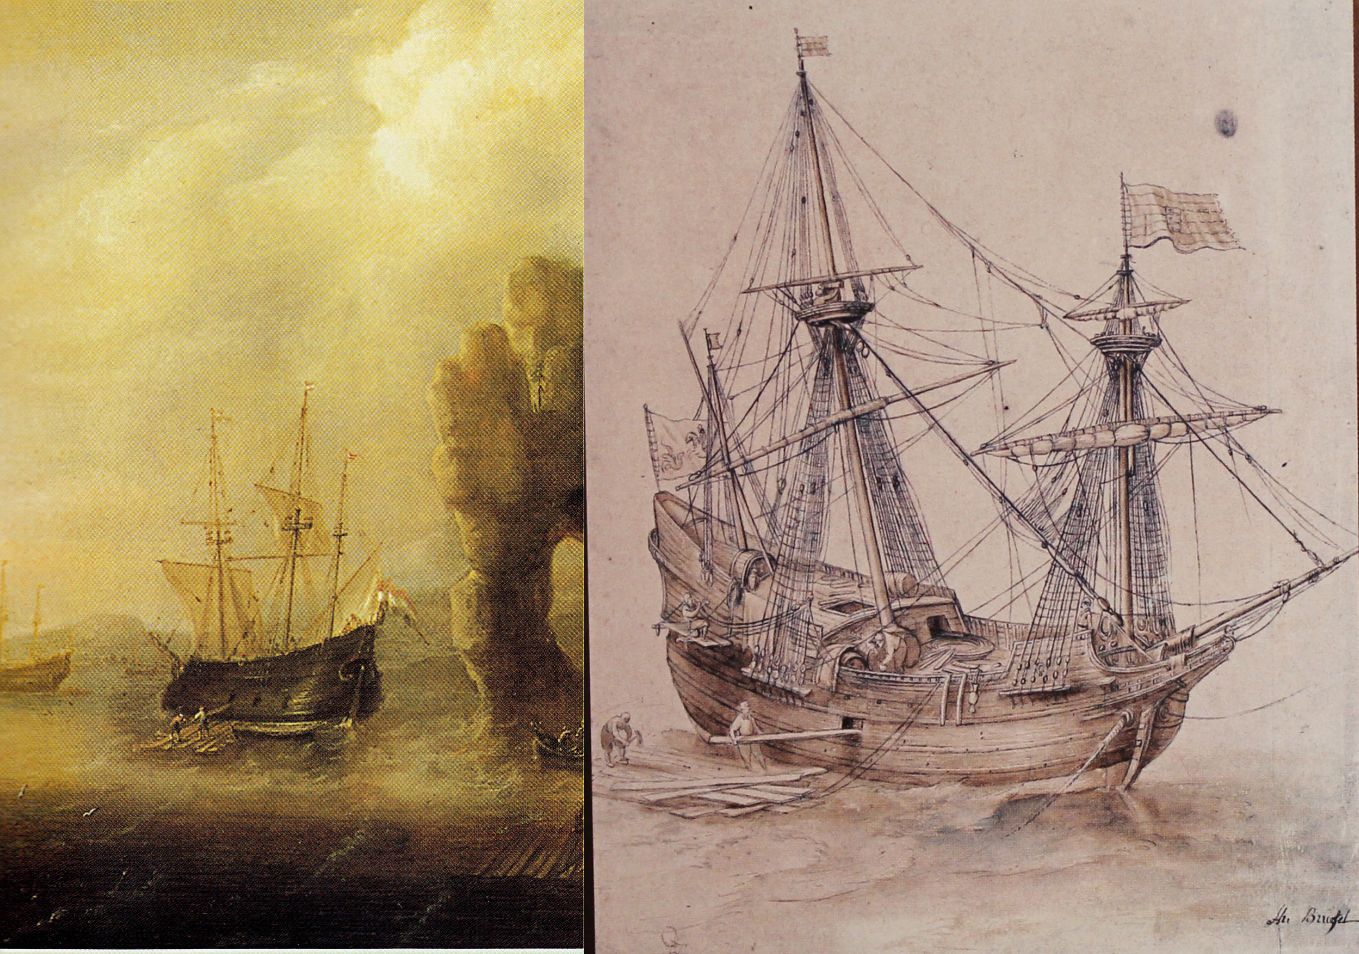
Photo: Wood-carriers
Since I didn't know a kit of it, it had to be scratch built. But given the shapes, that was going to be a challenge. And then Kolderstok came up with a kit. See:https://shipsofscale.com/sosforums/threads/17th-century-fluytschip-kolderstok.9394/
At the meeting in Duizel I told Hans van Nieuwkoop that I was planning to build a flute as wood-carrier. A little later I got an email from him asking if I was willing to build a Kolderstok flute in oak. Because Hans also wanted to optionally release the flute in oak. But first he had to build one on test. I was willing to do that for him. So Hans went to work hard to have all parts made in oak. And the result of that I have now received and can get to work.
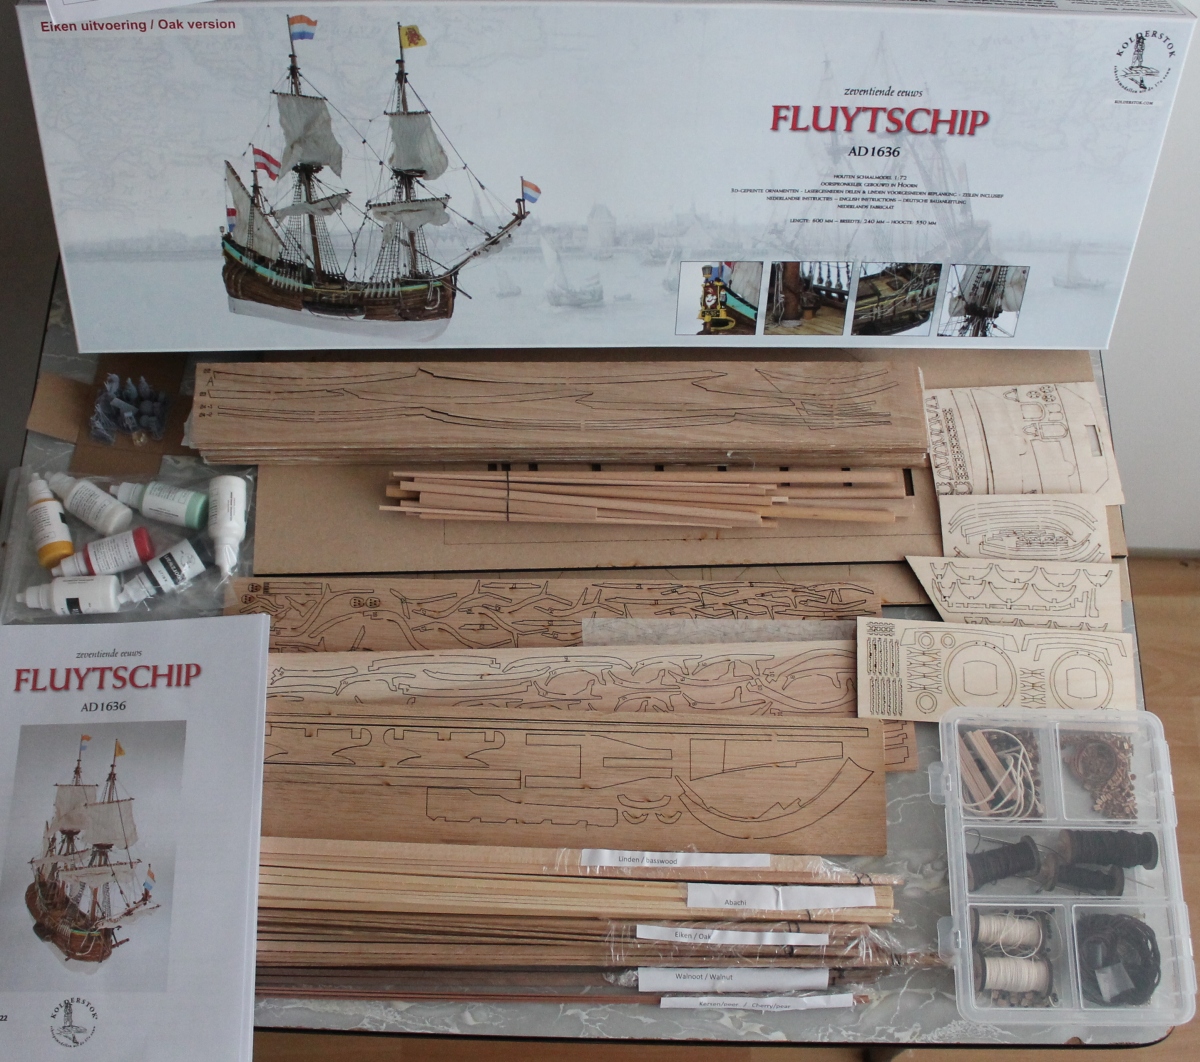
Some pictures of the package.

Photo: Package contents.

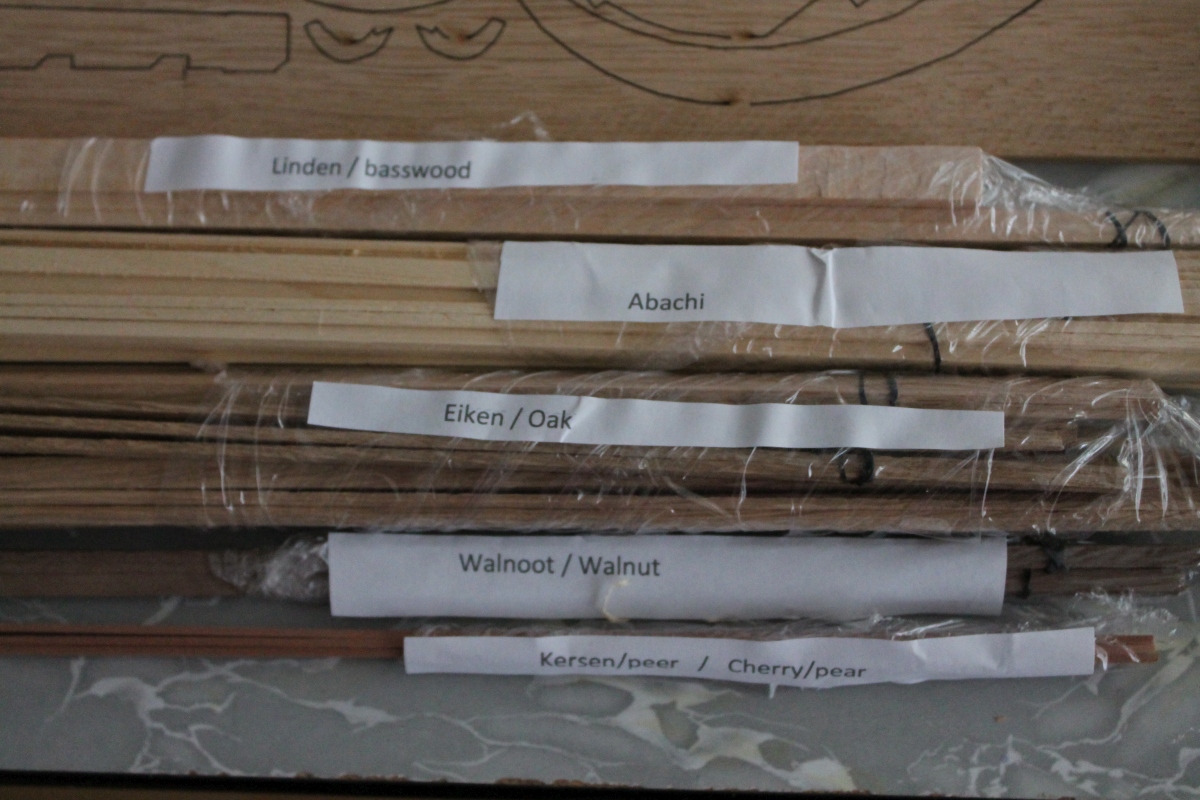
Photo: Some of the different woods present.

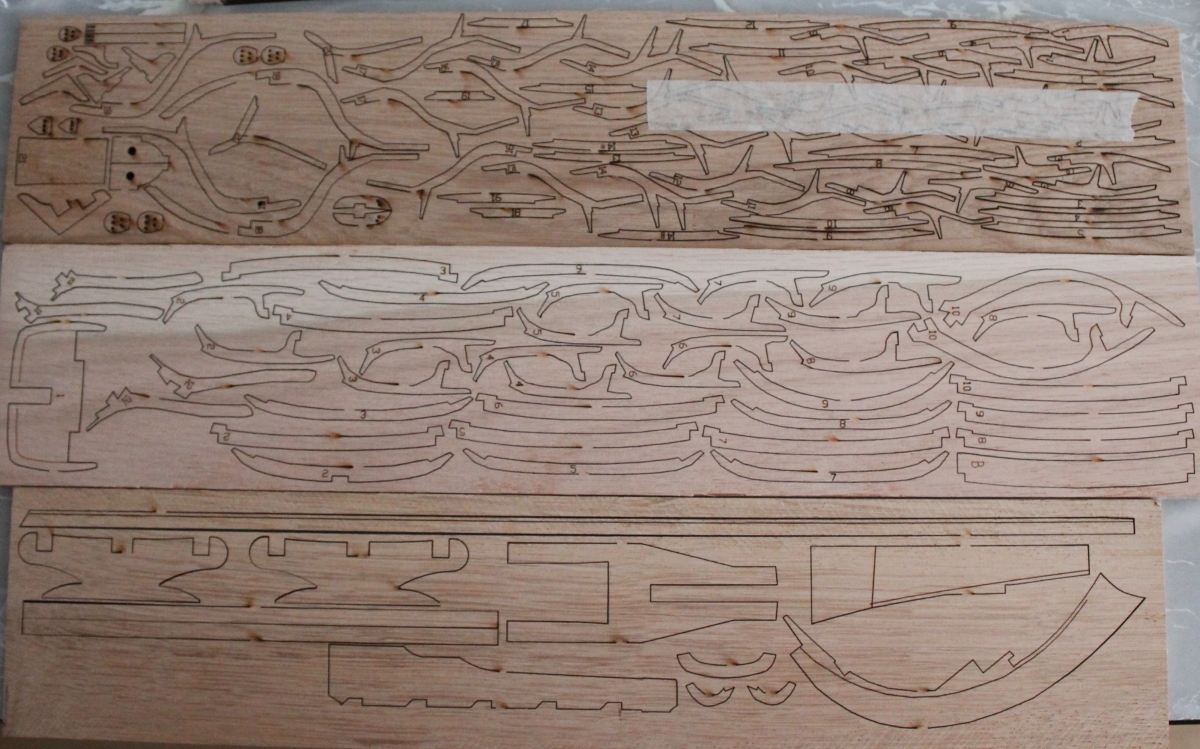
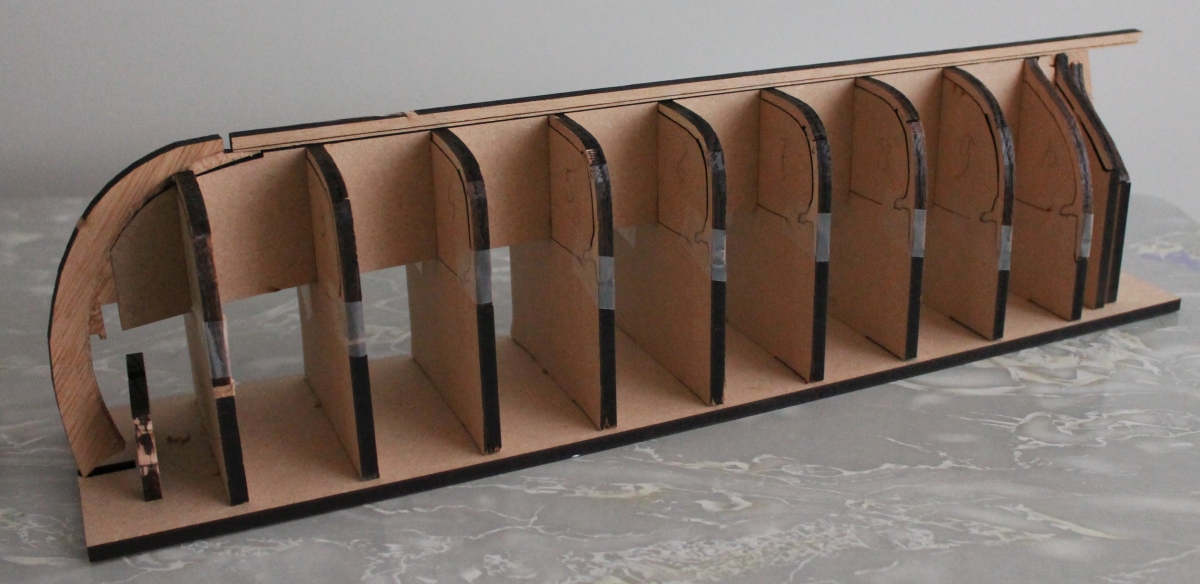
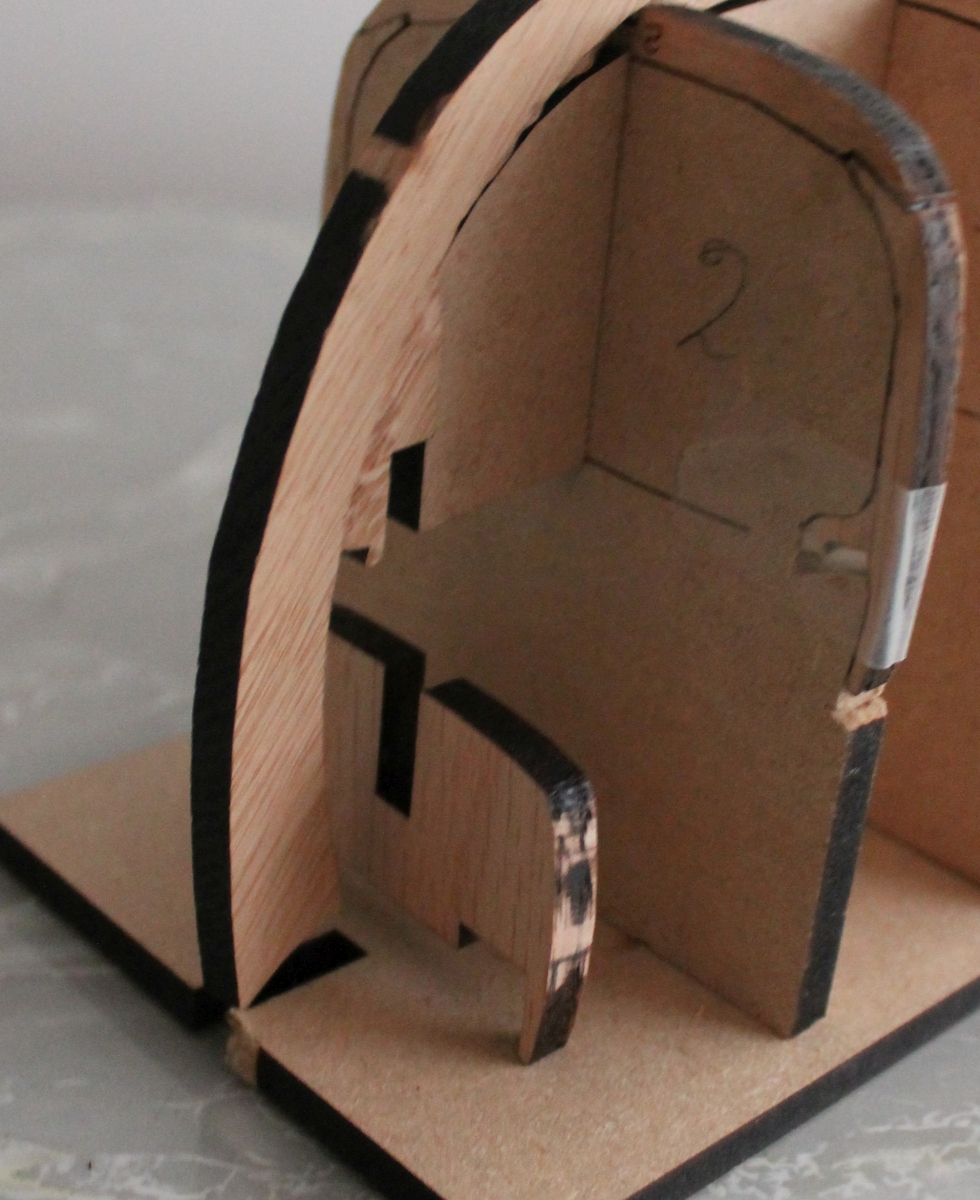
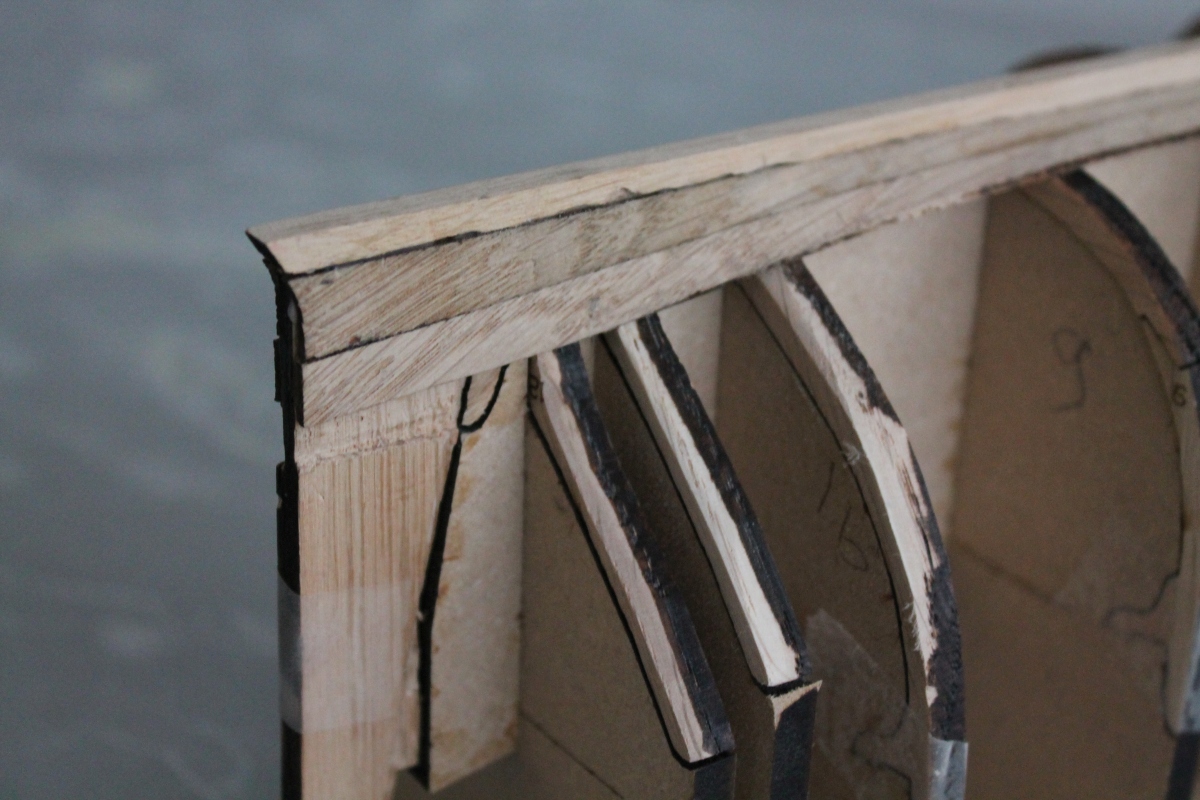
Photo: trusses in thick oak

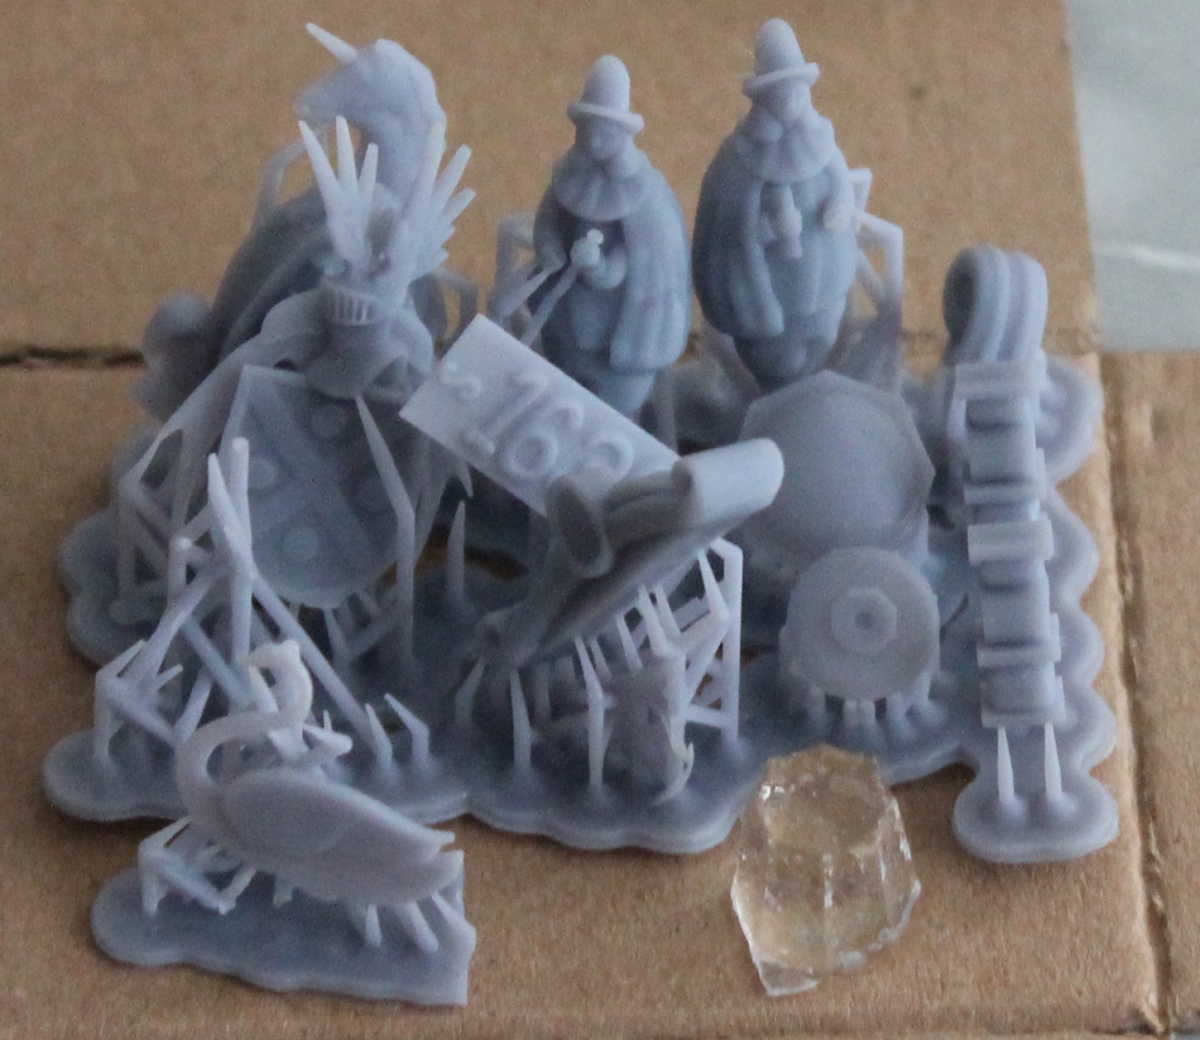
Photo: Printed figures

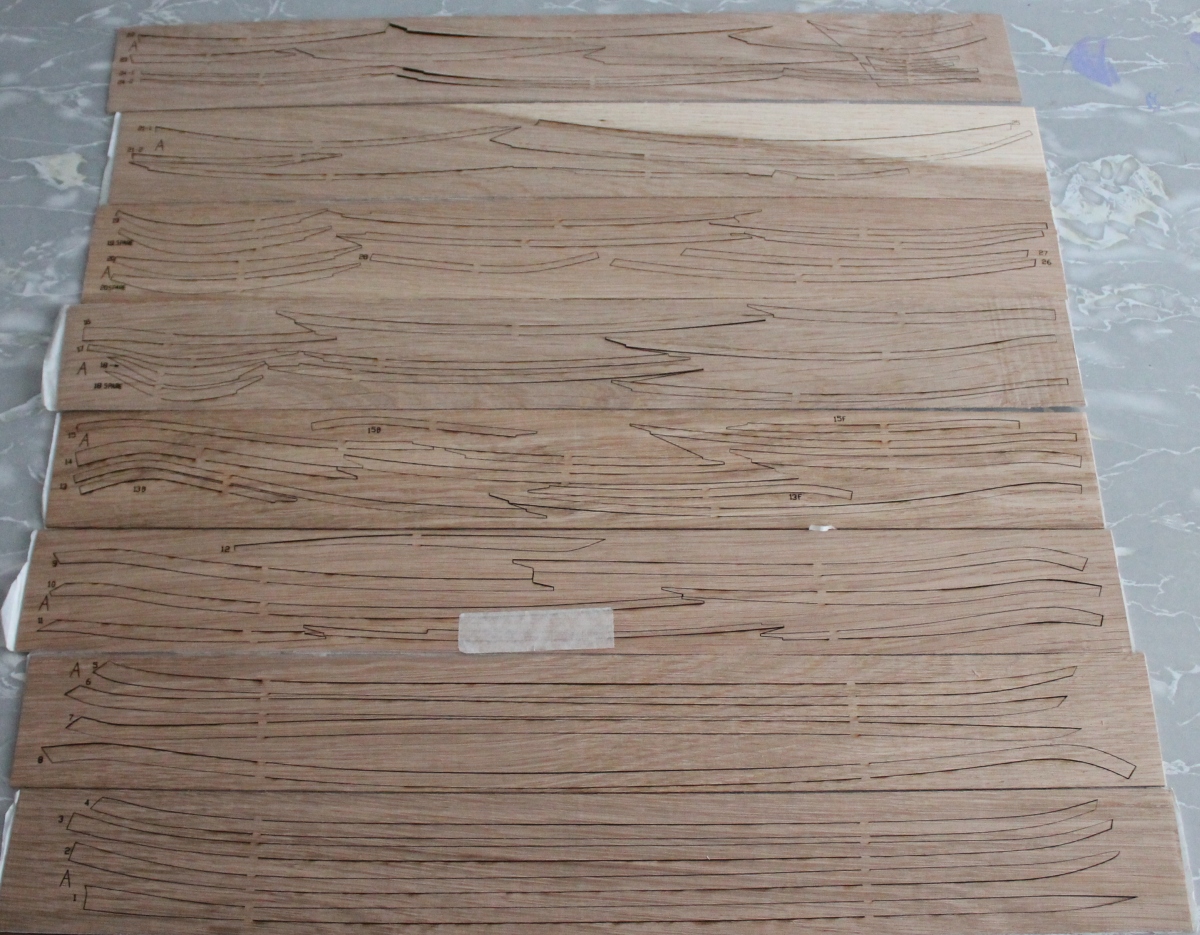
Photo: Oak planks for the skin. In the normal package, these are basswood.
Hans had no problem with me making it a model to my liking. That's convenient because I'm a bit "allergic" to enclosed spaces. Or rather if something is built completely closed I want to know what is inside. And as I saw in the report of that other Hans, that flute has an internal hold without bulkheads, but there is nothing left of that. So that's not possible. So my flute will be opened up somewhat.
The flute has been developed as a wood-carrier version and I want to explicitly reflect that. That is, there will be some hatches in the side, as shown in photo 1, through which wood (planks/beams) will be loaded. And large logs will be loaded from the transom. So there will also be two additional hatches there. (I think) And further logs are in the hold. So the hold must remain visible. To that end, I think I will leave out a piece of ship's wall on the other side than the loading hatches. And to be able to see some inside, I'm thinking of some yellow LEDs as oil lamps. I am still considering if I will also make the cabin visible and thus provide it with some furniture and lighting. Then I will have to make a hatch somewhere in the stern. So I have plenty of ideas but let's get started first.
To be continued.
Translated with www.DeepL.com/Translator (free version)
For a long time I had planned to build a flute. A flute was the most common type of ship for freighters in the 17th century. They mainly sailed on the Baltic Sea with the "moedernegotie". Many were also equipped as wood grinders because shipbuilding was booming in the Zaan region at that time. A lot of sawmills were built there at that time which allowed logs to be cut into planks much faster.
The flute I wanted to build was to be a wood-carrier.
Photo: Wood-carriers
Since I didn't know a kit of it, it had to be scratch built. But given the shapes, that was going to be a challenge. And then Kolderstok came up with a kit. See:https://shipsofscale.com/sosforums/threads/17th-century-fluytschip-kolderstok.9394/
At the meeting in Duizel I told Hans van Nieuwkoop that I was planning to build a flute as wood-carrier. A little later I got an email from him asking if I was willing to build a Kolderstok flute in oak. Because Hans also wanted to optionally release the flute in oak. But first he had to build one on test. I was willing to do that for him. So Hans went to work hard to have all parts made in oak. And the result of that I have now received and can get to work.
Some pictures of the package.
Photo: Package contents.
Photo: Some of the different woods present.
Photo: trusses in thick oak
Photo: Printed figures
Photo: Oak planks for the skin. In the normal package, these are basswood.
Hans had no problem with me making it a model to my liking. That's convenient because I'm a bit "allergic" to enclosed spaces. Or rather if something is built completely closed I want to know what is inside. And as I saw in the report of that other Hans, that flute has an internal hold without bulkheads, but there is nothing left of that. So that's not possible. So my flute will be opened up somewhat.
The flute has been developed as a wood-carrier version and I want to explicitly reflect that. That is, there will be some hatches in the side, as shown in photo 1, through which wood (planks/beams) will be loaded. And large logs will be loaded from the transom. So there will also be two additional hatches there. (I think) And further logs are in the hold. So the hold must remain visible. To that end, I think I will leave out a piece of ship's wall on the other side than the loading hatches. And to be able to see some inside, I'm thinking of some yellow LEDs as oil lamps. I am still considering if I will also make the cabin visible and thus provide it with some furniture and lighting. Then I will have to make a hatch somewhere in the stern. So I have plenty of ideas but let's get started first.
To be continued.
Translated with www.DeepL.com/Translator (free version)
Last edited: