Hello everyone. In this thread, I am going to attempt to document the building of my latest model La Flore by Constructo. I bought this kit last year although I really hadn't had the time to build it until now, during the lockdown I have plenty of time and I work on it about 5 hours a day!
I won't be writing many of the parts' names and forgive me if I make any mistake as English is not my first language and I don't even know some of the parts' names in Spanish!
I am open to all the advice you can give me so come on!!
I hope you like it!!!

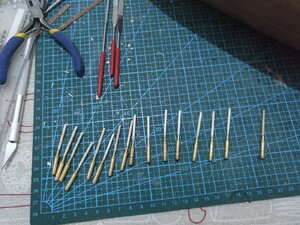
First some photos of the contents of the box.


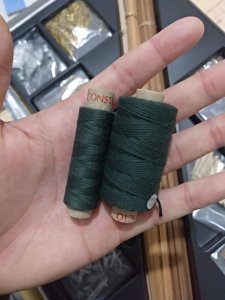
I had some issues with the "black" thread because as you can clearly see it is GREEN! I emailed Constructo but they didn't help me. They said sometimes this happens when the black colour is "lighter" than normal. I have been searching to buy a new thread and I think I have found some. As this is going to be used towards the end, at the moment it doesn't really bother me. Apart from this, everything is on the box well packed and in good condition. Constructo has good quality.

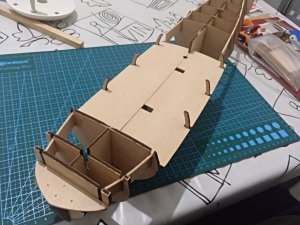
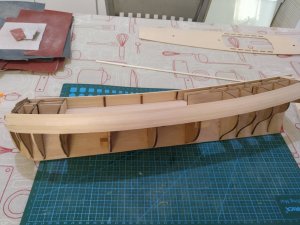
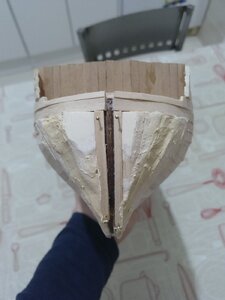
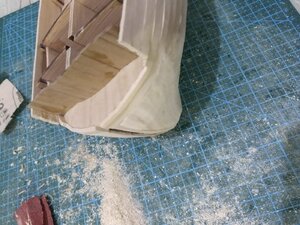
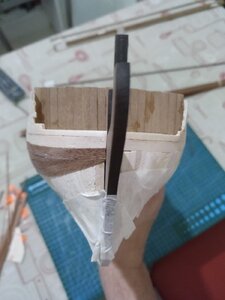
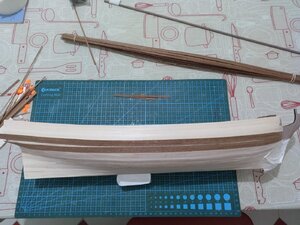
Here I started with the false keel.


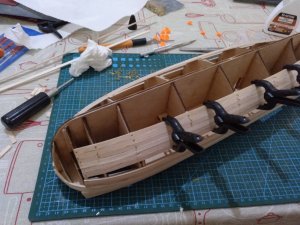
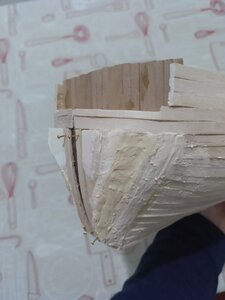
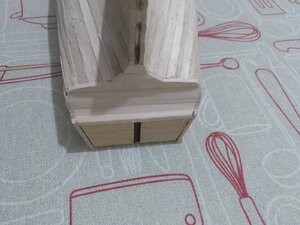
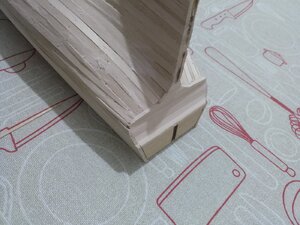
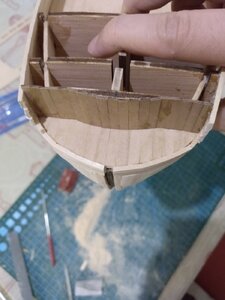
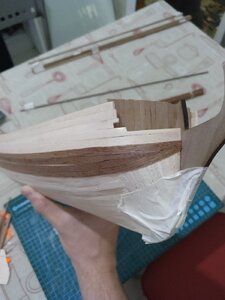
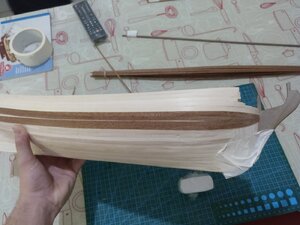
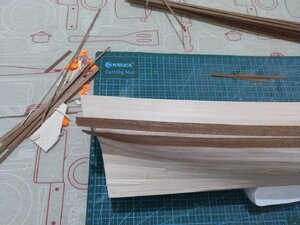
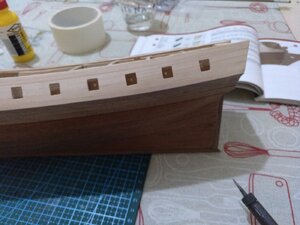
Here I put some wood strips to hold the cannons on each side of the ship. I really liked this ship because of the gun line on each side.


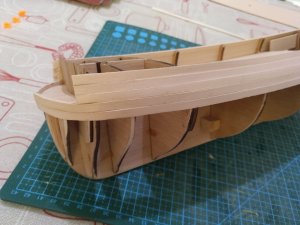
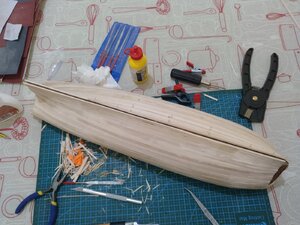
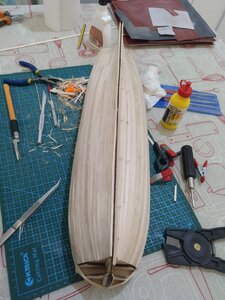
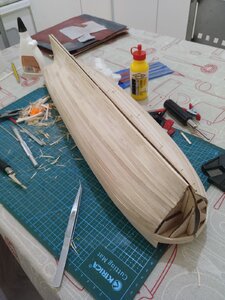
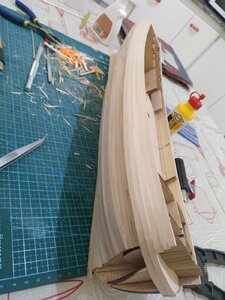
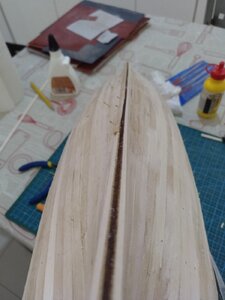
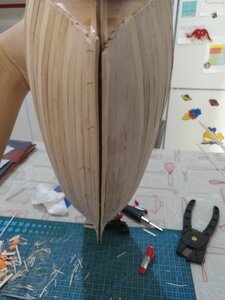
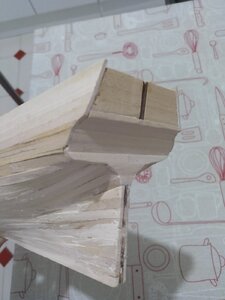
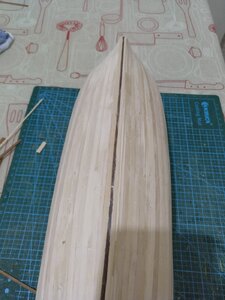
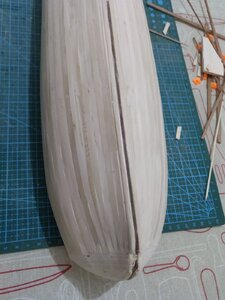
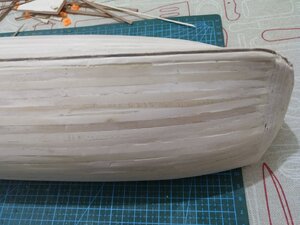
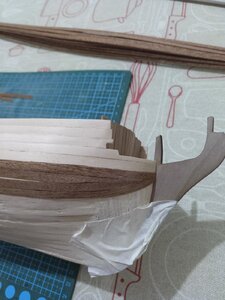
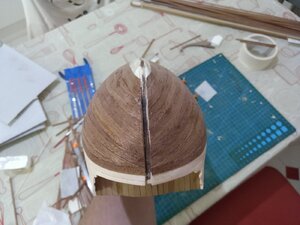
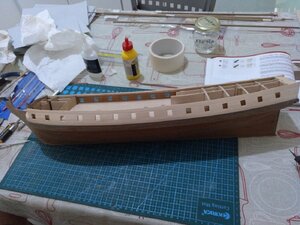
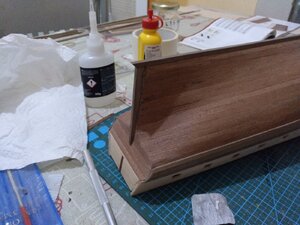
Then I glued the two lower decks. The prow deck and the waist deck. After this, I sanded the pins and started to plank both decks.


I won't be writing many of the parts' names and forgive me if I make any mistake as English is not my first language and I don't even know some of the parts' names in Spanish!
I am open to all the advice you can give me so come on!!
I hope you like it!!!
First some photos of the contents of the box.
I had some issues with the "black" thread because as you can clearly see it is GREEN! I emailed Constructo but they didn't help me. They said sometimes this happens when the black colour is "lighter" than normal. I have been searching to buy a new thread and I think I have found some. As this is going to be used towards the end, at the moment it doesn't really bother me. Apart from this, everything is on the box well packed and in good condition. Constructo has good quality.
Here I started with the false keel.
Here I put some wood strips to hold the cannons on each side of the ship. I really liked this ship because of the gun line on each side.
Then I glued the two lower decks. The prow deck and the waist deck. After this, I sanded the pins and started to plank both decks.