• Ships of Scale has incorportated an extra level of security when you log In. Please follow on-screen prompts to acknowledge that you are not a robot via a "Check Box" or a "Pictorial Check Box Puzzle". This is needed due to higher level of AI Activity Security.
  • SUBSCRIBE TO SHIPS IN SCALE TODAY!

    The beloved Ships in Scale Magazine is back and charting a new course for 2026!
    Discover new skills, new techniques, and new inspirations in every issue.

    NOTE THAT OUR NEXT ISSUE WILL BE July/August 2026
  • Win a Free Custom Engraved Brass Coin!!!
    As a way to introduce our brass coins to the community, we will raffle off a free coin during the month of August. Follow link ABOVE for instructions for entering.

La Venus

Good morning, on the French forum, user Péji, in his La Renommee build log, shows what you're asking about. I hope it helps.
https://5500.forumactif.org/t2309-la-renommee-de-peji-au-1-48

Miguel.
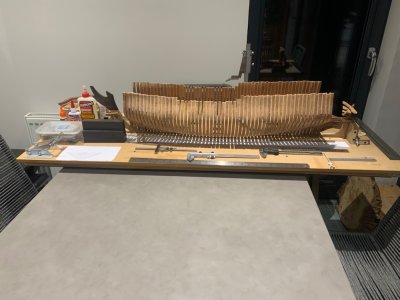
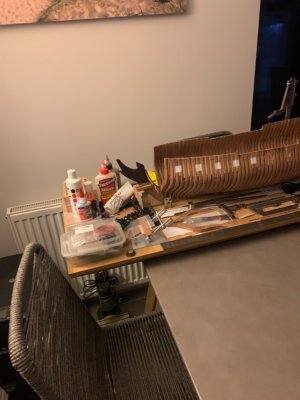
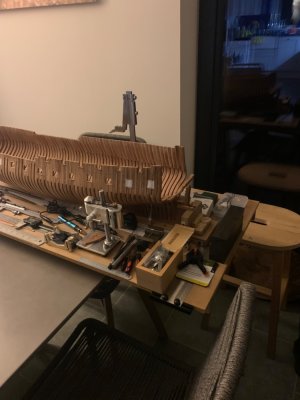
Yes, I believe this post was where I saw the original jig design. There are “angle plates” which you can purchase but they are ludicrously expensive! I made mine for about £12 from an online stockists of aluminium section and strip plus a few M5 nuts bolts, washers and screws. Here are some pics.

IMG_4858.jpeg

IMG_4856.jpeg

IMG_4859.jpeg
 
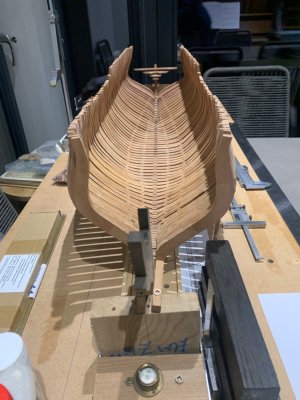
Taken a break from milling the bow timbers. I returned to the last few frames at the bow and stern. I have filed and used some micro chisels to cut the notches to accept the keelson and sit square on the keel. Not the easiest job but I think I’m getting there slowly.

IMG_4880.jpeg

IMG_4879.jpeg

IMG_4878.jpeg

IMG_4883.jpeg

IMG_4881.jpeg
 
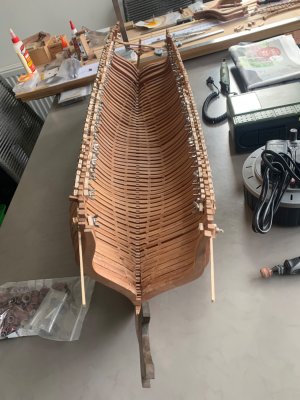
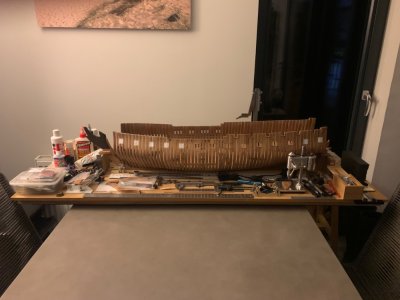
I’ve removed the elastic bands from the building jig and clamped a temporary ribband to see how the frames are aligned for sanding.

Looking at the stern I see that frames 30 - 33 do not sit snuggly on the keelson. These 4 frames are only dry fitted at the moment. To ensure it all fits nicely, rather than remake each one, I intend to mill a piece for each which will slide in place over the top notch and mate with the keelson. Hope this all makes sense!

Frame 28 at the bow also looks a bit suspect in terms of size. But I’ll tackle this later.

Cheers

IMG_4940.jpeg

IMG_4943.jpeg

IMG_4942.jpeg
 
Frame 28 at the bow also looks a bit suspect in terms of size. But I’ll tackle this later.
Hello Jon, before you remake 28 forward you might want to also look at 29 (too high?) - or even take another swing at the hawse/bow timbers as everything relates (that is, I'm not sure you can condemn 28 without seeing how the rest of the bow shapes up).
 
Yep, you’re absolutely right. Once I finish the port and starboard hawse timbers I will do a trial fit-up on Fr 29 to see how it all looks.

I have already had to re-make half a dozen frames (which take me about a day each to do) so I’m not in a hurry to re-make anymore. I’ll concentrate for now on making the stern frames (30-33) fit nice and snuggly with the keel and keelson.
Cheers
Jon
To make the stern frames fit more snuggly with the keelson I have milled out the notches at the top of several frames and placed a blank piece in their place. I then carefully re-cut the notches and dry fitting shows that the keelson is now a much better fit.

I have order some more pear wood from the excellent Vahur at hobbymill, who has supplied all of the wood for this build. The next stage will be to cut this to make filling pieces to fit between each frame as far down the hull as the main deck.

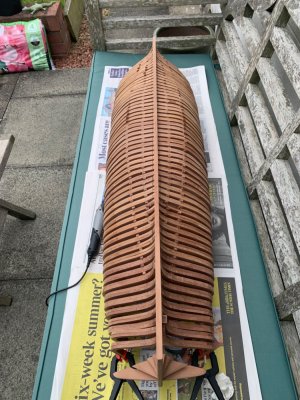
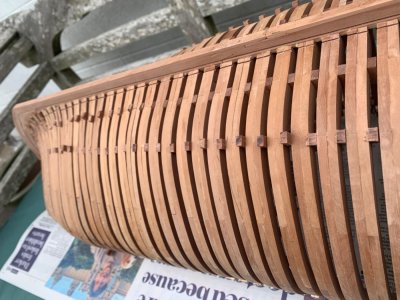
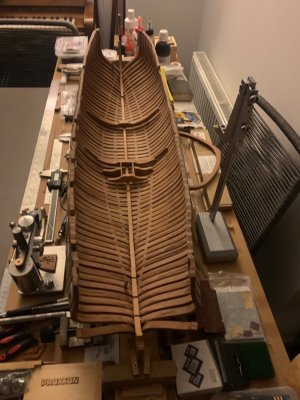
Over the last couple of days I have made quite a lot of simple clamps and used these to attach a temporary ribband to see how accurately the hull looks. Actually, for a first attempt at arsenal modelling, I’m quite pleased!

IMG_4939.jpeg

IMG_4949.jpeg

IMG_4951.jpeg

IMG_4950.jpeg
 
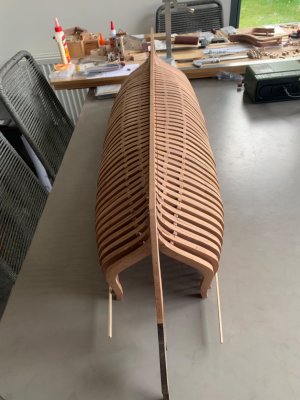
I have completed fitting chocks between the half floors and full floor intersections with their respective futtock joints. These are not shown on the Ancre plans but my research indicates that on many vessels, once grooved they acted as drainage channels. They also appear to provide longitudinal strength which is especially useful as I have removed the hull assembly and started to sand the the bottom of the hull. Hopefully my next order of Swiss pear from hobbymill will arrive in the coming days and I will be able to add some frame spacing pieces at the top of the frames to stabilise this area in preparation for sanding here.IMG_4972.jpegIMG_4973.jpegIMG_4975.jpegIMG_4976.jpeg

Some pictures of latest progress……
 
Fairing continues but I’m struggling to figure out how to make the pieces needed for the bow structure! Ideas/techniques?
Jon,
I did my first cant bow frames about a year ago. Page 7 of my build log is linked below and gives a detailed description of how I did them (and also the stern build).

Salamandre Blog

Both bow and stern took several tries. I also invested in a milling machine which IMHO made doing cant frames feasibile. Someone said it could be done with a thickness sander, but it would probably take me 2-3 times longer.

Good luck as you work through these tricky sections.
I have successfully built two sets of these, for La Renomeee and Le Gros Ventre - my mill was my best friend. This assembly is all about angles both for the face of the piece and the feet where it attaches. Look up any Ancre build on this site or go to the French one and have a look at some build logs. There will illustrate the process better than I can explain it. Persistence pays off here as I build my assemblies multiple times before getting them correct
 
Back
Top