Le Coureur 1776 CAF Model by OT1138

Very good work on the stern
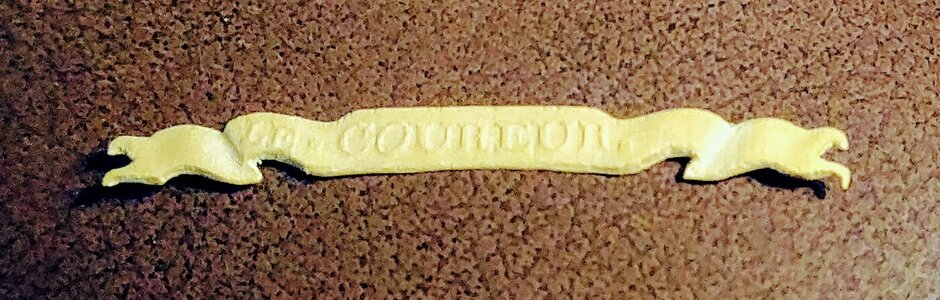
When I checked these rails parts on the part I had the feeling, that the left and right element is fitting very well the form.
(green arrows)
Only the horizontal element is too long - I guess CAF had the idea to be prepared for some modelers adjustments.
So My idea was, only to remove in the center to adjust the totalk length - so cut in two parts, adjust the length in the midlle and move together
(red area to be removed)

1616971061887.png

IMG-5916.jpg
 
Great suggestion, thank you! This does work quite nicely as you can see below.

Next question... How do we bend the top rail to fit the contour of the stern?
 

Attachments

  • IMG_20210329_113552.jpg
    IMG_20210329_113552.jpg
    128.8 KB · Views: 9
Side pieces attached. Quite a lot of prep work to get to this point.

I'm not sure what's going on with the second photo below... it looks two toned but it's not in actuality.

IMG_20210329_181807.jpg

IMG_20210329_185241.jpg
 
Last edited by a moderator:
I'm working on the windows while wrapping up the outer stern rails. Dealing with such fine cuts at this scale is new to me. Luckily, CAF shipped me an extra package of windows so I was able to try a little experiment that I think may benefit others.

The windows in the second package were not quite cut the same as the first and the square backing in the frames were very thin and fragile. So I cut them out and instead of trying to edge a perfectly straight black line over the jagged edges left by the CNC machine, I painted a thin piece of wood black and glued it to the back of the frame.

On the left, you can see the original window with its included frame backings and on the right, my modified ones consisting of two pieces. The lines are considerably straighter on that one.

I would like to point out that these are highly magnified. The little wood fibers are barely visible with the naked eye but that said, it would be nice if these were cleaned up somehow. I haven't figured out how to do this yet, other than by

1617136544444.png

I mounted this window. I still have a bit of paint touch up to do on the rails but it's coming together.

1617137000536.png
 
This photo shows how rough these are when they come out of the package. It may not matter so much for the windows but the seal and placard with the ship's name are definitely going to need cleaning up. Suggestions welcome.

1617137874220.png
 
I would also try with a fiber glass pen as Karl Ingwer suggest (also good to clean residual solder from PE parts). Maybe in combination with other tools like for instance steel wool and a 1 mm 1200 grit Spherical Diamond Grinding Head https://www.ebay.com/itm/Spherical-...160889?hash=item2d1a250079:g:5-sAAOSwX59fiOwd
and maybe also some Radial Bristle Disc in up to 2500 grit https://www.ebay.com/itm/50Pcs-1-In...378937&hash=item289f1bfa70:g:Z4sAAOSwdP9ffWy6
I would also think it could be an idea to use some sanding sealer, if not already from the start then at least before the last part of the cleaning
I'll underline though that I do not have any experience with this.
 
Last edited:
I used a radial bristle disc for cleaning up the frames. It was effective but it left some fairly deep gouges that I still to clean up. I wouldn't recommend it for these small parts.
 
Back
Top