This looks very promising Adi!
-

Win a Free Custom Engraved Brass Coin!!!
As a way to introduce our brass coins to the community, we will raffle off a free coin during the month of August. Follow link ABOVE for instructions for entering.
-

PRE-ORDER SHIPS IN SCALE TODAY!
The beloved Ships in Scale Magazine is back and charting a new course for 2026!
Discover new skills, new techniques, and new inspirations in every issue.
NOTE THAT OUR FIRST ISSUE WILL BE JAN/FEB 2026
- Home
- Forums
- Ships of Scale Group Builds and Projects
- Le Coureur 1776 1:48 PoF Group Build
- Le Coureur 1776 1:48 Group Build Logs
You are using an out of date browser. It may not display this or other websites correctly.
You should upgrade or use an alternative browser.
You should upgrade or use an alternative browser.
Le Coureur 1776, model 1:48 by Adi
- Thread starter pianoforte
- Start date
- Watchers 52
Great start on your build! Why don’t you need to alternate laying planks on the inside like needs to be done when planking the hull on the outside (e.g. one side then the opposite side)?And now for the interior planking 1Q and 1S. If I hadn't seen the work of my predecessors, I would have puzzled for a long time what the strange planks of 1Q were about. Poul started from the top and achieved quite a good result. Since I already used 1O from the bottom, I had to continue from the bottom like Uwe and Chello also. it won't work without stealers, and if it has to be that way, I'll start right at the bottom. Maybe with an additional plank the numbers of stealers can be kept low.
To narrow down the problem, I started planking the bottom and top at the same time. It worked, a 7th plank was added. The white dot.
View attachment 217844View attachment 217845
The installation of the parts 1S was than but a little easier.
View attachment 217846
I think this is due to the POF design, so that there is hardly any warping of the fuselage. In addition, it was planned from the outset to leave one side of the hull at least partially open in order to have a view of the interior and the frames.Great start on your build! Why don’t you need to alternate laying planks on the inside like needs to be done when planking the hull on the outside (e.g. one side then the opposite side)?
Bravo and Congratulations for the first sail on the model - looking good my friend
Excellent work. Very nice rigging and a great first sail. You are on the home stretch, so to speak.
Fantastic Adi! This is excellent work!
Adi - nice presentation on your sail making and very informative on the procedure. The stitching was a real
lesson regarding proper sewing techniques as applied to a 1:48 model. Also, does this apply to all ship model
builds in 1:48 scale or only to the model you are building? Nice work - enjoyed! Best, wayne
lesson regarding proper sewing techniques as applied to a 1:48 model. Also, does this apply to all ship model
builds in 1:48 scale or only to the model you are building? Nice work - enjoyed! Best, wayne
Hi Wayne, for scale reasons, this should apply to all 1:48 scale models and for smaller ones of course.Adi - nice presentation on your sail making and very informative on the procedure. The stitching was a real
lesson regarding proper sewing techniques as applied to a 1:48 model. Also, does this apply to all ship model
builds in 1:48 scale or only to the model you are building? Nice work - enjoyed! Best, wayne
- Joined
- Dec 16, 2016
- Messages
- 1,209
- Points
- 493

Hi Adi, I think I’ll need to show that to my wife, it’s beyond me, excellently made. KenMany thanks for all likes and comments, I was very pleased.
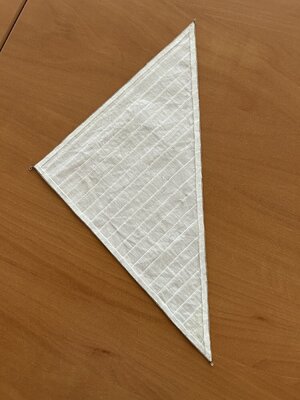
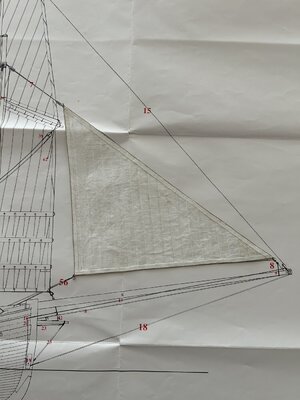
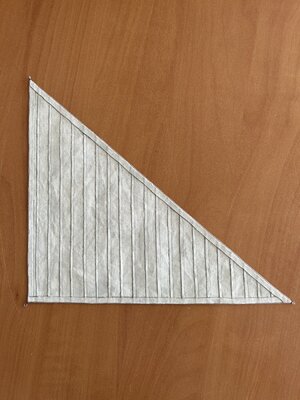
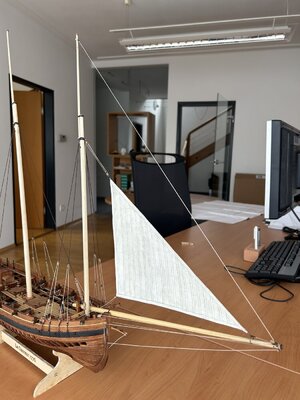
The finished sail was slightly refinished in color and the contours were emphasized with a pencil.
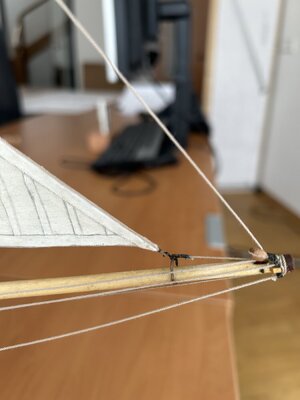
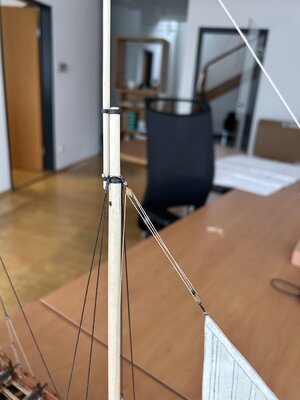
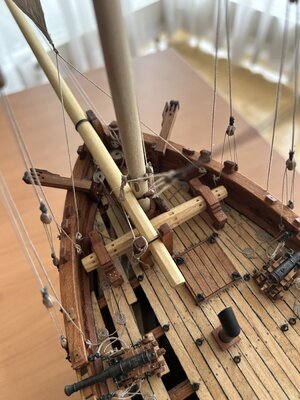
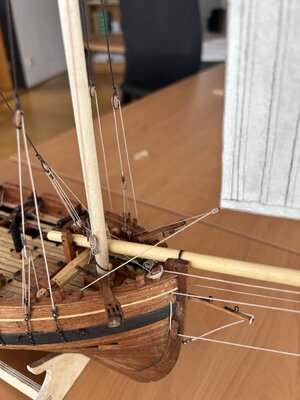
Now it was time to hang up the first piece of laundry, the jib sail, properly.
View attachment 392105
View attachment 392106
View attachment 392107
View attachment 392108
View attachment 392109
View attachment 392110
View attachment 392111
View attachment 392112
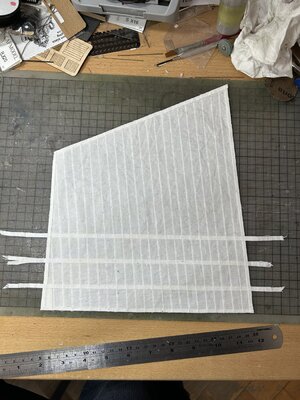
Cutting the fabric panels and gluing them together witout warping.Super job - what was the hardest part you found in creating the sails?
- Joined
- Jul 11, 2023
- Messages
- 404
- Points
- 238

This is a fantastic set of sails. I love the approach and the results are very nice.
Question: any particular reason for the PONAL water resistant Glue (compare to regular PVA)? are you using 50% dilution? When gluing at overlap, are you using diluted glue too?
Will make my sails using your approach... Liking it a lot!
Question: any particular reason for the PONAL water resistant Glue (compare to regular PVA)? are you using 50% dilution? When gluing at overlap, are you using diluted glue too?
Will make my sails using your approach... Liking it a lot!
PONAL water resistant glue can be diluted with water during processing, I used a 20 -30% dilution. After drying out, moisture can no longer harm him.This is a fantastic set of sails. I love the approach and the results are very nice.
Question: any particular reason for the PONAL water resistant Glue (compare to regular PVA)? are you using 50% dilution? When gluing at overlap, are you using diluted glue too?
Will make my sails using your approach... Liking it a lot!
When gluing the overlaps, I use the undiluted glue.
Last edited:


