Le François

bonjour à tous
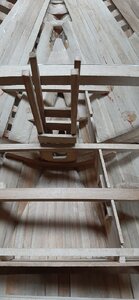
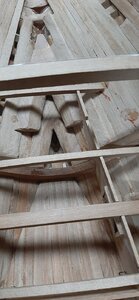
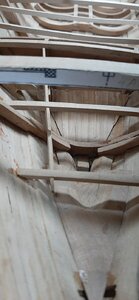
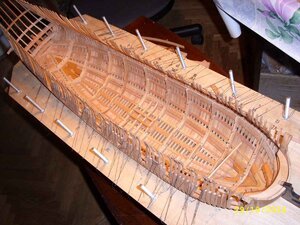
nouvelle avancée du François, voici quelques photos

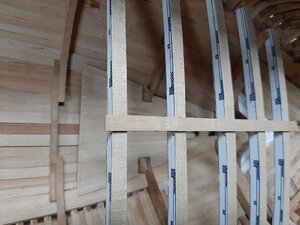
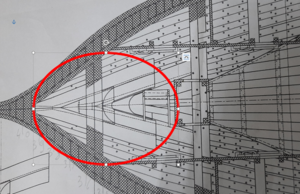
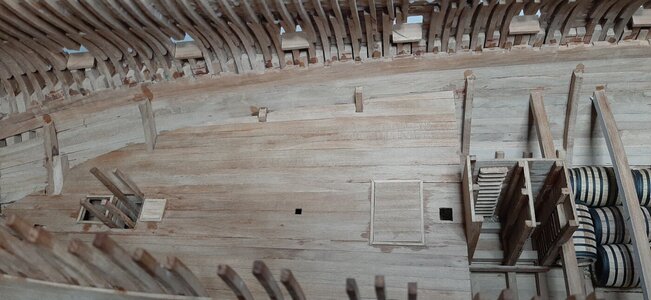
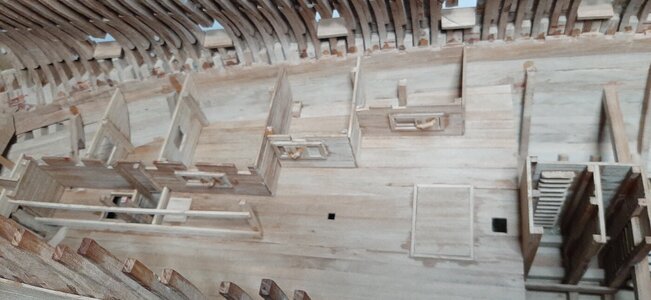
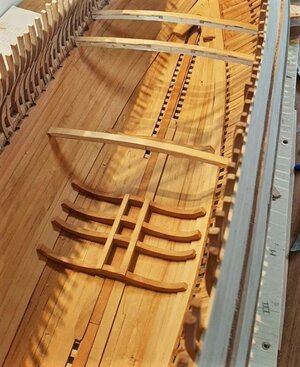
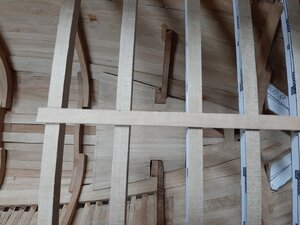
plancher de la fosse aux cables et quelques baux de l'avant, ceux-ci sont encore à l'état brut


Good morning all
new breakthrough of François, here are some pictures

floor of the cable pit and some leases from the front, these are still in the rough
1591911119666.jpeg

1591911185835.jpeg

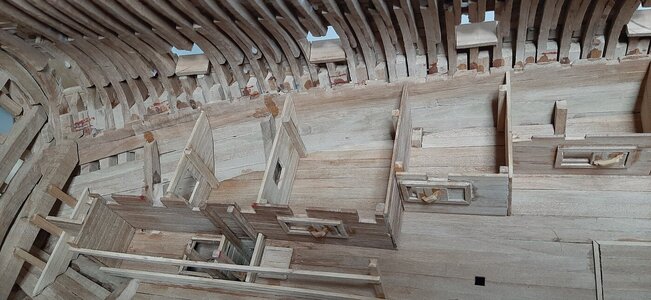
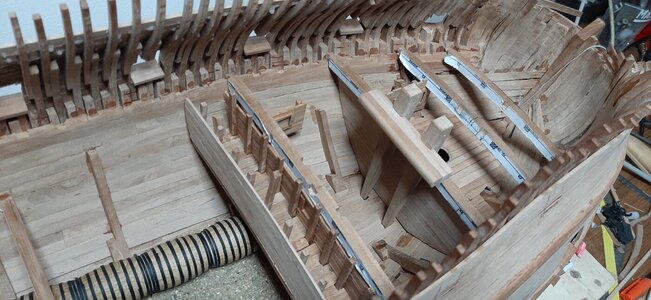
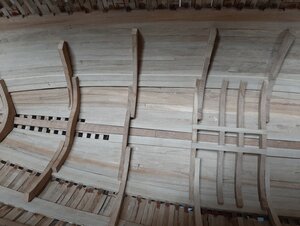
varangues et genoux des porques les finitions ne sont pas encore faites,

veranda and knees of the porches the finishes are not yet done,
1591911412663.jpeg

A tres bientôt pour la suite

See you soon for the rest
 
Last edited by a moderator:
Here is some progress and some problems on Le François.
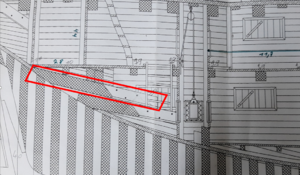
there appears to be a problem with the plans for the rear powder compartment. I think that I am not the only one to have this problem because I do not see any photos of this place on the different websites.


1598525546431.png

It's not possible that this piece was in front below of powder compartment


1598526402673.png

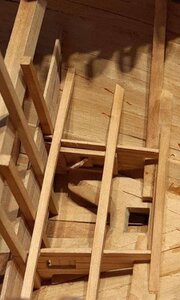
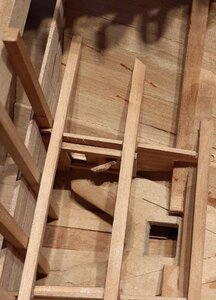
in my model

poudre ar 1.jpg

poudre ar2.jpg

poudre ar 3.jpg

I understand that the importance of the problem is minimal since when the deck is placed we will no longer see the details.
If somebody have found a solution or better understood the plans than me, I m ready to listen the explanations.

see you soon for the next steps
 
beau travail Michel
J'ai vu que tu avais mis en place les fourcats couchés à l'arrière, le soucis du plan se trouve à ce niveau. Quand tu feras ta soute aux poudres tu ne sais pas faire les 2 portes à coulisse, car quand tu regardes bien le plan, le fourcat se trouve devant la porte alors qu'il doit être sur le bordé. ou alors, il y a quelque chose que je n'ai pas compris...:)
 
Ce n'est pas mon modele, c'est sur un forum russe dont je ne me rappele plus le nom. Pour ma part, j'ai cessé ce modèle ( trop d'approximations dans les plans...)
 
Bonjour Michel,

un grand merci pour le lien,
Wahouw quel beau travail, il est vraiment fort le gars, quelle précision dans ses assemblages et dans son travail en général.
Je suis juste un peu sceptique sur le modèle des canons, mais c'est vraiment superbe.
quand je vois cela, je me dis que je dois encore faire des progrès…. :)
 
hello all
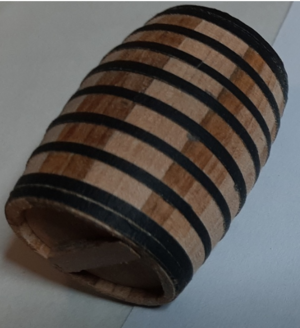
in continuation of Le François I would like open few sections on one side of the ship to show inside.
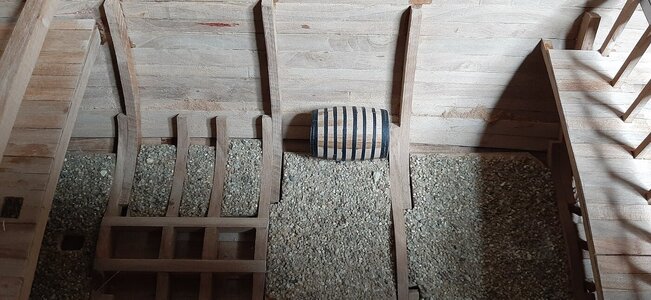
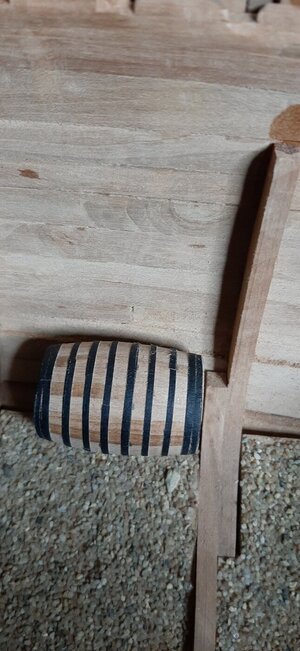
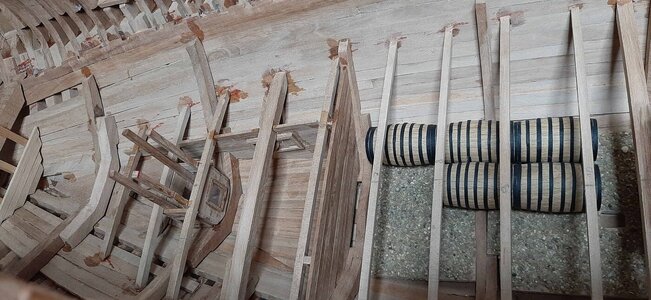
that's why i make few barrel to put on bottom the hold.
here is few pictures of the method I use. there is few other, but I found this one relatively easy.
I have used for the dimension the reference of the vol 2 of 74 gun ship from Jean Boudriot. It's not the same period, but a barrel is a barrel.

I show for the piece of 4
the diameter max is 1.096m the perimeter is 1.096*3.14=3.44. Jean Boudriot write a stave make 10cm. 34 staves is needed for one barrel.
in reality, one of the stave is a little more wide for ( la bonde in french) may be the stopper hole in english.
you need just sanded a little 33 times and the result is perfect

here is the result for the 1/36 scale.

1607382501601.png

the second step is to find the angle of cut. 360°/34=10.58°
it's not easy to find exactly the angle on the saw, but with a half degree more or minus it's ok with my method.
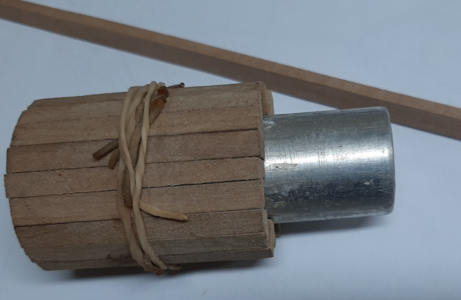
the folowing step is to find or make a cylinder to put the 34 staves to glued them


1607382924648.png
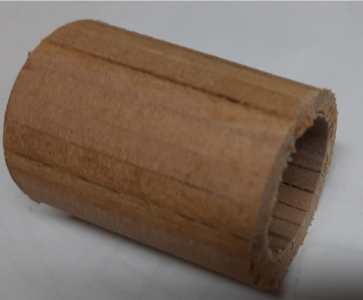
here is the result when the glue is dry and the barrel removed from cylinder.
they stay few spaces between staves inside due to error of the angle of cut, but they don't see them

1607383161821.png

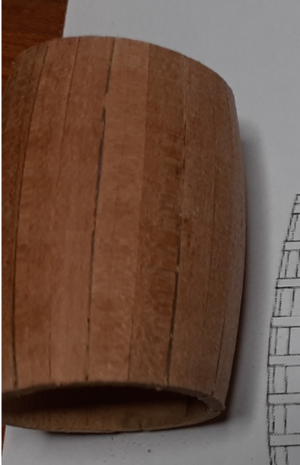
next step is sanded the barrel for arrive at the good dimensions. here I use a lathe with sandpaper
1607383390809.png

next step is put iron band around the barrel and top and bottom

1607383618704.png
inside the ship
1607385107409.jpeg

1607385146102.jpeg
voilà I hope this post can help you if need be
see you soon for new pictures of Le François
 
Very good explanation - and the barrels are looking very good.
Are the "iron bands" made out of paper, or self adhesive band (like from Tamiya) ?
 
Very good explanation - and the barrels are looking very good.
Are the "iron bands" made out of paper, or self adhesive band (like from Tamiya) ?
hello Uwek thank's for compliment

for the band I have tested different method. one with adhesive coper band the same used in house of doll for light. the result was not to bad but I was a little afraid about the result after a long time. after reading some books, I have tested with self adhesive paper band, and after i put a layer of matt varnish. I have make the same for the Renommée, and after more 15 years, nothing is moved.
I have used the same method for Le François. But in this tuto, there isn't yet varnish
 
Voici quelques photo du François, je n'ai malheureusement pas pensé à faire un reportage complet au début de la construction. je vais essayer de faire cela maintenant, et faire des photos de meilleures qualités.

le chantier avec sa quille (notez un relèvement à l'avant et à l'arrière)

google:
Here are some photos of the François, I unfortunately did not think of doing a full report at the start of the construction. I will try to do this now, and take better quality photos.

the site with its keel (note a front and rear bearing)

quelques pièces de charpente
some pieces of frame

quelques varangues
some floor timbers

suite au prochain post, ici c'est pour un essais
following the next post, here it is for a test
Hallo @thebodya
we wish you all the BEST and a HAPPY BIRTHDAY
Birthday-Cake

How is your work going on the Le François ? - It is just a beautiful ship - hope to see some progress asap
 
hello all
As I see, some people want to see few pictures of le François. I have make that. I wanted to do some finishing before sending pictures, but it will be for later.
all is brut, not really finished. need to be sanded, to place all the nails, some accessories, supports...... and of course on pictures the details are very big and can see all the bad thing....:) All will be better in futuroptimized-24pg.jpg20210202_144412.jpg20210202_144526.jpg20210202_144452.jpg20210202_144710.jpg20210202_145905.jpg


The tape indicate the different parts will stay in place. I thik I'll cut a part of the side for showing the hold and the powder magazine. I must thinking about that. It's not yet definitively sure.
Voila, It is all for the moment the rest for the next episode.
 
Very good work and progress. We can easily imagine, how it will look like after your final finish and details.

I know, that this is sometimes a hard decision, where to cut such openings - which frames will stay?, which have to be cut away?, what will be visible? is the internal planking correct?
I see, that you have planned to make openings already from the beginning, because you already reduced the inner planking from the beginning.
paraclosecarlingue-ConvertImage.jpg

I am looking forward to see the view through the "windows"....
 
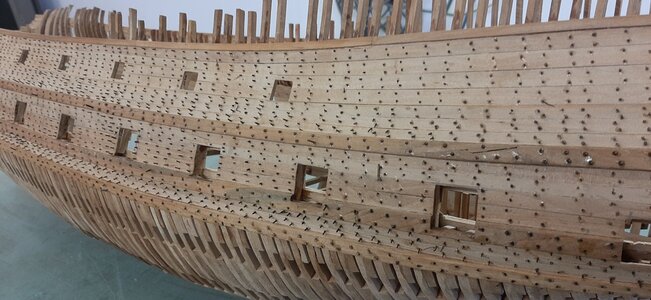
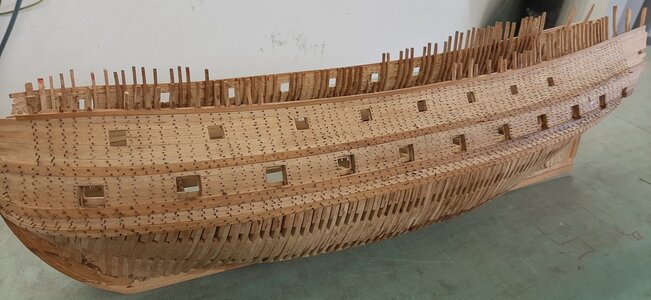
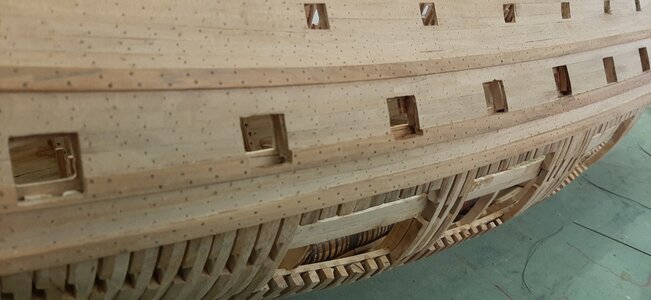
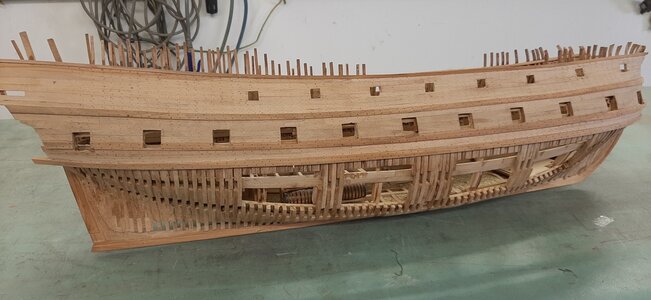
hello all, here is a little progress whith Le françois.
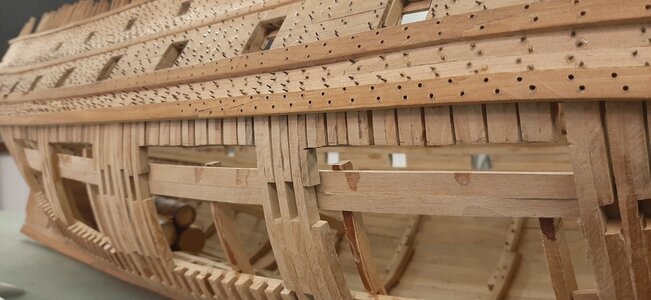
I decided to open the starboard side
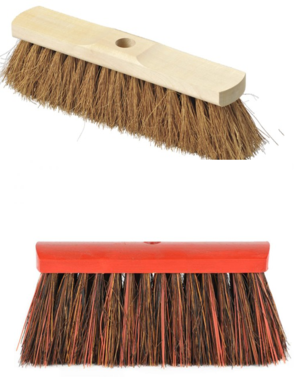
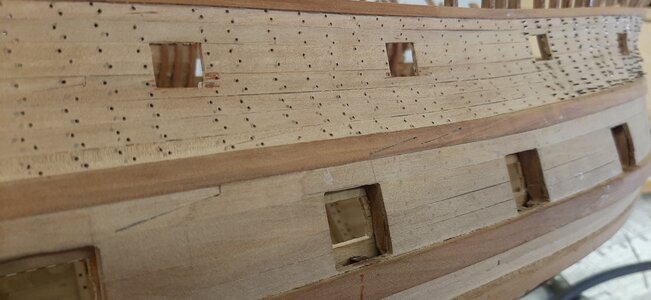
I drilled a few thousand holes to represent the nails. they are made in coconut hairbrush. there is different sizes and different colors.
here is some pictures.

1631985867140.png
20210708_144537-ConvertImage(1).jpg

20210713_142719-ConvertImage.jpg20210811_143524-ConvertImage.jpg
20210811_143548-ConvertImage.jpg
here is the result after a visit in a barber shop.. :)

20210716_143126-ConvertImage.jpg
20210811_143655-ConvertImage.jpg


To be continued on the next episode.
 
I like the result very much !!!
Before the visit of the barber shop the hull was looking like she had a 5 days beard
She is getting a very interesting model - well done Thumbsup
 
Back
Top