Great work!
You are using an out of date browser. It may not display this or other websites correctly.
You should upgrade or use an alternative browser.
You should upgrade or use an alternative browser.
Very nice craftsmanship, I love the wood tones and contrast. 


True storyWhat a beautiful ship!!! Wow!
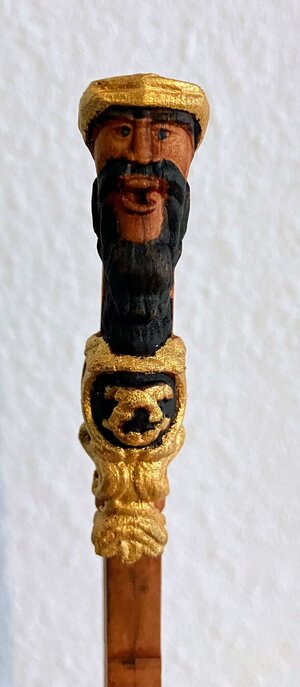
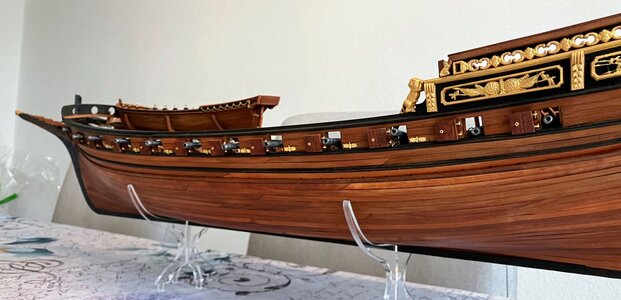
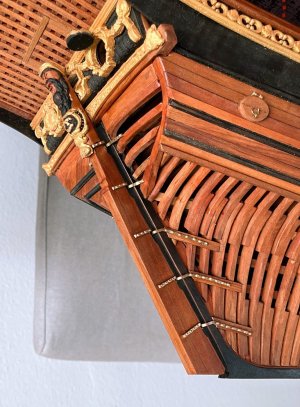
Another week of progress to share: I finished the rudder. Mounting it is always a bit tricky due to the small tolerances with all the hinges. I managed this by fixing the hinges to the rudder and afterwards to the ship. Furthermore, I have been mounting the ornaments to the side of the ship. They have small support structures, which I painted black.
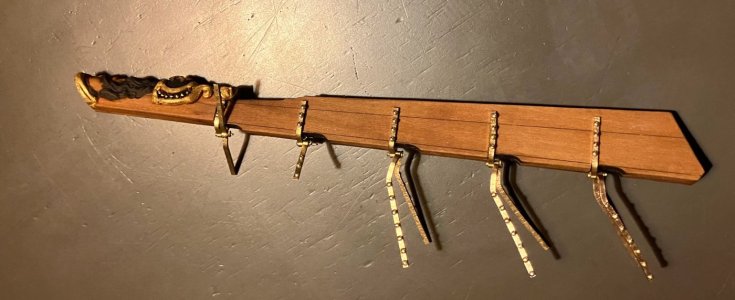
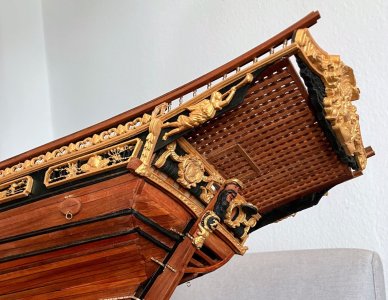
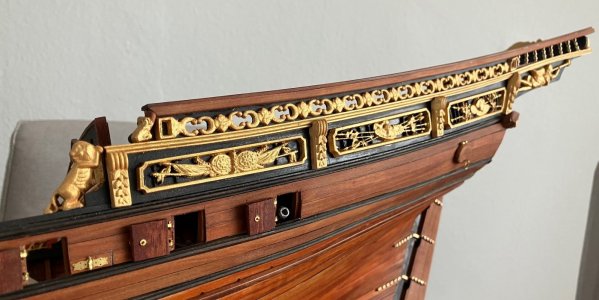
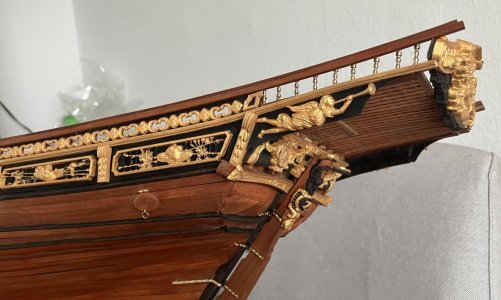
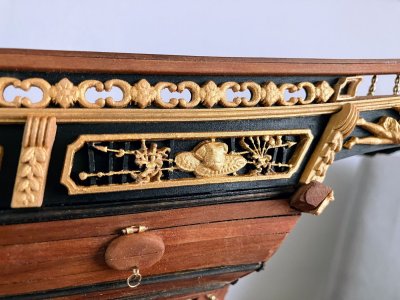


StunningAnother week of progress to share: I finished the rudder. Mounting it is always a bit tricky due to the small tolerances with all the hinges. I managed this by fixing the hinges to the rudder and afterwards to the ship. Furthermore, I have been mounting the ornaments to the side of the ship. They have small support structures, which I painted black.
View attachment 434015
View attachment 434016
View attachment 434017
View attachment 434018
View attachment 434019
View attachment 434020
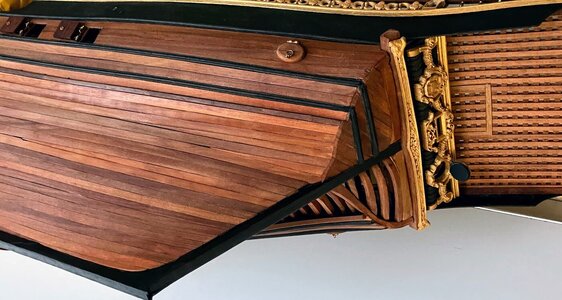
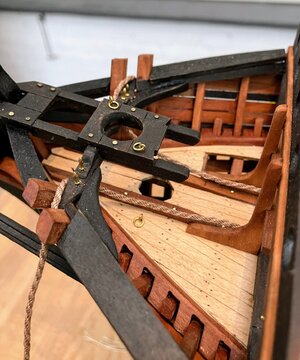
Some improvisation again his week. This time I have been struggling on the front-side of the ship. The 4 long brown beams (2 on each side) were difficult to fit on the rounded hull. Also, initially I made everything too black, but after the 5 brown cross-beams, I'm happy with the result.
Still, I need to fix/improve on the connection of the side bars to the hull (not shown on any picture). Maybe for next week...
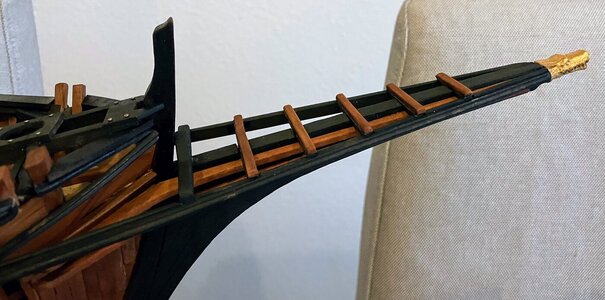
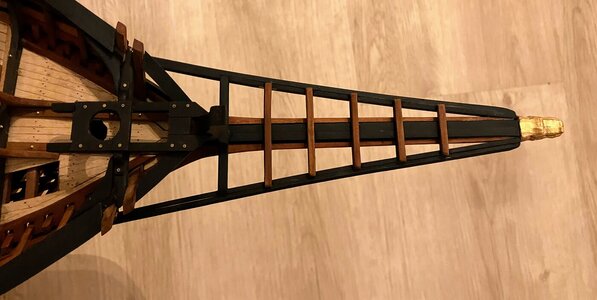
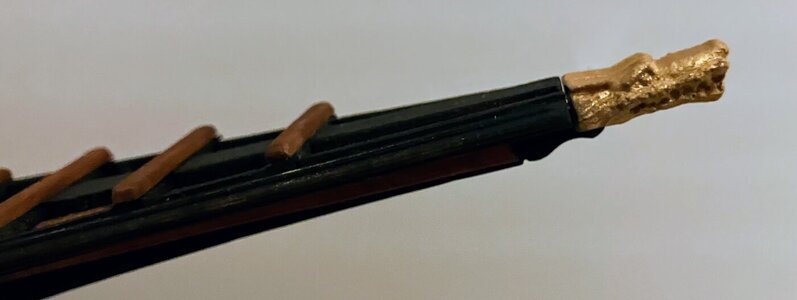
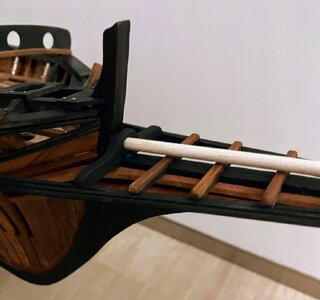
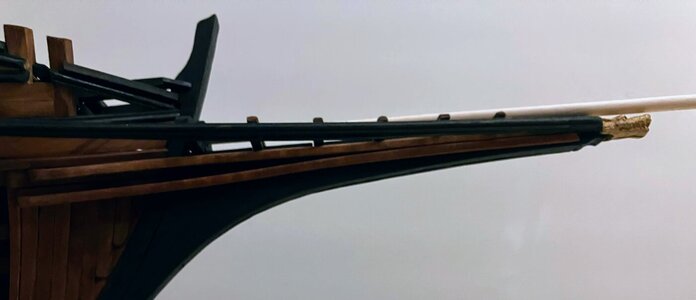
Still, I need to fix/improve on the connection of the side bars to the hull (not shown on any picture). Maybe for next week...


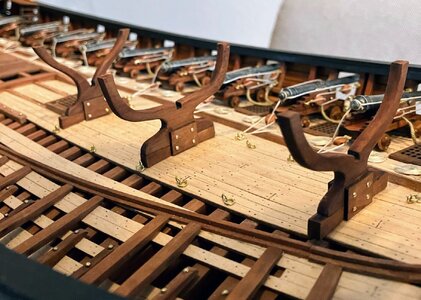
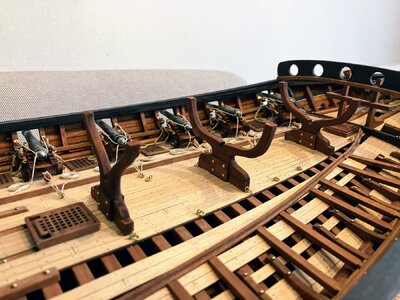
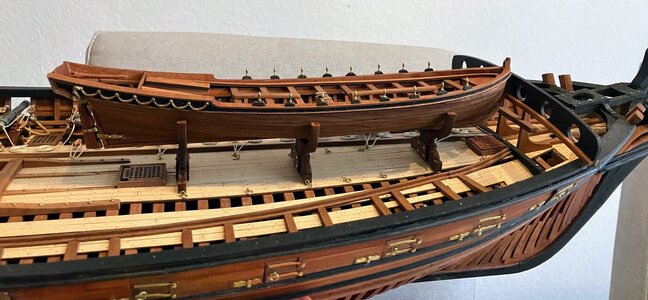
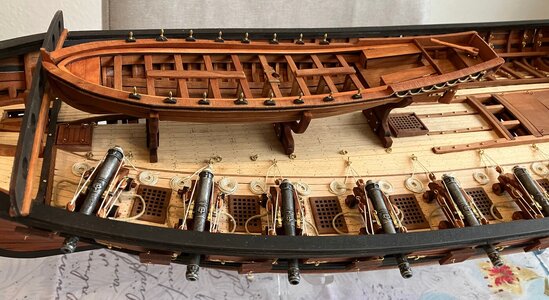
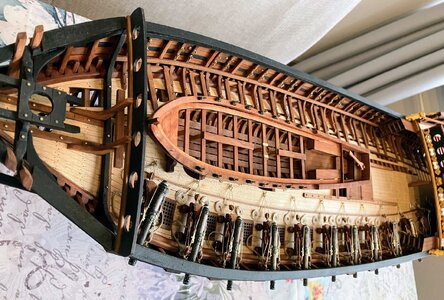
Small update this week with some better quality pictures. I have been adding the 'bridge' on the back and installed the beam to mount the bottom back sail to. Also, I added rings to the inside gun ports on the side where there will be no cannons. On the other side, I will add them together with the ropes of the cannons. So far I'm happy with the results.

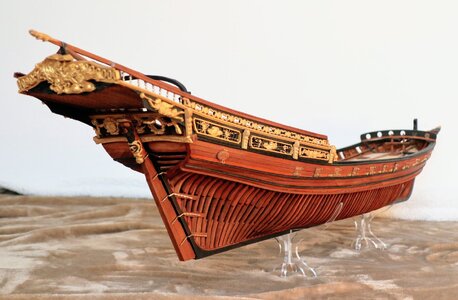


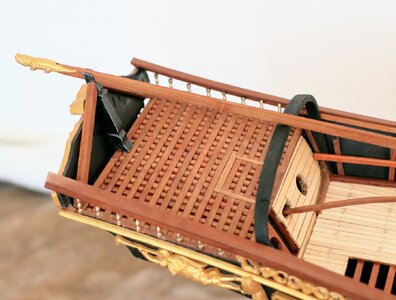
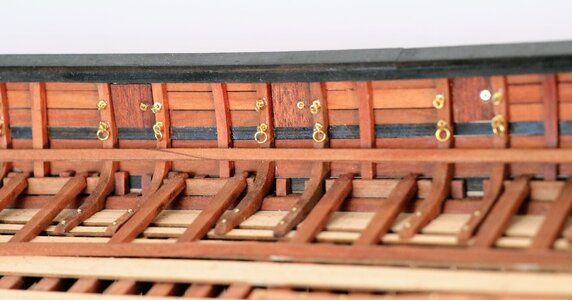


Looking fabulous. I love this ship. Cheers grantSmall update this week with some better quality pictures. I have been adding the 'bridge' on the back and installed the beam to mount the bottom back sail to. Also, I added rings to the inside gun ports on the side where there will be no cannons. On the other side, I will add them together with the ropes of the cannons. So far I'm happy with the results.
View attachment 436668
View attachment 436669
View attachment 436670
View attachment 436671
View attachment 436672
View attachment 436673
These close up photos are showing the high quality of your work
and a very good overview about the status of your project.
Looking very good - very good
and a very good overview about the status of your project.
Looking very good - very good
What a beauty she is! Great work on a gorgeous ship!
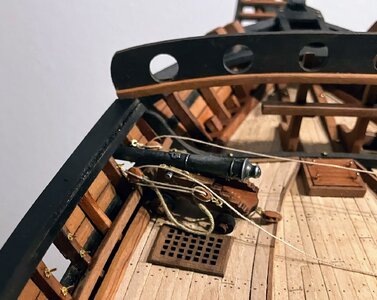
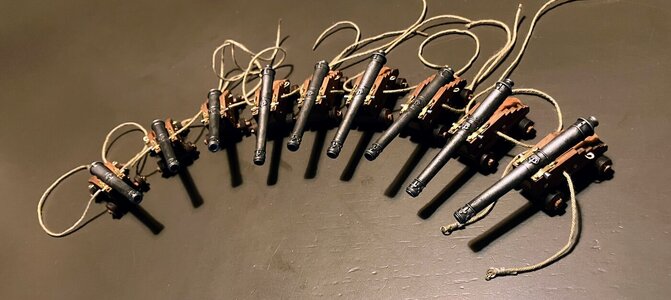
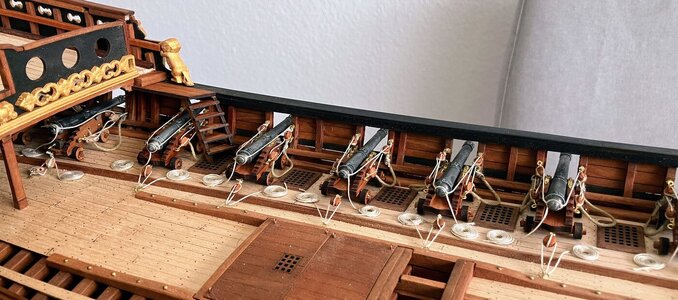
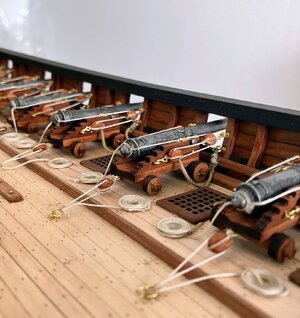
Those are nice looking guns! They came with the kit (sorry if you've already spoken about this)?
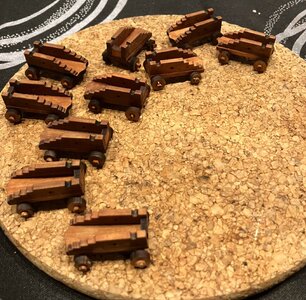
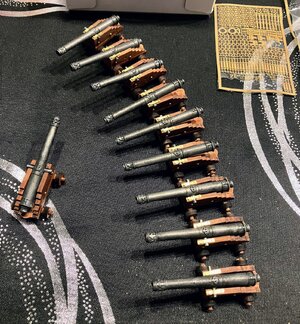
Yes, they came with the kit. There are 24 of them. However, since I will only place them on one side, I will only mount 12. The ropes are my own.Those are nice looking guns! They came with the kit (sorry if you've already spoken about this)?
You have one fine build going sir!
- Joined
- Jun 17, 2021
- Messages
- 1,635
- Points
- 488

Gorgeous, as usual!
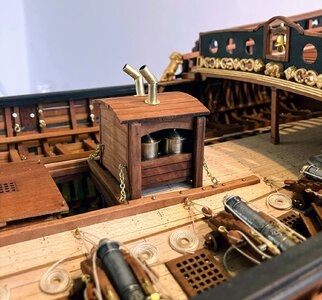
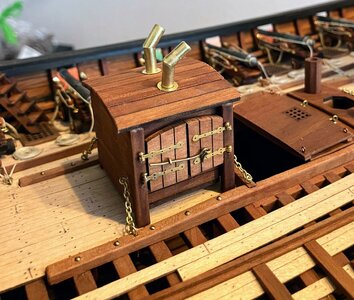
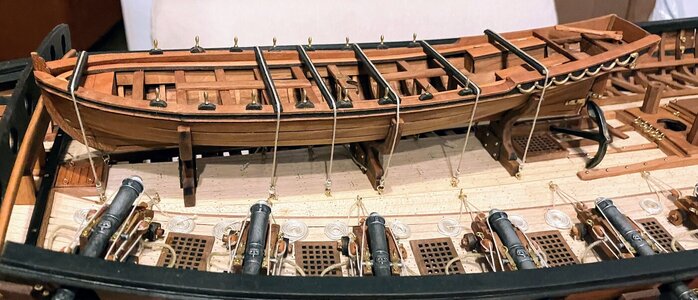
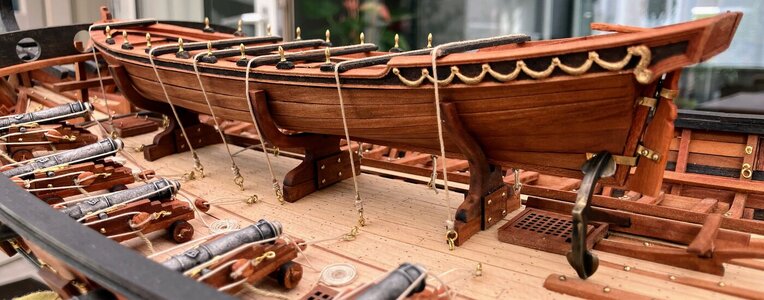
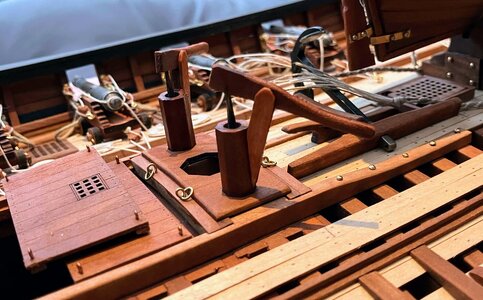
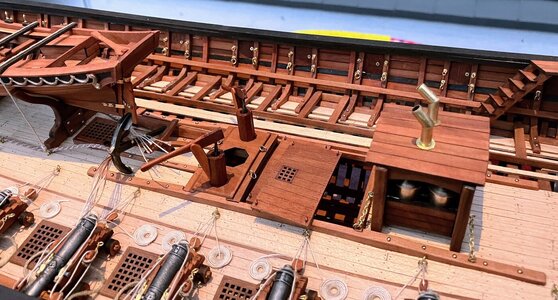
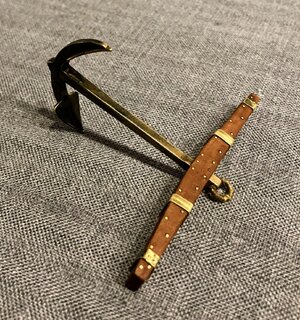
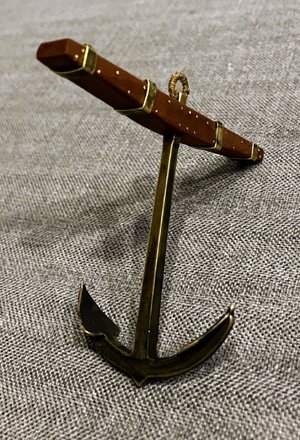
This week, I have been spending my time on a lot of small stuff. The oven/kitchen is great fun to make, but I'll probably modify the chimeneas a bit. Furthermore, I have improvised the water pumps, since only the base was provided and finished the anchors. In the meantime I'm still studying the rigging of the masts. Let's see next week 


- Joined
- Jun 17, 2021
- Messages
- 1,635
- Points
- 488

Wonderful detail beautifully executed! 

Wow!!! Brilliant.This week, I have been spending my time on a lot of small stuff. The oven/kitchen is great fun to make, but I'll probably modify the chimeneas a bit. Furthermore, I have improvised the water pumps, since only the base was provided and finished the anchors. In the meantime I'm still studying the rigging of the masts. Let's see next week
View attachment 441492
View attachment 441493
View attachment 441494
View attachment 441495
View attachment 441496
View attachment 441497
View attachment 441498
View attachment 441499
View attachment 441500


