You are using an out of date browser. It may not display this or other websites correctly.
You should upgrade or use an alternative browser.
You should upgrade or use an alternative browser.
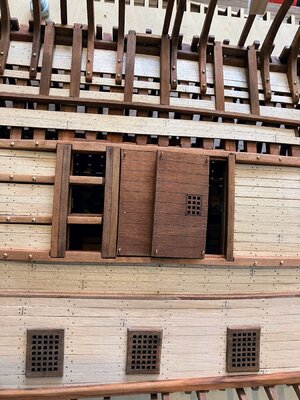
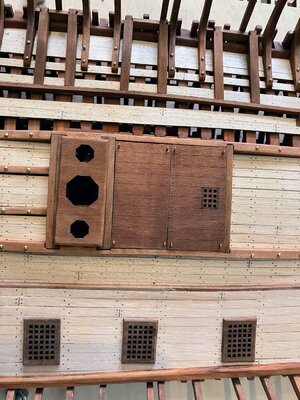
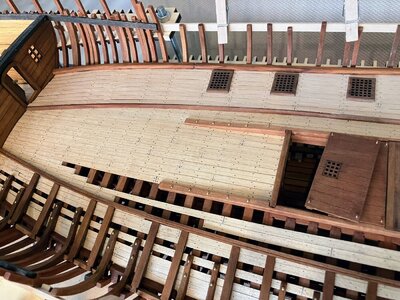
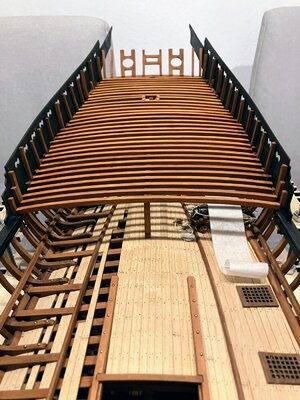
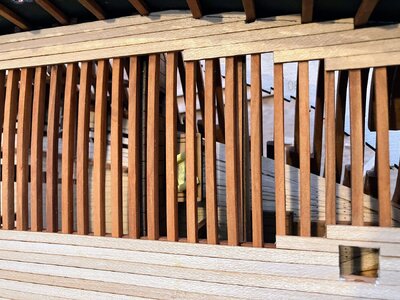
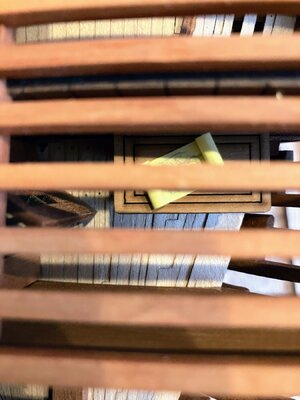
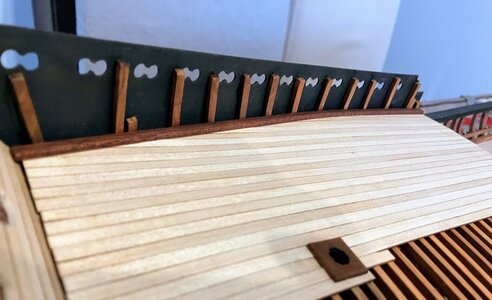
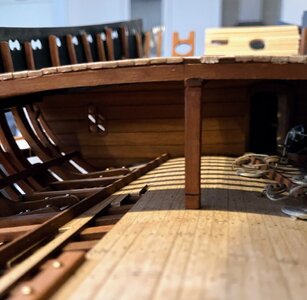
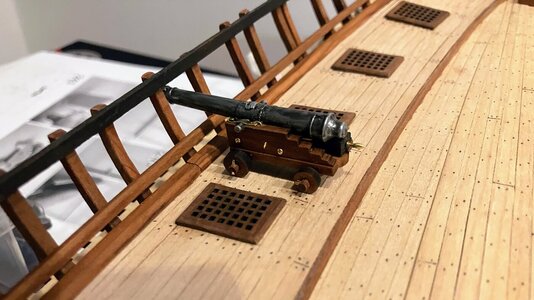
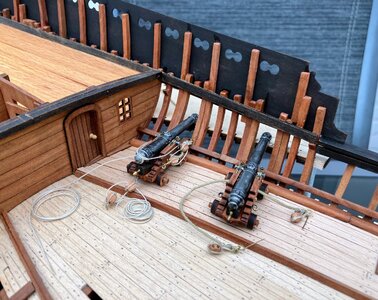
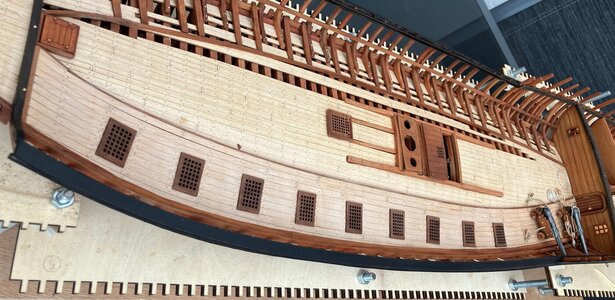
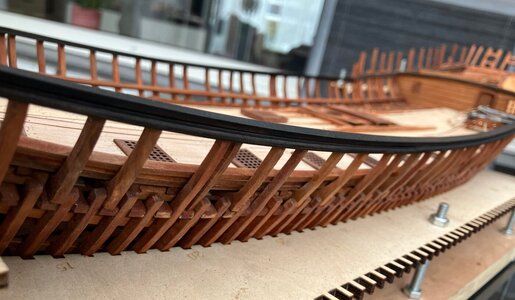
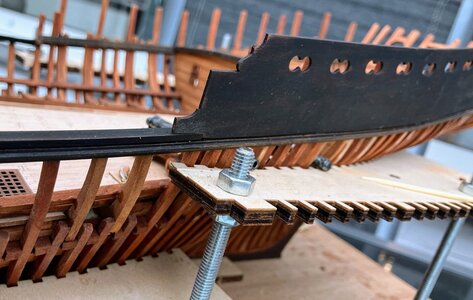
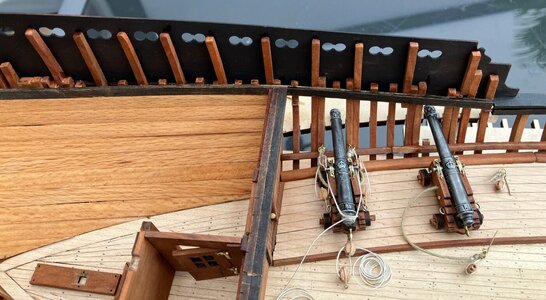
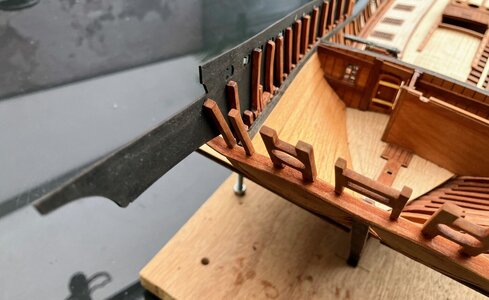
This week, I continued with the reinforcement of the bulwarks. The internal strip is at the bottom of the cannons-hatch.
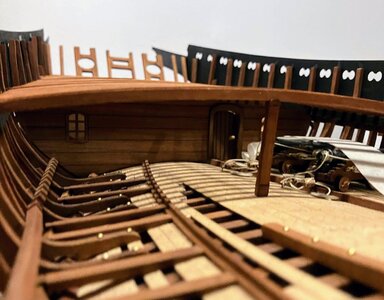
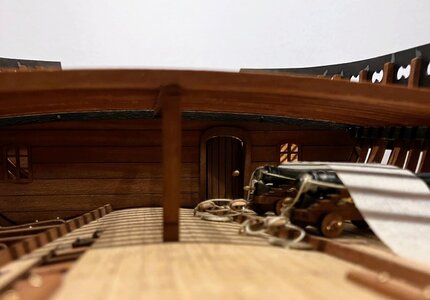
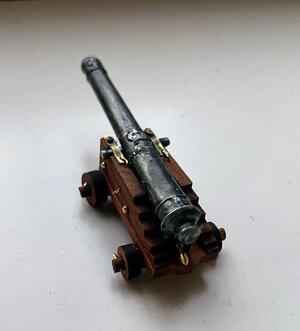
To check the height, I made a cannon and realized that 2 cannons are placed below the poop deck. The manual shows how to rig the cannons almost at its end, but at this point it is impossible to reach below the poop deck. Installing the cannons first makes the construction of the hull very difficult (still needs to sand the bottom part).
I'm still thinking on what is the best way forward.


- Joined
- Jun 17, 2021
- Messages
- 1,635
- Points
- 488

Wow! What a work of art! (And engineering.) Both models are in inspiration and example of what to aim for. 


Fabulous.This week, I continued with the reinforcement of the bulwarks. The internal strip is at the bottom of the cannons-hatch.
To check the height, I made a cannon and realized that 2 cannons are placed below the poop deck. The manual shows how to rig the cannons almost at its end, but at this point it is impossible to reach below the poop deck. Installing the cannons first makes the construction of the hull very difficult (still needs to sand the bottom part).
I'm still thinking on what is the best way forward.
View attachment 408039
View attachment 408040
View attachment 408041
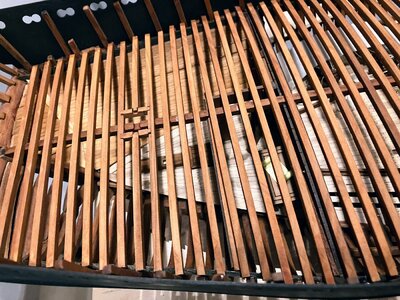
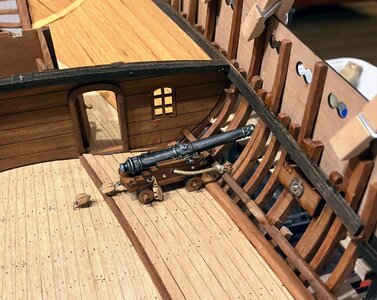
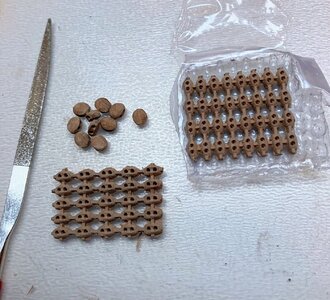
This week I made the second cannon and a first batch of pulleys. The pullyes are made of a compressed wooden composite and need to be sanded into shape (see picture). They are quite small and I can barely hold them between my fingers while sanding. The batch size therefore depends on the soreness of my fingers 
Also, I have started installing the sides. Also, not according to the order as mentioned in the manual. I first place outer top sides. Then glue the outer strip from front to back, followed by the top railing, and then fix the outer top-sides. I still need to do the inner sides at the top (these are mentioned first in the manual, but (I guess) they would lead to a too large stiffness of the bulwarks at the poop-deck).
The 2 cannons I'm going to temporarily fix with some tape to hold them in place during the rest of the building process.
I hope you like the pictures!


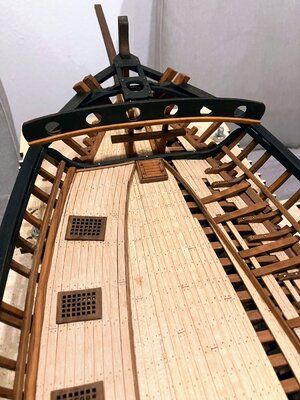
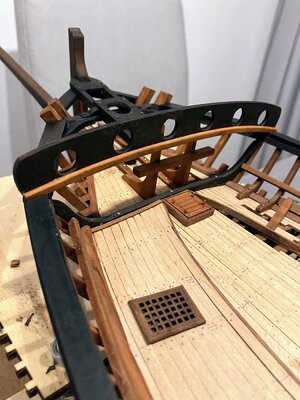
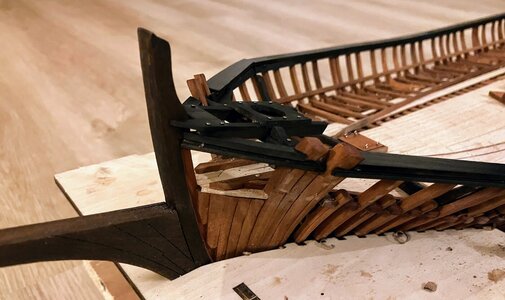
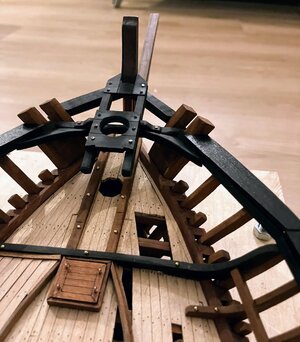
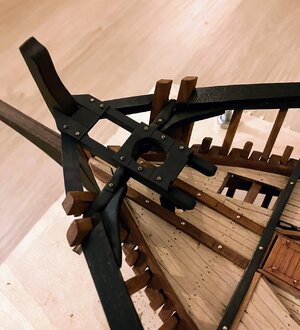
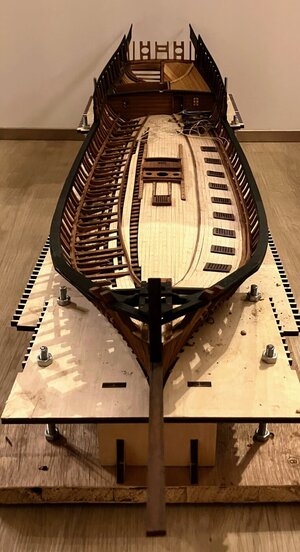
This week, I worked on the front-side of the ship. It is some kind of construction to hold the front mast in place. I needed a lot of improvisation, since the manual just shows some vague pictures and a remark that the railing needs to be split in 2 parts. Anyway, I'm happy with the result and I hope it will work out when I'll plank the hull.




- Joined
- Jun 17, 2021
- Messages
- 1,635
- Points
- 488

This model Is a beauty behold at this very interesting and aesthetically pleasing state of mid-construction. 

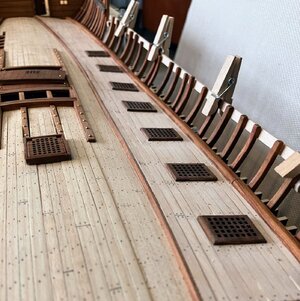
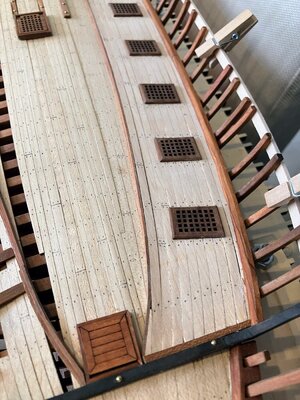
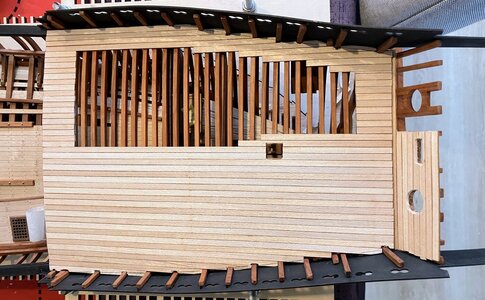
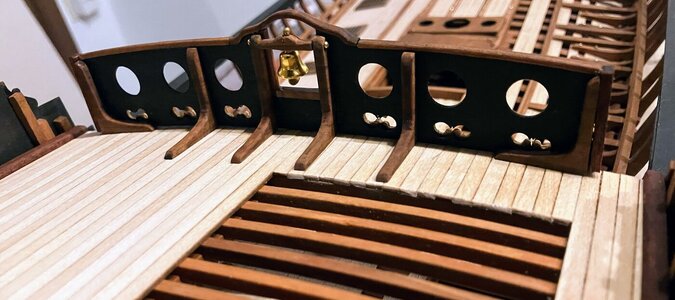
Good morning. This is beautiful. Great work. Cheers GrantI have planked the poop-deck with a slight striping effect by alternating the fiber direction of the wooden strips. One side is left partly open and I still need to add the nails (dots with a pencil).
View attachment 414825
View attachment 414826
View attachment 414827
View attachment 414828
View attachment 414829
- Joined
- Jun 17, 2021
- Messages
- 1,635
- Points
- 488

Agreed!
I DO like this gold as well. Ordinarily I find gold off-putting - but this pastel gold is very nice!
- Joined
- Dec 16, 2016
- Messages
- 1,004
- Points
- 493

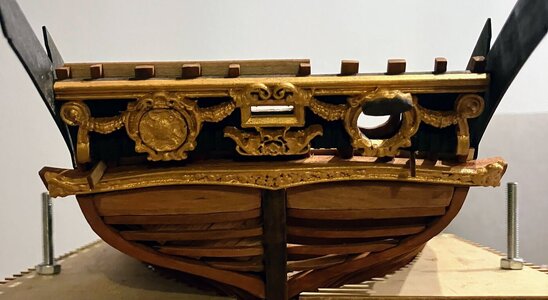
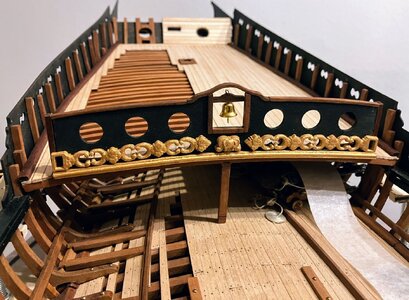
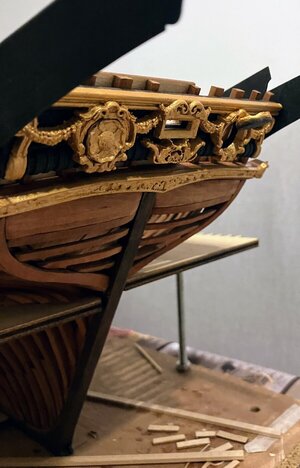
What a lovely build, very impressive work, a high standard indeed.Thank you all for your kind words! This motivates me to give a quick update on my latest progress. I've started with some of the decorations and decided to give them a warm gold color, since it gives a nice contrast with the black background and dark brown wood (in my humble opinion).
View attachment 415396
View attachment 415397
View attachment 415398
View attachment 415399
The gold colour is fitting very good - not too shiny -> I like this appearance
- Joined
- Jun 17, 2021
- Messages
- 1,635
- Points
- 488

Me too.The gold colour is fitting very good - not too shiny -> I like this appearance
She looks really stunning. Good choice for this gold, which paint is it?
The paint is from Marabu and I bought it at a local supermarket: https://www.lidl.nl/p/marabu-creabox-effectenpasta/p100261383She looks really stunning. Good choice for this gold, which paint is it?
Ha ha LIDL lohnt sich.The paint is from Marabu and I bought it at a local supermarket: https://www.lidl.nl/p/marabu-creabox-effectenpasta/p100261383
Allways great what you just find around the corner.


