• LUCZORAMA SHIPWRECK SCAVENGER HUNT GIVEAWAY. 4 Weeks of Fun • 1 Legendary Prize ((OcCre’s Fram Ship)) • Global Crew Welcome!
    **VIEW THREAD HERE**

Le Requin-Zebec-1750 POF 1:48 (ZHL)

how small the ribs are (2 to 3mm sq.)
Good morning Daniel. Wow that is tiny. I would break these no doubt. I share your experience with my POF -
All my efforts at glueing up the frames on the aft end were futile, they simply do not match
I just cannot seem to get everything exactly where I want it to be. Close enough but always a bit of a fight ROTF . From the photo everything still looks really good Daniel.
Cheers Grant
 
I just cannot seem to get everything exactly where I want it to be. Close enough but always a bit of a fight ROTF . From the photo everything still looks really good Daniel.
Cheers Grant
Thank you, Grant, for your encouraging words, it really does help in the motivation department. I keep telling myself this is wood, it lends itself to be cut sanded glued, unglued, or almost anything I want so lookout unintended consequences here I come. ROTF Explosion
 
Thank you, Grant, for your encouraging words, it really does help in the motivation department. I keep telling myself this is wood, it lends itself to be cut sanded glued, unglued, or almost anything I want so lookout unintended consequences here I come. ROTF Explosion
True story Daniel. The number of times I have had the boiling water and at times nail polish remover out to undo and redo has been plenty. I like the unintended consequences….… Cheers Grant
 
Good afternoon, all, I have not accomplished much this last 3 weeks as far as the Zebec goes. I have accomplished a lot around the house and even made a little extra hobby cash doing consulting work for my former employer (even have a new desktop disk sander on the way). For now, I have finished the framework on the transom and added the odd angled final ribs in place along with those special short rib pieces that form a solid hull area for an oval port hole type opening. I hesitate to show this picture right now, the whole aft end is looking very rough, so I plan on some aggressive sanding, at least as much as I can get away with considering how small the ribs are (2 to 3mm sq.). I will have to rely on my skills to make the exterior appealing, I do not plan on exposing much of the interior. All my efforts at glueing up the frames on the aft end were futile, they simply do not match the notches in the jig and keel at the same time. So, I shall make all this work out and look good to the best of my ability.

View attachment 531490

Thanks for keeping tabs and until next time hope you have a great time.
And here I thought that after having build the Bluenose another POF would be a walk in the park. Apparently not.
Nevertheless it does look good enough to me and a little sanding will work wonders.
 
Nevertheless it does look good enough to me and a little sanding will work wonders.
Thak you for your observations Johan, what's disappointing to me and apparently not apparent in the photos are the discontinuity between the aft 6 to 8 rib sets. That is the elevation differences are too great to fare them smoothly. I do have workarounds in mind, and it is going to be an interesting challenge to pull this off.
 
Thak you for your observations Johan, what's disappointing to me and apparently not apparent in the photos are the discontinuity between the aft 6 to 8 rib sets. That is the elevation differences are too great to fare them smoothly. I do have workarounds in mind, and it is going to be an interesting challenge to pull this off.
Your description of the fairing and discontinuity problem seems to be endemic to the process of wood ship modeling!
 
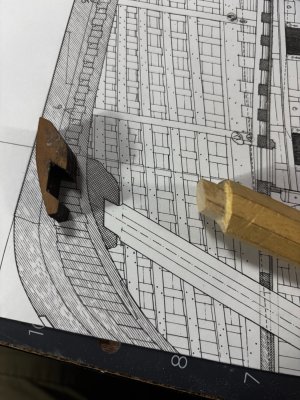
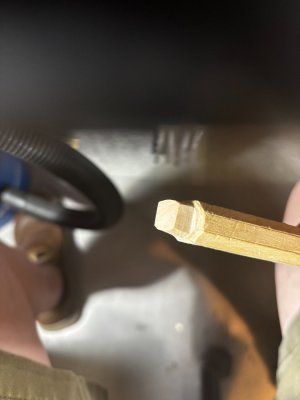
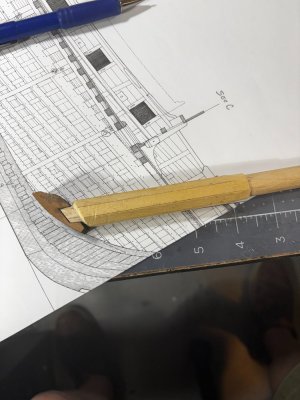
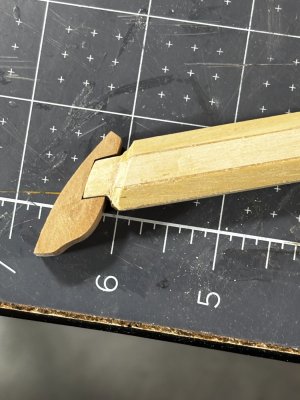
I took a break from framing and prepared the ships foremast with its kit supplied mast step blocking. Everything dry fitted, still need to shape the step into a more pointed configuration so it fits snug into the hulls V-shape.

View attachment 532617View attachment 532618View attachment 532619View attachment 532620

Thanks for checking in.
Good morning Daniel. Nice!! That foremast of the Xebecs have quite the obtuse angle to them. It’s a feature I think makes them look very appealing. Cheers Grant
 
Good morning Daniel. Nice!! That foremast of the Xebecs have quite the obtuse angle to them. It’s a feature I think makes them look very appealing. Cheers Grant
Thanks Grant, I agree the angle is rather extreme as well as the diameter, the foremast has a base diameter 13.5mm x 48=648mm!!! and the main mast has a dia. of 15mm x 48=720mm!!! This is huge and I suspect the real ones were probably laminated?
 
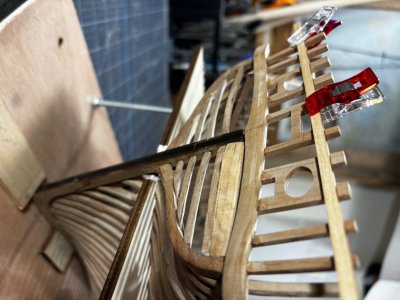
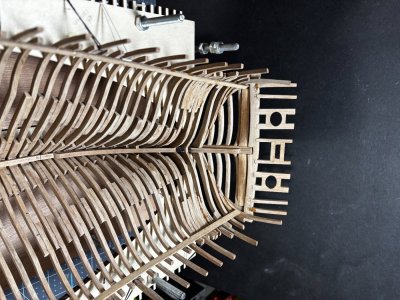
It's been a couple weeks since my last update, not much to show but have added the starboard shelf strake or maybe it's the clamp strake, see drawing below. There are two oddly shaped pieces that go in as fillers I suppose just below the transom beam, not the most pleasant thing to look at but it all gets covered with hull planking. Check it out.

IMG_1240.jpgIMG_1241.jpgIMG_1242.jpg

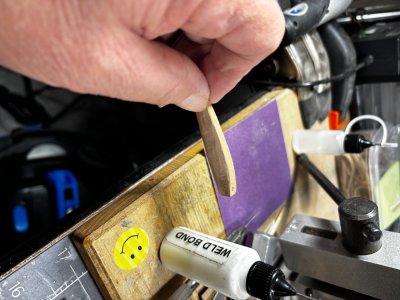
The filler pieces themselves were made up of three pcs. of laser cutouts, glued together then ground down to fit.

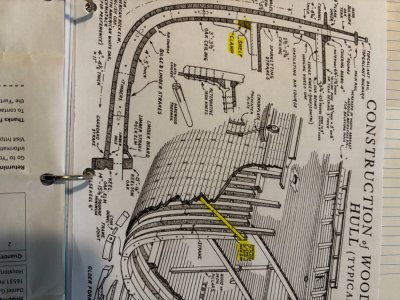
This next PDF I copied off the internet showing typical hull wooden hull construction and their names. I always thought the clamp strake went where they show a shelf strake, anyway I call it the deck beam support. The other interesting thing I highlighted in yellow is the use of diagonal tie plates if the ship is over 58m. I've not seen this before. It would need to be counter sunk in the frames to accommodate the hull planking.

IMG_1239.jpg

Thanks for checking in, till next time!
 
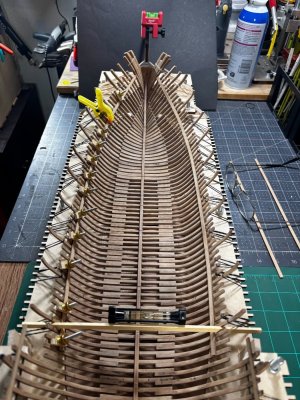
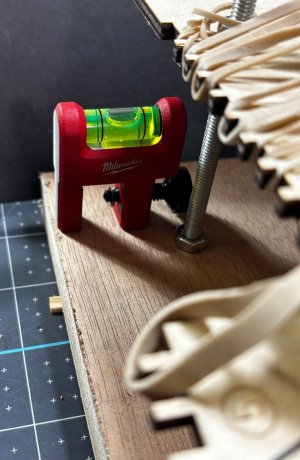
Here is a quick how I did it. After setting the upper and lower starboard deck beam supports, I made sure the base support was level in the transverse direction at both ends. Setting the port side beam support was accomplished by leveling over from the starboard side then gluing the strake in place. I'm counting on this method to provide a symmetrical deck once I have it planked out. Check it out.
IMG_1247.jpg
IMG_1248.jpg

As a side note my worktable is just a 4'x2' folding table set up on carpet. During some aspects of my build, I have to level up my jig base board to help insure good symmetry.

Have a good one!
 
Here is a quick how I did it. After setting the upper and lower starboard deck beam supports, I made sure the base support was level in the transverse direction at both ends. Setting the port side beam support was accomplished by leveling over from the starboard side then gluing the strake in place. I'm counting on this method to provide a symmetrical deck once I have it planked out. Check it out.
View attachment 536212
View attachment 536213

As a side note my worktable is just a 4'x2' folding table set up on carpet. During some aspects of my build, I have to level up my jig base board to help insure good symmetry.

Have a good one!
It remains an imposing appearance, all those frames in line, Daniel. Now she is getting more strength.
Regards, Peter
 
Back
Top