Learning to carve and sculpt in wood

Hi shota 70.
It´s nice to see your horse carved in wood.
I will show you the way I carved the figurehead of the Unicorn in pear wood
May be a little bit it could help you.View attachment 298615View attachment 298616View attachment 298617View attachment 298618View attachment 298619View attachment 298620View attachment 298621View attachment 298622View attachment 298623

Kind regards
Willi (schifferlbauer)
Dear willi
Thank you very much for the explanation and pictures that illustrate the carving process, it will greatly help me in further experiments. :)
I would be happy if more characters and examples of carving come up here.
 
Hello dear friends
Today was the fifth lesson in the carving course and during it we continued to apply the 3D sculpting method.
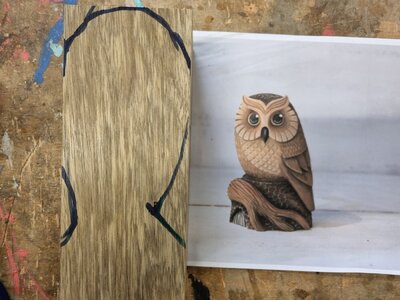
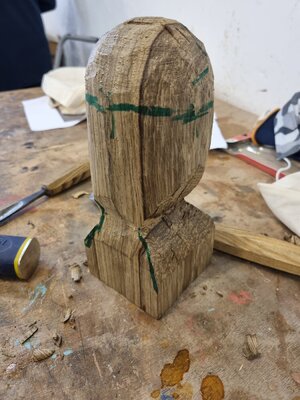
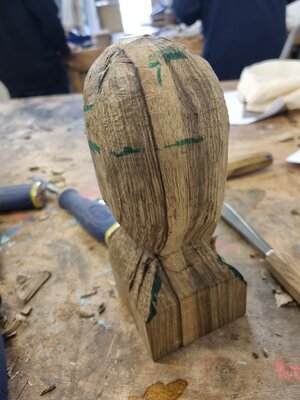
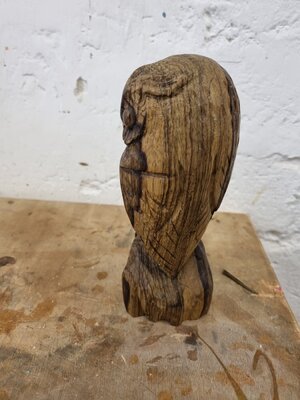
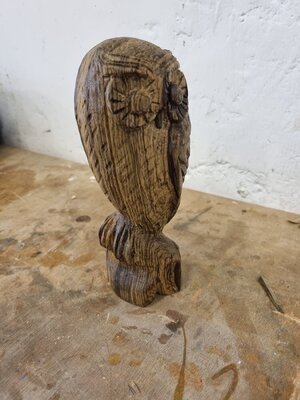
Today I was working on a statue of an owl, we started by drawing the contours of the owl figure on both sides (one after the other in a cross) and then the overhead projection that creates the rounded shape.
20220325_101611.jpg20220325_115708.jpg20220325_115713.jpg
The sequel will arrive next week
 
Hello dear friends
You are probably asking, what did I have learned and how did I progress in the learning process of the carving craft?
The answer is that the lesson that was given yesterday mainly devoted to learning the subject of sharpening the chisels .
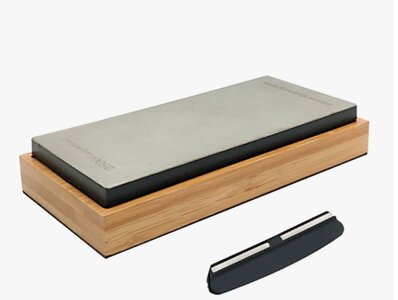
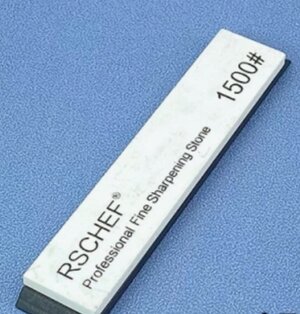
We learned that there are two main types of grinding stones, the first is water-based (stone and also metal combined with diamond powder) as well as oil stones.
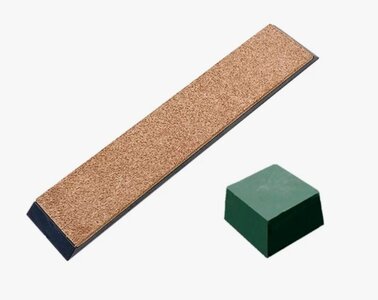
The grinding process begins with a stone with a density of about 350 grit, continues to 1500 and ends with 6000. Then we smooth the chisels on a leather base on which a special wax has been applied to the subject.
Screenshot_20220402-192227_Chrome.jpgScreenshot_20220402-192331_Chrome.jpgScreenshot_20220402-192227_Chrome.jpgScreenshot_20220402-192817_Chrome.jpg
We also learned different grinding methods for chisels of different types - from flat to very concave
After the theoretical part of the lesson we practiced the grinding process which is critical for achieving clean and accurate results. The truth is that I was able to work for a few minutes on the owl statue as well, but I also forgot to take pictures because the progress was minimal. A final lesson from all the lessons is to take extra care at work and even use appropriate gloves. A classmate cut off his palm and even consumed a few stitches in the clinic
 
Hello dear friends
Last Friday we continued to work in class on the owl, good progress was made, but unfortunately due to the focus on work and the short time I forgot to take pictures.
We now have a two-week break from the course due to the Passover holiday. Maybe I'll find time to keep working on the lion.
 
Yes my friend. We need to be careful with the tools we use. Since I don't possess any fancy equipment, 90% of my cutting work gets done with an X-Acto knife. I am still waiting for the day that that I get badly bitten by it.
 
Hello dear friends
Today I returned to the carving course after about two weeks of respite, due to the Passover holiday period .
Attaches pictures illustrating the Progress in the creation of the owl. Wishing us all a pleasant and enjoyable weekend20220325_101611.jpg
20220325_115708.jpg20220429_093015.jpg20220429_115948.jpg20220429_120039.jpg
 
Good evening friends
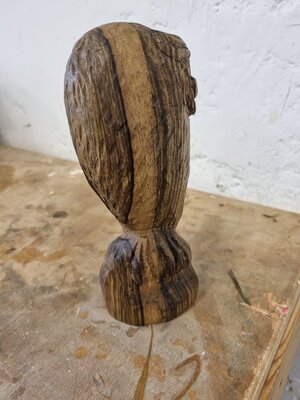
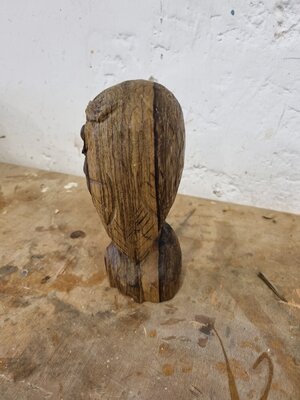
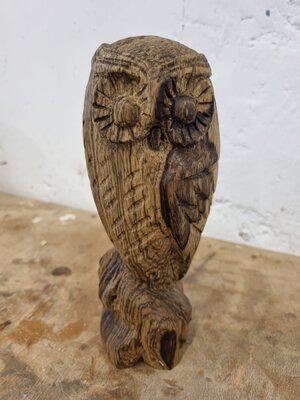
Today I finished the wood carving and sculpture course. As I have shared in recent weeks, we have focused on the project of creating an owl.
Today I finished the project, after completing the carving and sculpting phase, the teacher taught us different methods of finishing: flaxseed oil, beeswax and lacquer.
In addition we learned the use of acrylic paints and even the creation of paints by pigments dissolved in hot water.
My personal taste is more drawn towards Beeswax , I think it gives wood the most flattering stage to the raw material.
I'm attaching the pictures of the owl, I admit I quite like it.

20220506_115529.jpg20220506_115522.jpg20220506_115516.jpg20220506_115505.jpg20220506_115439.jpg
 
Last edited:
Well done my friend. That is a beautiful addition to your home and the knowledge that you have created it by yourself, makes it all the more special! Thumbsup
 
Back
Top