Libertyship Jeremiah O'Brien (Trumpeter/Eduard 1:350)

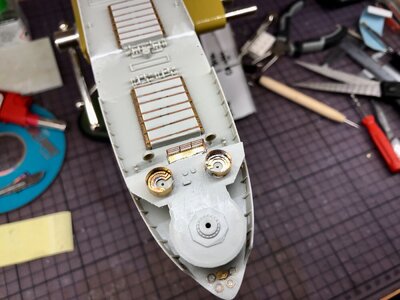
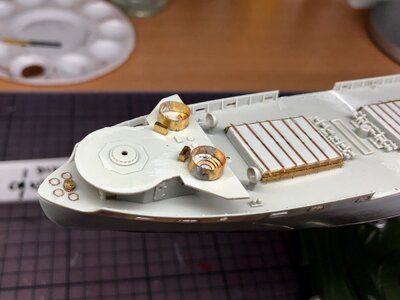
Doing a bit of research is always useful. I had not really an idea what the triangular pieces were. There are quite a lot and they all pointed upward according to the instructions from Eduard.
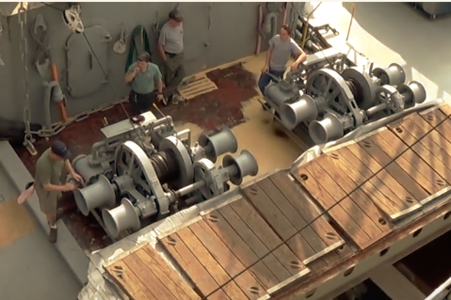
Until I saw this picture with the parts in the upper left corner and it all made sense. They are use to store cables or firehoses and they have to point upward and downward.

Schermafbeelding 2021-03-08 om 19.24.33.png

Gijsbert
 
Gijsbert:
You are doing a great job with the photo etched parts. I will watch your progress on this build.
Very interesting vessel with lots of background photos and history.
Keep up the good work.
 
Part of the fun of working with PE is not only to assemble the PE parts, but also doing some work on the plastic parts.

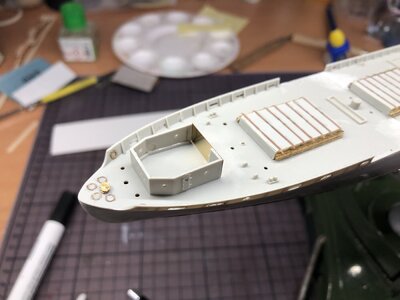
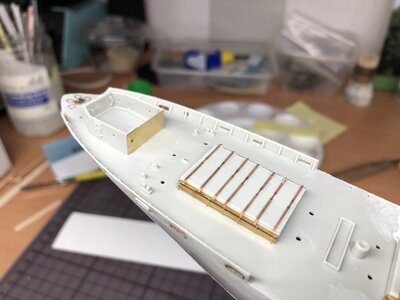
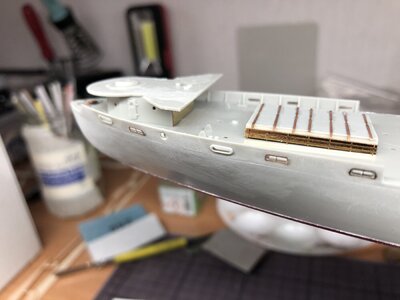
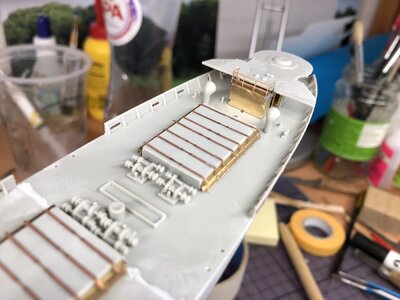
Here some work on the deckhouse at the stern (used to house the artillery crew) where some walls had to be removed and replaced by a PE panel and the the deck where some bulwarks had to be removed.

IMG_8072.jpeg

IMG_8073.jpeg

IMG_8075.jpeg

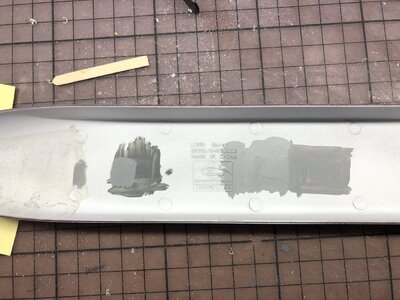
Also tried to find the right grey tone for the ship. I used the other hull, put some white surface primer on and mixed the color on the right. It is really hard to buy the right colors in the stores now with the Covid restrictions and when you want to have it delivered at home, it costs a lot for transport when the orders are so small.

IMG_8074.jpeg

It's really a fun thing to do, after working with wood for so long!

Gijsbert
 
Yes, definitely you are going into detailing.
That type of work is very satisfactory to ourselves but even more when you share it with the rest of us. Don’t you agree?
 
Yes, definitely you are going into detailing.
That type of work is very satisfactory to ourselves but even more when you share it with the rest of us. Don’t you agree?
Sure!!! I really like to post my progress on a forum (a Dutch one and on SoS) and it marks the steps you make for yourself but I have found that the readers also are very interested and helpful. It's like hopping into a bar with all sorts of people you don't know very well, but who respect you and are interested in what you are doing!
These are nice places to be especially in these times of isolation and restriction on social interactions. With the temple I could really ventilate some frustrations and putting them online pushed me over some of the (not too big) obstacles.
I love it!
 
A hearty thank you. Build logs like this teach so much, even if the subject matter may not be of great interest! Truely appreciated.
Carl
 
Again some progress to report.
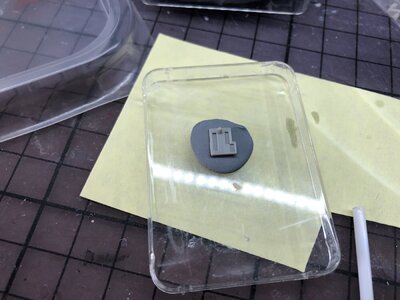
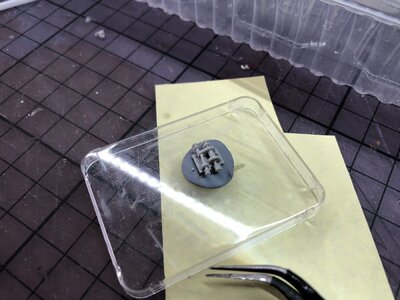
First of all I made 11 winches, where each winch has 4 parts. I fixated them on a piece of flexible gum because there was little notch on the bottom which made the whole thing wiggle and impossible to assemble. The biggest problem though was getting the parts from the sprue without damage, and I only broke one, but it could be fixed later/
They are really looking good on the deck.

IMG_8078.jpeg

IMG_8080.jpeg

IMG_8088.jpeg

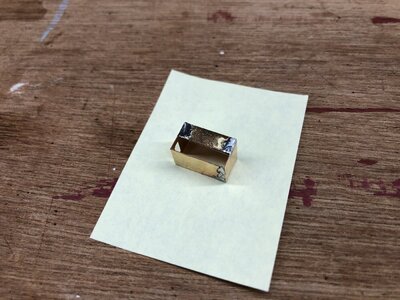
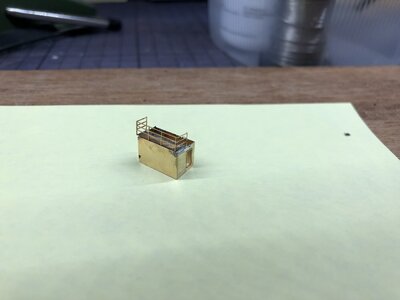
After that I started the soldering adventure. I picked a deckhouse to be the first victim and I think I did quite nice! It has only half a roof and on that roof a railing had to be fixed as an extra challenge. I only had it just slightly moved to the side, but you only see that on the picture.

IMG_8083.jpeg

IMG_8084.jpeg

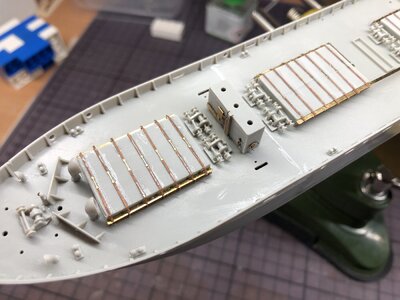
Slowly the deck becomes a little bit more detailed.

IMG_8090.jpeg

Today was a good day!

Gijsbert
 
Hi,
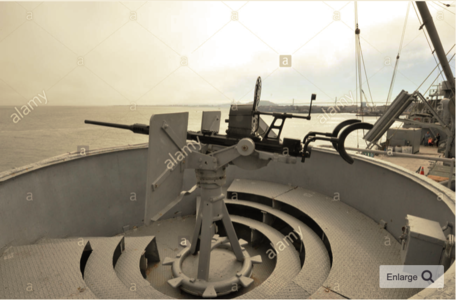
Today I have tried to make two gunpositions. This is how they look in real life.
It is a circular bulwark and inside are three steps.

Schermafbeelding 2021-03-11 om 16.18.01.png

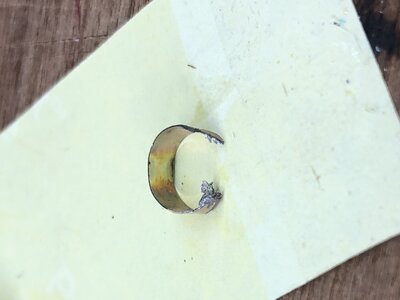
First I had to make the bulwark. I tried to do it "by hand", but that resulted in a very irregular circle because the brass was quite stiff. So I tried to anneal it, but it burned away almost immediately in the flame.

IMG_8098.jpeg

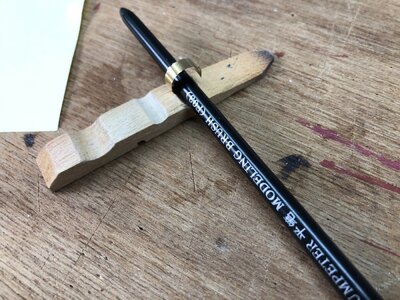
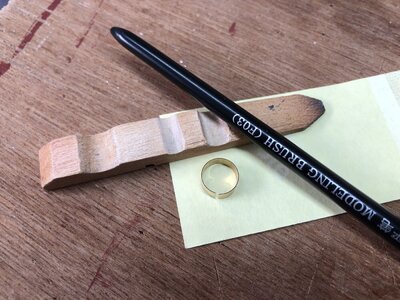
To have more control over the bending proces, I modified a half of a clothespin with circular slots and with the help of different diameter rods, a perfect shape appeared.

IMG_8100.jpeg

IMG_8102.jpeg

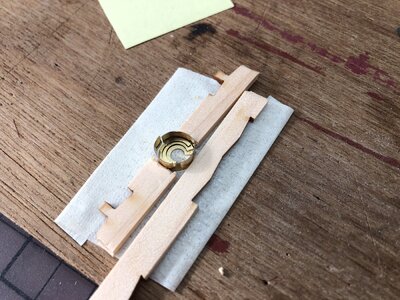
The three steps were assembled with CA glue after which I put the whole part on a piece of tape with some little pieces of wood to fixate it all for soldering.

IMG_8099.jpeg

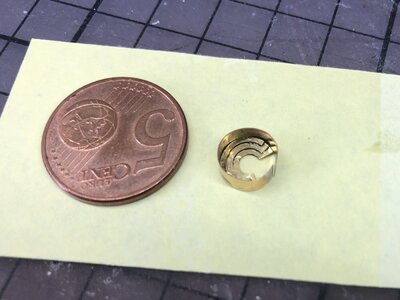
It really came out quite nice

IMG_8096.jpeg

And here they are on their intended positions. Still some polishing to do, but that is for later.

IMG_8103.jpeg

Cheers,
Gijsbert
 
Hi all,

Just a few new things today. First I glued the 20 mm anti-aircraft gun positions to the deck and accompanied them with two boxes.

IMG_8123.jpeg

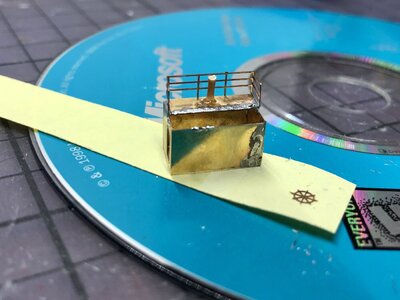
Then I started with the auxiliary steering position on the little deckhouse I made earlier. It requires a steering column with 1.5 mm diameter and 4 mm length. I didn't have a piece of plastic in that size, so I warmed a piece of sprue and gently pulled it to the desired thickness.

On the picture the column is glued to the roof of the deckhouse and the steering wheel sticks safely on the sticky strip of the notes sheet.

IMG_8110.jpeg

That's all for today!

Gijsbert
 
Hello all,

After finishing the Japanese Byodoin temple, I was looking for something very different. So I wanted to do more with weathering and I was looking for a plastic kit from a merchant ship which I could make really scuffy and battered. There are not so many kits from civil freighters, but I found the Jeremiah O'Brien also a very intriguing ship with an interesting history (Check here: https://en.wikipedia.org/wiki/SS_Jeremiah_O'Brien)

So I ordered it and I am now waiting anxiously at home to start.

Here are some pictures of the Jeremiah O'Brien and some other original pictures of liberty ships during wartime.

Enough to get me inspired and challenged to do something completely different and new for me...

Gijsbert
Hallo @Gijsbert ,
we wish you all the BEST and a HAPPY BIRTHDAY
Birthday-Cake
 
Hi All,

Thank you all for your good wishes for my birthday, I really appreciate that.
The last months I had to hit the "pause" button on modeling for a while , because I had to reorganize our house and household, expecting our first grandchild in septemberExplosion and get rid of the enormous amount of "stuf" that you collect during a lifetime and that you really will not use anymore when retired. So sometimes a painful proces, but mostly a nice feeling of relief...
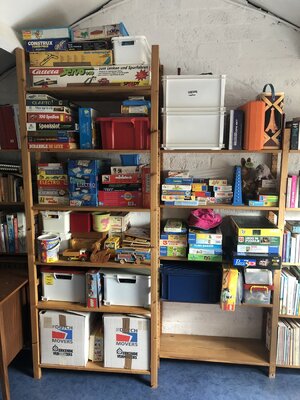
So, sorting all the boxes stored for 30+ years on the attic containing clothes and toys from the childhood of my son. Now all the toys are selected and ready for the next generation, haha!

Gijsbert


IMG_9020.jpeg
 
Last edited:
Back
Top