-

Win a Free Custom Engraved Brass Coin!!!
As a way to introduce our brass coins to the community, we will raffle off a free coin during the month of August. Follow link ABOVE for instructions for entering.
-

PRE-ORDER SHIPS IN SCALE TODAY!
The beloved Ships in Scale Magazine is back and charting a new course for 2026!
Discover new skills, new techniques, and new inspirations in every issue.
NOTE THAT OUR FIRST ISSUE WILL BE JAN/FEB 2026
You are using an out of date browser. It may not display this or other websites correctly.
You should upgrade or use an alternative browser.
You should upgrade or use an alternative browser.
Original Date: March 10, 2006
The next thing to tackle is the Rudder, then off to putting the Belaying Pin deck pieces on there (also deciding about the color on that too)
The next thing to tackle is the Rudder, then off to putting the Belaying Pin deck pieces on there (also deciding about the color on that too)
Original Date: March 13, 2006
I guess I took the simple route and I just could not figure out how the part should go. It seemed more natural fit to go the route I did. The instructions are not too great. Wait until you get to the upper rails (that has the Belaying Pins). Those do not fit well either and I have done a considerable amount of filing to make it fit right. It is taking me more time to do this one.
I guess I took the simple route and I just could not figure out how the part should go. It seemed more natural fit to go the route I did. The instructions are not too great. Wait until you get to the upper rails (that has the Belaying Pins). Those do not fit well either and I have done a considerable amount of filing to make it fit right. It is taking me more time to do this one.
Original Date: March 13, 2006
I will be posting images soon. The main thing that I want to say here is that this model has been a real challenge to make the model worth any realism. If any aspiring modeler should try something else before attemping this ship. I am glad that I did not start with this one first. I still think that the Jolly Roger was a good first one (for me). Alot of the parts do not fit good on the Captain Kidd (Wappen Von Hamburg).
Now let me say that I have REALLY enjoyed building the WVH, because I guess I do like trying to make the most out of what I have in hand. Maybe I am expecting too much—not sure. One thing right off is that I notice that where the "Part" mates with the sprue, it is thick and hard. You really have to carve the part off the sprue and sometimes it is a guess as to figure out where the part ends and where the sprue starts and vise versa.
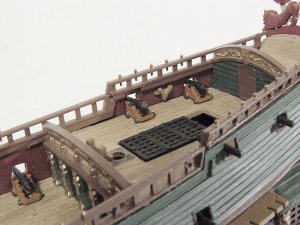
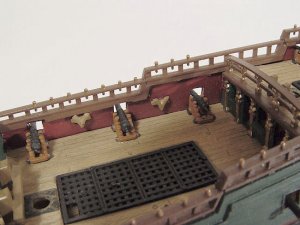
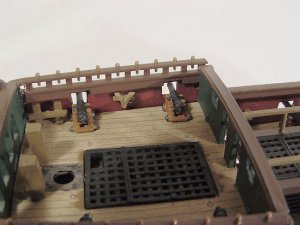
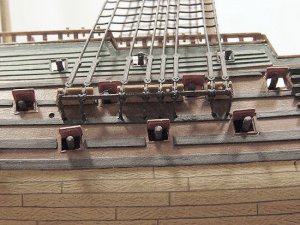
I have had a time with trying to get the upper railings (with the belaying pins) to fit correctly. Everyone of the railings had to be filed and sanded down in height before they would fit up against the bulwark and the inside of deck. I was and am determined to get those parts to fit like they are supposed to and I am almost finished with installing the upper railings.
The WVH kit, the deck (I can't remember now) is like 2 or 3 decks and the railings must have that Step as well. In order for the railings to seamlessly follow the stepping of the deck, then one must talent and skill to make the railings fit good. Mine is not perfect, but I have done the best that I can—this work is satisfactory to me.
There is just so much a person can do with a kit like this. Now let me say again, that I have a great fondness of this ship and I would not trade in my efforts on it—because it is the challenge of the project that stirs me. It is still enjoyable and I still look forward to sitting down with this vessel of the sea and as I build it. I enjoy the imaginations of what it would have been like as this short poem describes:
"...sail on her, and plunging into the swells of that restless sea,
riding on a mysterious unmanned ship pointed to the horizon,
of which land you can not see.
You come upon a fog and you think you are in a dream,
as i look around on that unmanned ship,
I wander what it was like as a gleam"
Original Date: March 27, 2006
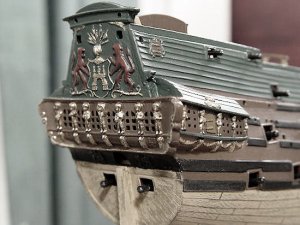
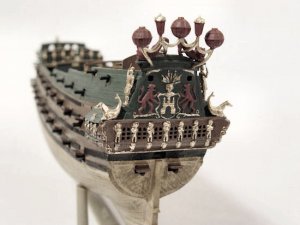
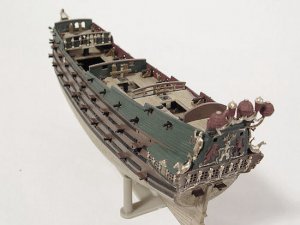
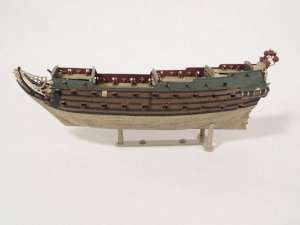
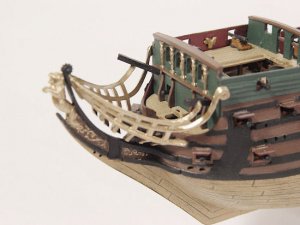
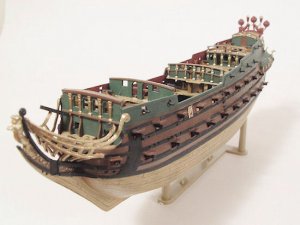
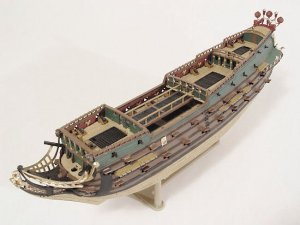
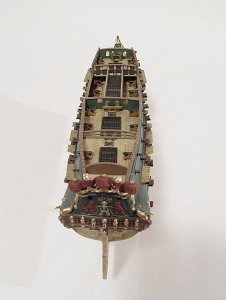
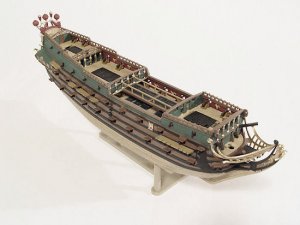
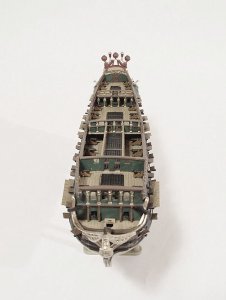
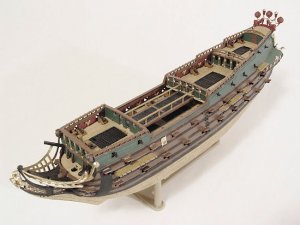
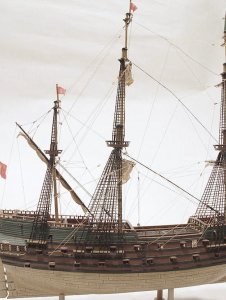
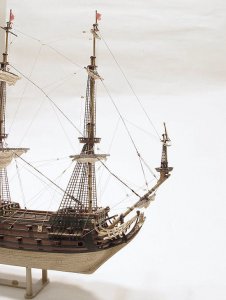
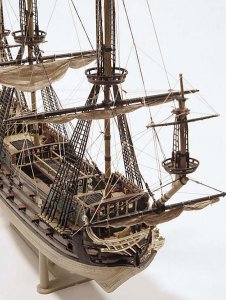
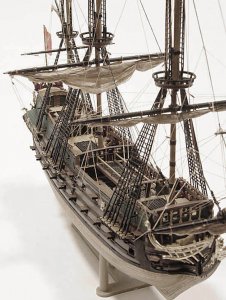
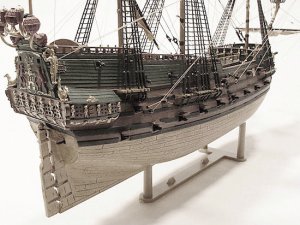
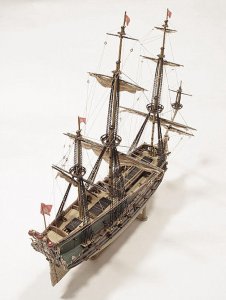
Here are the latest pics of the Wappen Von Hamburg´s hull. There are a few small things that I want to do before I press on. I will say that this ship has been something else to get done. I think I said that in another post about the kit being not so well. But, at any rate, this has really been fun and a challenge. I am sure that the trained eyes here can see my mistakes. I still do not like the front of the ship with that piece that does not fit right. I might take it off and redo it. I am talking about the Gold piece that extends from the Front Bulkhead out to the Figurehead. (sorry - don´t know the tech name)
Thanks everyone for tuning in to this build—I hope that someone out there can benefit from these pics and documentation.
Original Date: March 28, 2006
Unless Testors puts out more than one Gold paint, I only used a Gold paint from Testors in that tiny bottle that they have. I am not at home, so I do not know what the stock number on that paint is. I will get that later for everybody. Well, what I do is that I shake the bottle of Gold everytime I get ready for it. The Gold "flakes" settle down to the bottom within what seems only hours of not using it. So I keep the bottle shaken up during my painting to make sure that all of the Gold flakes are going to be mixed in right.
Thanks everybody for your kind words. I guess I will get enough (whatever it takes) to tackle that bow dressing. You know, I guess I am a tad bit lazy and don´t want to fool with that part of the ship, but I guess I should cut it off and try to refit it. I will try to get a list of all the paint I used if people are interested.
BTW—on my SONY camera, I set the f stop to f8.0 and I set the exposure to like 1.3 seconds. I only had light available in my room. It was at nighttime, so I only had the light from incandescent in the room and from my Bench. I did not go thru any special method other than this. I did tack up on the wall a white paper background. I just didn´t feel like getting more involved in taking the pictures. I did use a tripod. This is absolutely a must if you are using timed exposure. Also, I used the SELF timer on the camera to make sure that I would not bump the camera while I was taking the picture.
Original Date: April 01, 2006
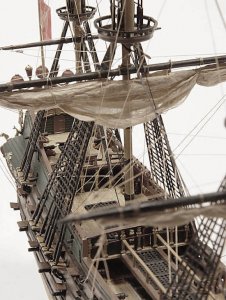
I am starting on the Mast tonight and I see that the directions ask for a Red Crows nest. Is this another suggestion for (kids building the ship) or is this legitament? In case anyone wonders what I am talking about, in another thread, I had asked about some strange colors that the directions was suggesting. As it turned out, some of the odd colors may be contributed to the kit manufacture appealing to children's lively colors that they might wish for instead of opting for more realistic. But, then again, I am sure that it is realistic in children's eyes as well. So as a mature ship builder, what about the crows nest? I have that Crimson Red that I used for the inside of my bulwarks that I really like. I could use that same color for the crows nest if that is a realistic option to go to.
I am starting on the Mast tonight and I see that the directions ask for a Red Crows nest. Is this another suggestion for (kids building the ship) or is this legitament? In case anyone wonders what I am talking about, in another thread, I had asked about some strange colors that the directions was suggesting. As it turned out, some of the odd colors may be contributed to the kit manufacture appealing to children's lively colors that they might wish for instead of opting for more realistic. But, then again, I am sure that it is realistic in children's eyes as well. So as a mature ship builder, what about the crows nest? I have that Crimson Red that I used for the inside of my bulwarks that I really like. I could use that same color for the crows nest if that is a realistic option to go to.
Original Date: May 16, 2006
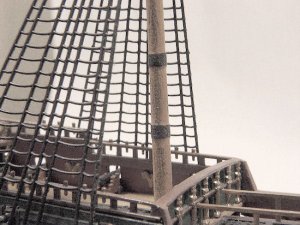
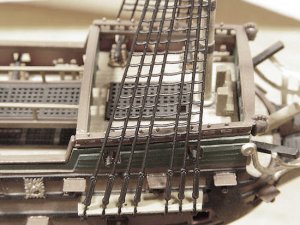
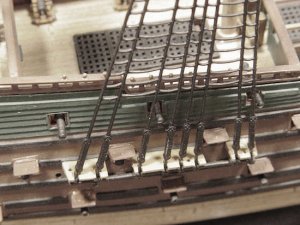
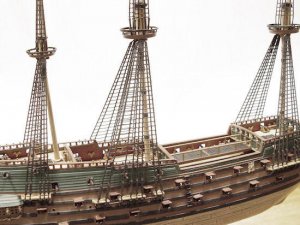
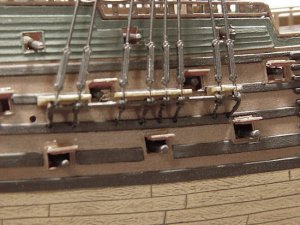
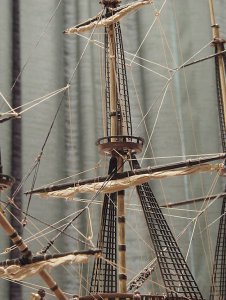
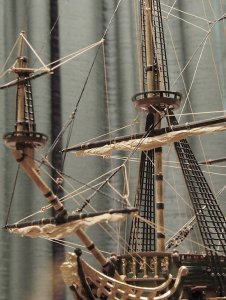
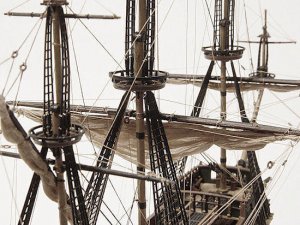
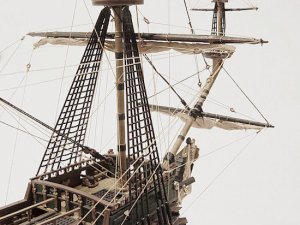
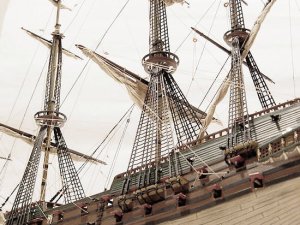
Finally got the Ratlines done. I cut off the ends that go into the openings into the hull. I cut those and replaced it with Black Rigging Line. I did a half hitch knot, twisted the line and held secure with masking tape. Then I used Black Testors paint and painted the rigging line to make the line looked tarred. But, the truth is the tarred look is not what I was going for. I was actually trying to think of a way of that string would be stiff. So I coated it with Black paint. The twist that I made in the lines sorta stayed put. I am happy with it. This model has been like a job getting it done. The plastic is so brittle. I am always breaking a piece off as I go due to the brittleness of the plastic. I will start tomorrow on the Yards. I am crossing my fingers that I can get this done in three weeks !
Enjoy - as always, thanks for tuning in to this project.
Original Date: May 18, 2006
I envy those that do the Ratlines on their own. I wonder how it is done. I guess I need to do a search and find out how everybody is doing theirs. Please share with me your technique.
I envy those that do the Ratlines on their own. I wonder how it is done. I guess I need to do a search and find out how everybody is doing theirs. Please share with me your technique.
Original Date: May 25, 2006
These are not the final Pics! I will be posting more views with finished model this weekend. Sorry for the ugly background. I was in a hurry to get something up. I plan to make some nice ones later with better background. I like the thinner rigging line I used this time around.
These are not the final Pics! I will be posting more views with finished model this weekend. Sorry for the ugly background. I was in a hurry to get something up. I plan to make some nice ones later with better background. I like the thinner rigging line I used this time around.
Original Date: May 29, 2006
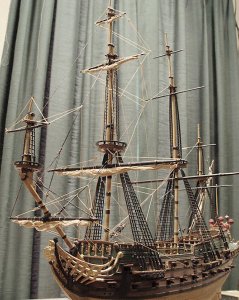
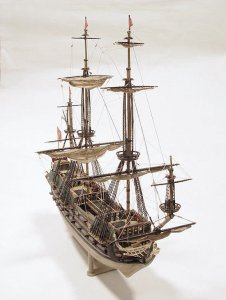
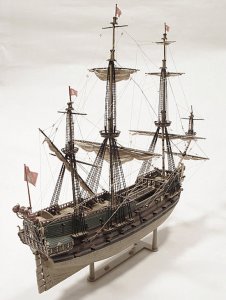
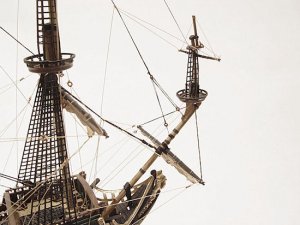
For all practical purposes it is finally finished. I only have a very few minor adjustments and things to do (that I am aware of). Thank you everyone for all your attention and kind words of encouragement thru this 5 month build. This kit was something else. The parts did not fit good and had to wrestle with alot of things. Now, I am not complaining because I learned a lot about modeling on this project. The rigging plans were one page and had to have a magifying glass to even make anything out about it. I just tried to get as much out of this kit as I could.
Thanks again for tuning in !
Donnie
I know that there are a lot of pictures, but I am sure that someone out there would want to see as much as possible in case they are trying to build this one too.
Final Comments
It is taken with humility with the help of all my friends here to help me. Someone asked about ratlines, well, they are... plastic that came with it. The rigging surprised me at taking a week to do. Working on it about 3 hours per day for a week. The other parts took 5 months with painting etc, and making decisions.
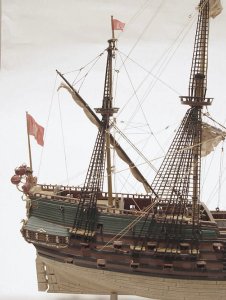
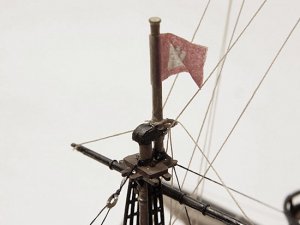
On the flags in case anyone wonders about that. I took the same tissue paper and taped the tissue paper to a blank sheet of white printer paper. I was really surprised that when I put the paper arrangement in the tray and printed it that it drew the paper up in the printer and printed it without a jam. It shocked me that it worked. I wanted to use the same tissue paper so that I could form it to look more lifelike.
I am in no way boasting about my efforts—again I get my motivation from people here that enjoy building ships of all kinds. I just hope that someone out there that might be building this kit or wants to build it, now you have some documentation to go by.
The kit was a linberg kit from Hobby Lobby and it goes by Captain Kidd. I think that I mentioned this before. By the way, the rigging line was bought from Hobby Lobby in the Jewelry making department. The have a small clear ziplock bag that has I guess about 7 different colors of line in it. It seemed to already be treated with sometype of coating and it was nice stuff to work with (in my opinion).
I do not remember if I mentioned the Sails and how I made them. I used light brown color gift wrapping tissue paper. I measured out the sail as best as I could as if it was all the way let out (full sail). Then I rolled the sail up in a tight roll of paper. Then I mounted the sail as it was tighly wound on the Yard. Then after the sail was mounted, I took some water and put a drop of water on the tighly rolled paper and the paper when wet will relax and slighly unfold. I took a small pick or any type of instrument and gently pulled the sail downward to make it appear that the sail is not quite hauled up.
Again, thank you for visiting this build log and I hope that you gained some useful information from it. Do not hesitate to contact me.
Nice end result. This is like the old plastic kits. The new larger kit have came a long way, especially with photo etched parts .
Gary,
this was built about 11 years ago. This was my second plastic ship (for the first time since I was a kid).
Now, my very first, since adult, was the Jolly Roger (which is similar to the Le Flore), I never made a build log, because SOS did not exist that the time, neither did for the Captain Kidd. The Captain Kidd was originally posted in Fine Scale Modeler. I do not remember if I posted anything in Fine Scale Modeler on the Jolly Roger.
It is really interesting that the Captain Kidd is very likeable to the Wappen Von Hamburg and the Jolly Roger is very likeable to the Le Flore. So, I guess the Lindberg appealed to kids and named it as an attention grabber for kids being a pirate ship.
Shortly after marrying, my wife got a job at Hobby Lobby and I told her that I used to build cars and planes. She told me to buy one and I bought the Jolly Roger first. I look back at both of these and realize I knew nothing about ships.
Now, as a young adult, I did build the plastic Cutty Sark and I think it is in the attic of my moms house somewhere. I will post the images of the Jolly Roger soon, but I warn that is not that good !!!
Donnie.
Hi Donnie, it was interesting to read your comments about the shrouds and ratlines and yet some years later you actually produced a video on how to knot the ratlines!
You certainly have come along way.
You should be a politician, you have worked everyone up into a frenzy of anticipation regarding your new forthcoming build. You know what will happen don't you? no one else will do any of their own builds because they will be watching yours. Be gentle with them Donnie, don't dissapoint them, hahahaha.
All the best,
Regards
Eric
When I did this, I was very intimidated by wood. Also, for whatever reason, this suited me well at the time. At the time, SoS did not exist anywhere on the map. All I had was Fine Scale Modeler. I think I mentioned that the sails were made by some light brown gift wrapping paper I had laying around. Actually it was the gift "tissue" that comes in a pack. I rolled it up very tight and when I applied water to it, the roll swelled into a position and shape that I liked. Then when it dried, it stayed like that.
...and thanks for the complements.
...and thanks for the complements.
I have two separate logs. The first one I posted was the Lindberg's Captain Kidd, (which is this one you are reading) which looks very similar to the Wappen Von Hamburg. Then I decided to post the Lindberg's Jolly Roger which looks similar to the Le Flore. I was very hesitant to post images of the Jolly Roger as it is not that good at all. But it is what it is just for grins I guess.
Donnie - what a great job you did with this ship. I am really amazed that you were able to decipher the rigging diagram for your kit. My rigging instructions were so faint and missing ink that I found it useless and of no help. Hat's off to you on this one!


