Lowell Grand Banks Dory [COMPLETED BUILD]

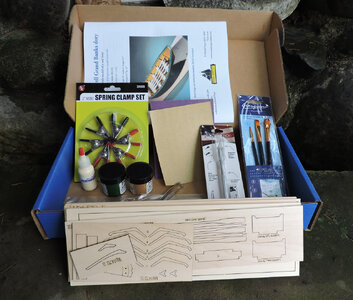
opening the box and looking over the content i can see the concept, it is everything you need to build this model. So if you never built a model kit and have no tools what so ever it's all here. On the other hand if you have built models and have basic stuff then you are paying for a lot of things you don't need.
But the idea is for the first time builder or someone interested in trying their hand at a kit for the first time.

dory3.jpg
 
I am taking this piece by piece step by step keeping in mind a freah new builder who never built a kit

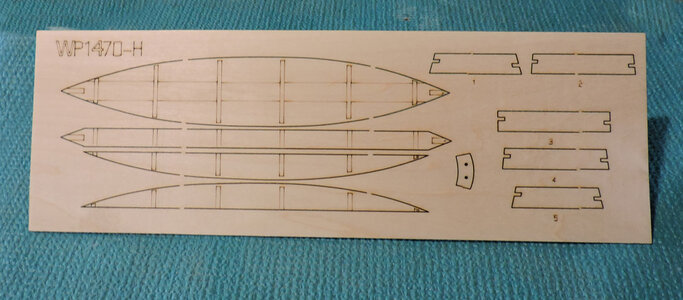
first thing is the bottom and the kit provided the 3 planks needed and a backup bottom piece. If you mess up on the 3 planks you can use the backup as is or slice it apart and reglue it together.

dory3.jpg

i cut out the 3 planks and as you can see there is a little bump where the pieces were attached to the sheet, the light area

dory4.jpg

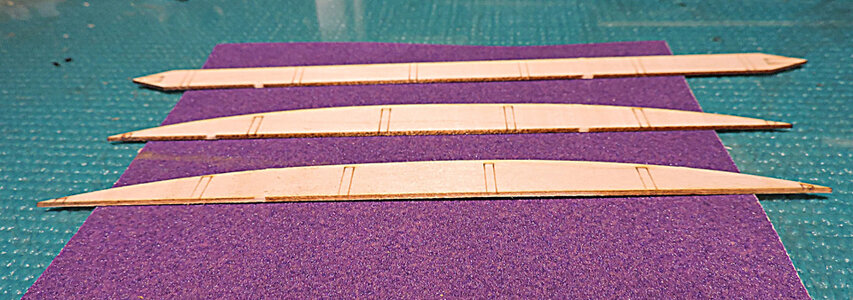
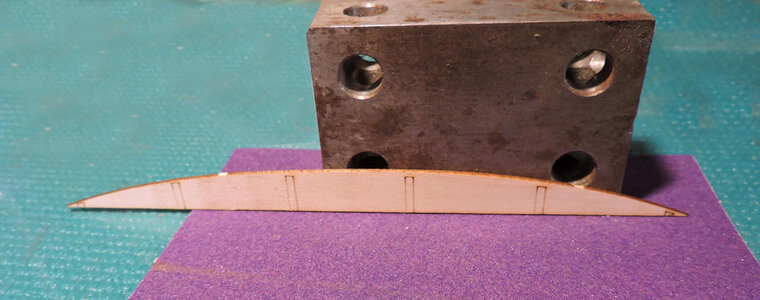
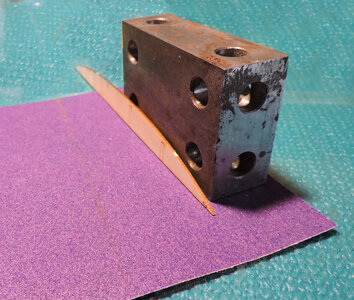
the joining edges have to be sanded so they fit tight together. One thing you do not want to do is round out the edge, at an angle or end up sanding the edge uneven. My way is to lay the provided piece of sandpaper on a flat surface, i use glass. Then i use a block ( not in the kit) and hold the floor piece against the block with my thumb and slide the piece back and forth. It does not take much Basswood is soft and sands real fast. Using the block insures i am sanding the edge at a 90 degree angle.

dory5.jpgdory6.jpg
 
Last edited:
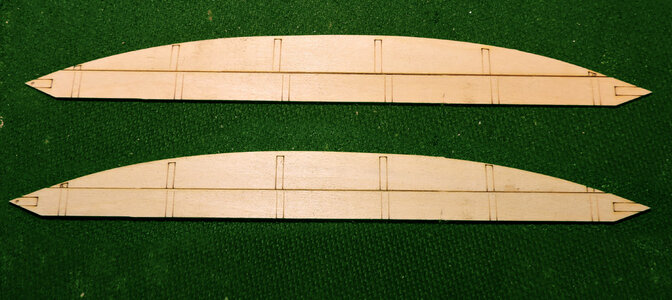
building the bottom is pretty straight forward just watch what your doing. I matters which side of the center piece you gluing the outer piece to.
if you got it wrong the score lines will not line up like the top example. They have to line up like the bottom example, there is a bow and stern to this little model.

DSCN6586.jpg

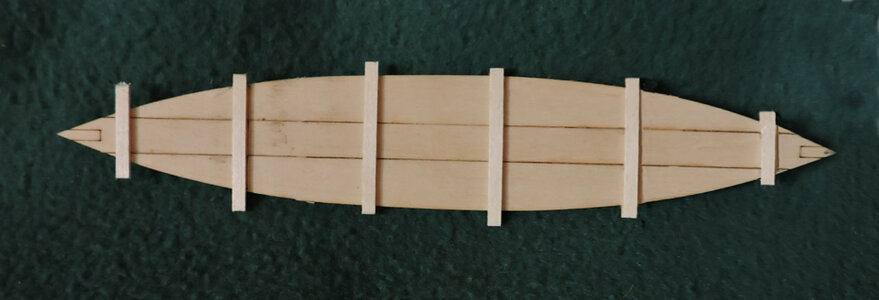
once i have the 3 bottom pieces glued together i added the botton cleats on the marks. i just cut pieces at random sises. I was easy to flip the bottom over and with a razor blade trim them back to the edge.

DSCN6587.jpg

Folling the instructions i wet the bottom and added a weight to give it a slight bend.

DSCN6593.jpg

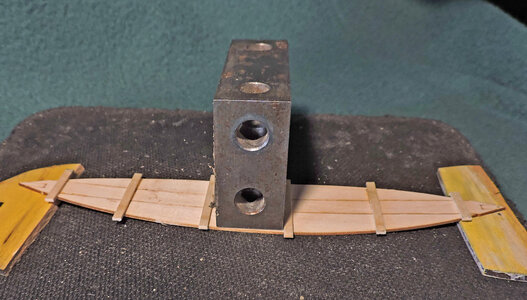
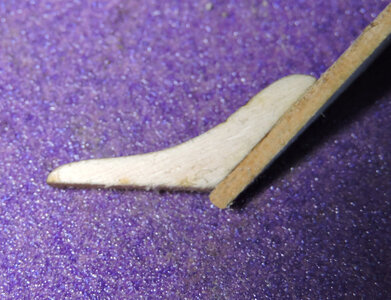
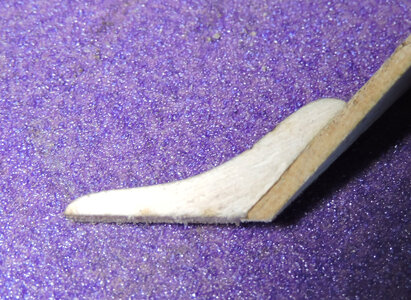
Next is to install the stem a simple piece that glues to the bottom. Look for a tiny dot on the bottom which indicates the bow. This is rather important that you get it right and not leaning to either side. Rather than trust the small bottom surface of the stem i used a block to rest the stem against.

DSCN6598.jpg

The stern piece is made up of a stern knee and transom piece. You will need to trim the pointed end of the transom to match up with the bottom of the knee.

DSCN6596.jpgDSCN6597.jpg

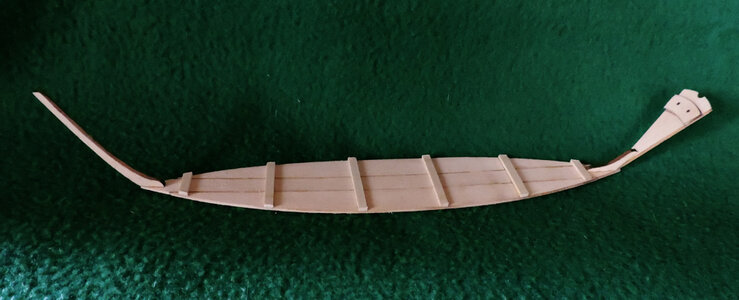
and this will finish the bottom

DSCN6600.jpg
 
Last edited:
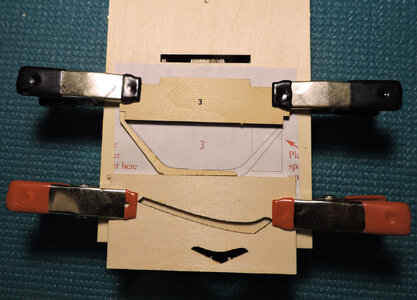
now comes building the frames. I am a jig guy and it is rare i will assemble things freehand. Having built many models i learned tiny errors along the way end up as bigger errors as you go along. Then you sit there wondering hum? this just does not fit right or look right. The instruction say to build the frames over the provided drawings which is fine. BUT freehand can lead to errors. So i set up a jig idea by first cutting out the pattern then clamping the top jig piece to the jig boars lining up the bottom edge to the drawing, next i used the scrap piece from the stem lined it up with the bottom of the frame and clamped it down.

DSCN6602.jpg

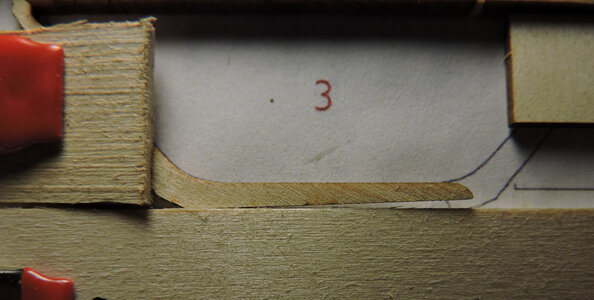
Something that might go unnoticed is these frame pieces are small and flexable so looking close the bottom does not sit flat at the bottom and has a warp.

DSCN6608.jpg

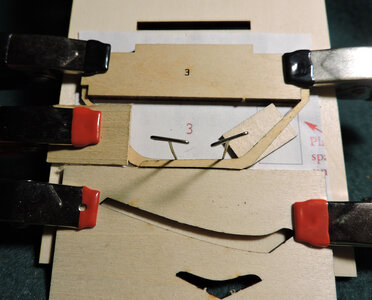
You can assemble the frames freehand and get them right OR just jig them up. Set the top in its notch and hold it there with a clamp. Use the spacer per the instructions and set the second piece in place. I used 2 pins to hold both bottom pieces in place against the straight edge.

DSCN6610.jpg

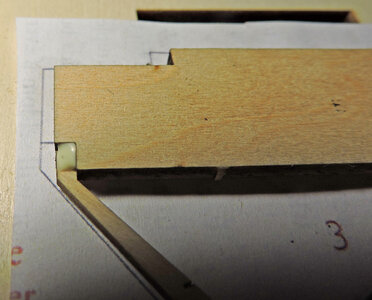
if i applied glue to the top of the frame that fit into the notch the glue will ooze out and glue the paper to the frame so i used a dab of glue on top.

DSCN6611.jpg

no point in showing all five frames as they were all done the same.
 
Last edited:
Looking good David.

thanks

as i work along i find this kit very simple if anything goes wrong it will be in the small details of the build

this kit is as advertised for beginners 101 and the main take away is building a wooden boat model is not the same as snapping plastic parts together.
 
this kit is as advertised for beginners 101 and the main take away is building a wooden boat model is not the same as snapping plastic parts together.
...just want to defend plastic scale models: it is NOT just snapping plastic parts together. There are kits with thousands of parts that require some skills. I will be happy to see the novice assembling the plastic kit boats or planes, as long as there is a desire and willingness.
 
point taken Jim i did make it sound like plastic kits are simple snap together pieces. I should reword my statement and say

this dory kit is not just gluing parts together it takes a little more than that.
 
I will be assembling my dory kit as soon as I will receive it. My palms are itchy... ;)
 
You sure that is not the leftover spirits from the holiday weekend!

Maybe we can get a mini-group build going for all the Dory's and other kits of the beginner set from ME.
 
You sure that is not the leftover spirits from the holiday weekend!

Maybe we can get a mini-group build going for all the Dory's and other kits of the beginner set from ME.

not a bad idea something like a school for beginners sponsored by Model Expo
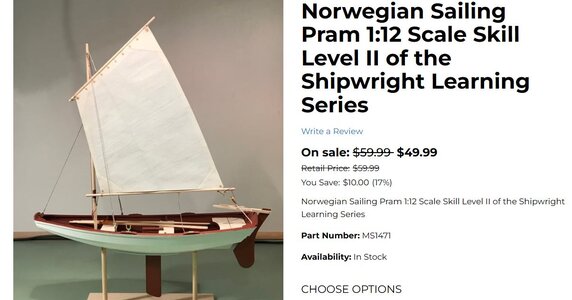
number 2 is

pram.JPG


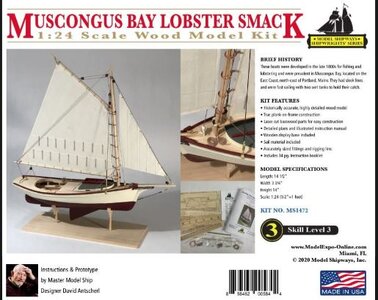
i did find number 3 in the series

l smack.JPG

not sure if there is a number 4 but a great deal if you get store credit on finishing number 1 you can get number 2 it is like getting a student discount
 
Last edited:
Now if we can get one of moderators to set up the group for us all to join in with our trio of beginners kits.

I have learned sometimes building the simple kits is harder than it looks when you think you know it all from years of building experience.
 
Dave, I love all three of these kits. Have fun and I'm pulling up my stool and a cold one to sip on while you work. Magic Mike
 
Now if we can get one of moderators to set up the group for us all to join in with our trio of beginners kits.
This would be almost impossible to create a group build for each kit, it is not a difficult task from the technical aspect. As the word 'group' implies, there should be a group of members actively building. I mean at least 8~10 members. Should this be the case, we can create a such group.
 
I just finished my Dory, my first wood model and it was very satisfying. Now started on the Norwegian sailing pram.

“concept, it is everything you need to build this model. So if you never built a model kit and have no tools what so ever it's all here. On the other hand if you have built models and have basic stuff then you are paying for a lot of things you don't need.”

Don’t forget you can buy the kit alone without the tools. I have been a plastic model builder for many years so I am well supplied with tools. I bought the kit alone. I found their suggestion to use modified binder clips as clamps to hold the planks in place a great idea!

I look forward to watching your build!
 
Back
Top