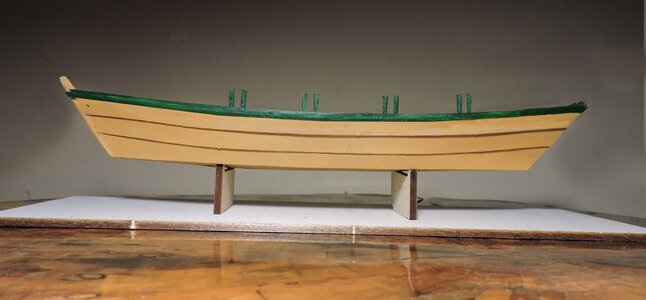
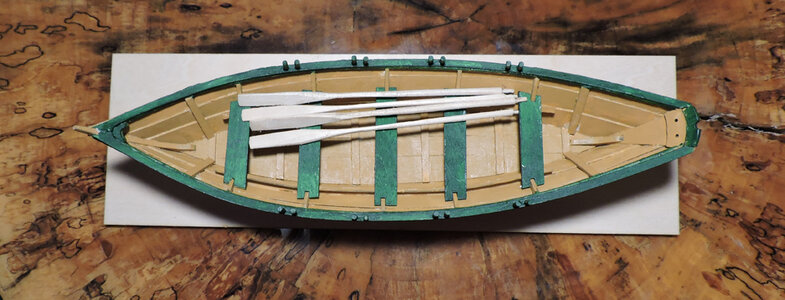
Lowell Grand Banks Dory [COMPLETED BUILD]

moving on to the next plank

the instruction suggested gluing the end of the broard plank to the stem and allow it to dry. Then one frame at a time put glue along the edge and on a frame, hold it there until the glue dries and move along to the next frame. That is what i did with the first gardboard but used 10 second super glue. It did work out but the second gardboards i glued all at once using rubber bands and clamps. The second set worked out because it gave me time to adjust the plank so that is how i did the second plank.
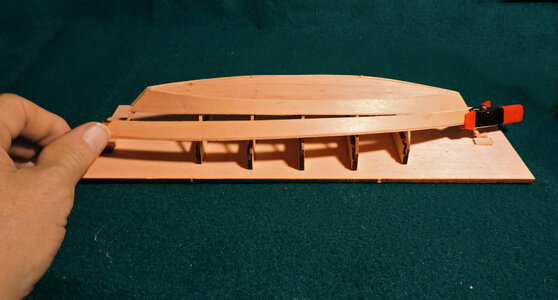
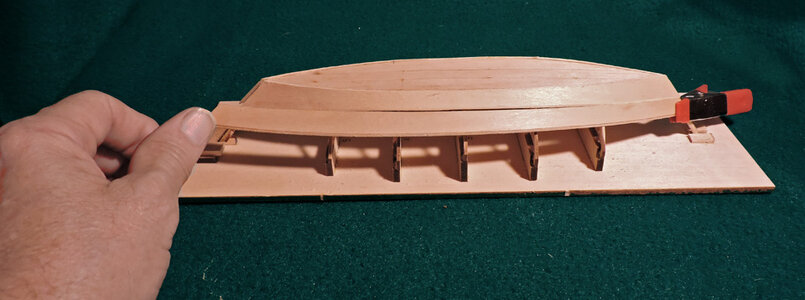
i may be over thinking it but i thought what could go wrong with guling the end to the stem and work my way to the stern frame by frame? once that end is glued you are committed to how that plank will naturally bend along the hull.
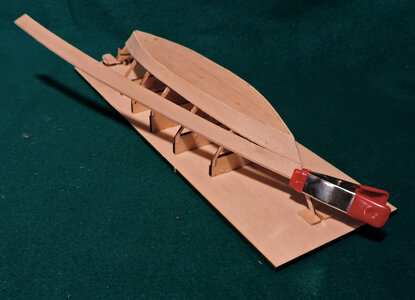
DSCN6758.jpg

a little to much angle and the plank will naturally run downward
DSCN6759.jpg

a little to less of an angle the plank will naturally run low
DSCN6760.jpg

it has to be just right to hit it's mark at the stern. So i did this plank the same way i did the gardboard

DSCN6763.jpg

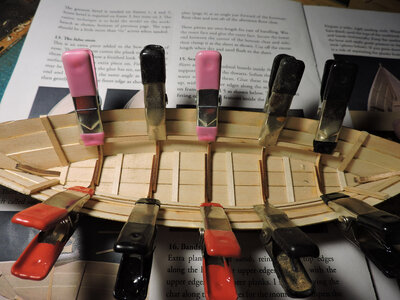
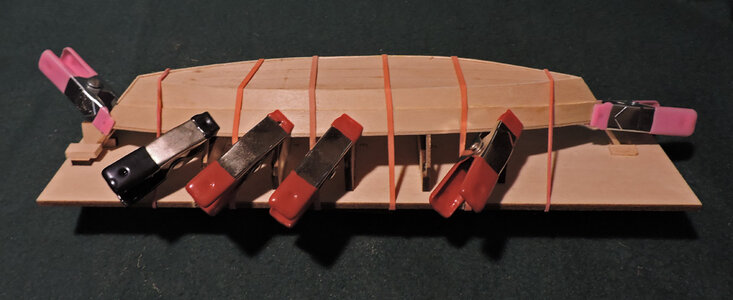
using rubber bands i slid the plank between the rubber bands and the frames, then applied glue all along the gardboard edge and frames and slid the broad plank up. A little tweak and twist here and there and a little over lap at the bow and stern and when i got it in place on went the clamps.
DSCN6767.jpg

i can see there is no room between the broad plank and the jig base for clamping the last plank. hum?
 
Last edited:
I glued the entire board down at once. Using wood glue gives you time to make adjustments. As I said in the past I pre bent the boards by placing them in hot water and letting them dry. Also I used a combination of modified binder clamps and rubber bands to keep the boards in place.

1704655784060.jpeg
 
Last edited:
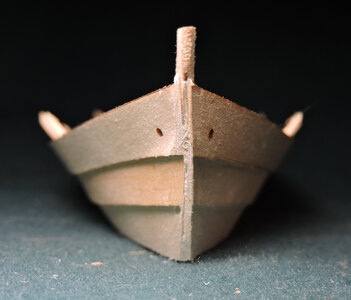
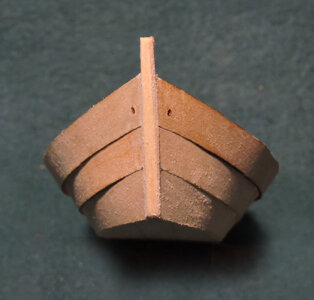
to finish off the stem a nose piece is glued to the front and sanded to blend in to the planks.

without the nose piece the ends of the planks and the stem show

DSCN6790.jpg

once the nose piece is added it covers the ends of the planks and gives the stem a nice finish

DSCN6804.jpg

watch when you are planking the hull to make sure planks on both sides line up at the stem, this gives a symmetry to the run of the planks.
 
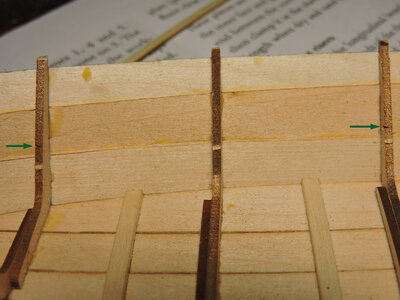
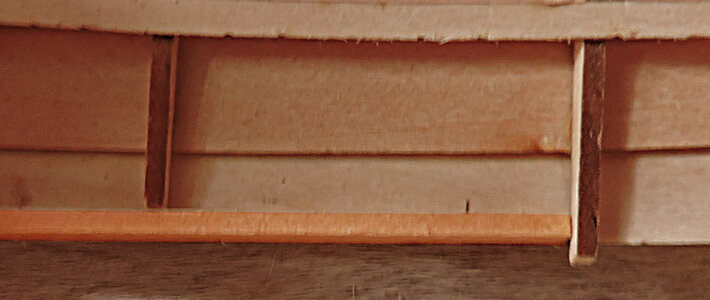
moving on to the seat risers, these are laser cut. The instructions say to line the upper edge to the marks of the frames. My first thought was what marks? They are tiny and hard to see but they are there. If you sanded the inside edge of the frames you might of sanded them off.

DSCN6800.jpg

an easy step in the build just a little glue on the frames and lots of clamps. The instructions once again suggest wetting the pieces to bend them. I found they bent just fine dry.

DSCN6802.jpg
 
Suggested reading for model dory builders:
  • American Small Sailing Craft: Their Design, Development, and Construction. Howard I. Chapelle
  • The Dory Book. John Gardner
  • Captains Courageous. Rudyard Kipling
 
Dave:
Thanks for the kind words but several factors made construction of the RC sailing dory easier than your detailed bank dory: 1) bigger scale 2) no inboard detail 3) simplified construction (plywood frames with only two side planks and one bottom plank) and 4) generally less attention to small detail.

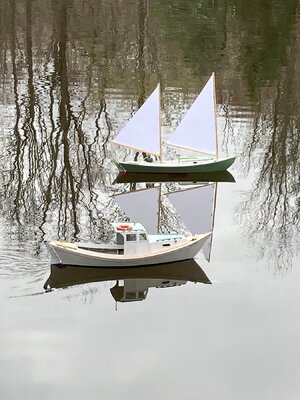
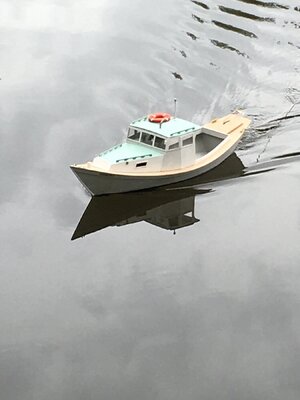
OK well you've got me started... Here are pics of my powered St. Pierre dory. Also 1:12 scale.

saildory8.jpgstpierre 5.jpgstpierre 1.JPG
 
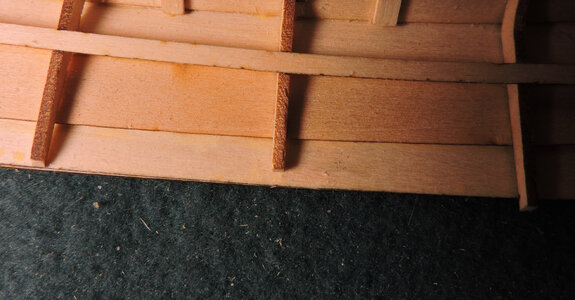
next are the bands which is a strip glued along the top edge of the plank. Very easy and simple. The band bent easy dry so i just clamped it in place.

DSCN6807.jpgDSCN6808.jpg
 
adding the gunwale seemed like a tricky operation. It required cutting the tops of the frames down 1/16 inch. The hull feels delicate like an egg shell and cutting down the frame would split the top plank. But the addition of the outer band did beef up the plank edge and it wasn't that difficult. I lined up the 1/16 strip with the top of the plank and with a razor blade cut the top of the frame.

DSCN6814.jpgDSCN6809.jpg
 
once the gun wales were added the last step was the caprail and the model is finished

DSCN6819.jpg

DSCN6818.jpg

in review this model can be built in an afternoon or a weekend project. I would say any first time builder would be able to build a nice model.
The only problem i had was having to figure out the bow and stern of the first two planks. The instructions suggested wetting the planks which i did not do, i found they bent with no problem dry.
 
Congratulations for finishing this model - very well done
 
Dave, Thank you for doing this log, it was very informative to me. I bought this kit and it is my first attempt at a model. I am currently at the first Garboard plank in my build and am running into the same issues you mentioned in yours. It is reassuring to me that an experienced modeler was struggling with the instructions as I am. I will be posting my build log to discuss my journey on this project.
Congratulations, your Dory looks great.
Dave
 
Back
Top