Lowell Grand Banks Dory, Scale 1:24, by Model Shipways, Beginner's kit [COMPLETED BUILD]

Jimsky

Administrator
Staff member
Administrator
Forum Moderator
Joined
Nov 3, 2018
Messages
12,195
Points
938

Location
Brooklyn, New York USA
1704990865248.png
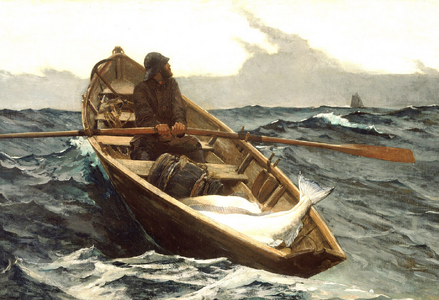
The Fog Warning, painted by Winslow Homer in 1885

To end the 2023 year with finishing at least one model, hence helping novice scale modelers who are just new to the hobby or switching from plastic, I decided to assemble the Lowell Grand Banks Dory, the kit made by Model Shipways (beginner series). I went to the Model Expo and 'clicked the button'. ;) Sure enough, less than a week later, my kit has been arrived. The idea was to build this ship in a few days (weekend project)... so let's see what happened.

Dories. What is a Dory?
Information on dories is varied and contradictory. This is because there are many different styles of dories and boatbuilders have adapted the dory for local conditions. The name Dory usually brings to mind the Grand Banks Dory, with its straight sides, flat bottom, narrow transom, and characteristic straight bow. Relatively Light and simple to build and stackable they were used as fishing dinghies.
There are many types of dory type boats in the world. VanGogh left us a drawing of dory-like boats. Another example is the Portuguese fishing boats that have very similar lines.
John Gardener in his book The Dory Book, defines a dory as " A dory is a flat-bottomed boat, with sides and bottom planked lengthwise and with no keel structure other than the bottom planking". Dories were cheap and quick to make and as in the case of the Grand Banks Dory stackable. The mother ship would go out with large piles of dories on deck. When they reached the fishing grounds the dories would be launched. At the end of the day, the dories would be brought back on board.
Dories can vary a lot in shape. It seems that every locality has a brand of boat they call a dory. Various designs evolved depending on the use the dory was to be put to and the nature of the water in the area.

Grand Banks Dory
Thinking about Grand Banks Dory makes you want to break out in a rousing chorus of "squid jigging ground". The legend is dear to modern boaters but the reality of these dories was harsher. They were tricky boats to handle until you had half a load of fish. Luckily they were rarely empty. Going out the boat would have fishing gear and bait, coming in they would have fish. Their great claim to fame was that they were quick and cheap to make and stackable. This was a great advantage.

The model
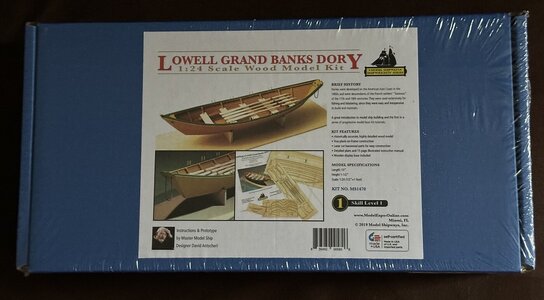
Model designed and instruction book written by David Antscher. Kit made in the USA by Model Shipways (a decision of Model Expo). Kit #MS1470 at scale 1:24 (1/2" 1'0"). All materials are basswood. If you decide to paint your Dory, then you will need to purchase the paint suggested.
Model overall length 10'
Width 3",
height 1 1/2"
IMG_0243.jpeg

The assembly
I will build mostly as per instruction using suggested tools (listed on pages 26-28 manual) and the video listed in the Model Expo as New Model Shipways Shipwrights Series So...Let's begin...

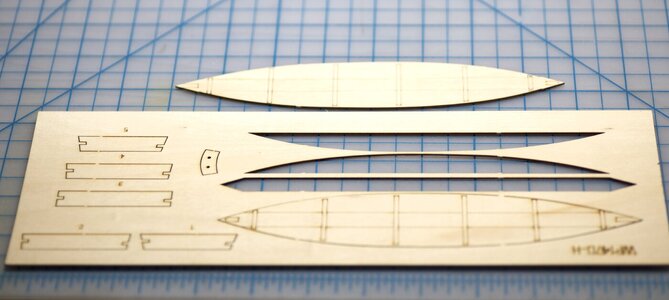
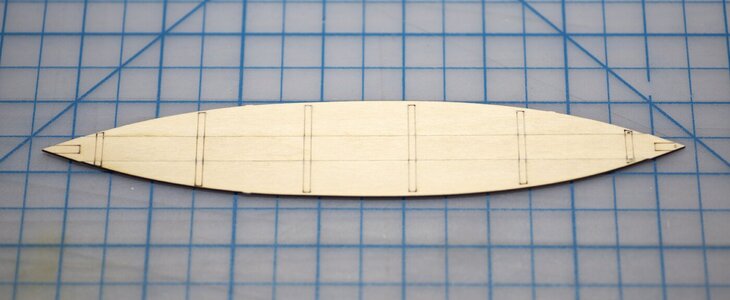
Dories are bottom-flat, preparing the bottom first. Kit provides 2 versions of the bottom: making from a single piece or if you want to make from three laser-cut pieces (image below). I choose to use a three-piece bottom and glue them together. Make sure the engraving marks should match to create a solid line.
600_4238.jpg
600_4239.jpg
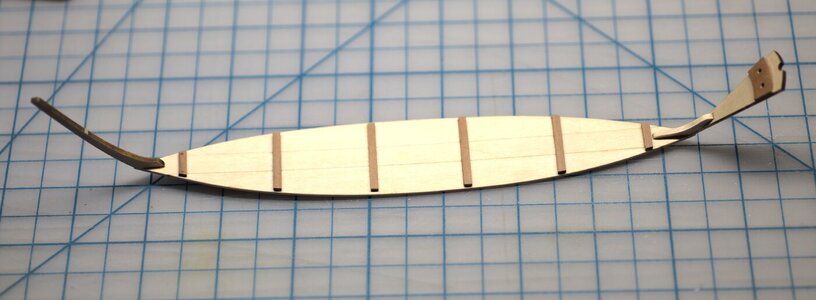
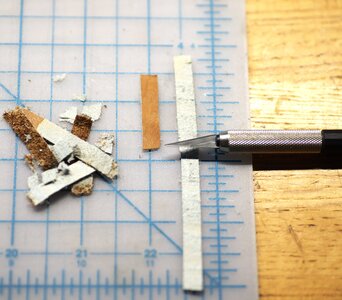
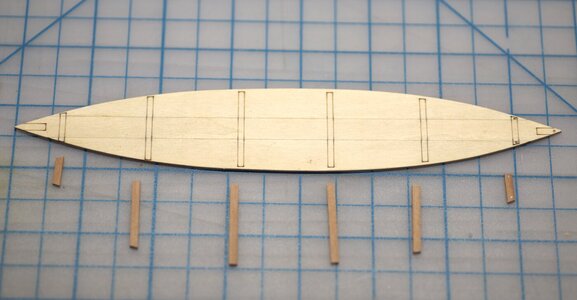
The next step is to add the cleats (bottom reinforcement). I use one of my dyes to make the strip for cleats darker and cut the required sizes. I forgot to mention, that my Dorry will not be painted, as I have no skills necessary, I will play with different colors of the wood.
NOTE: I identify the bow with engraved dots.
600_4240.jpg

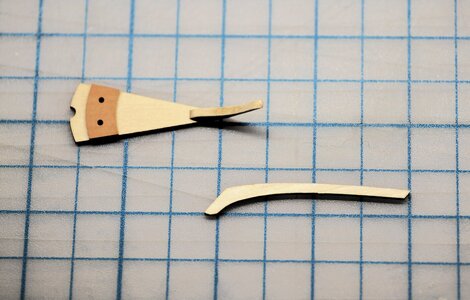
While the glue dried, I prepared the stern and stem posts.
600_4242.jpg

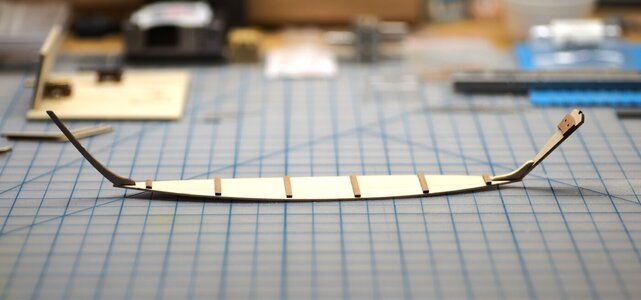
...and the manual suggested gluing them to the bottom. NOTE: the curvature at the bow and stern (I didn't take the photo, but the manual mentioned this.
600_4244.jpg
600_4245.jpg

...to be continued...
 
Assembling the Dorry continued...

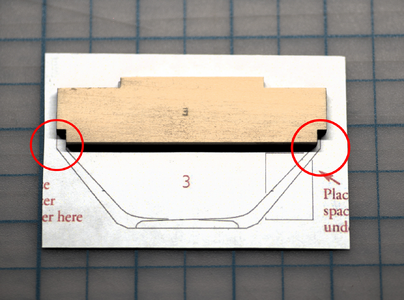
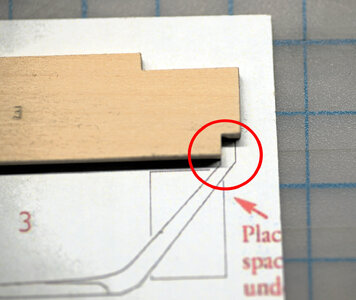
Next, I will assemble the frames. The kits supplied laser-cut half frames, wood templates, and paper patterns in scale 1:1 to aid in gluing them together. Pay attention to match numbers and make sure the half-frames fit the paper pattern before gluing. NOTE: I found it necessary to remove some material from wooden templates on each side of the templates so the half-frames fit according to the diagram. Align the tab (top portion of the wooden template with the provided pattern so you will have an idea of how much material you should remove.

600_4246_A.png

Carefully remove excess material and constantly verify with the pattern until it fits the size.
600_4249_A.jpg

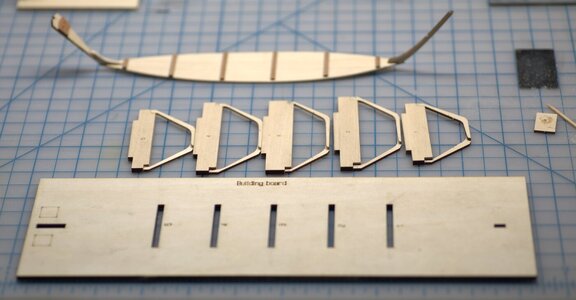
Glue together half-rames according to a given frame pattern. All the frames are assembled and ready to be placed on the building board. Each frame has a corresponding slot on the building board. Frames are supposed to fit snugly into the slots. DO NOT make the slots loose. At the same time, DO NOT force it to insert, you may just need to shape it from each side a bit. The basswood frames are soft and brittle.
One more recommendation: as suggested by the manual after gluing the frames to shape the bottom of each frame to make it flat and even.

600_4253.jpg

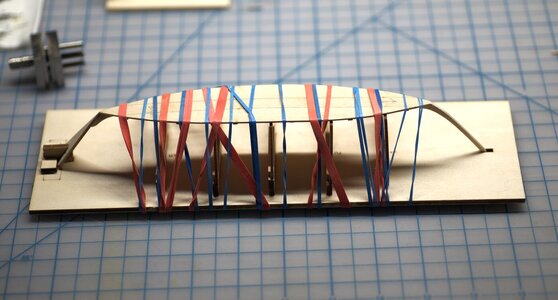
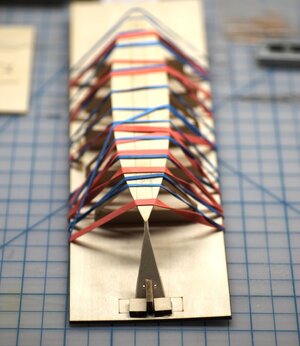
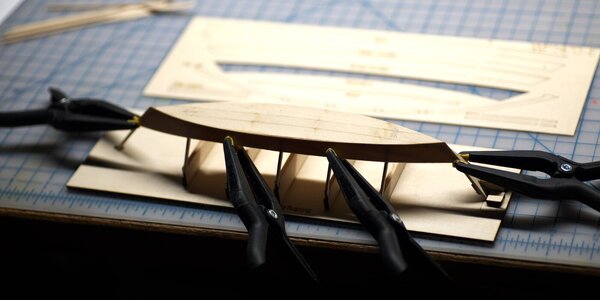
Below is the image of all frames on the board and the bottom piece is glued and reinforced by rubberbands until it is completely dried.
600_4254.jpg
600_4256.jpg600_4255.jpg

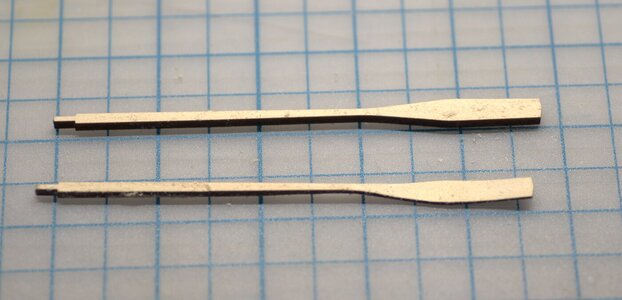
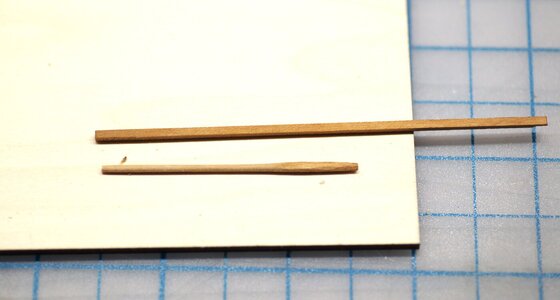
While I set it dry, I shape the oars. No special tools were used, only sandpaper sticks and sandpaper of various grits. The instruction called to make the blade flat, so I decided to make mine blase a bit fancier...

600_4257.jpg

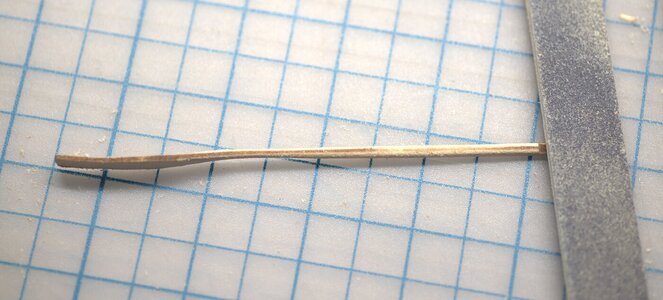
...then into the loom, this one required to round up without changing the shape and size.
600_4260.jpg

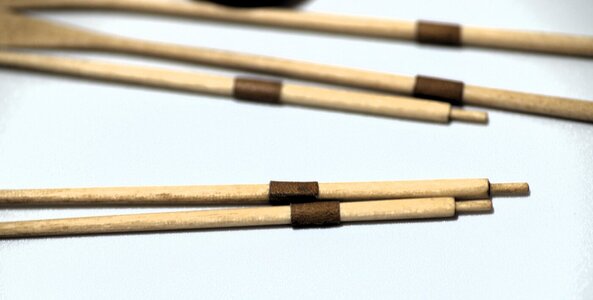
Here are the final oars, I made the collars from real leather, and peeled the very thin layer from the skin using the sharp scalpel blade (secret way of our Master Rigging Joahan @archjofo

600_4277.jpg
600_4278.jpg
600_4306.jpg

stay tuned, to be continued...
 
Assembling the Dorry continued...

I gave a full 2 hours until the glue completely dried and carefully removed all the rubber bands. Also, I took advice from the manual and bevel Stem and stern pieces for the Garboard to glue next. Regarding the Garboard plank, I know there is a discussion on Dave's build log about which way is the right way to glue. I choose the hawse holes as the guide to be at the bow side. As suggested in the video, I soak the planks before gluing on the hull.
600_4261.jpg

The next.. the disaster came in... :eek: oh yeah...it always comes when you don't expect it. When I glued both Broad strakes, not sure what happened, but the starboard side was higher than the side. I was trying to carefully remove it but...broke both. I didn't have basswood stock to make a replacement, so I decided to use birch plywood 1/64. However, I didn't want to combine basswood with plywood, so I decided to remove the garboard plank and...yeah you guessed it right - broke some frames. :mad: Long story short, I replace the broken frames by making new ones from scratch using the laser-cut ofcuts as templates.

1705009563585.png

I took a deep breath and coffee break. The work was resumed and... another disaster - I forgot to take photos of the planking process. Here is the photo with a complete planking and removal from the building base. Gluing additional side cleats on the bow and stern sides.
600_4262.jpg

600_4264.jpg

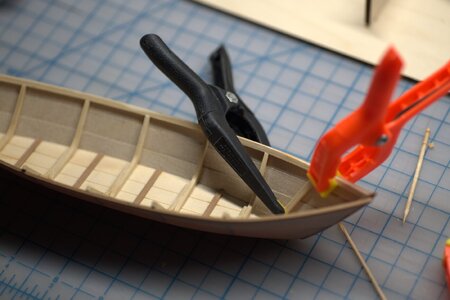
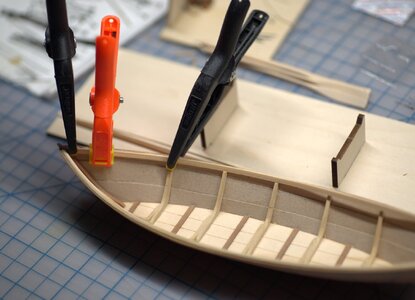
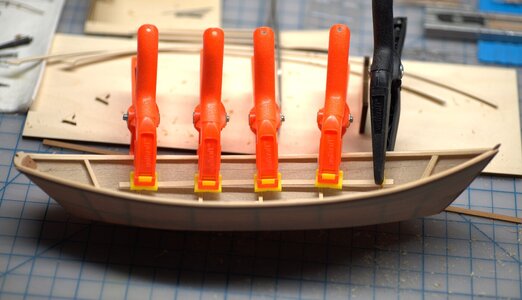
The next step is the seat risers. Some of the frames have little laser marks. Alining the strip with those marks will do. Clamp on until dry.
600_4269.jpg

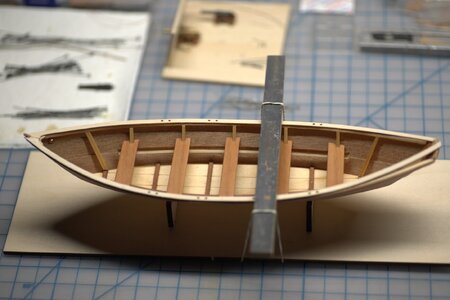
The next step is glue banks (seats) and caprails. Each of the 5 seats is labeled and requires some sandpaper cleaning and shaping before glue. The process is fairly simple and shouldn't be challenging. Caprails are glued then, and reinforced with rubberband until completely dried.
600_4272.jpg

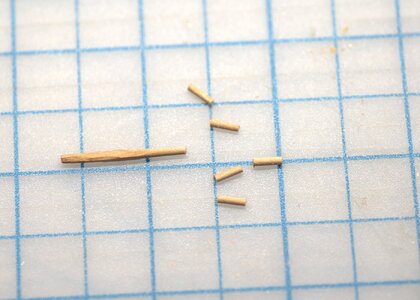
At this point, the only parts left are the oarlocks. I took the square stock and inserted it into the rotary tool against the sandpaper to make it round. It was quick and efficient.
600_4275.jpg
600_4276.jpg

...and here is the final assembly

IMG_0248.jpeg
IMG_0252.jpeg

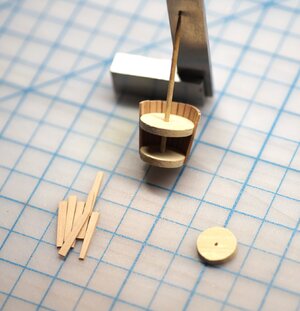
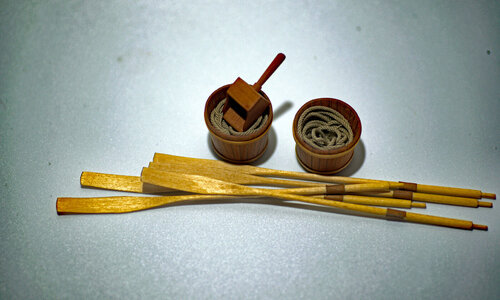
For a final presentation, I scratch-made some fish buckets, and a water scooper (hope it is the proper name)
600_4280.jpg
600_4281.jpg

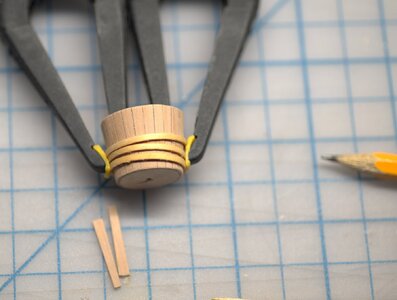
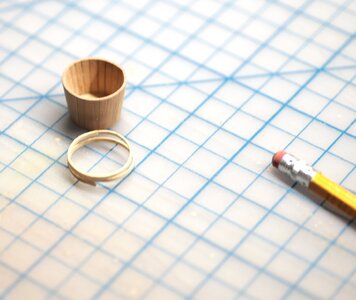
The bands are made out of small strips of boxwood. Soaked in the hot water and bent around the bucket until dried. Then cut and glue to the size required.
600_4283.jpg
600_4284.jpg

Here is the result
600_4285.jpg

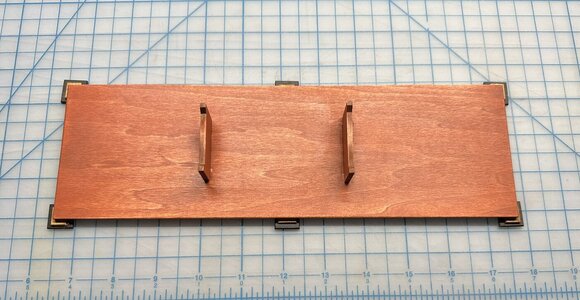
At this time everything is oiled and waiting to dry for final images. Meanwhile, dress up the presentation board.
IMG_0255.jpeg
Stay tuned for the Dory finale, to be continued...
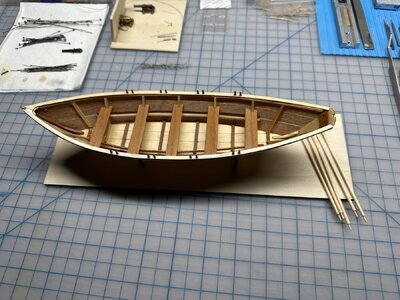
 
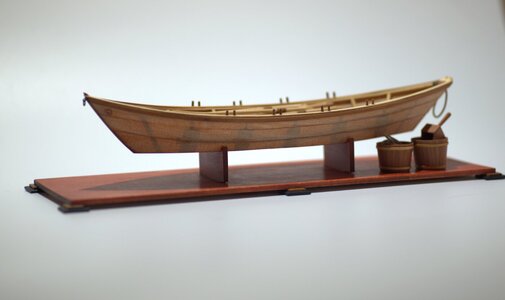
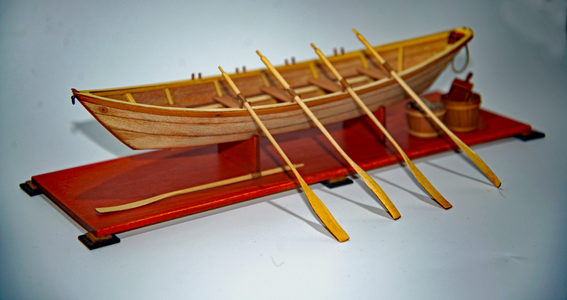
...and here are the final images of a complete model.

600_4290.jpg600_4289.jpg
600_4295.png
600_4293.png
600_4305_a.jpg

Despite some troubles at the beginning, it is an enjoyable project. I've enjoyed assembly, and my desire to build additional scratch parts is proof. Even though this kit is recommended to the beginner, I highly suggest this Dory kit to anyone, as the weekend project! As for beginners, I highly recommend and we can help (if required)

Thank you all for your participation, and happy modeling!
 
Hello Jim, wonderful, something small but nice and just the right thing to start with.
Thank you, mon ami! I aimed this as the weekend project and made this happen. I needed something to start and complete. ;)
Very nicely done Jim, looks great.
Thank you, Roger, It was absolute fun despite some troubles...It is a great kit for beginners!
 
...and here are the final images of a complete model.

View attachment 420638View attachment 420637
View attachment 420639
View attachment 420641
View attachment 420642

Despite some troubles at the beginning, it is an enjoyable project. I've enjoyed assembly, and my desire to build additional scratch parts is proof. Even though this kit is recommended to the beginner, I highly suggest this Dory kit to anyone, as the weekend project! As for beginners, I highly recommend and we can help (if required)

Thank you all for your participation, and happy modeling!
Hi Jim, it may be simple but comungue it commits you to no mistakes, do you feel up to making a model from ZERO? I'll send you a project,how about it? Frank
 
...and here are the final images of a complete model.

View attachment 420638View attachment 420637
View attachment 420639
View attachment 420641
View attachment 420642

Despite some troubles at the beginning, it is an enjoyable project. I've enjoyed assembly, and my desire to build additional scratch parts is proof. Even though this kit is recommended to the beginner, I highly suggest this Dory kit to anyone, as the weekend project! As for beginners, I highly recommend and we can help (if required)

Thank you all for your participation, and happy modeling!
I'd happily go fishing in that dory. Great workmanship, Jim.
 
Hi Jim, it may be simple but comungue it commits you to no mistakes, do you feel up to making a model from ZERO? I'll send you a project,how about it? Frank
Hello, Francesco.

This sounds very intriguing, and I really appreciate it. I can certainly consider such a project if it does not take too long to complete. I already have three projects 'in-flight'. Thank you.
 
...and here are the final images of a complete model.

View attachment 420638View attachment 420637
View attachment 420639
View attachment 420641
View attachment 420642

Despite some troubles at the beginning, it is an enjoyable project. I've enjoyed assembly, and my desire to build additional scratch parts is proof. Even though this kit is recommended to the beginner, I highly suggest this Dory kit to anyone, as the weekend project! As for beginners, I highly recommend and we can help (if required)

Thank you all for your participation, and happy modeling!
Good morning Jim. A quick fire but fun build wonderfully done. Cheers Grant
 
Back
Top