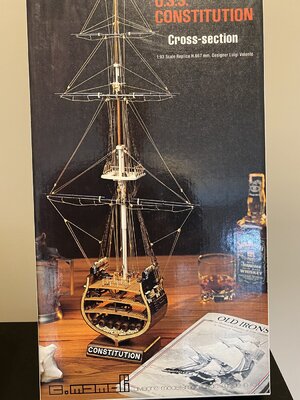
Mamoli 1/93 USS Constitution Cross-Section

Joined
Jan 26, 2021
Messages
26
Points
48

I've had this kit in my stash for quite a few years and I think it's finally time to build it. I know that the kit is chock full of inaccuracies, it's missing a deck Mamoli modeled 3 decks instead of the correct 4), there is a cannon on the main deck (probably added to create display interest), the pumps are the wrong type (looks like they used the style they were changed to in the mid-1800s), there's no plumbing below the pumps, a brace is missing from the hold bottom, and probably a host more.

However, I don't care, I'm not building it for a museum piece but to hone some of my skills and as a nice display piece for my office. I really like that it models the full main mast rather than just a stub mask that some of the larger scale models use. The only changes I'm planning to make are, 1) scribing joint lines on the outside frames to add both realism and visual interest, and 2) maybe carving and adding the brace in the hold.

I plan to follow the build instructions with a few exceptions to make it easier to model. I'll build the frames flat (add spacers to each frame individually) and then stack them. I also intend to build and populate each deck separately, then slide them in like drawers and add the final details. That will make it much easier to add all of the details to each deck and do final assembly from the bottom up so I don't have to try to place items between decks with a tweezer. After all, it's 1/93 scale so pretty small.

And away we go....

Dominick
IMG_2324.jpg
 
I've had this kit in my stash for quite a few years and I think it's finally time to build it. I know that the kit is chock full of inaccuracies, it's missing a deck Mamoli modeled 3 decks instead of the correct 4), there is a cannon on the main deck (probably added to create display interest), the pumps are the wrong type (looks like they used the style they were changed to in the mid-1800s), there's no plumbing below the pumps, a brace is missing from the hold bottom, and probably a host more.

However, I don't care, I'm not building it for a museum piece but to hone some of my skills and as a nice display piece for my office. I really like that it models the full main mast rather than just a stub mask that some of the larger scale models use. The only changes I'm planning to make are, 1) scribing joint lines on the outside frames to add both realism and visual interest, and 2) maybe carving and adding the brace in the hold.

I plan to follow the build instructions with a few exceptions to make it easier to model. I'll build the frames flat (add spacers to each frame individually) and then stack them. I also intend to build and populate each deck separately, then slide them in like drawers and add the final details. That will make it much easier to add all of the details to each deck and do final assembly from the bottom up so I don't have to try to place items between decks with a tweezer. After all, it's 1/93 scale so pretty small.

And away we go....

Dominick

View attachment 208943
good luck and a lot of enjoy from the process
 
Thanks Fellas,

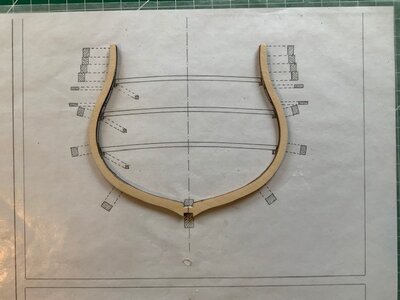
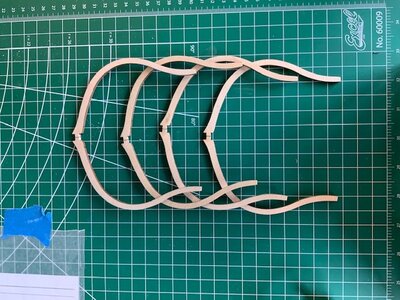
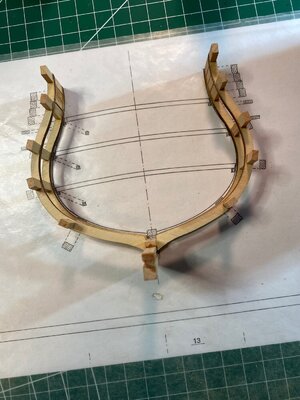
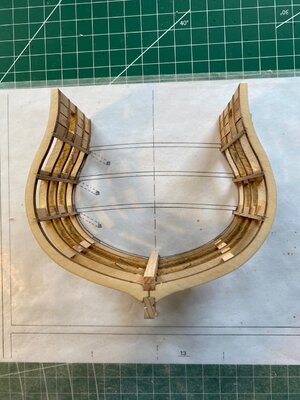
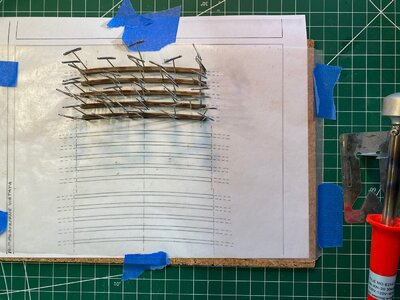
So I started this by building the frames. The instructions have you build the frames as you progress up the keel but I thought that would introduce too much opportunity for errors with things ending up out of square. I decided to build all of the frames flat, add the spacers to each frame, and then attach them to the keel afterward.

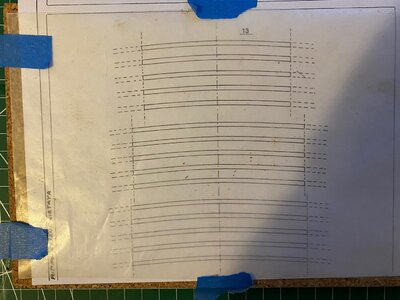
I made a copy of the template and taped it to my building surface with a piece of wax paper over it. Then I positioned each of the frame halves and glued them together. As I completed each frame I checked them against each other since they are all exactly the same. They came out close to perfect. But don't worry, there's still plenty of opportunity for me to screw up.

Constitution 1.jpg

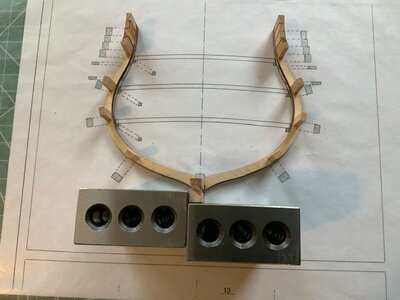
Once the frames were built I attached the keel to the bottom frame using a pair of machinist blocks to ensure it was square to the frame and building surface.

Constitution 2.jpgConstitution 3.jpg

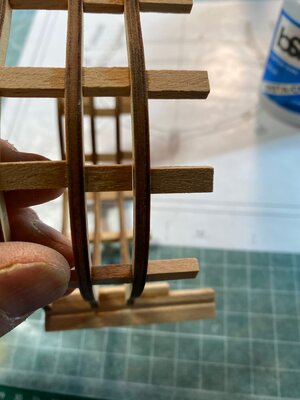
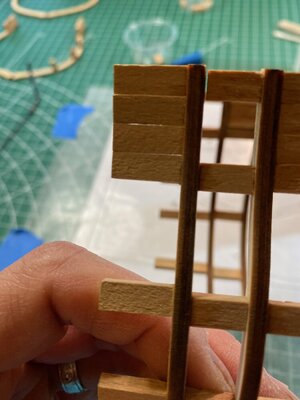
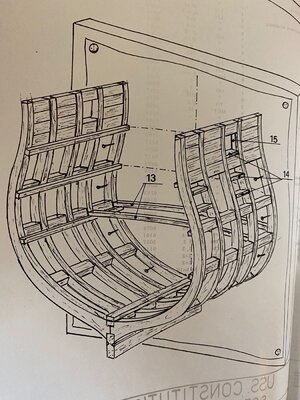
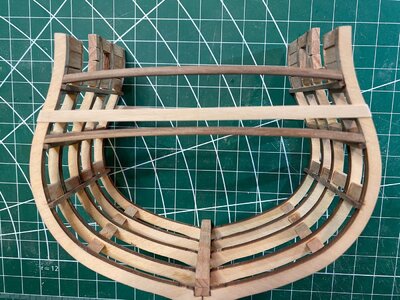
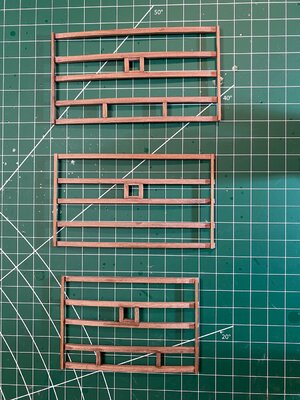
Next, using the copied template and the plans as reference, I added the long and short spacers. I've seen a number of build logs that complain about the pre-cut spacers looking like a 4-year old cut them. Honestly, they weren't perfect but given that they won't show once the planking is on they weren't horrible. One or two were a hair shorter than the others (which showed up when I stacked the frames) but it was easy to glue in shims made from leftover second layer planking from my Dhow build. The instructions are pretty vague and if you don't follow the plan closely (relying on only the template) you will come up 4 short on the shorter spacers. Even though I built it correctly I still had a few leftover larger spacers.

IMG_2327.jpg

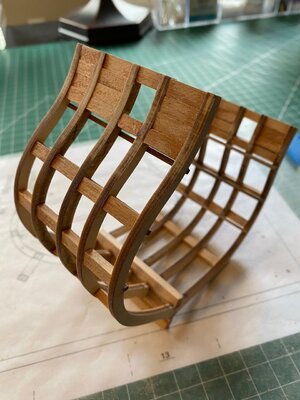
Once they were all complete I began stacking them using my machinist blocks to ensure alignment. They all went together perfectly except for two small gaps due to the imperfect spacers, that I filled with shims.

IMG_2328.jpgIMG_2329.jpgIMG_2330.jpg

More to come....

Dominick
 
Last edited:
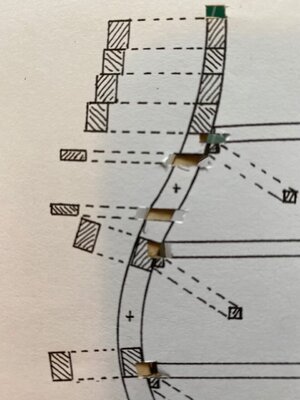
After I completed the basic structure, I faired the frames (they needed very little) and made myself a template to help in locating the deck beam supports. I copied the plan template and made cutouts so I could align the template with the top and sides of the frame and mark the location of the deck beam supports and the cannon port tops and bottoms.

IMG_2335.jpg

I marked the locations on the left and right faces of both the front and back outside frames, flipping it over when needed to create a mirror image. I then used a ruler to trace the marks onto the inside of all of the frames, cut the 2mm x 2mm walnut strips to approximate length (I left them slightly long), glued them in place, and sanded them flush with the frame ends.

IMG_2332.jpgIMG_2334.jpg

I also installed the false keel(s). This was really confusing because the instructions don't tell you to install two pieces but the parts list has what appears to be a pen and ink update where a 1 was converted to a 2. Also, the template looks like there are two pieces stacked but when I lay the completed hull section over the template my false keel is a bit taller. Yet later drawings clearly show 2 pieces stacked. Let's hope I got it right. If not my keel will just be more prominent in the hold.

IMG_2326.jpg

Dominick
 
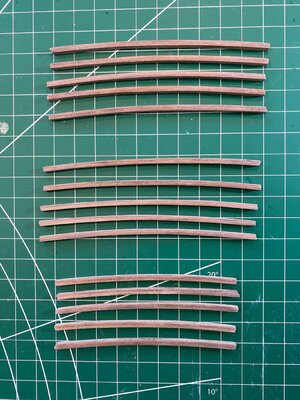
This afternoon I made the deck beams. They are made by bending two pieces of 1.5mm x 4mm walnut to match a template, gluing them together, and then leaving them pinned in place until the glue dries. I would have rather just bent a single piece of 3mm x 4mm walnut to shape but I think the kit designer made a number of choices with the intent of making this a good kit for a beginner - like not having to bend the beams using traditional methods. This might also explain why the hull doesn't taper toward the rear at the mainmast like it does on the real ship.

I chose to follow the instructions here (partly because I didn't have any 3mm x 4mm walnut) with the exception of pre-bending the pieces before pinning and gluing them. If you have some 3mm x 4mm walnut just make the beams from a single piece rather than doing the glue-up. The sanding along the seams to even them out was a pain in the a**.

Anyway, I started by copying the template from the plans and taping them over a sheet of cork. I taped a sheet of wax paper over the plan. I cut all of the strips to length (I made them oversize as recommended in the instructions). You can get one of each length from a strip of walnut which makes efficient use of the material. Then I soaked the strips, pre-bent them using my electric plank bending iron, pinned them to the plan in pairs, and glued them up with CA.

IMG_2336.jpgIMG_2337.jpg

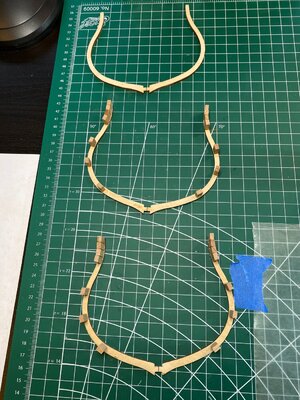
After the glue dried I removed them from the board and sanded them. Here they are from bottom to top, (top, middle, and lower deck beams) ready to be cut to the correct lengths. Now I need to figure out how to temporarily tack them in place to add a few deck planks (I'm thinking some very thin double sided tape might do the trick) after that I think I can finish them on the bench using the plan templates.

IMG_2338.jpg

Dominick
 
Not a lot of progress today but I did get some work done on Old Connie. I got all of the deck beams cut and fit into the hull. I made sure to identify the two with the best contour fit for the visible ends. The rubber band is just to keep the beams pinched in place for the photo.

IMG_2344.jpg

I also managed to cut the openings for the companionway...I think that's what it's called.

IMG_2342.jpg

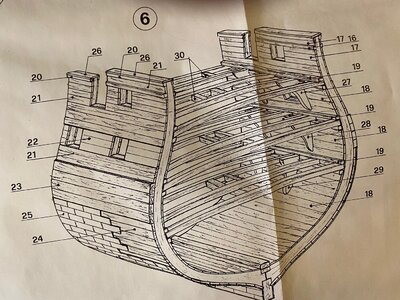
And I have a question that I hope someone will be kind enough to answer. I'm getting ready to start planking the exterior. I want to add some strength before I start building the deck frames and the decks. See the planking plan below. I'm not sure where to start the first course of planks. My first instinct is to start at the gun port openings with part 22 and then work up and down from the gun ports based on the number of courses shown in the plan. This way the topmost plank can be trimmed to size and mostly hidden and the bottom most plank can be trimmed to size and slipped into the rabbet. That just seems right. Any better advice from the more experienced builders?

Second question...I'm not a big fan of the green pieces of pre-cut wood that Mamoli provides for the copper plating and intend to purchase some copper plates. For 1/96 scale, what size of plates (approximately) is appropriate? I see that Model Shipways has 2 sizes available but I am sure there are others.

Thanks in advance.

Dominick
IMG_2345.jpg
 
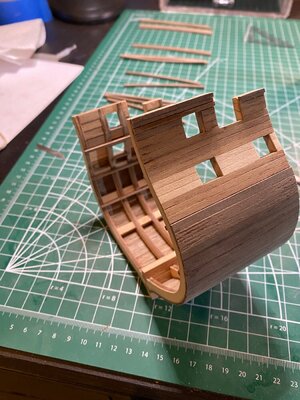
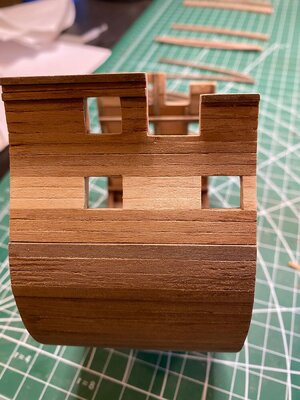
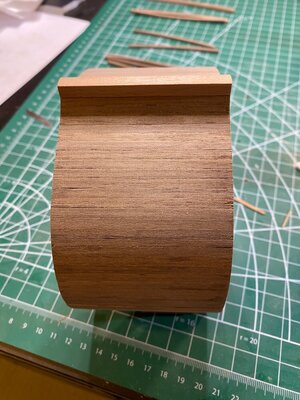
Despite having to get some work stuff completed, I got a bit more done today on Old Connie. I fully planked the outside of the hull. I started with the walnut plank just above the cannon ports to set a line for the maple planks. Then I laid in the maple planks and the walnut plank just below the gun ports. I continued down through the armor belt and then started upward from the keel finally working upward from the tops of the cannon ports to the gunwales stopping just below where the rail will go. Then I sanded everything even with the frames. Now I need to sand the surface smooth and seal it in preparation for eventual paint and copper tiles.

IMG_2348.jpgIMG_2346.jpgIMG_2347.jpg

Tomorrow I'll plank the inside hull up to the lower deck beam supports and maybe start on the deck framing.

Dominick
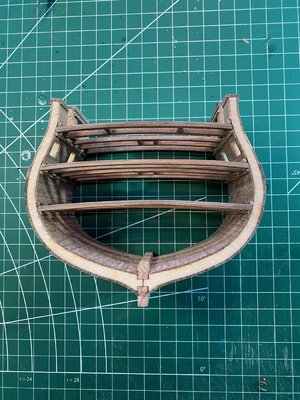
 
I was able to get a little done on the Constitution cross-section yesterday. I planked the inside of the hull up to the first deck beam support. The 1mm x 4mm walnut strips were not the greatest. If I had any other walnut I would have used it instead. Anyway, I'm hoping a good coat of varnish improves it. My plan is to leave the hold natural walnut (even though I think it was whitewashed) and the whitewash the upper decks.

IMG_2350.jpg

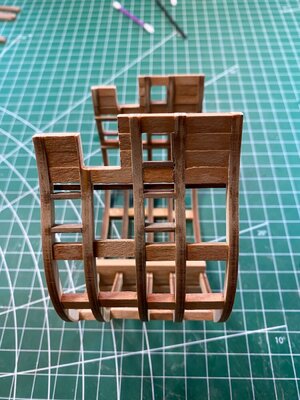
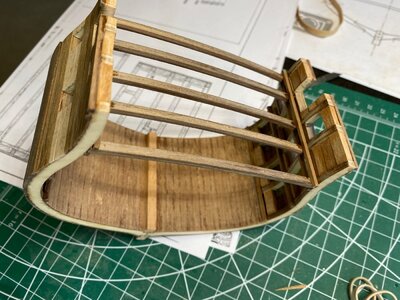
I was also able to test my approach to building the decks separately and the sliding them into the cross-section. I lightly pinched the beams in place with a rubber band and then glued a walnut 2mm x 2mm to the top of the beams being careful not to glue anything to the hull. the completed deck frame (minus cross members which I need to add) slid right out and matches up nicely with the plan.

IMG_2352.jpgIMG_2349.jpg

Once I add at least 50% of the decking I'll remove the 2x2s, carry the deck to the end of the beams, fit it in place, and glue the 2x2 to the sides of the hull right above the deck while leaving the deck free to slide in and out. This way I can complete and detail the decks on the workbench rather than trying to reach between them to drill holes, scribe joint lines, place furniture/fixtures, etc.

Dominick
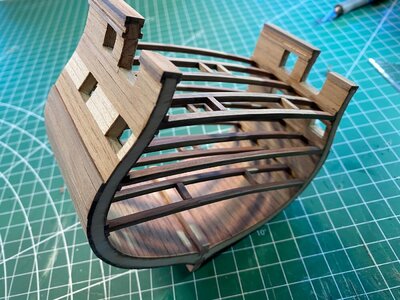
 
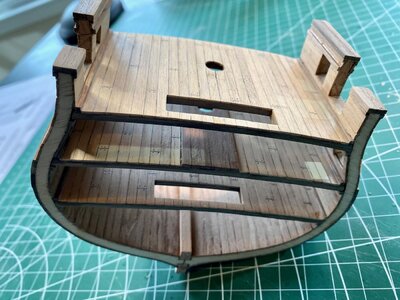
I put in a few hours on the cross-section over the last 2 days and got the deck frames built and the hull planking complete both inside and out. As was my original plan, the decks slide in and out of the hull easily (the bottom one is a bit tight but just the lightest pressure on the inside of the gunwales and it slides right in). Now I can complete each of the decks separately and install them when they are done and the hull is finished painted.

IMG_2353.jpgIMG_2357.jpg

The only thing I'm disappointed with is the interior planking. The 1mm x 4mm and 1mm x 3mm walnut strips in the kit had some really crappy grain and the edges were neither smooth nor square. In retrospect I wish I would have thrown them away and bought new walnut strips. That said, after I seal the interior in preparation for paint I'll see how it looks and may decide to use some wood filler.

IMG_2358.jpg

Dominick
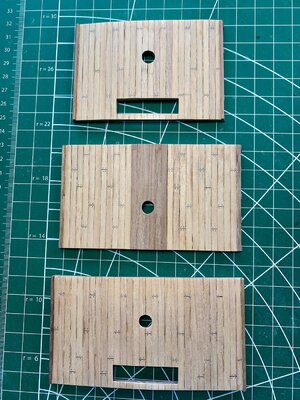
 
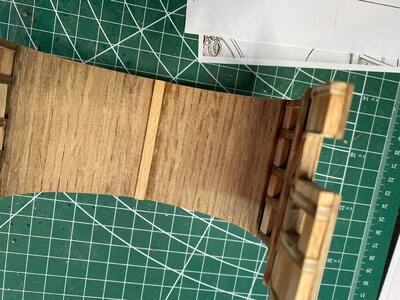
I feel like I hit a major milestone, The decks are planked, openings cut (including for the masts) and the board ends and tree nails marked.

IMG_2359.jpgIMG_2360.jpg

I have run into a problem though. Remember in an earlier post I was worried that I might have made the false keel too high? Well, I never should have added that second piece. The plans were very confusing. The mast brace that sits in the hull won't fit over the keel. I'm going to have to either plane or sand down the keel inside the hull. I'm leaning toward using my spindle sander with the large sleeve to take the bulk of the material and then use a sanding block for the last part and to flatten and square it up.

Dominick
 
Good progress so far.

I have a cheap Chinese kit like this that is small scale, with no English instructions. Will be a fun practice build when I get around to it.
 
Good progress so far.

I have a cheap Chinese kit like this that is small scale, with no English instructions. Will be a fun practice build when I get around to it.
Kurt,

Thanks. Given the limited Mamoli instructions this one isn't much different than your Chinese kit.

Dominick
 
Not a lot of progress on the kit this weekend - mostly work, work. Probably won't be too much progress for the next week or so.

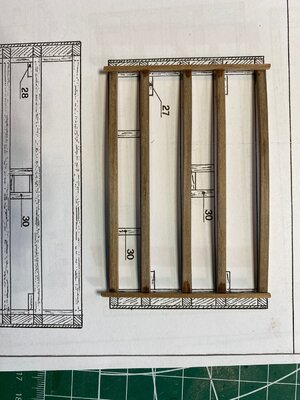
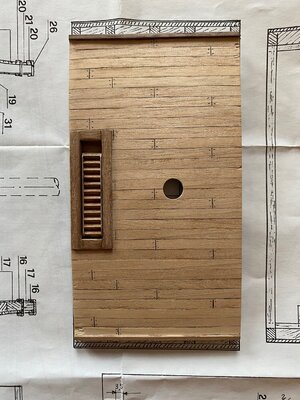
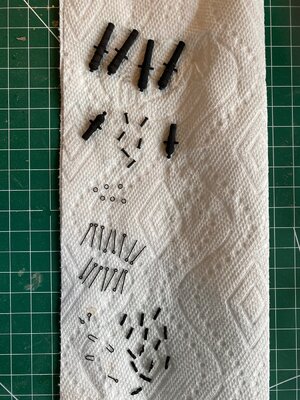
I did manage to frame out the ladder hatches - the ladder in the lower deck that leads into the hold is built in the retracted position with a closed hatch below it. I also blackened a number of the metal parts to get them ready for use.

I'll start detailing (at least as much as I have time for) the lower deck this week. It's packed with barrels. a box, some rope, a lumber pile, and a few other items.

IMG_2361.jpgIMG_2362.jpg

In addition, I ordered copper plates for the hull bottom - they'll look much better than the green pieces of wood that Mamoli supplies. And, I have some stuff called "Patina It" that will turn them that green oxidized color.

As I was preparing to start detailing the decks I noticed that the cannons aren't rigged. This is probably something else Mamoli left out to simplify the kit for a beginner. It would also be hard to rig them with tweezers between the decks once they are installed in the hull. But since I am detailing the decks before hand and installing them from bottom to top, I can easily rig them before installing the deck and insert the eyelets into the wales before placing the next deck. To that end I also ordered some 2mm eyelets and rings and some thick thread to simulate the breeching rope.

Dominick
 
Dominick, Great build so far. Thank you for doing this. I'll be starting my USS Constitution cross section kit soon (its in the mail right now). I went with the Model Shipways kit, and I've learned a lot from watching your step by step build here.
 
Dominick, Great build so far. Thank you for doing this. I'll be starting my USS Constitution cross section kit soon (its in the mail right now). I went with the Model Shipways kit, and I've learned a lot from watching your step by step build here.
DOM,

Thanks, I'm glad you are enjoying it and hopefully it will help with your upcoming build. The Model Shipways version looks like a really nice kit. I considered it but already had this in the stash so I went with the Mamoli. Good luck with your build.
 
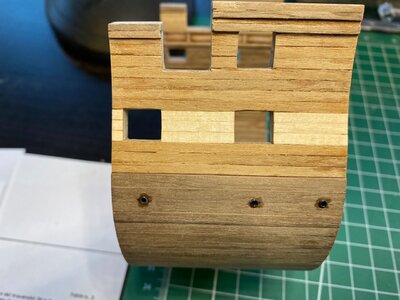
I didn't get too much done over the weekend. I installed the portholes. The plans make it look like they should go all the way through the hull- hey, they're portholes right? Well, not on mine they don't but they still look good on the exterior. I can't imagine my hull is thicker than it should be at that part of the hull. After all, it's built on their plywood frames with the correct planking on each side. The only thing I can figure is that you are supposed to keep sanding until the hull frames are the same thickness as the spacers...but that would have been a lot of sanding. Oh well...

I also started on some of the furniture and details that get added to the decks like the cannons and small tables, etc.

IMG_2370.jpgIMG_2371.jpg

And remember when I was first building the frame and I didn't understand why I had some of the larger spacers left over...well, they are used to make crates that go on the lower deck.

IMG_2372.jpg

Ok, that's it for now. Next up are those crates, coloring the barrel bands, the carronades, and maybe some pre-rigging for the cannons/carronades. Then back to the hull

Dominick
 
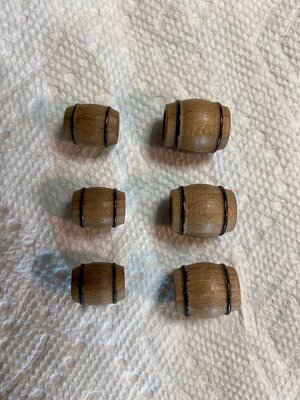
Last evening I colored the bands on the barrels - there are 20 of the large and 8 of the small - 28 in all. My preferred method is to use the edge of a jumbo Sharpie marker. It works best on hardwood with tight grain (or plastic). If the grain is open or loose there can be some bleed. Here you can see some examples of ones that had really tight grain vs looser grain. Since most of these are in the hold or off to the side of the lower deck, I can cherry pick the ones that will be most visible and also orient them so the best part shows.
IMG_2373.jpg

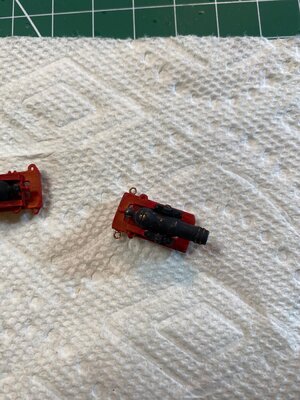
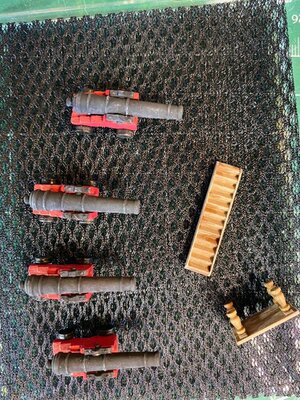
I also worked on the carronades. The block and tackle attachment point on the sides of one were poorly molded and weren't closed so I cut them off, filed them flat, and replaced them with some brass rings then touched up the paint. This is before the retouch. The instructions don't call for them to be rigged so it really doesn't matter if you are planning on just following the instructions. But with all of the other detail I think it would be a shame not to rig the guns.
IMG_2374.jpg

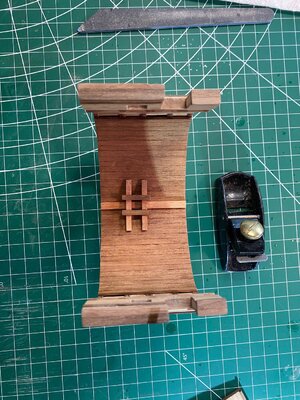
I finally got the false keel cut down as well to counter my earlier mistake of making it too high. I used a miniature block plane to shave it down most of the way and then finished it by sanding. I was then able to test fit the mast through all of the decks and set the position of the mast footing and glue it in place. Then I sealed the inside of the hull up to the bottom of the first deck with Tamiya Flat Clear Acrylic.

IMG_2379.jpg

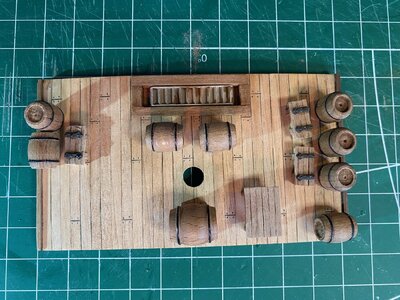
I also sealed the bottom deck (Tamiya Flat Clear). Here it is with some of the deck furniture just placed on it. None of it is glued yet. There are still a bunch of buckets to paint and add, rope coils and hanks, a lumber pile, and I think a railing for the hatch.

IMG_2380.jpg

Enough for now. See you again soon.

Dominick
 
Back
Top