Mantua Sovereign of the Seas 1:78 bashed to death kit from Janos

Joined
Jul 2, 2013
Messages
1,180
Points
433

Location
Sydney
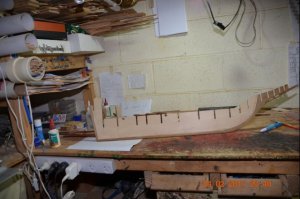
As said in the Subject line this is a POB kit build, but will be bashed to death - nothing but the keel and bulkheads are going to be used, everything else from scratch. The scale is a bit out of my usual as I love around 1:50 the most but this is a big ship, it will hardly fir into my cabinets even at this scale!
The main purpose to build this kit for me are the carvings which I am going to make myself.
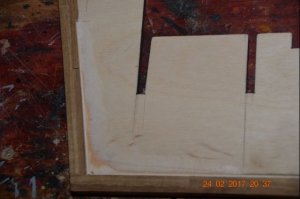
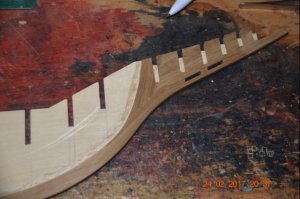
But there is still a long way to go until then. Fort starters I show the modified keel with the rabbet.
Janos

For some, this log will look familiar: I also place into the MSB site, doubling it up until... you know what I mean!

DSC_3824 s.jpgDSC_3821 s.jpgDSC_3822 s.jpg
 
Last edited by a moderator:
Good start Janos!Can I ask why did you change/modifie the keel??

Zoltan
 
Thanks, Guys! Appreciate your comments! It's gonna be a long build for sure.
I have been given very good help from Bill (whom I continuously pestering with all sorts of silly questions) as well as from Garry (GarryM) via his earlier building log which is of great help. Thanks!
Zoly: I just did not want to leave that plywood as it was. As I intend to leave the hull natural - no painting - so I had to do something with it and I ended up covering it with walnut strips (cheating!). The false keel pieces are solid walnut and they are connected with those certain Henry (?) - type angled joints.
The bulkheads in the bow area are going to be replaced with solid walnut pieces as they remain partially visible.
I am putting the bulkheads together now, new pictures will follow soon.
Janos
 
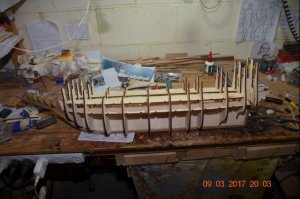
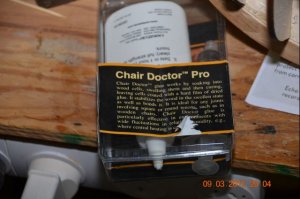
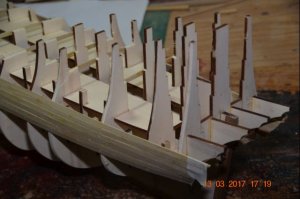
Some advance with SoS. The bulkheads had been assembled dry and the magic Chairdoctor Pro (from Veritas) glue had been applied afterwards. Good stuff!
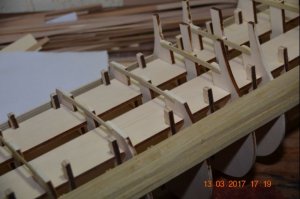
As I intend to use the kit's desks as false ones only, I took the thickness of the desk from the bulkhead and also glued strips on top of the bulkheads for better support.
I started ripping the planks (Pearwood for the external planking) and run into problems with my saw so currently I have to wait until the new sprocket arrives (I managed to run it bald).

DSC_3827 s.jpgDSC_3828 s.jpgDSC_3839 s.jpgDSC_3840 s.jpg
Janos
 
Last edited by a moderator:
Chairdoctor looks intriguing, new one to me. Build is looking good so far :handgestures-thumbup:
 
Thanks!
ChairDoctor is really good! I had a similar one a few years ago, it was some 'creeping' aliphatic resin, but I could not find it now. Then I found ChairDoctor at an Australian supplier.
SoS is going slowly. As an afterthought I had to install solid blocks (Jellutong) between the bow bulkheads (1-2, 2-3). Will post a few photos soon.
Janos
 
I have to admire anyone that can bash a kit. This is beyond my capabilities and knowledge. I am sure that I am will learn a lot by watching this come to life.

Donnie
 
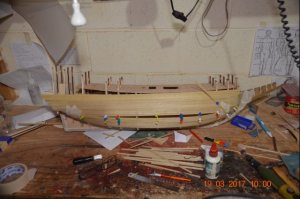
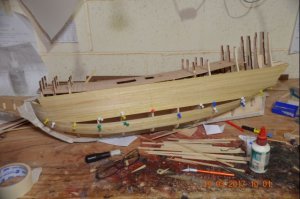
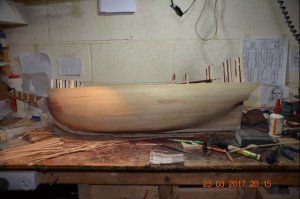
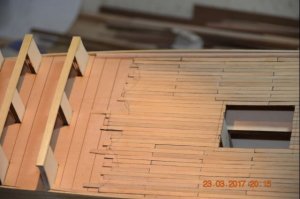
First planking is now nearly finished. Main deck planking has been installed (not waterway, king plank) - still to be scraped.
I probably have to use more kit parts than I previously thought - but only as 'false' pieces, ie. they will be 'really' planked.

DSC_3844 s.jpgDSC_3845 s.jpgDSC_3852 s.jpgDSC_3851 s.jpg
Janos
 
Last edited by a moderator:
The main deck will be over-planked as I did not like the first one and I was also assuming that the material I have will not be enough. So start again.
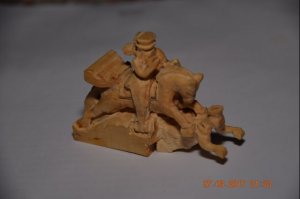
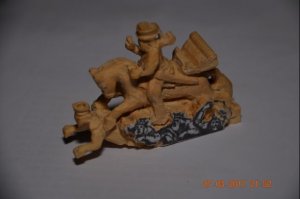
During the Maritime Museum volunteer hours I have to work on something which is not too big so I can carry it (unlike the SoS hull) so I started working on the figure head. At the moment it is being roughed out.

DSC_3854 s.jpgDSC_3855 s.jpg
Janos
 
Last edited by a moderator:
Hello Janos

Great job you are doing on your hull planking, I also like very much your figurehead carving, such skills you possess. I am almost tempted to give that kind of carving a try, ENJOY.

Regards Canoe21 { Lawrence }
 
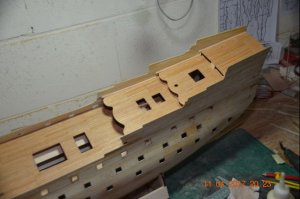
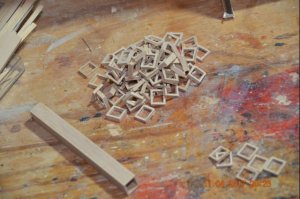
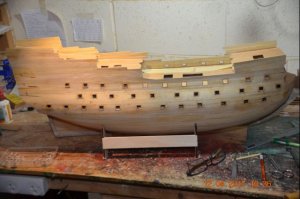
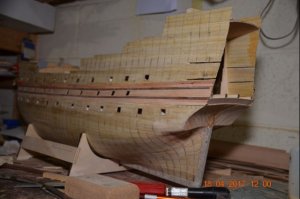
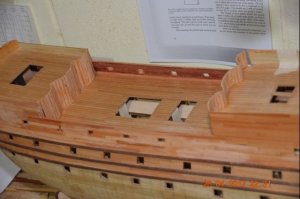
Some update about this slow build. The decks have now been re-planked. Gunport-frames made of square tubes, glued into position and thinned to the thickness of the primary planking. I also marked the frame positions (every second) on the hull to be able to create the right plank-pattern. Then I started outside planking. The material above the uppermost wale will be Swiss Pear and Pear Wood below it. The planking will consist of planks, the length of which is to scale (wales are in full length though). I am going to continue with the Swiss Pear planking up to the point that I can start carving and from there on these two things will happen concurrently. The bow section will be covered by 'strips' as opposed to the kit's deck planking. Some parts are already manufactured for this (as are gratings) and I will do the bow as soon as I reach its top with the planking.

DSC_3860 s.jpgDSC_3861 s.jpgDSC_3863 s.jpgDSC_3865 s.jpgDSC_3866 s.jpg
Janos
 
Last edited by a moderator:
I'm steeling your gun port frame idea! Been thinking how to do it, expensive farmed out laser cutting of walnut, make them up from thin strip, this is a much better idea. Thanks for sharing. :handgestures-thumbup:
 
Superb techniques. I assume that the pencil vertical lines are your markings for the butt joints for the final planking?

Donnie
 
Hi Janos
Excellent to see you are building the Sovereign.You certainly have your work cut out with the many carvings.As for the figurehead being a small part mmm it has to be one of the most complex carvings around probably only matched by the figurehead of the Royal William.
I do wonder though if your log belongs in the scratch section in view of the extensive modifications,that is where my build resides?

Kind Regards

Nigel
 
Thanks, Gemma, Donnie & Nigel!
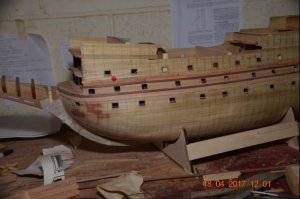
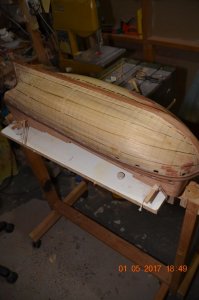
SoS is proceeding slowly The hull planking above the top wale is Swiss Pear (just partially sanded, hence the big colour variation) and below the top wale is Pear Wood. The inside planking is Bloodwood. Now the model is placed on my trusty mobile cradle upside down and after the banding is marked, I am proceeding with the Pear Wood planking.
Donnie: yes, the pencil marks are for the butt joints, every second frame is marked.
Nigel: I am not going to use anything else from the kit so the build might go to the scratch buildings, but because I started with the kit, it is not a 100% scratch build. So it is up to Donnie to finalize where he thinks it is placed at the best.

DSC_3880 s.jpgDSC_3881 s.jpg
Janos
 
Last edited by a moderator:
Back
Top