Marie Jeanne 1:50 by Artesania Latina Build Log [COMPLETED BUILD]

Joined
Jan 1, 2023
Messages
73
Points
88

Hello all,

After importing my phone pictures to the computer and finding out it is quite convenient I have decided to start this build log about half way through. This is my third build after HMY Britannia 1:64 by Mamoli and Muscongus Bay Lobster Smack 1:24 by Model Shipways.

The kit is part of Artesania Latina's New Generation of ship models. I do not know what that means exactly, but I am very happy with the kit quality and instructions which features a lot of pictures and is available to download to have on my screen whilst working on the build. It is a nice contrast with the quality and instructions of the Mamoli ship which had me looking more at others' build logs than the actual instructions.

I am relatively new to this and tips/tricks are welcome ;).

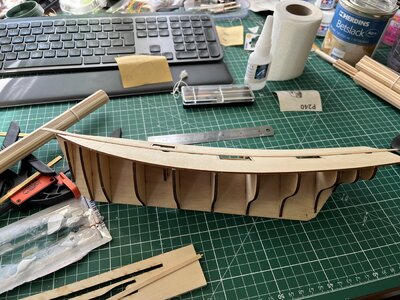
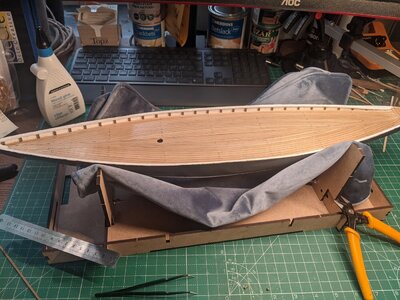
Starting with assembling the "skeleton" of the ship and placing planks on the deck:
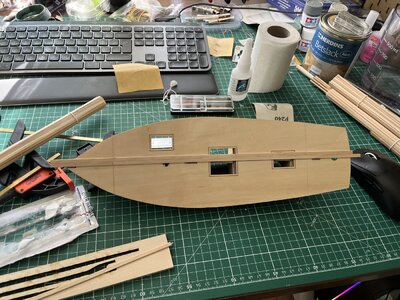
2464.JPG
2465.JPG

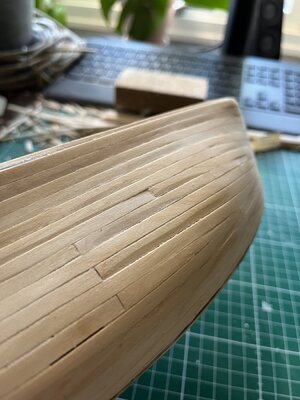
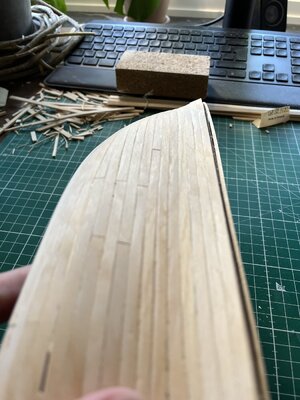
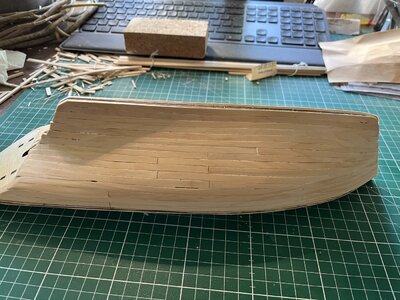
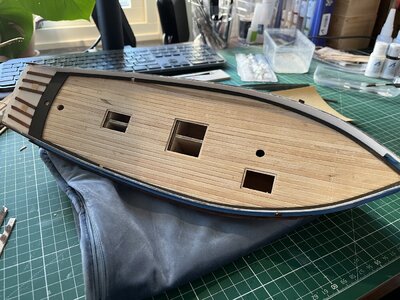
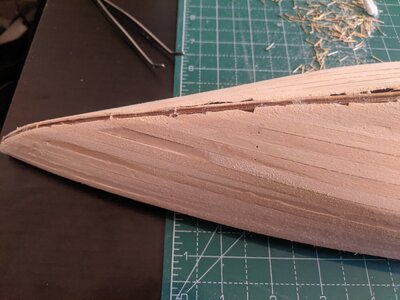
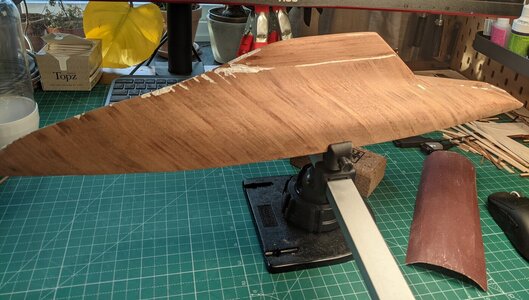
Time jump to finishing the planking and doing the first rough sanding:
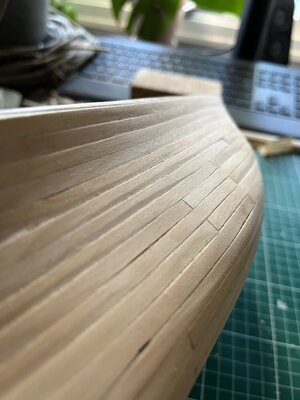
2466.JPG

2467.JPG

2468.JPG

2469.JPG

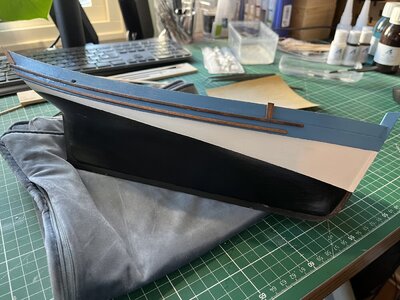
Painted the hull and put a single coat of half-matte varnish as well as started on the rub rail and other wooden detalis. The wood is painted with a "Burnt Umber" colour or dyed with the "Sapele" colour from Artesania. All paints/dye used are supplied by Artesania for this build.
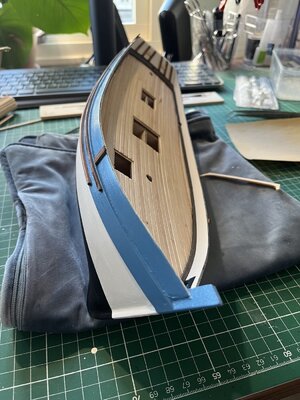
2475.JPG
2476.JPG
2477.JPG
2478.JPG

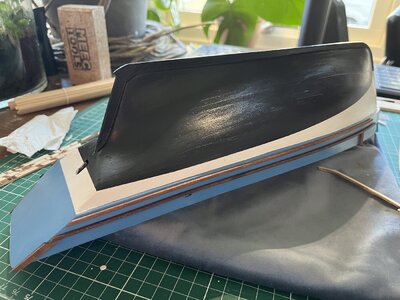
Attached the rudder and here we can see how I made a mistake with making a rough transition to the stern post when planking/sanding/using putty, forcing me to bend the rudder hinges in a sharp angle to fit to the ship. Had to use lots of glue and a hammer which makes the brass look less shiny than I wanted. Thinking about ways to polish this up without damaging the paint.
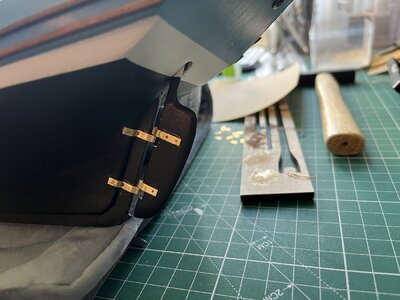
2480.JPG
2481.JPG

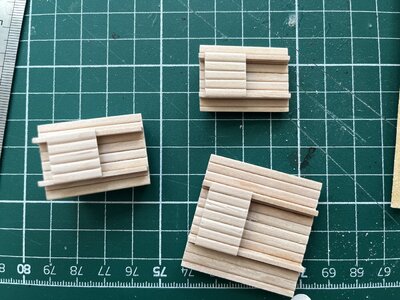
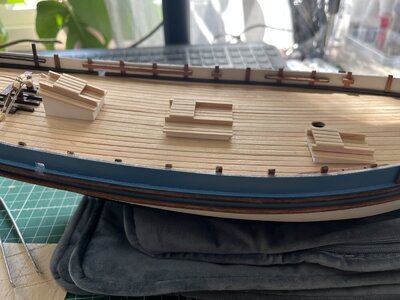
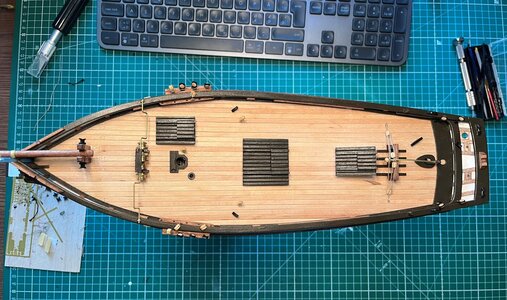
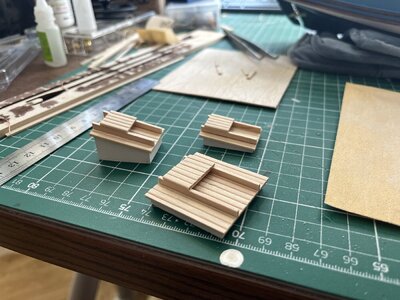
Installing the hatches, would be interesting to know what each were used for. Artesania recommends using their micro shapers, but I simply sanded the edges of the planks round:
2482.JPG
2483.JPG
2484.JPG

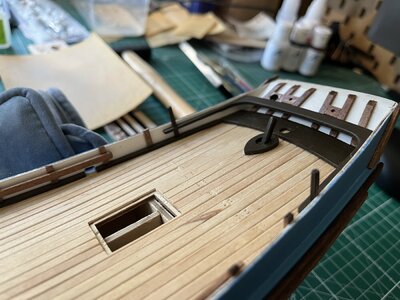
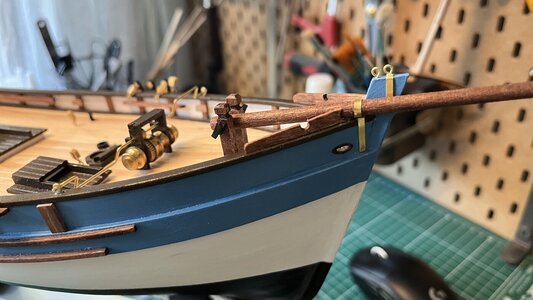
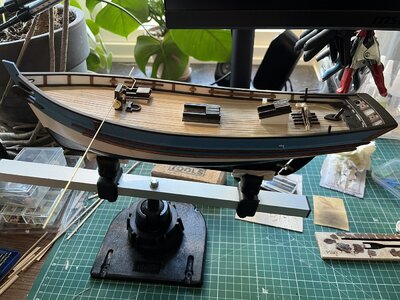
Fast forward to installing and painting the cap rail, cathead, anchor windlass and other details on the bulwark. Finished everything with a single coat of half-matte varnish to protect it while I work. Started on the bowsprit:
2502.JPG
2510.JPG
IMG_5155.JPG
 
Last edited:
Wow! what a pretty model! And the hatches look great.
If you have pictures of your "Britannia" and the lobster smack I'd love to see them. Especially The Britannia. I too, built the Mamoli kit of that yacht (one of my favorites) and I agree, the build instructions are practically useless in many regards, especially planking, where they are worse than useless and a recipe for disaster!
(That said) I would love to see your model of her. If the Marie Jeanne is any example, I'll wager your Britannia is beautiful! And the lobster smack as well.
I posted pictures of my "Britannia" on the "finished models from wood kits" forum. I presented her under sail ,at sea, as a diorama. I would value your opinion and/or critique.
By the way, the rudder gudgeons look fine as they are. They would most likely acquire a dark patina over time ,under or out of the water in any case.

Really nice job!
Pete
 
Last edited:
Hi
If 1st time
Then keep going! A good looker.

A bit of research
Bit of DIY scratch building
Paint easing back to less bright and obliteration …

Then the model become a highly desirable.

Decking and …. Looks a bit heavy timber : at this scale I’m guessing 10 x 8 inches used going up wards.

Dips … well …. Next time sand / fill / add or run lines to timber strakes 1st then you can over come.

Butts are painful but practice and patients will come with time.

Better timber will help lift the model.

Good model to be proud of + great you shared this with us!
Not stop
Progress 1 step at a time.
Getting time ️ is always a headache!

If working - pocket knife and bit of lime, carving… helps to relax / improve dexterity … helped me. Not the washer though - always a bit somewhere!
 
really nice work , love it
Thank you Harry!

Wow! what a pretty model! And the hatches look great.
If you have pictures of your "Britannia" and the lobster smack I'd love to see them. Especially The Britannia. I too, built the Mamoli kit of that yacht (one of my favorites) and I agree, the build instructions are practically useless in many regards, especially planking, where they are worse than useless and a recipe for disaster!
(That said) I would love to see your model of her. If the Marie Jeanne is any example, I'll wager your Britannia is beautiful! And the lobster smack as well.
I posted pictures of my "Britannia" on the "finished models from wood kits" forum. I presented her under sail ,at sea, as a diorama. I would value your opinion and/or critique.
By the way, the rudder gudgeons look fine as they are. They would most likely acquire a dark patina over time ,under or out of the water in any case.

Really nice job!
Pete
Thanks Peter. I found the post of your build of the Britannia and I have to say it looks very good, both the boat itself and the water effects. And if you used the Mamoli kit you must have made several changes to it because I can find many more details on your build than is available in the kit.

The HMY Britannia by Mamoli was the first ship built when starting this hobby and it was quite the challenge not knowing anything about model building, made worse with the poor instructions provided by Mamoli. I started planking without knowing the nails were there for keeping the planks to the shape of the ship. I actually held the first planks with my hands while the glue dried, quite the workout :D. I also placed the planks so that they did not meet as you can see in the picture below, causing some problems later on.
WBWY1574.JPEG

I managed to partially save it with the second layer of mahogany strips:
WWNX0929 (2).JPEG

There were lots more mistakes and issues (such as accidentally ripping away all of the rigging with my Dremel tool), too many to write in one post, but here is the end result:
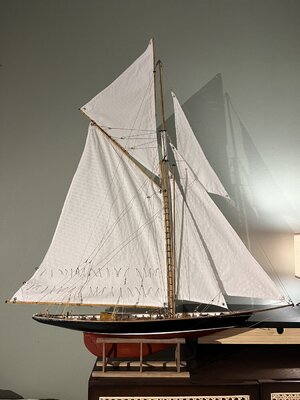
Britannia.jpeg

This build made me painfully aware of the skill needed to make these models. So, for the second build I decided on something easier which would allow me to practice the basics (planking, sanding, painting etc) and went with Model Shipway's Muscongus Lobster Smack.

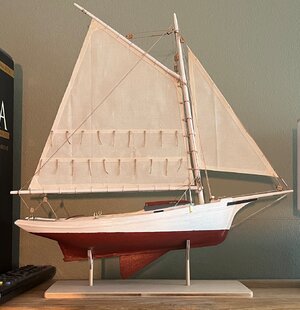
A much better fit for a beginner, had lots of fun building this:
2462 (2).JPG
 
Hi
If 1st time
Then keep going! A good looker.

A bit of research
Bit of DIY scratch building
Paint easing back to less bright and obliteration …

Then the model become a highly desirable.

Decking and …. Looks a bit heavy timber : at this scale I’m guessing 10 x 8 inches used going up wards.

Dips … well …. Next time sand / fill / add or run lines to timber strakes 1st then you can over come.

Butts are painful but practice and patients will come with time.

Better timber will help lift the model.

Good model to be proud of + great you shared this with us!
Not stop
Progress 1 step at a time.
Getting time ️ is always a headache!

If working - pocket knife and bit of lime, carving… helps to relax / improve dexterity … helped me. Not the washer though - always a bit somewhere!
Thanks, this is my third build. I agree the colours look perhaps too bright and shiny. Hopefully this will just slightly darken over time.

With the dips, are you talking about the planking of the deck? I sanded the wood strips before placing to make it look a bit more three-dimensional but I agree the unevenness would be too much if scaled up to real life size. On my first ever build of the Britannia I used a piece of charcoal in between the wood strips for the caulking effect but decided it looked too dirty:
JVJF7551.JPEG
Do you know of a different way to get the deck to look more realistic?

Appreciate the feedback!
 
That deck looks pretty nice! I use pencil on one edge of each deck plank. Usually gives the desired effect of caulking and doesn't bleed with finishing
For my Britannia I purchased a second set of plans from England for an RC version which had a lot of differences from the Mamoli plans. Remember, this yacht was re-rigged and re-configured on deck seven times between 1893 and 1937. The Mamoli plans reflect the earliest version . mine is based on a 1927 photograph, I searched around on the web for later pictures, Plus Ian Dear's book on the J class sloops between 1927 and 1937. Years ago I worked for a short time for a yacht builder in Annapolis. For his 1:1 scale creations he laid the hull upside down over bulkheads ( just like the model) using square cross section stringers cut out of PVC foam, held together with toothpicks, then covered it with fiberglass and resin. A square cross section stringer can be bent around pretty much around any compound curve. Then the whole thing was turned over and the inside glassed and resin-ed.
For my Britannia I filled the spaces between the bulk heads with blocks of poplar glued to the bulkhead faces and carved them in order to have a fair surface to plank. I sliced the supplied basswood strips into three separate eighth inch square cross section stringers and laid them up over the bulkheads, using the yacht builder's method to create the hull surface. It was a lot harder at 1:64 scale than at 1:1! It took hours of filling and sanding! Cautious So by that time I was mostly scratch building and then got the big idea of making it into a Diorama (my first) But that's a whole OTHER story. Sometimes it's better not to know what you're letting yourself in for!:rolleyes:
Pete
 
Last edited:
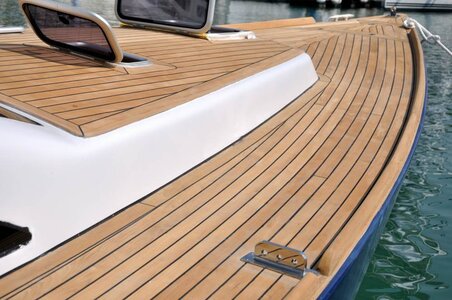
Do you know of a different way to get the deck to look more realistic?
Try planking the deck straight fore and aft…cutting the plank ends into the edges as you progress. Your deck planks follow the curve of the hull into the center instead. Start in the center with planks straight bow to stern…cut the planks about six inches…alternate the adjacent butt ends every one or two inches…cut the plank ends to fit into the curved edge of the hull as you progress. This is a simplistic explanation given there are more intricate planking techniques that you will eventually learn. The overarching rule of all planking is run the planks…both deck and hull…from bow to stern parallel to the keel. This models planking on real ships. Fore to aft planking is required for structural strength to counter the stress on the hull by the seas. What I do to enhance the sense of caulking is simply apply a coating of clear matte polyurethane to the deck…the poly settles into the seams giving a hint of contrast that nicely simulates caulking without being overwhelmingly dark. Hope this helps with your question. Congrats for a wicked good start!
 
I believe with the J-boats the decking did follow the curve of the hull, abutting a king plank parallel to the keel, or at least it does in the Amati plans. I need to go back and look at some contemporary photos again. But then most (if not all) the J boats had metal hulls so the structural consideration may not have been paramount. Your method allows for joggling the planks into the waterways, which is a really pretty effect.
By the way, Jcob, your lobster smack looks pretty sweet! That boat is one of my favorites. Nice yacht like lines.
Pete
 
Last edited:
Good tips with using a pencil rather than charcoal and I will look into using polyurethane and what the difference is to the varnish I currently use for everything. Also using blocks to fill the spaces between the bulkheads to be able to decide the shape before starting on the planks is something I will try whenever I can get my hands on some precision cutting machinery. This could solve the issue I've had with the Lobster Smack model looking bent when seeing it from one end to other, probably something caused when I applied force to the skeleton placing the first planks.

Regarding fore to aft planking, do you have a picture to show this? I couldn't find the phrase on Google pictures.
 
I liked how you painted Marie Jeanne.
The painted hull looks excellent.
Could you describe your painting technique?
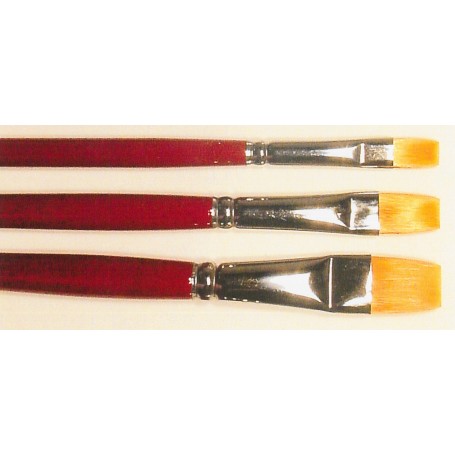
Thanks! I don't think I have a special technique, but the biggest help I've had with getting both the paint and varnish to apply evenly has been from using one of these brushes. It is named Toray by Springer Brushes, I don't know what is special about it but it tends to apply an even pressure, smearing the paint evenly compared to others I've tried.
pensel-toray-storlek-06-flat-toray-syntethar-guld.jpg


But other than that I think I use a pretty standard method; rough then fine sanding the planks, applying wood putty and sanding (perhaps more putty where I see it is needed), putting a pretty solid layer of primer on and sanding again a little bit to loosen the primer surface without removing it. Then marking the water line and putting on masking tape which I scratch lightly with something to make it stick better so paint does not seep under the tape. I think for the white colour I used 3-4 layers and only needed 2 for the blue and black for it to look solid. Then a single layer of a half matte varnish. I really over used varnish on my first Britannia build to the point that the hatches look like pieces of candy so I try to use it sparingly now.

Hope it gave you some useful information.
Marine-Teak-Decking-Sydney-05-999x664.jpg
 
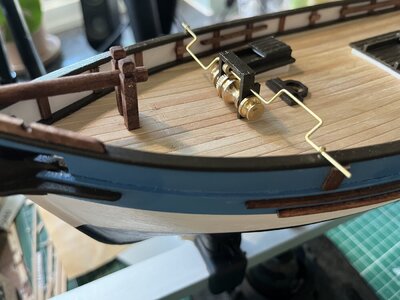
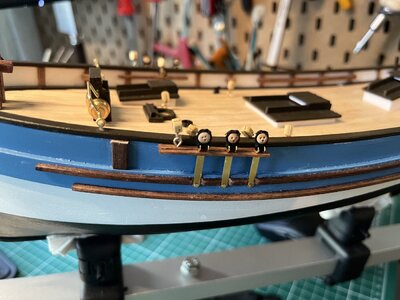
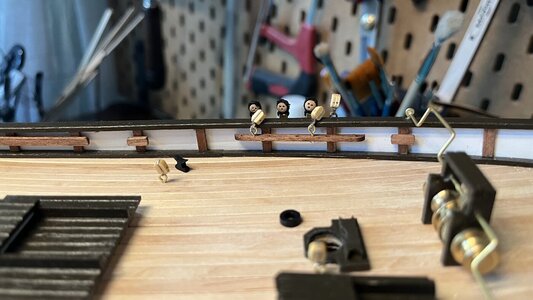
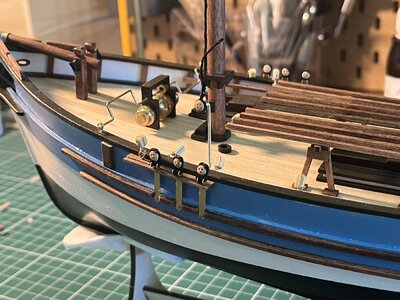
Back from midsummer celebrations, finished some brass details and fastened pulleys to the deck and bulwark. Next step will be building the small boat and the rack it will be placed on, which I have been looking forward to.
IMG_5216 (2).JPG

Might need to do some extra work on the wood details here, such as sanding smooth edges and putting on some more dye on the lights spots:
IMG_5218.JPG
IMG_E5217.JPGIMG_E5220.JPG
 
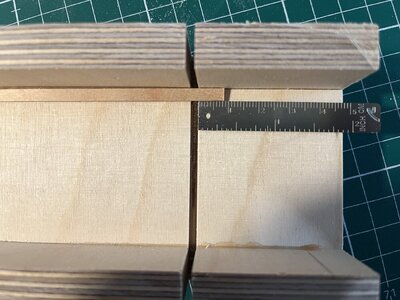
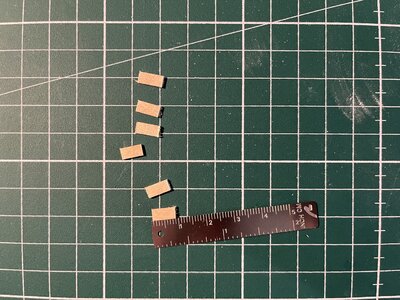
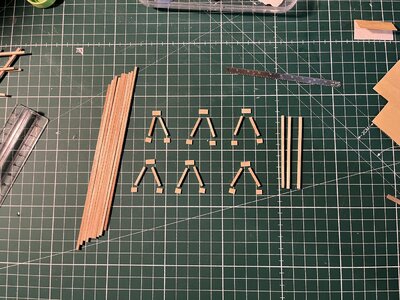
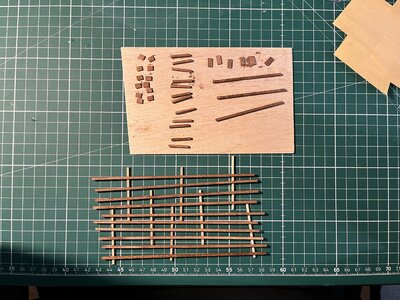
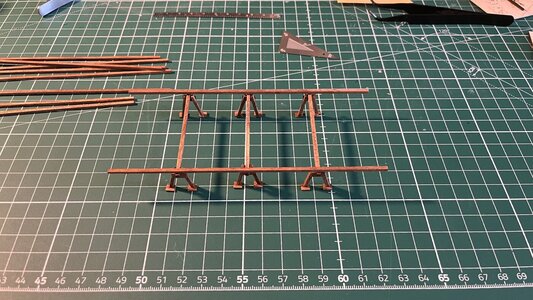
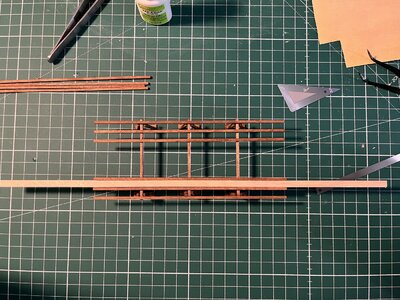
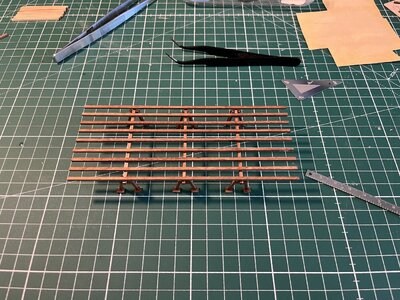
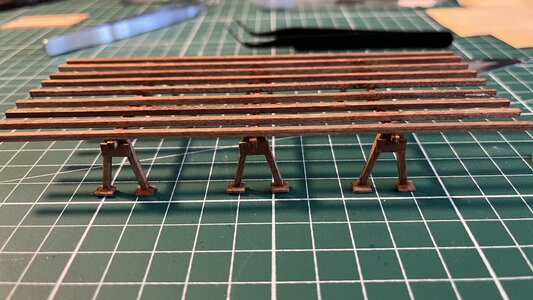
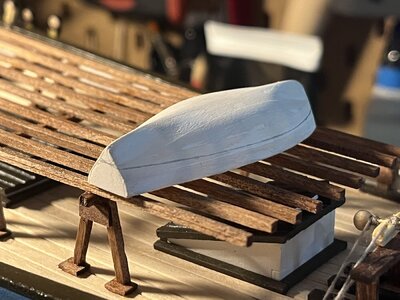
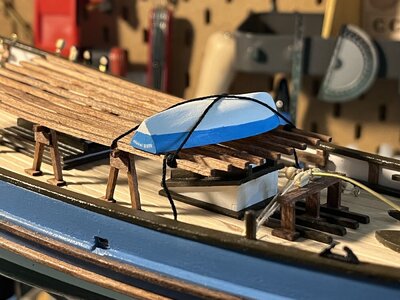
Been working on the rack on which I will place the small boat(dinghy/tender/lifeboat?). Got myself a miter box to help with the cutting and measuring of the multiple different planks:
IMG_5257.JPG
IMG_5258.JPG
Worked out quite well, but I could definitely have use for a precision cutting and sanding machine.
IMG_5271.JPG
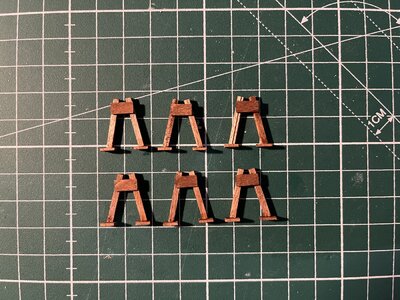
Dyed with the sapele colour.
IMG_5276.JPG
IMG_5281.JPGIMG_5283.JPG
IMG_E5288.JPG
IMG_5291.JPG
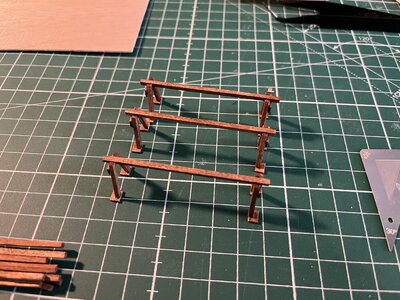
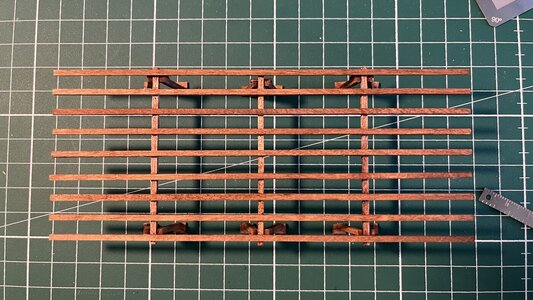
Final result, will get a coat of varnish when I place it:
IMG_5294.JPG
IMG_E5296.JPG
IMG_E5297.JPG

Was a fun and a bit challenging to make sure the planks have the correct angles to each other.

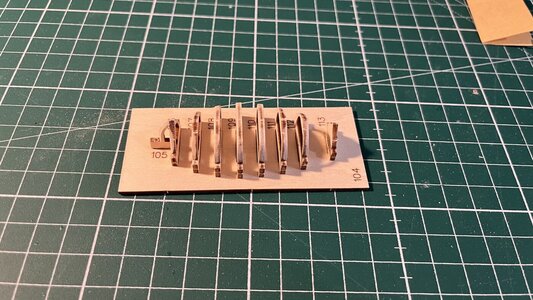
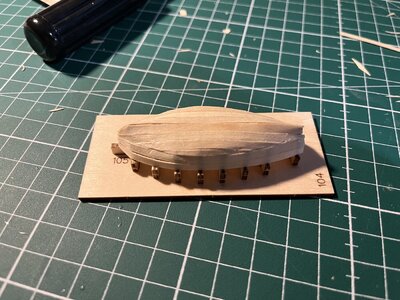
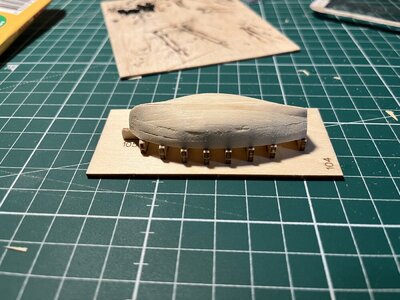
Started slightly on the small boat and after that is done it is on to the masts!
IMG_E5298.JPG
 
Jcob, Nicely done on both models. Your deck planking and hatches look great! Congrats, Magic Mike
Thank you Mike! Always some things you notice afterwards that you would have done different but all in all, I'm quite happy with the result.
 
Hello all,

Been working on finishing the small boat as well as the masts and some rigging. I noticed the image colour of my pictures are recently more saturated and unrealistic than when I started the project. This happened when switching from my Pixel 2 phone to an iPhone 13. I have been trying to tweak the settings around on the new phone but the colours unfortunately still look like crap. Anybody had this problem?

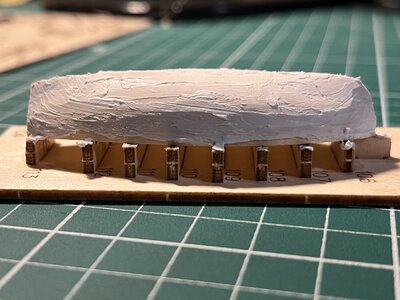
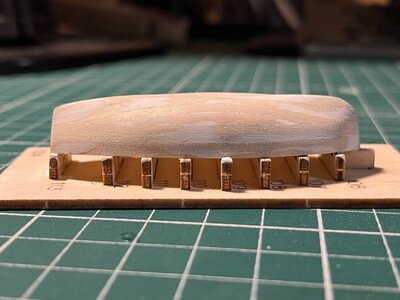
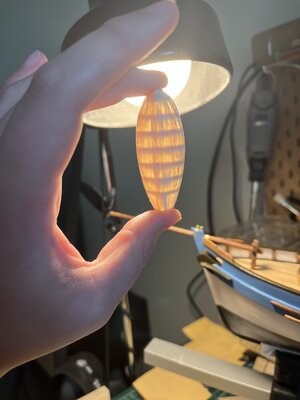
Anyways, on the small boat, I used pretty much the same technique as on the ship itself:
IMG_5306.JPGIMG_5309.JPG
IMG_5312.JPG
IMG_5316.JPG
IMG_5320.JPG
IMG_5324.JPG
When fitting the rack onto the deck, I realised the pictured hatch was too tall so that the feet of the rack couldn't reach the floor. Had to bend off the hatch with a scalpel and sand it down to the proper height and now it looks better.
IMG_5328.JPG

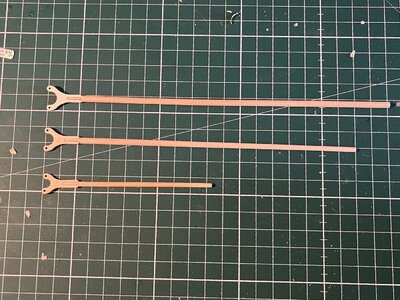
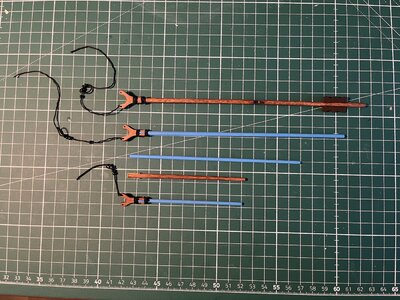
Also prepared the boom and gaff in preparation of putting on the sails:
IMG_5333.JPG
The boom is slightly bent unfortunately, trying to come up with ways to straighten it out now that it is too late to wet it:IMG_5334.JPG

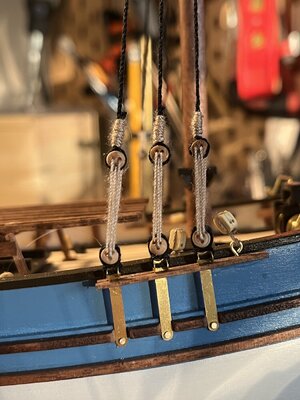
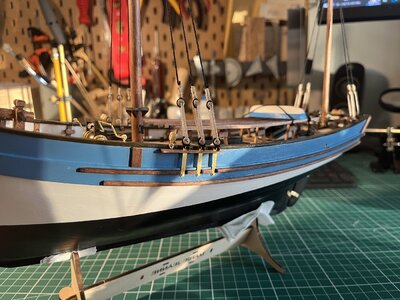
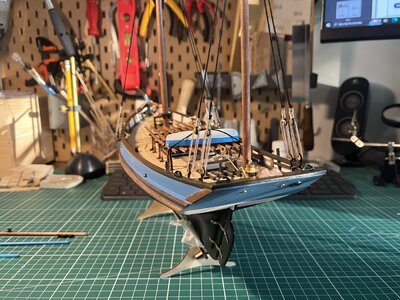
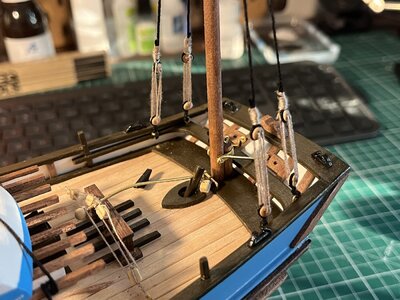
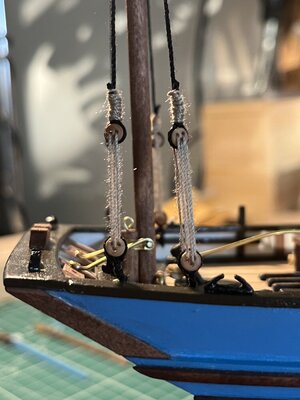
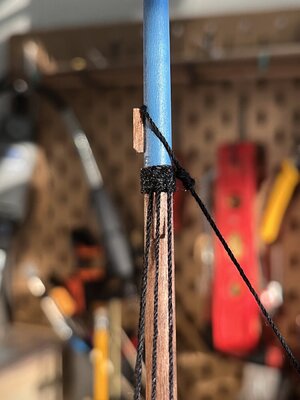
Sanded, dyed and placed the two masts. Lined up the deadeyes horizontally with this nifty piece of brass as a measuring tool:
IMG_5335.JPG
IMG_5354.JPG
IMG_5348.JPG
IMG_5344.JPG
IMG_5357.JPG
IMG_5352.JPG
IMG_5356.JPG

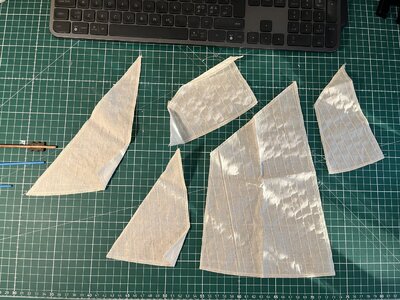
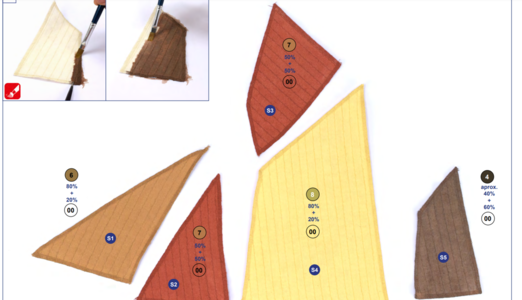
Next step will be putting colour on the sails. Artesania recommends thinning out the acrylic paint with some airbrush thinner which I don't have and I am not very keen on buying it since I don't use an airbrush. Would thinning out acrylic paint with water give the same effect? If anybody knows of an alternative method I would appreciate some tips :).
IMG_5358.JPG
Here are the instructions, with the colour "00" being the airbrush thinner:
1688933954013.png
 
Back
Top