Marvel's Hydra Coupe 1/12 scale full scratch build

And voilà the seats.

20250525_155057.jpg.976f395718a07d282e85e30dc8fea888.jpg


20250525_155255.jpg.a5c3372bfc7899e9cb087a4337d9f924.jpg


Seat adjustment rails

20250525_155142.jpg.fc7d1cf709b6339c72bfb0542034d45b.jpg


Backrest fold pivot

20250525_155107.jpg.65eaf097f720fe4100894abbdf362808.jpg


Airline Style seat support structure

20250525_155602.jpg.21474d778dc800851a4b73da3c59ed7c.jpg


and in place

20250525_155914.jpg.bacfcfc9dac928ed03582be487e37f12.jpg


20250525_155922.jpg.127f7539522144f5db05bbacab3cbeaf.jpg
 
Dang, those look good! Did you make your own leather texture map? I know nothing of 3D printing...
 
Hey François,
As always, your progress on the model is breathtaking. You already have my absolute respect. Your model is going to be great. You've done a great job with the leatherwork and your attention to detail is amazing. You're building at an extremely high level. Quick question, I hope the stains on the back of the seats are not from the glue and will go away? Because if they stayed, that would be terrible?

Best regards
Günther Ship-1
 
Now that the end is near, I'm starting to think about the display case. A few weeks ago, during walk, I came across a bridge with an interesting structure. I thought it might be fun to incorporate a few elements of this bridge in the display's structure. I'll also want to add so light fixtures of some sort.

Here are a few pictures of the bridge

20250513_1501472.jpg.65dfb224e93f43a3da0784271f3cc60d.jpg


20250513_1501372.jpg.5db23b459d83172fa305182084198c64.jpg


20250513_150127.jpg.ae5d7062e32ce498b1cc8d14b69a2085.jpg


to be continued...
 
Hey François,

I'm glad you managed to remove the stains. I wouldn't have been able to sleep either. The idea for the scaffolding is very cool. But how big will your display case be? After all, the model should be in the foreground, right? Quick question: Are you going to make a figure to go with it?
That would be amazing!

Best regards
Günther Ship-1
 
I started to dress up the body. There are many parts to attach, the rear light lenses, the wiring, the blue cube thingy, the rear seat, doors and door handles, trunk lid with handles, and list goes on. Here's what been done so far.

Rear light lenses

20250531_115515.jpg.4de3bad2c1ab84942f620463eb455a89.jpg


Real light wiring

20250531_122541.jpg.76d406c65633fcf926134dfce7a0620b.jpg


Bleu cube thingy

20250531_122443.jpg.e792e53a513d7aa4d60dfb845f99d14a.jpg


Rear seat

20250531_114001.jpg.c28755a4f3ec9ce39990fbf251609b11.jpg


Test fit of antenna

20250531_140117.jpg.add1cac79f3fdd359af89e22cc7d2b9a.jpg


I also black out the door skills lettering

20250530_162743.jpg.adacb9fbfbe62fd2dc34f900d4e0d5e5.jpg


and installed the handles on the rear wheels covers

20250530_155623.jpg.3c70689fb669f407b19ebdd67eeed822.jpg
 
The detail and attention to same is quite amazing. Your documentation of every step in the process is also enlightening. I think it is cool that as you move through your day you pick-up ideas (the bridge structure) to incorporate.
 
Hey François,

Your attention to detail is truly exceptional. That's really high craftsmanship. It makes you want to get in and drive off...

So I'd be there!

Cheers Günther Ship-1
 
Thank you everyone for your positive feedback, it's always appreciated.
I am now at the last stage of this build (the car portion), so pretty much everything I do is final.

Here's what's been done today.

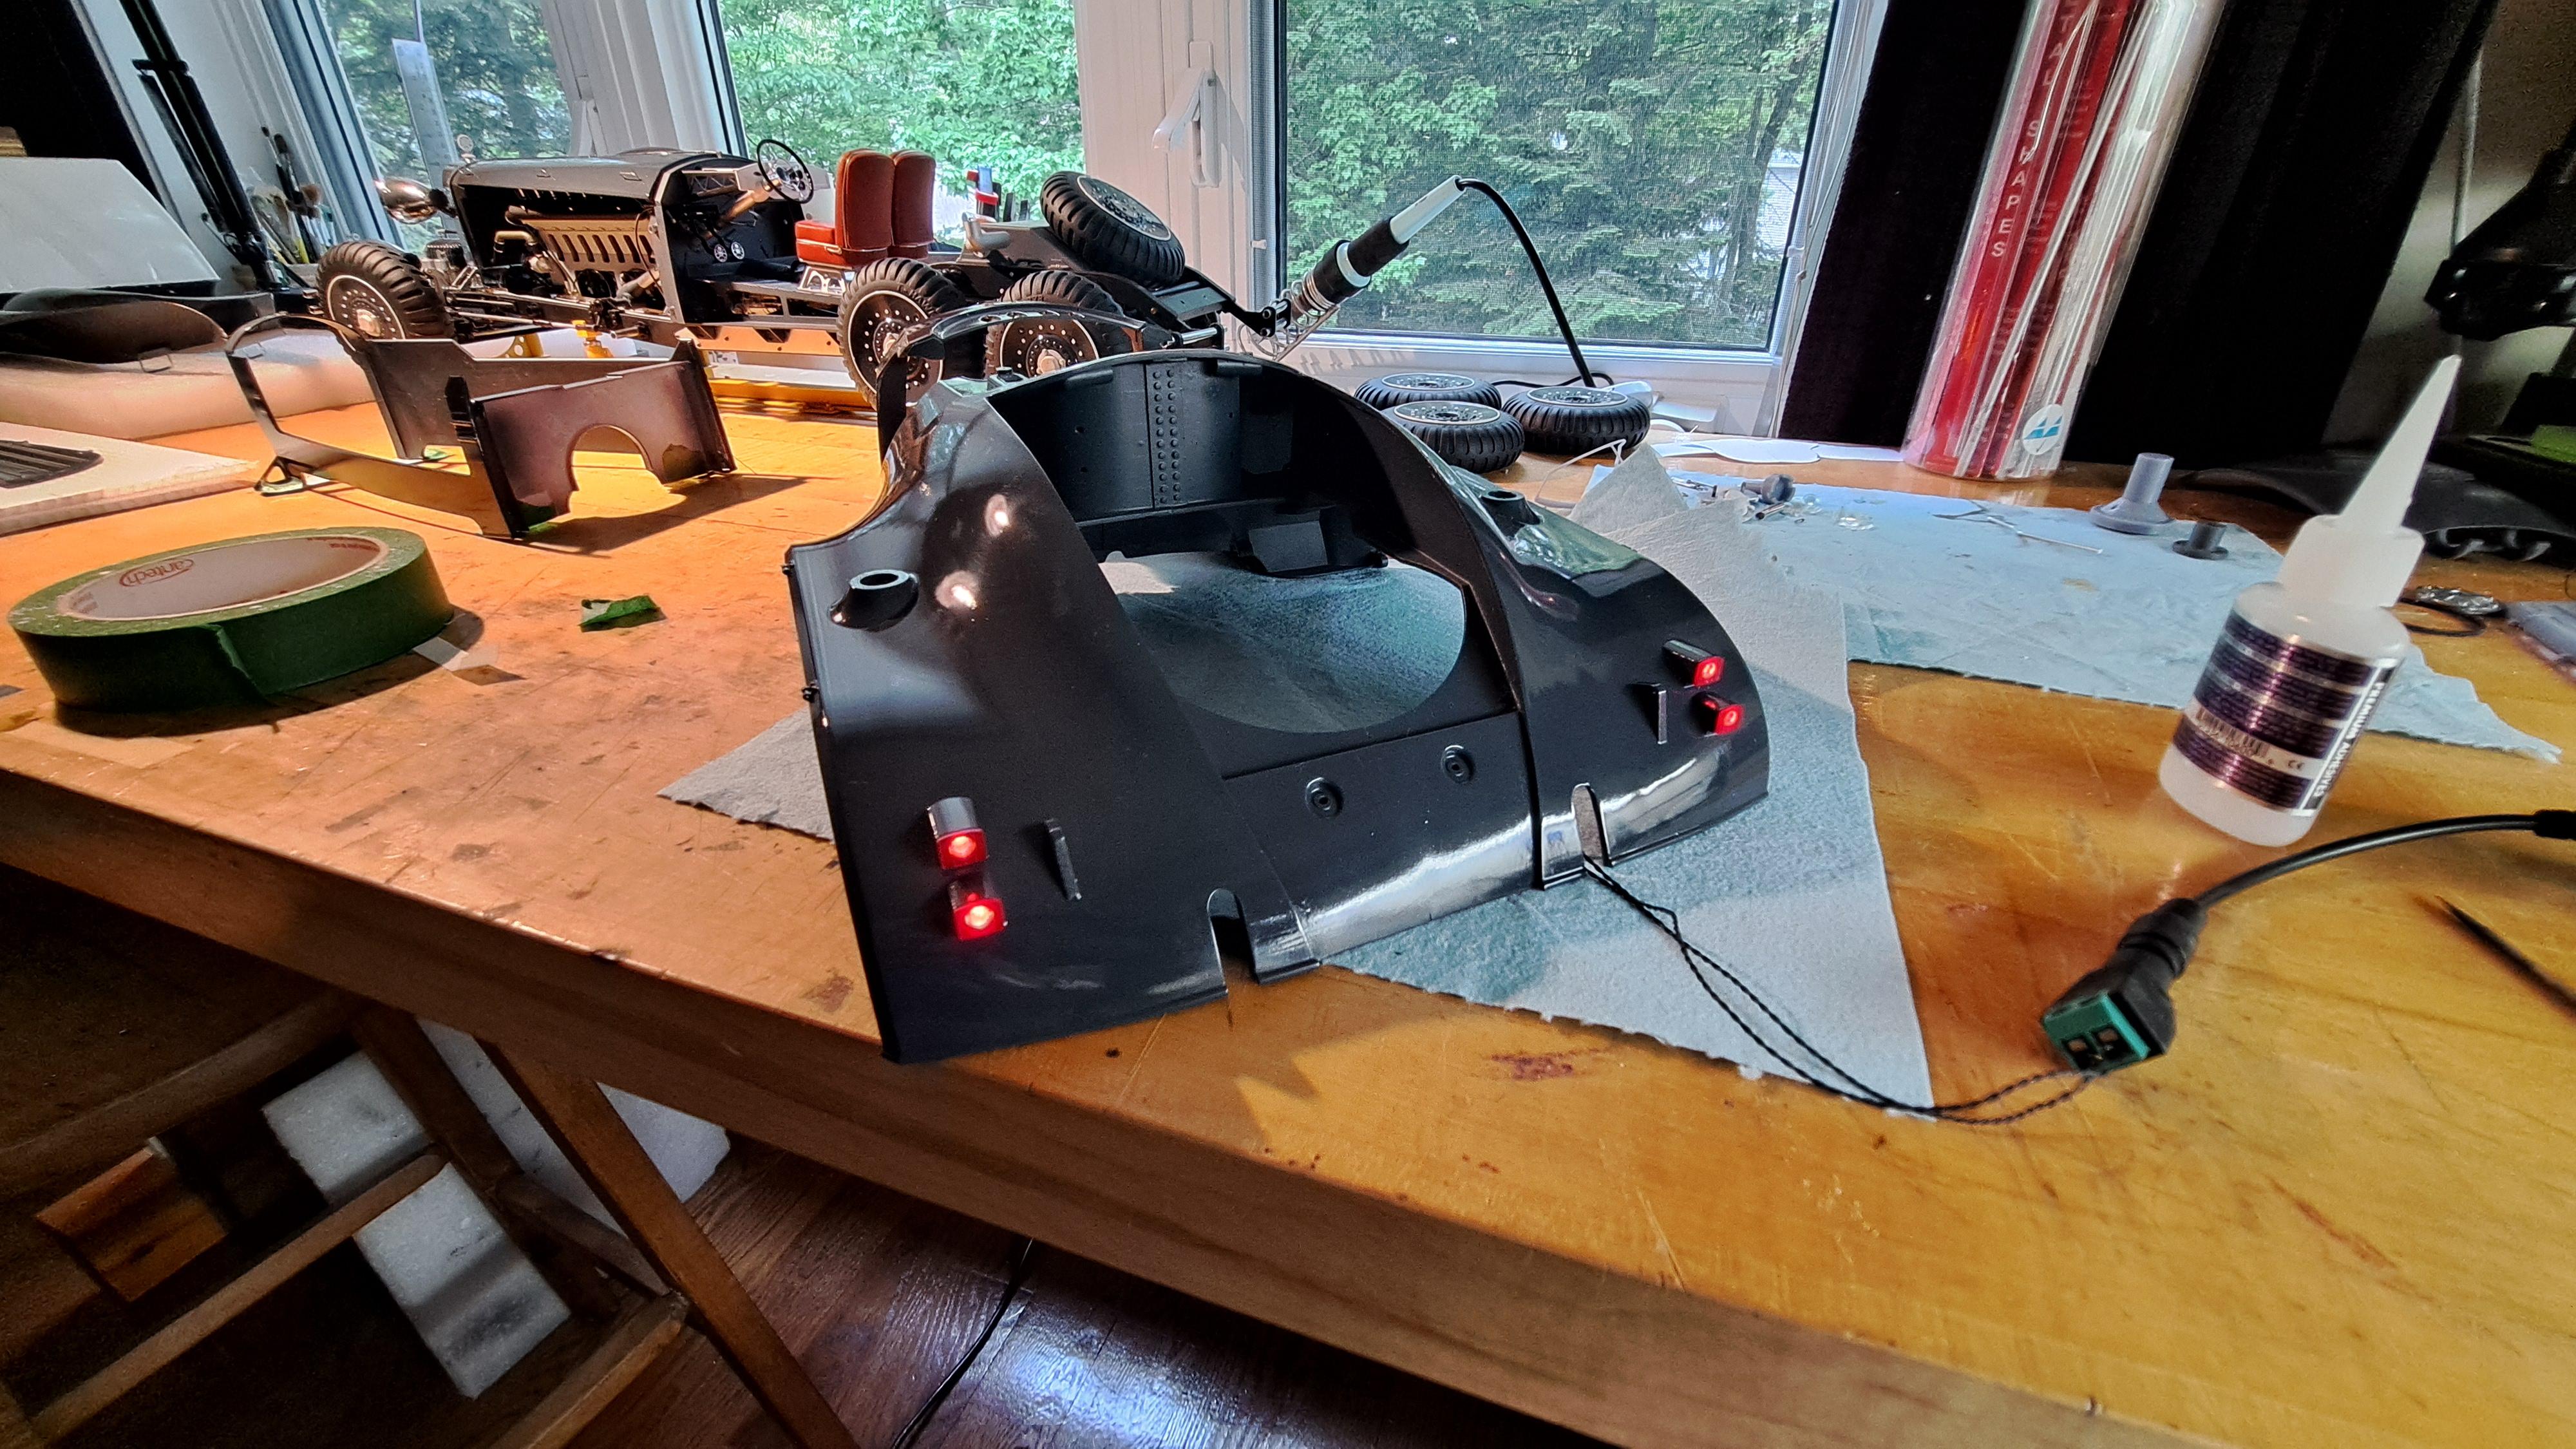
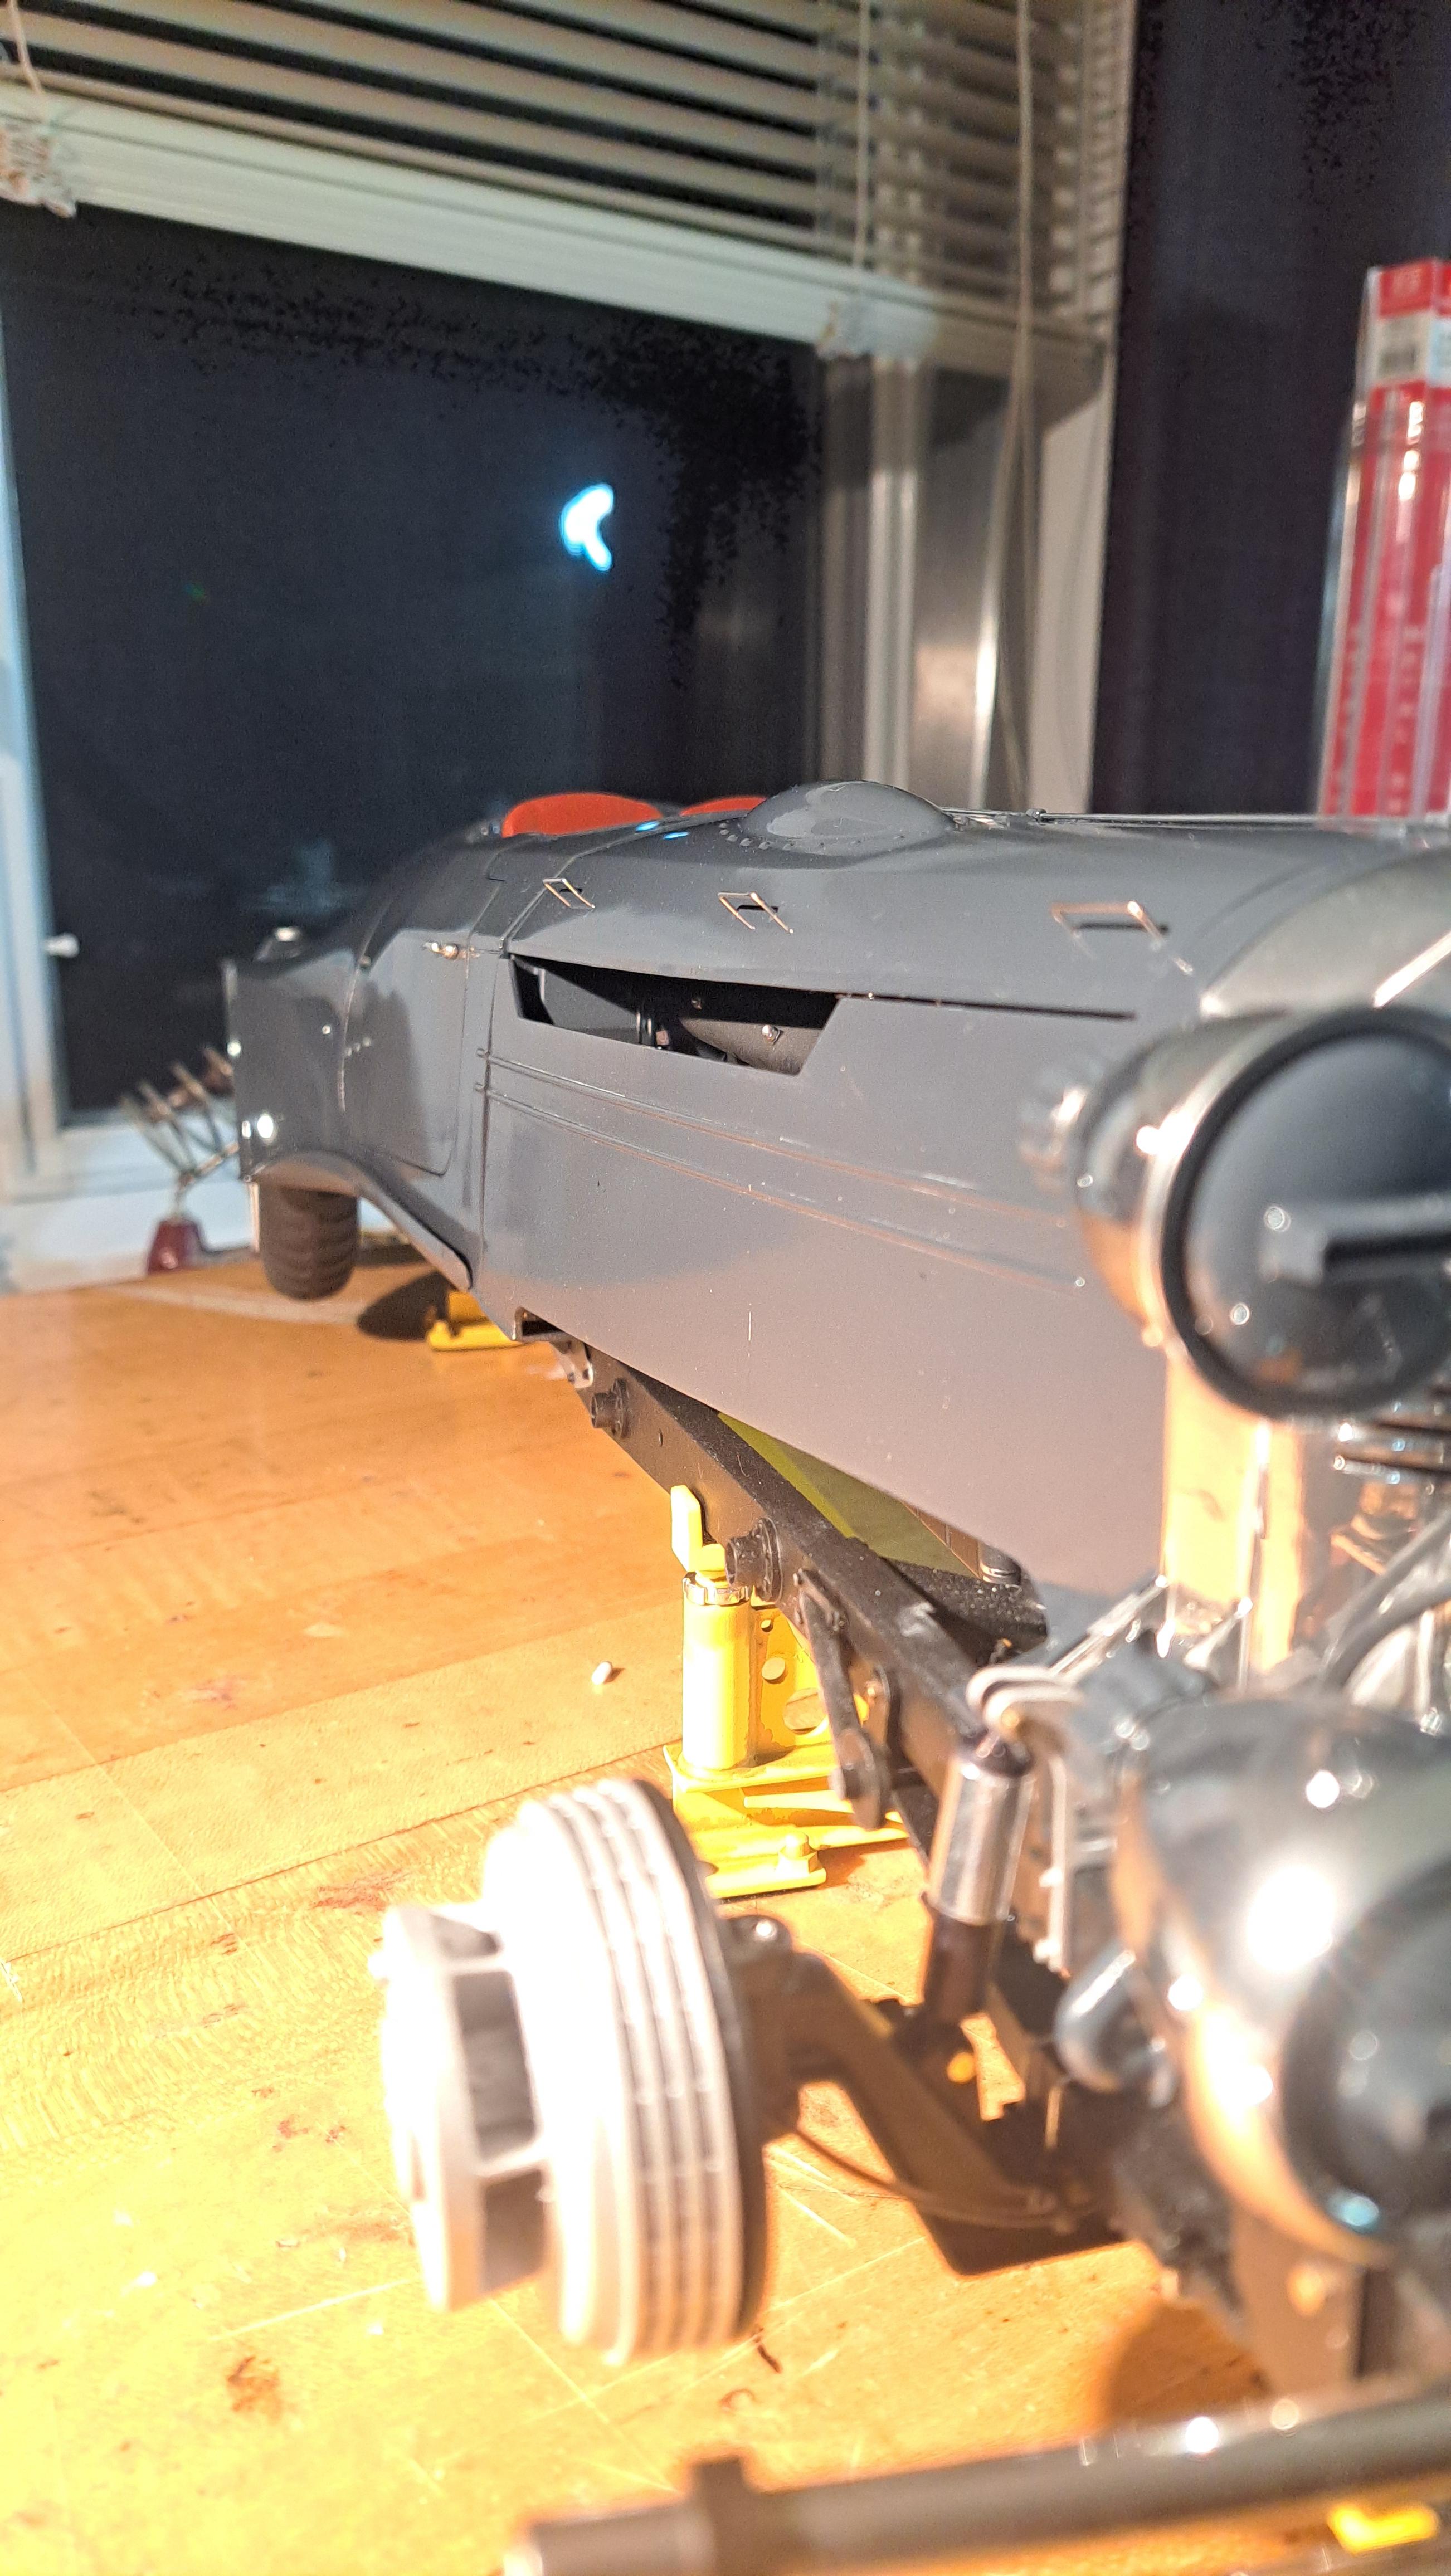
Installation of front body and hood, making sure fits are nice and hoods open and close freely.

20250601_214156.jpg.a1c149f95f07189e22d5bd2cf666f28a.jpg


20250601_214140.jpg.4074ae371a276419257dad3a2e91ed26.jpg


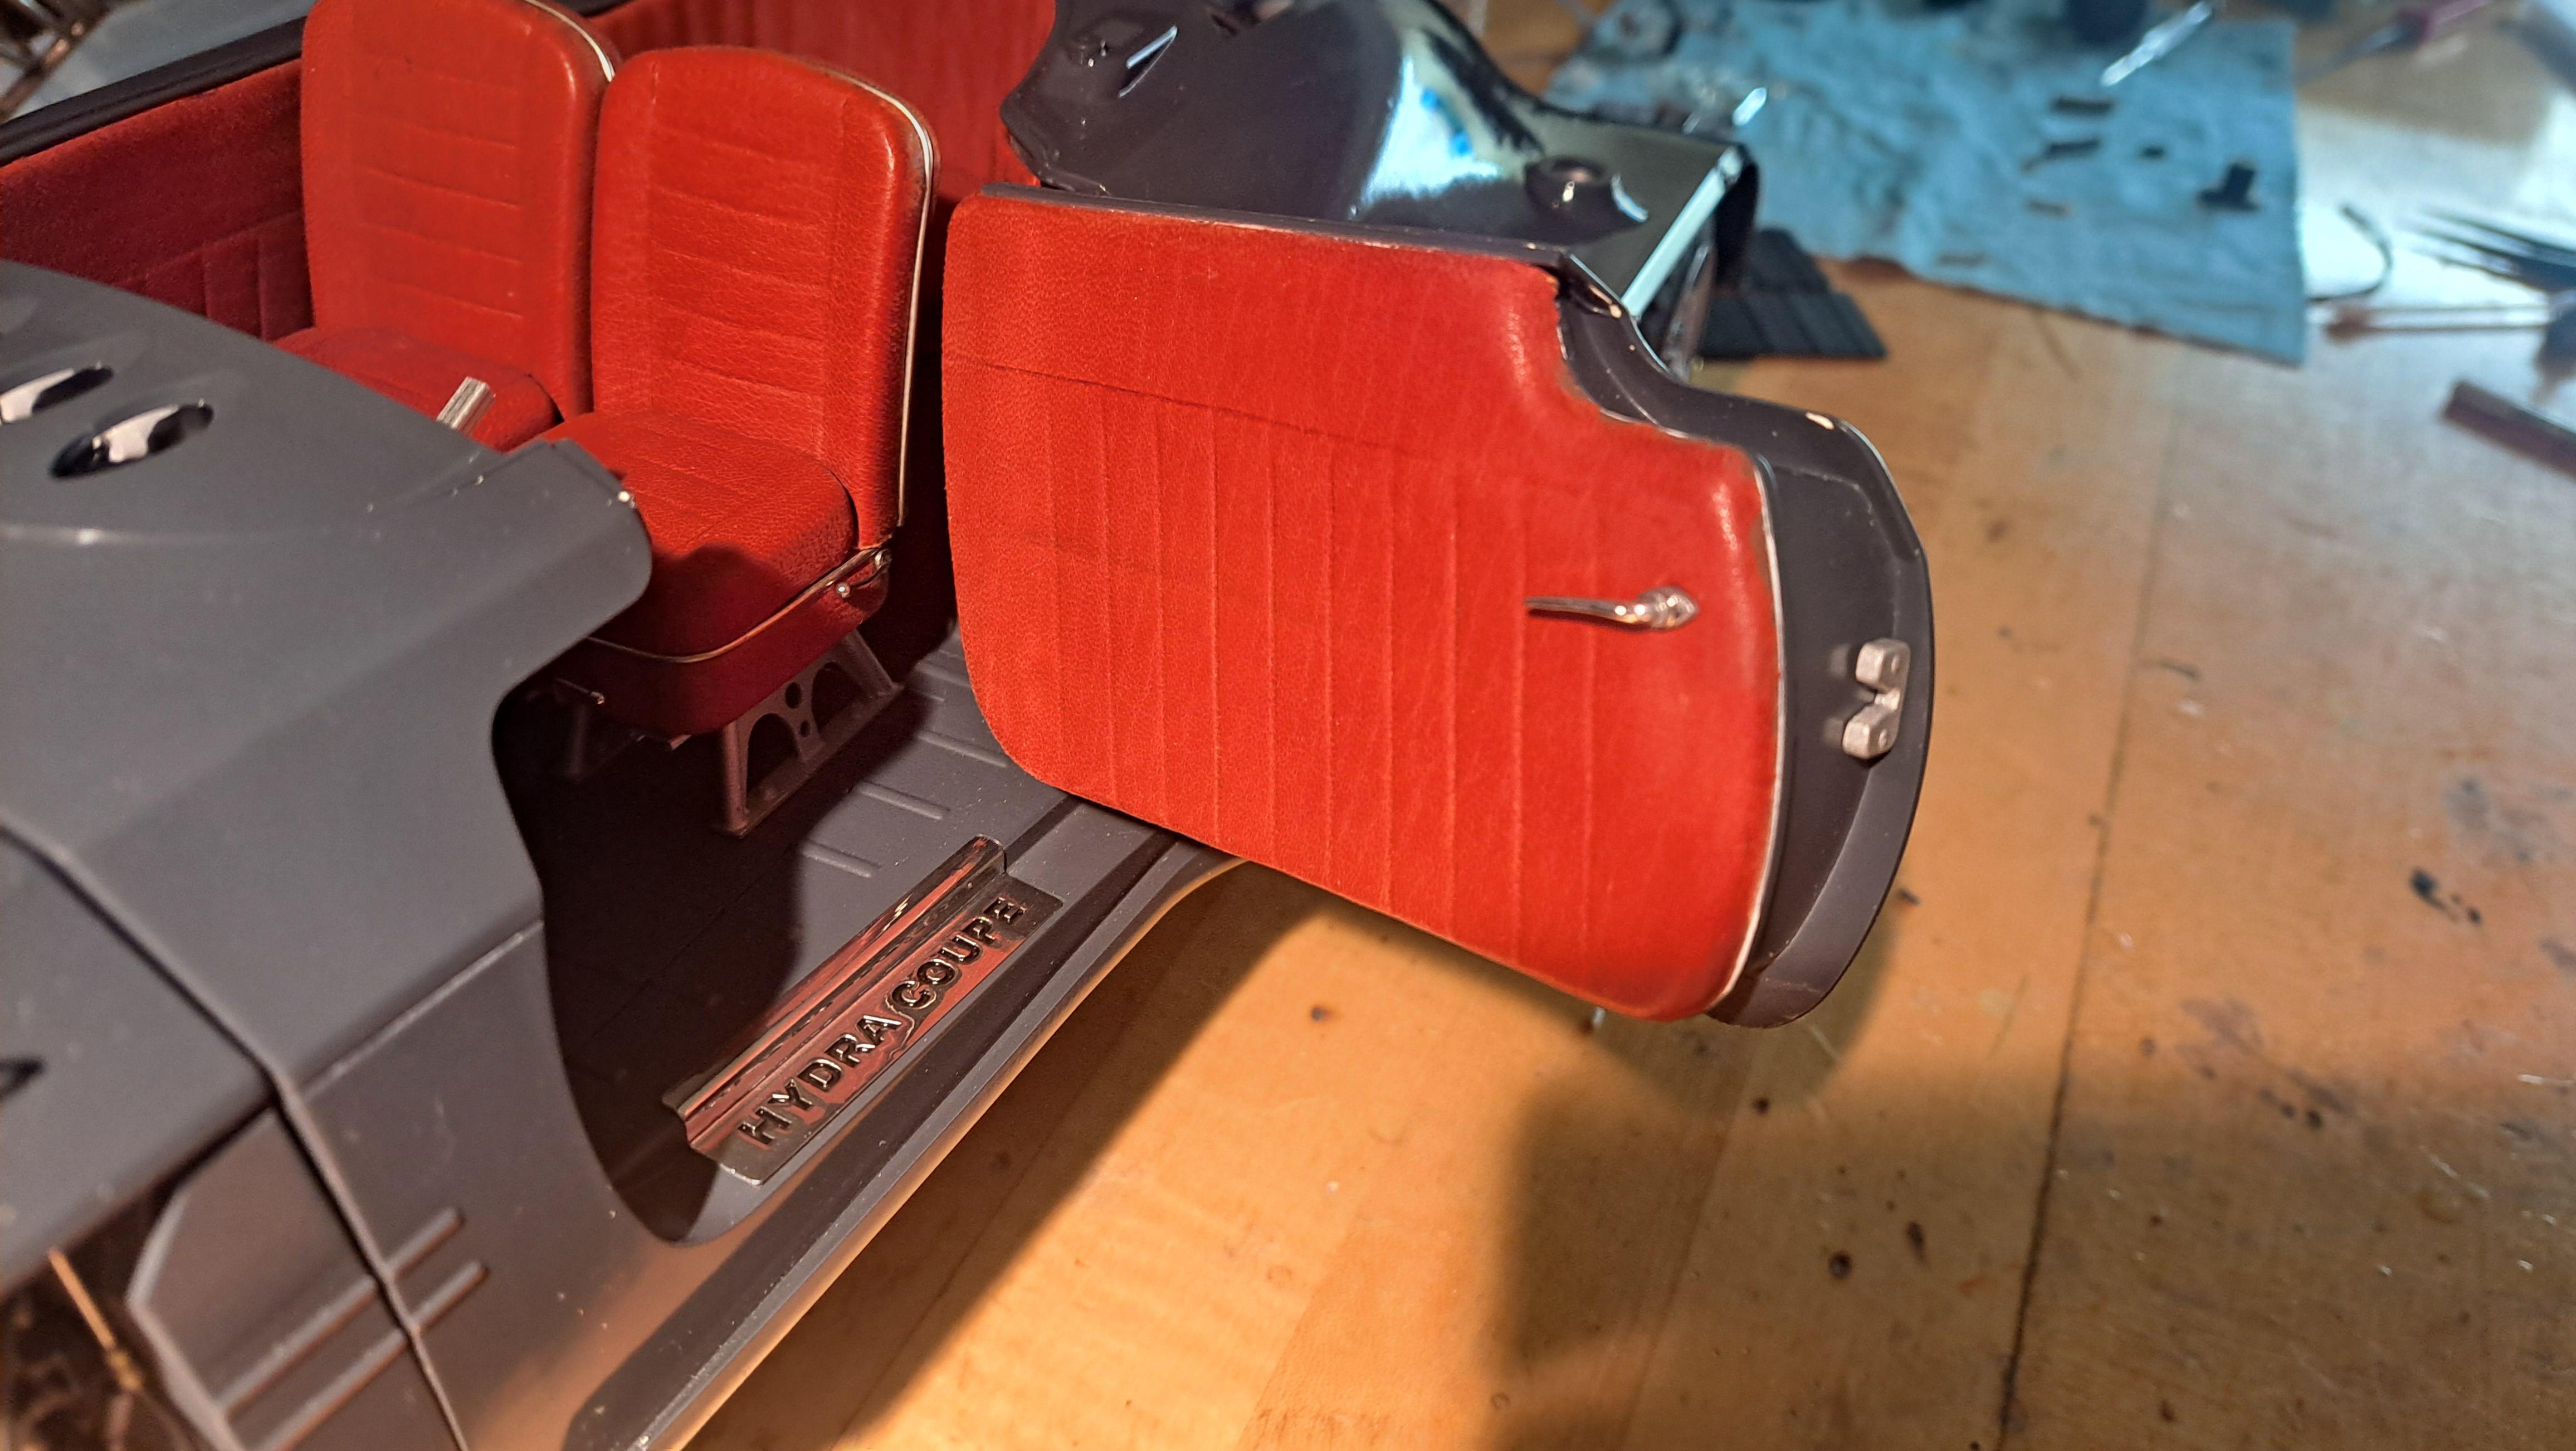
Installation of door sills

20250601_212921.jpg.42934aea3185d071946b605b045b3e19.jpg


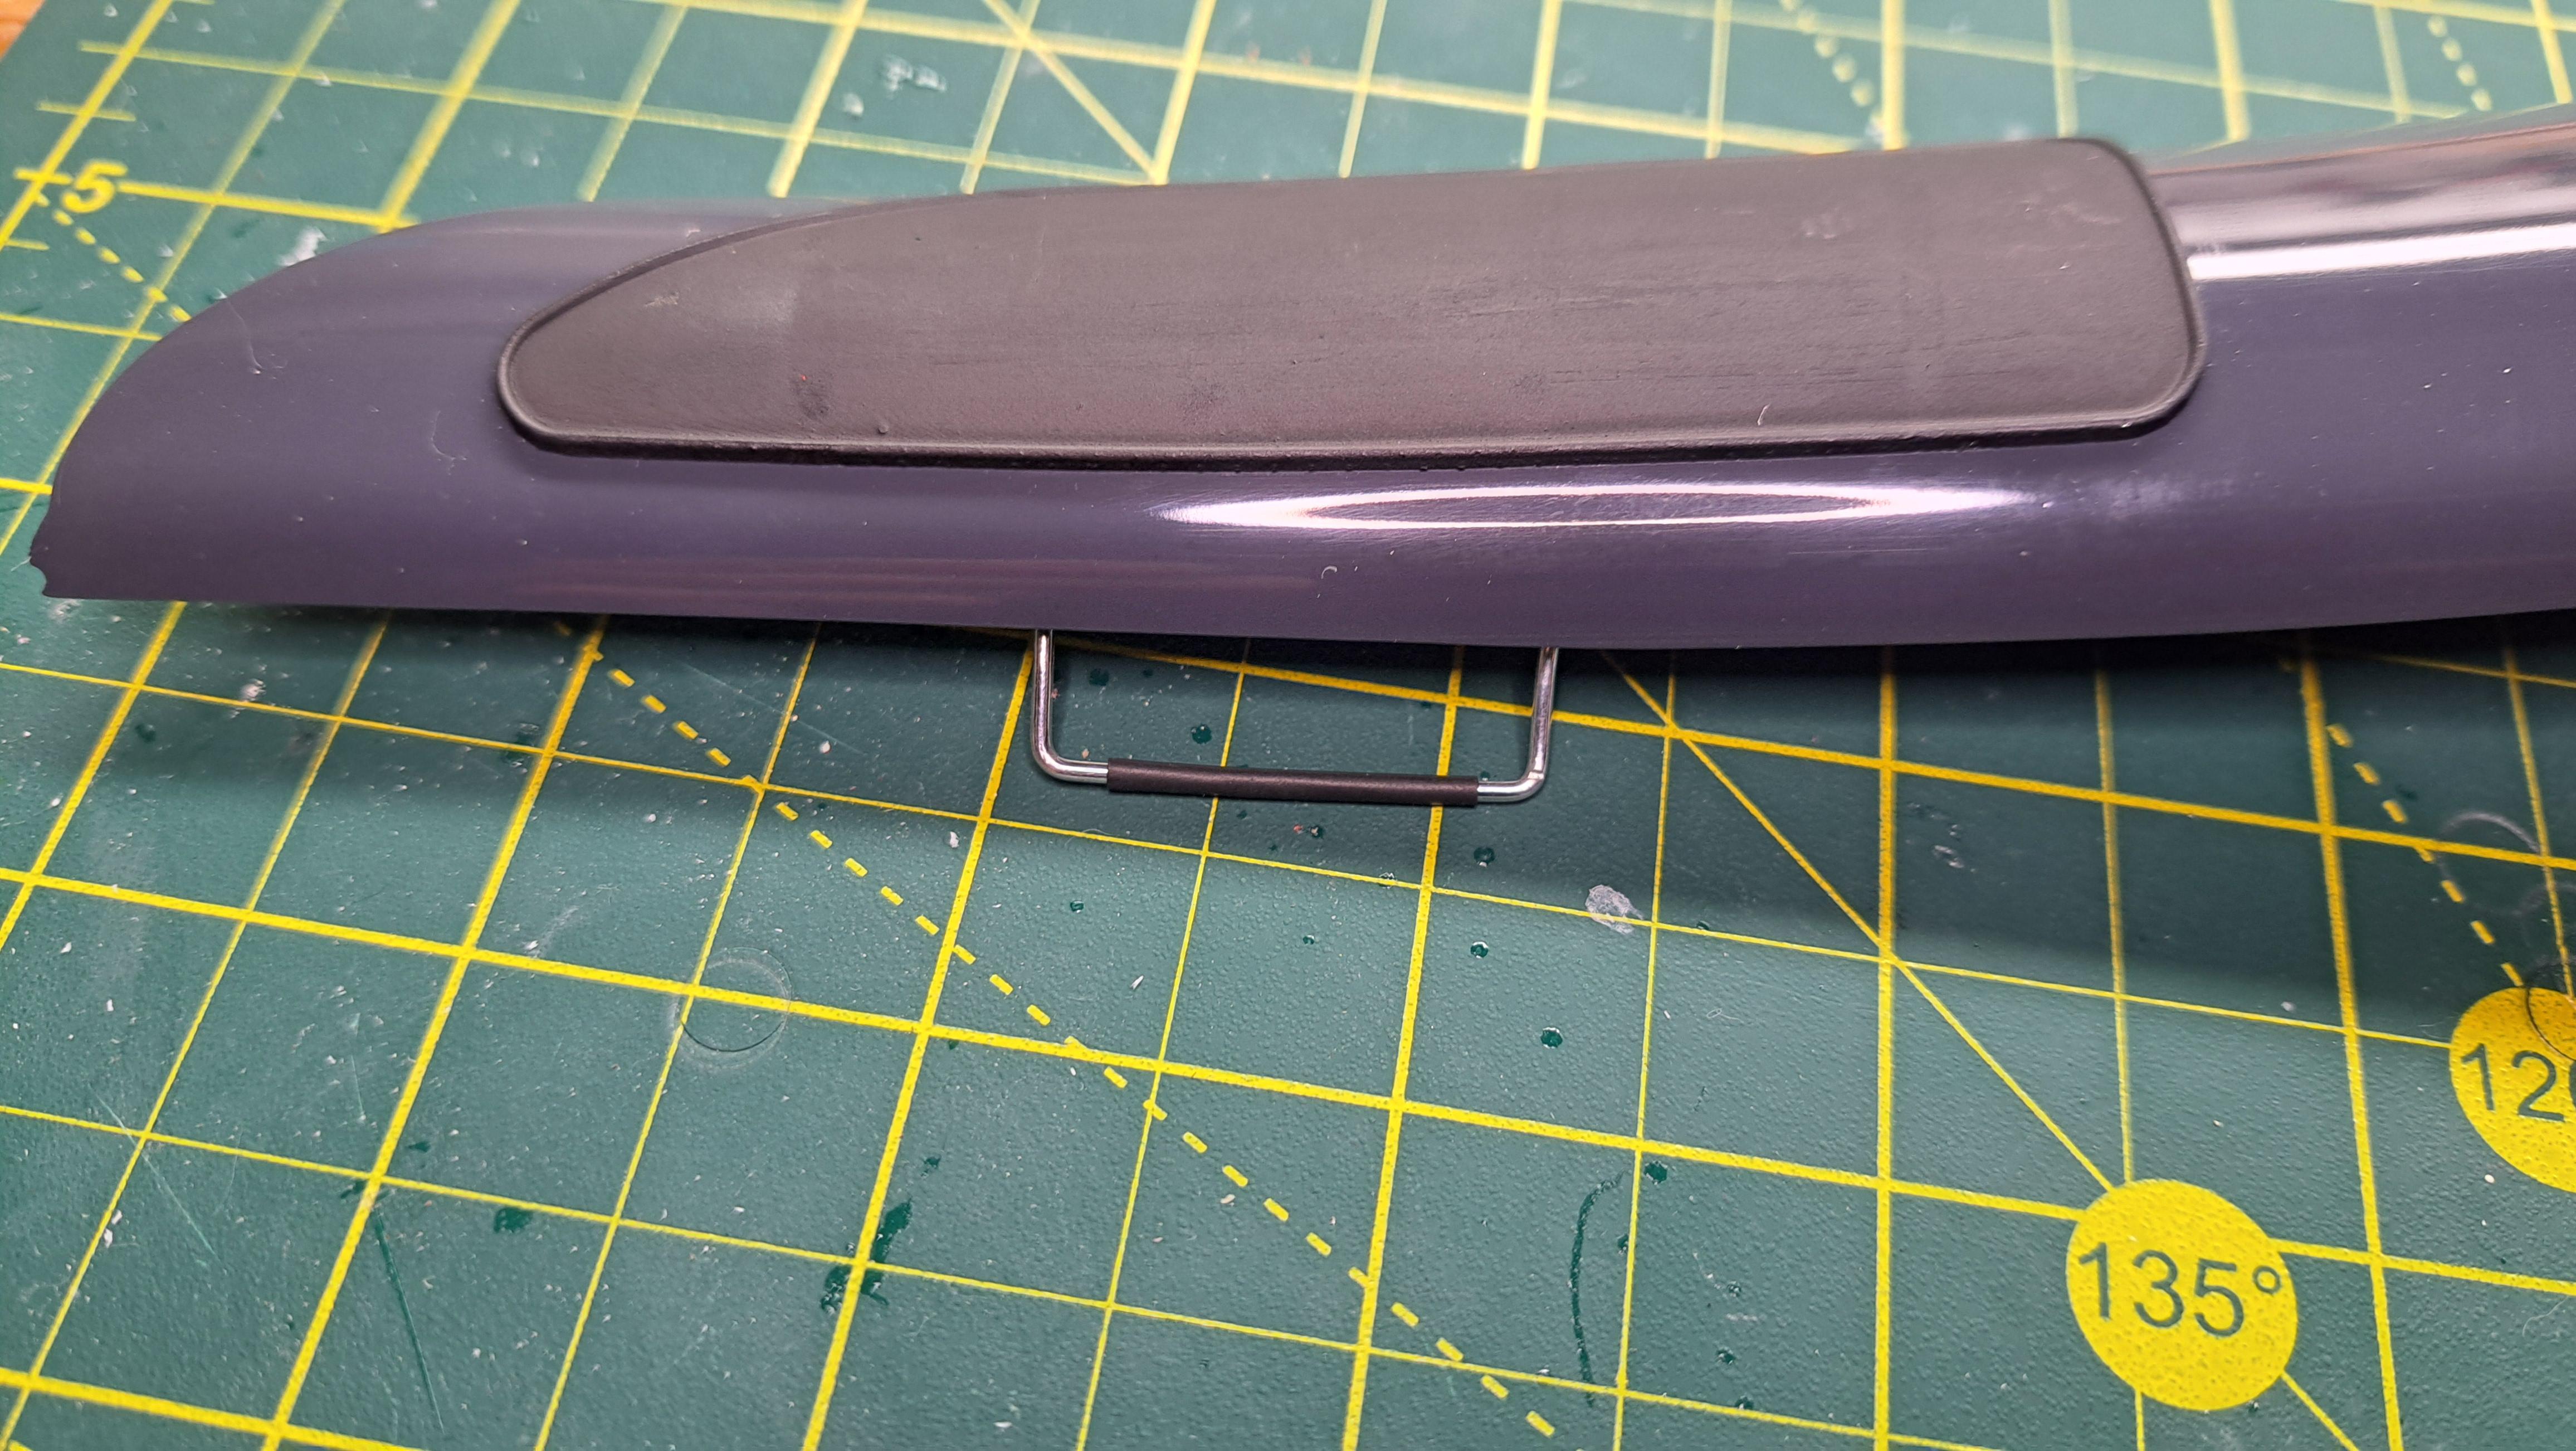
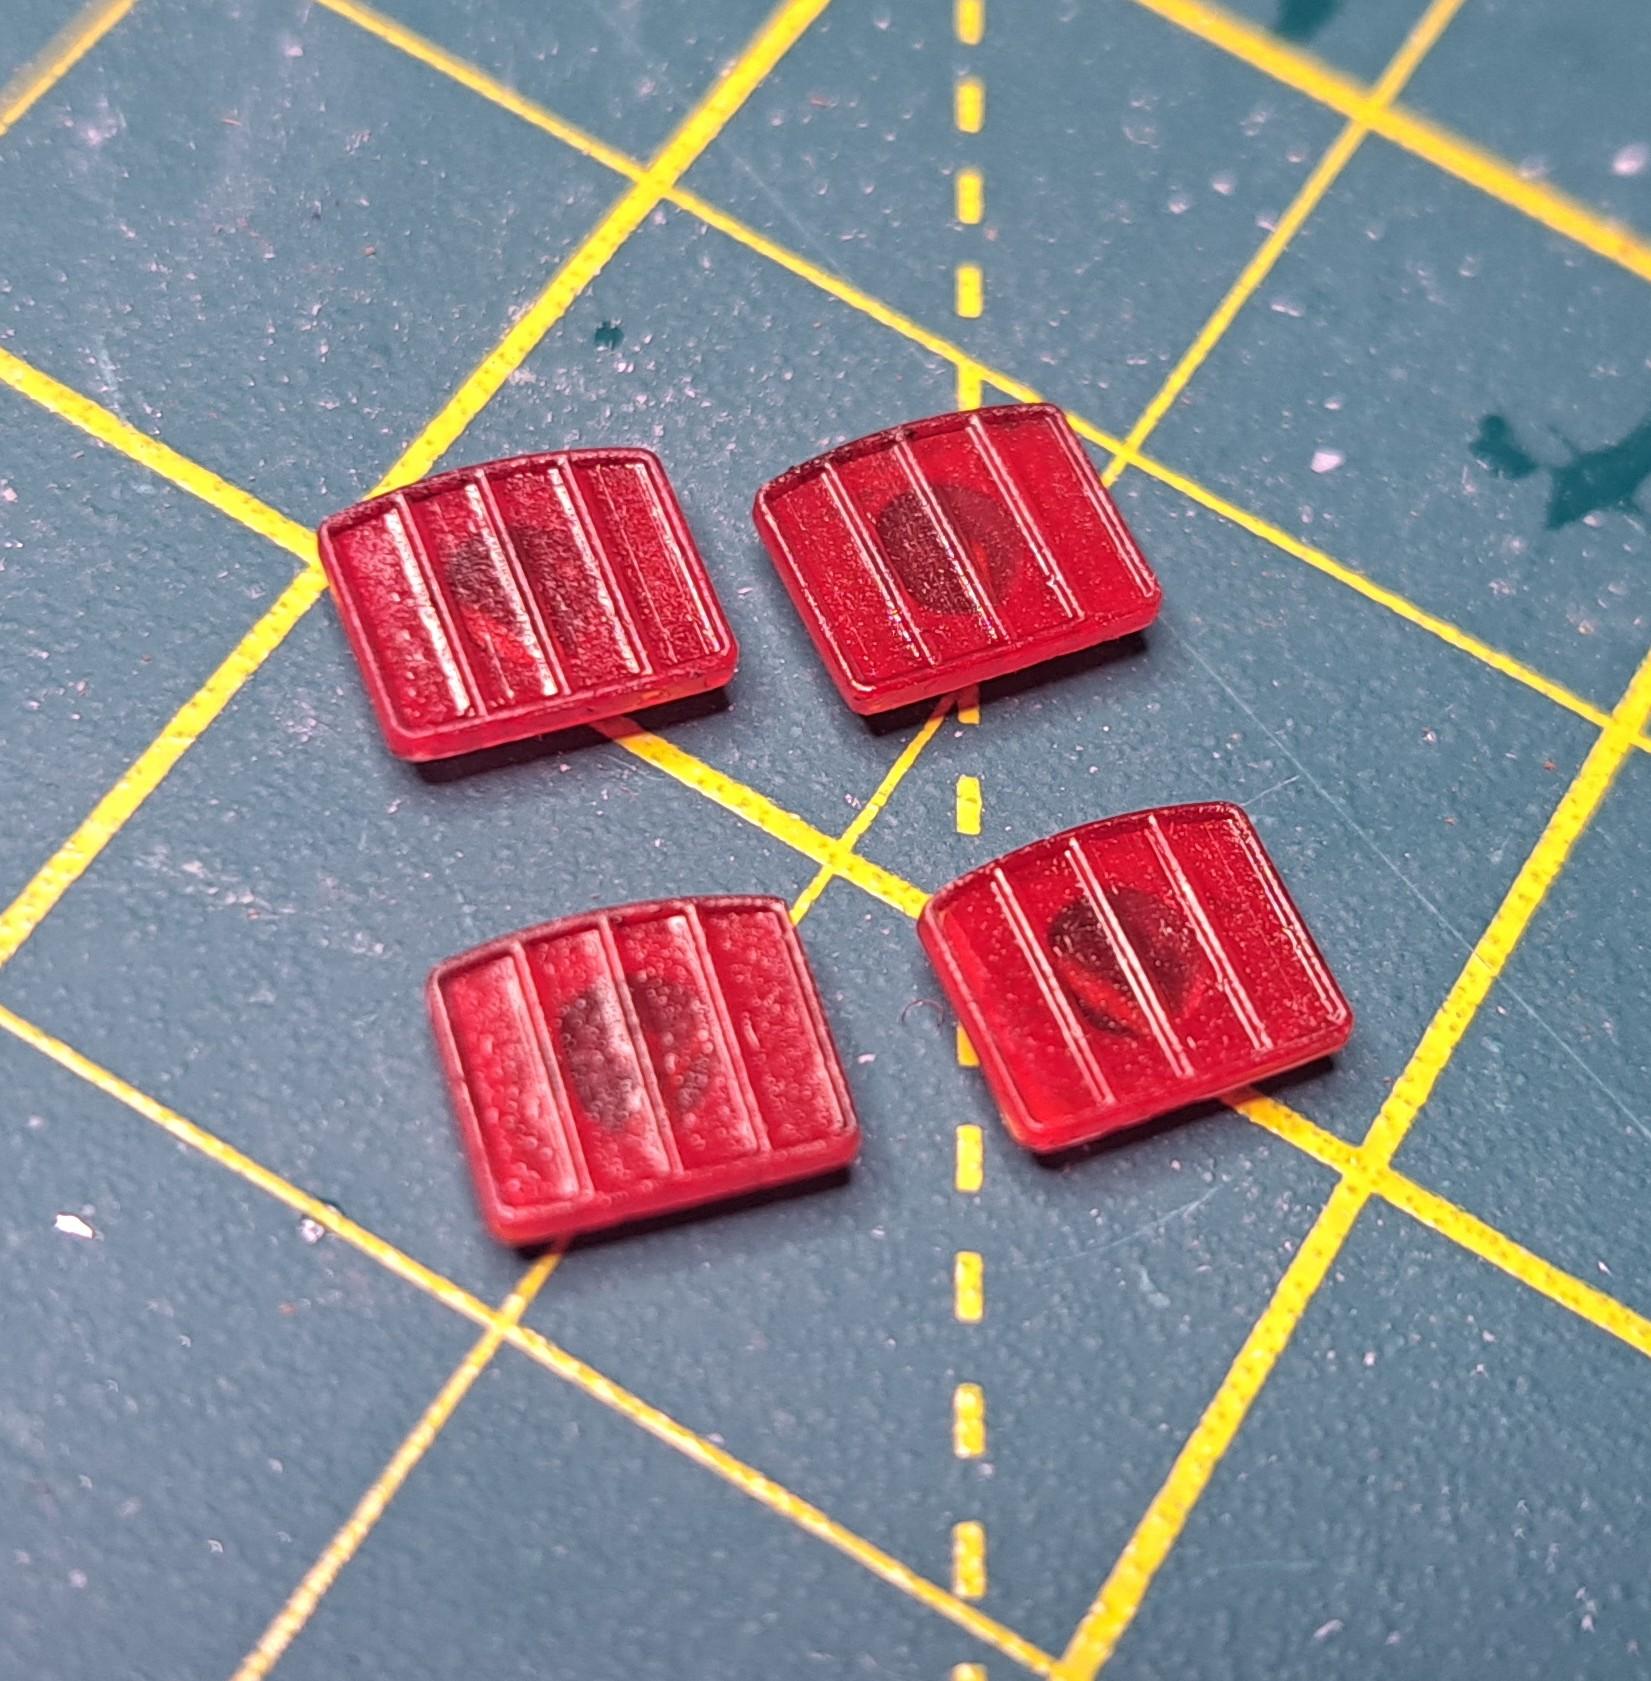
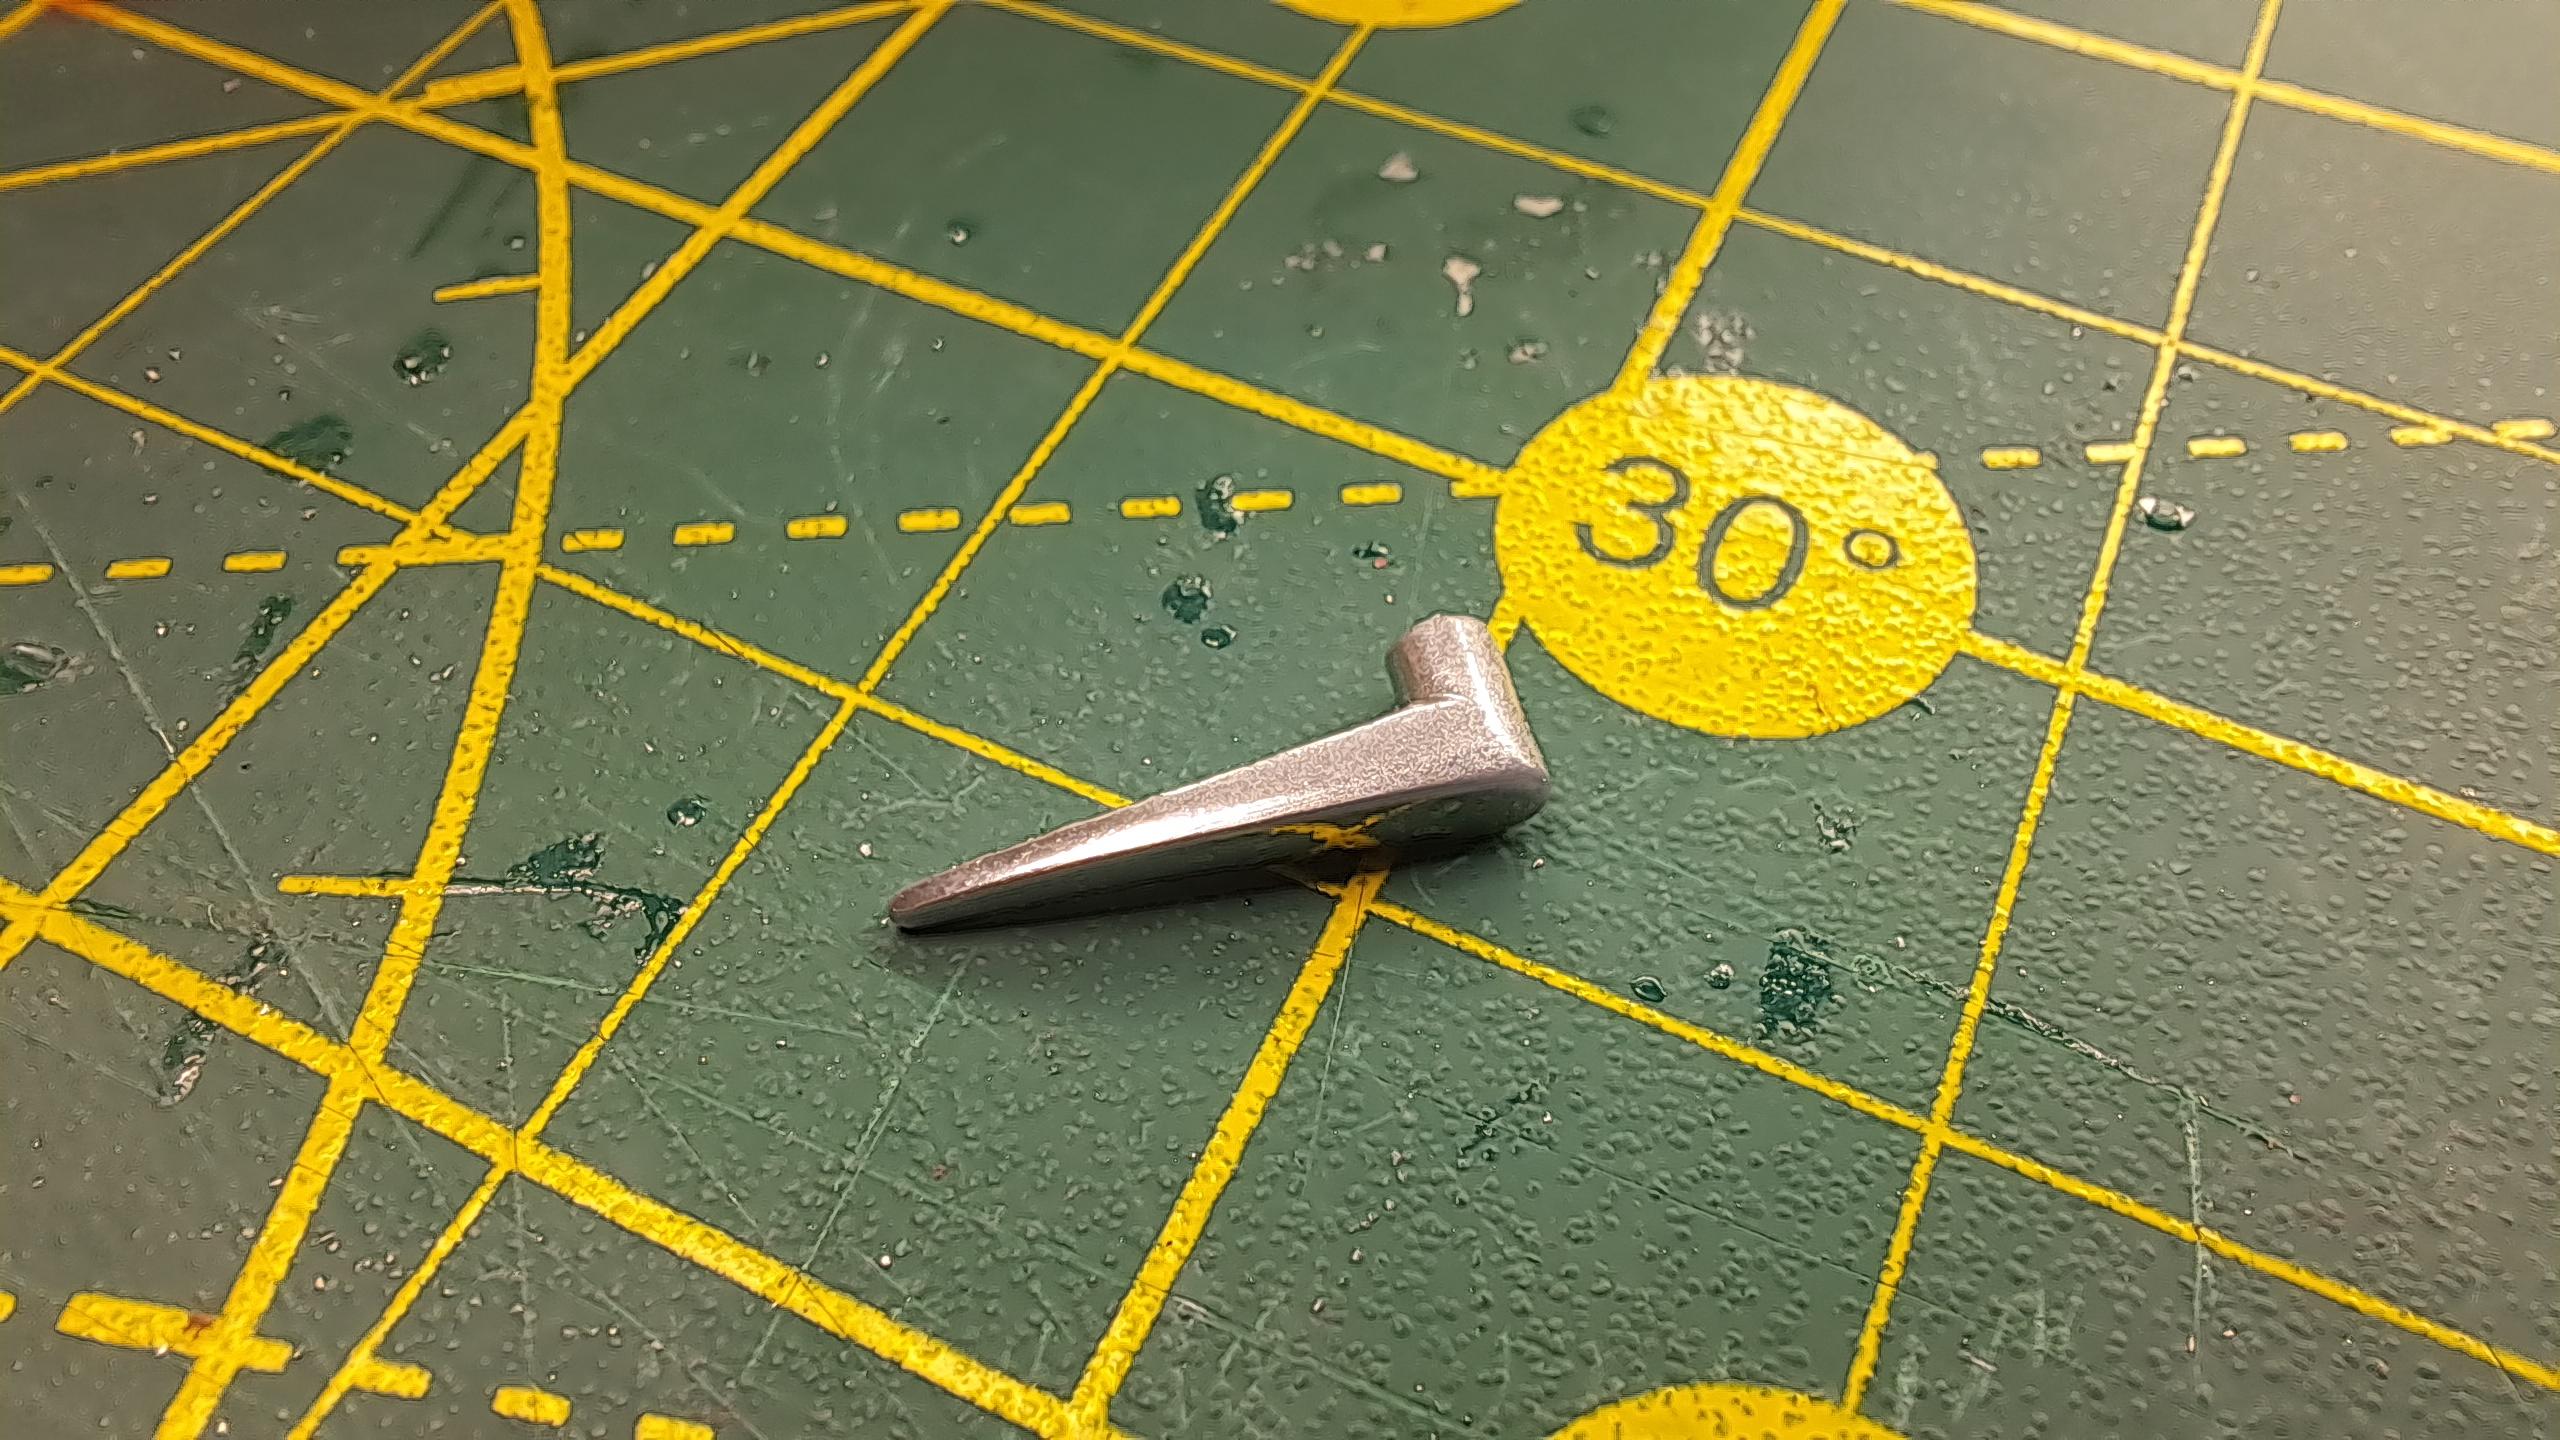
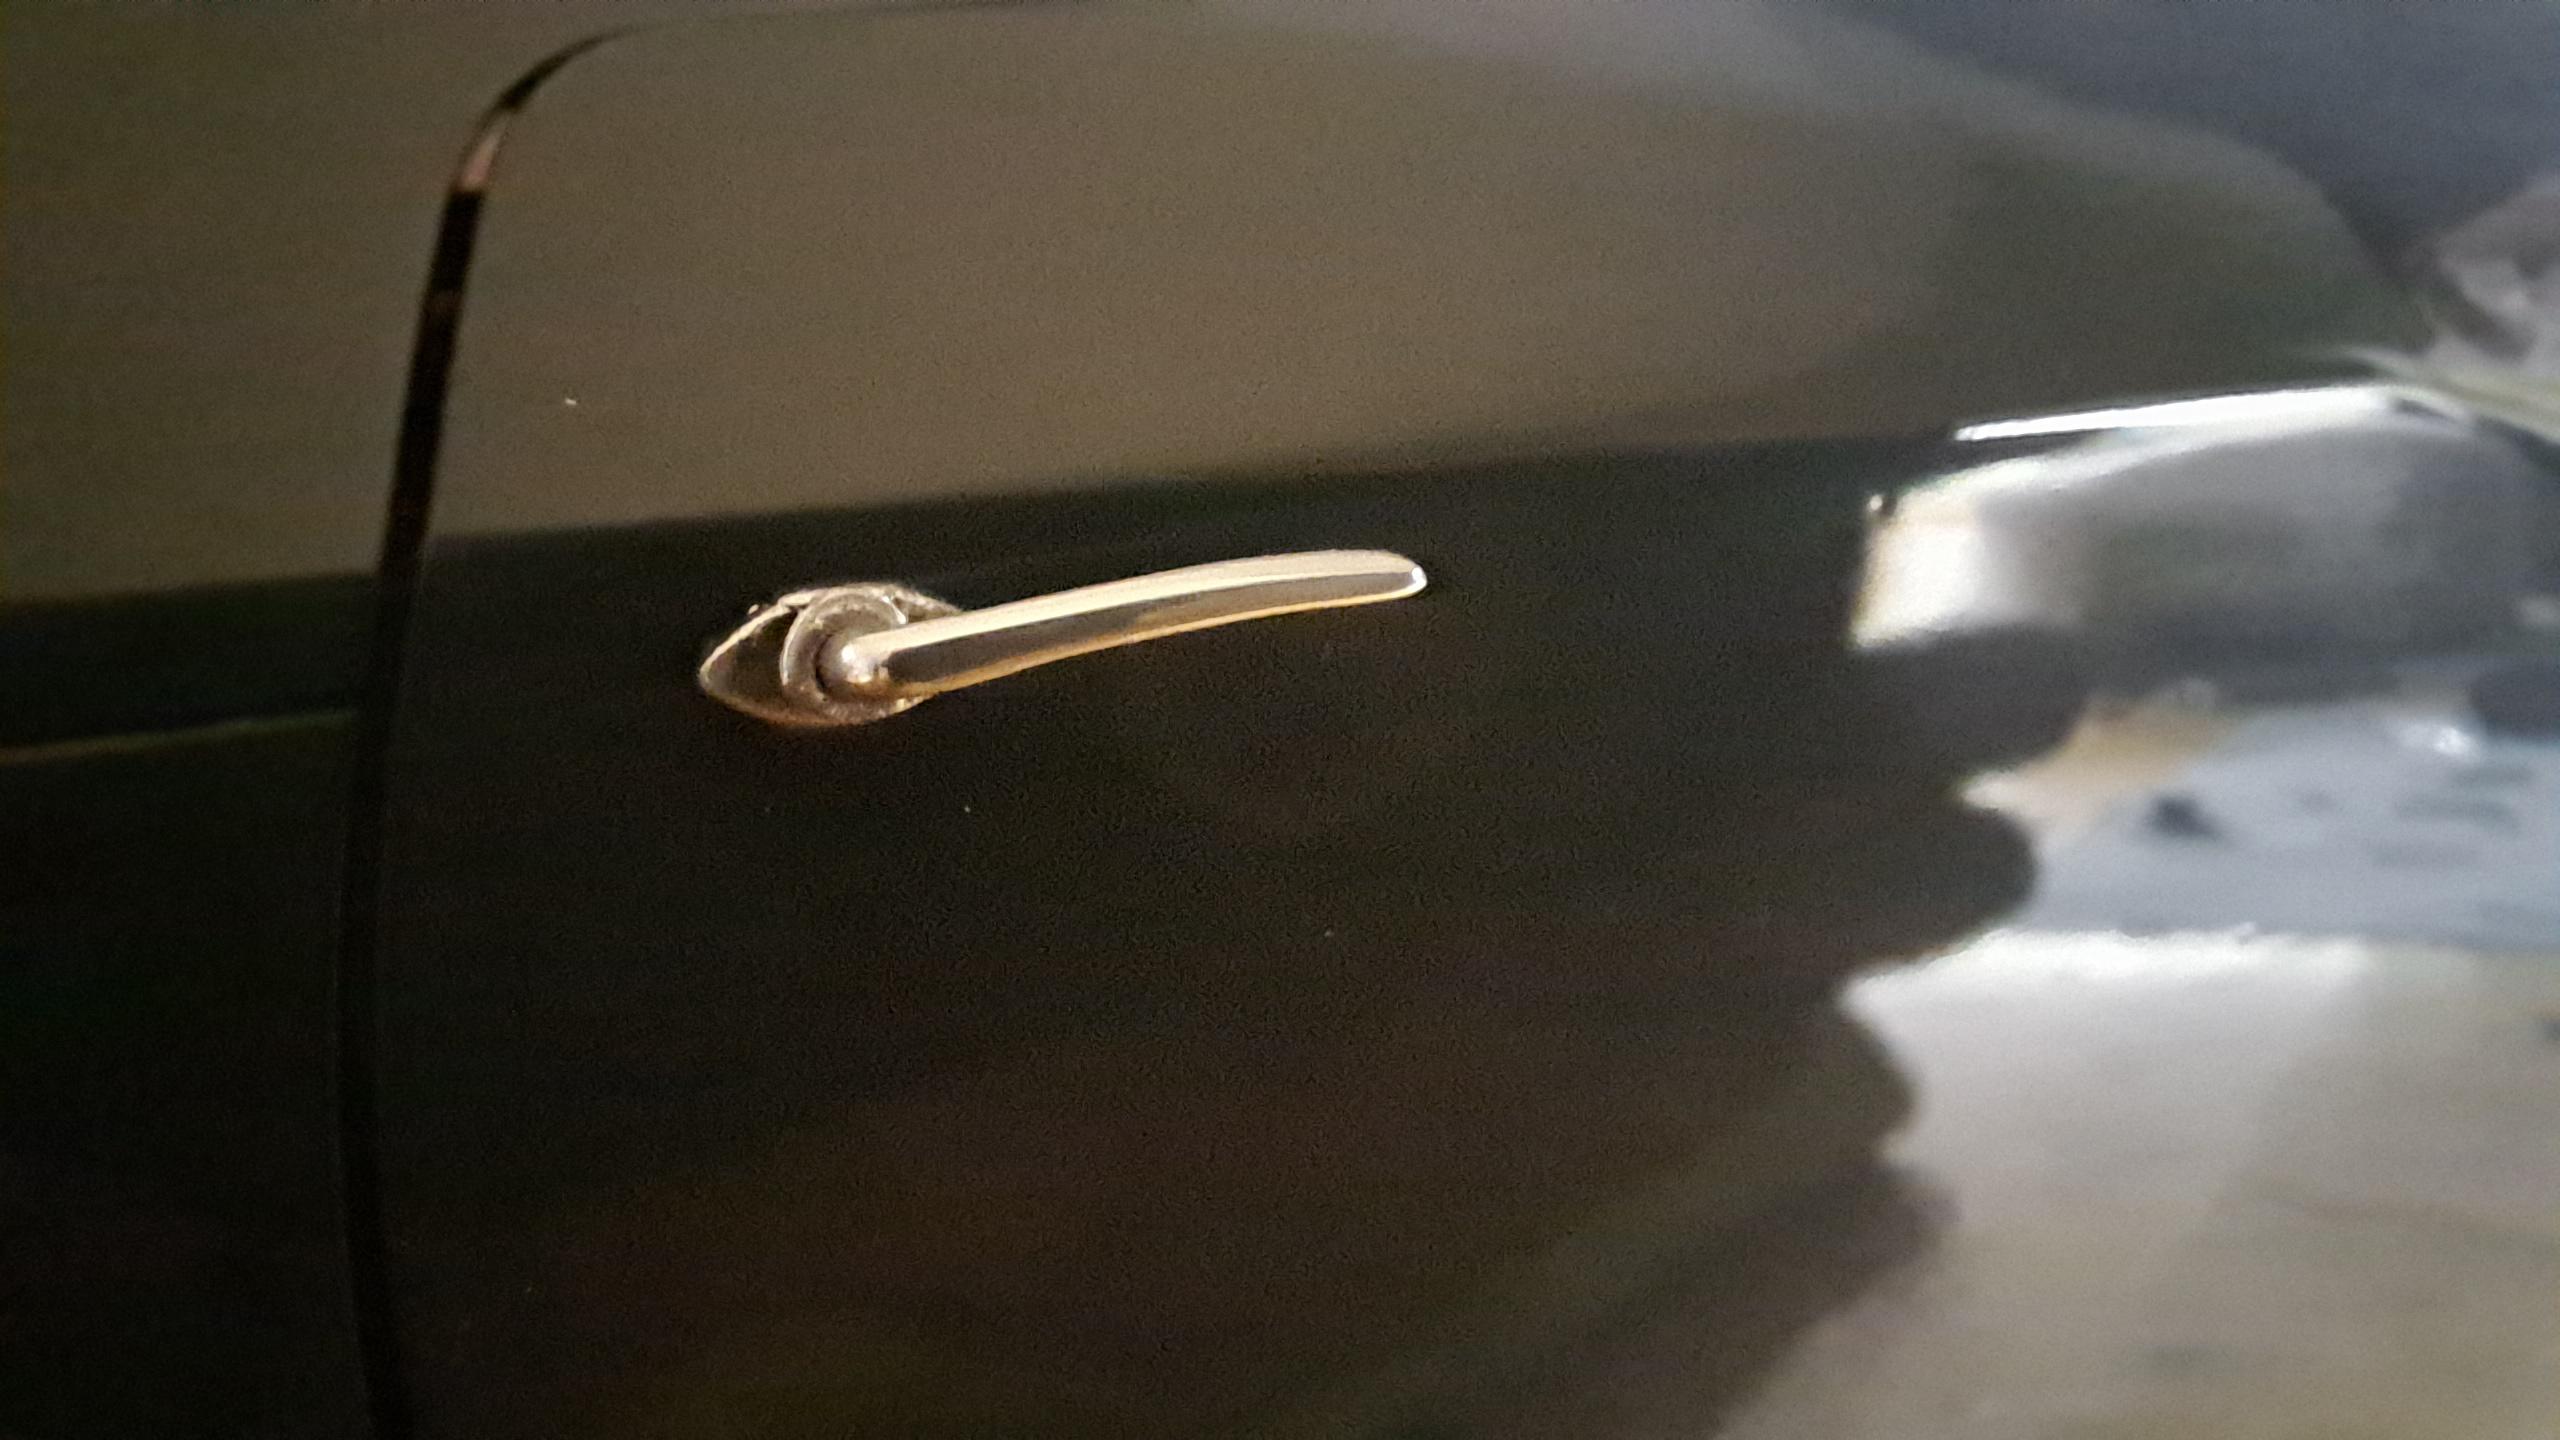
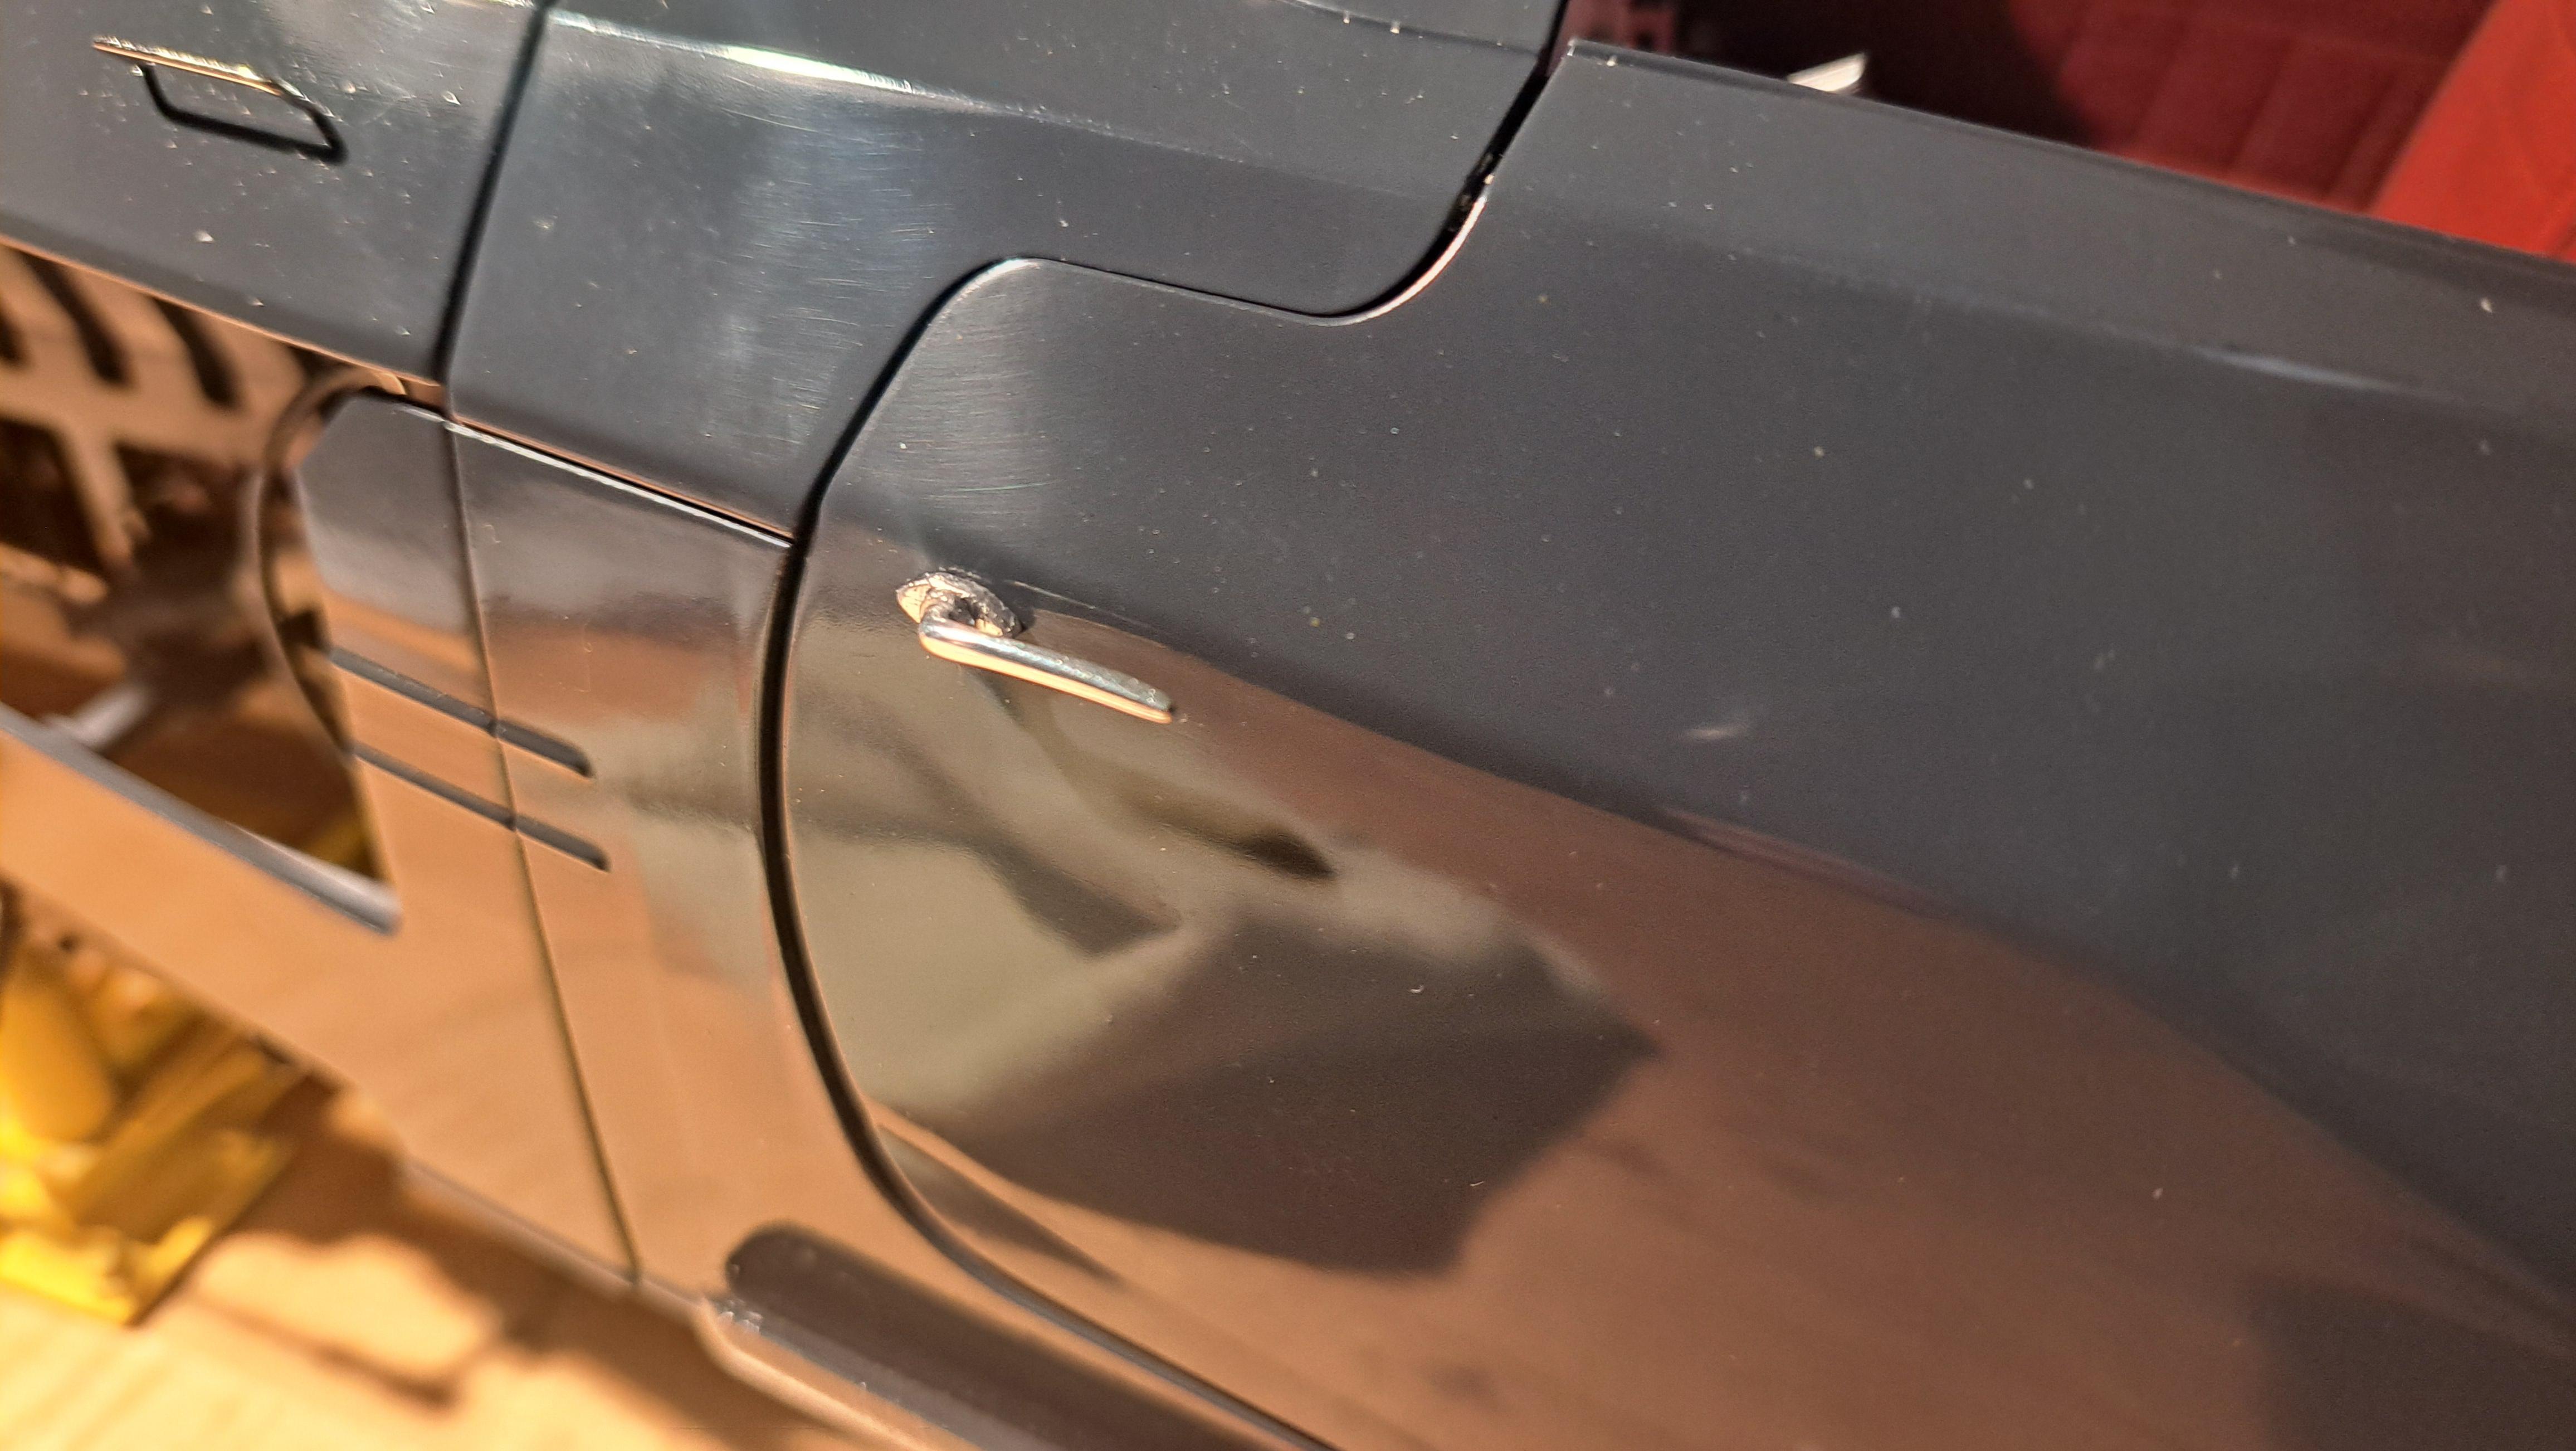
Installation of door handles. Quick note about the handles. I 3d printed 6 handles, 2 per door and 2 for the trunk lid. They looked very nice but the chrome dulled right away during Installation. So I ended up make new once out of an aluminium rod. Once filed, curved and polished, they look better then the printed ones.

Dulled printed handle

20250601_213834.jpg.eea602d50349bd8657bdbc51e3a16d87.jpg


Aluminium handle

20250601_213905.jpg.407738217a5b7f6b5fba5c2bcdef1658.jpg


20250601_213525.jpg.5e96885bb04d6966275db9b07c5753ed.jpg


Inside handle and door catch

20250601_213726.jpg.c0a80fa94eb9c63ff54f3253b6c789dd.jpg


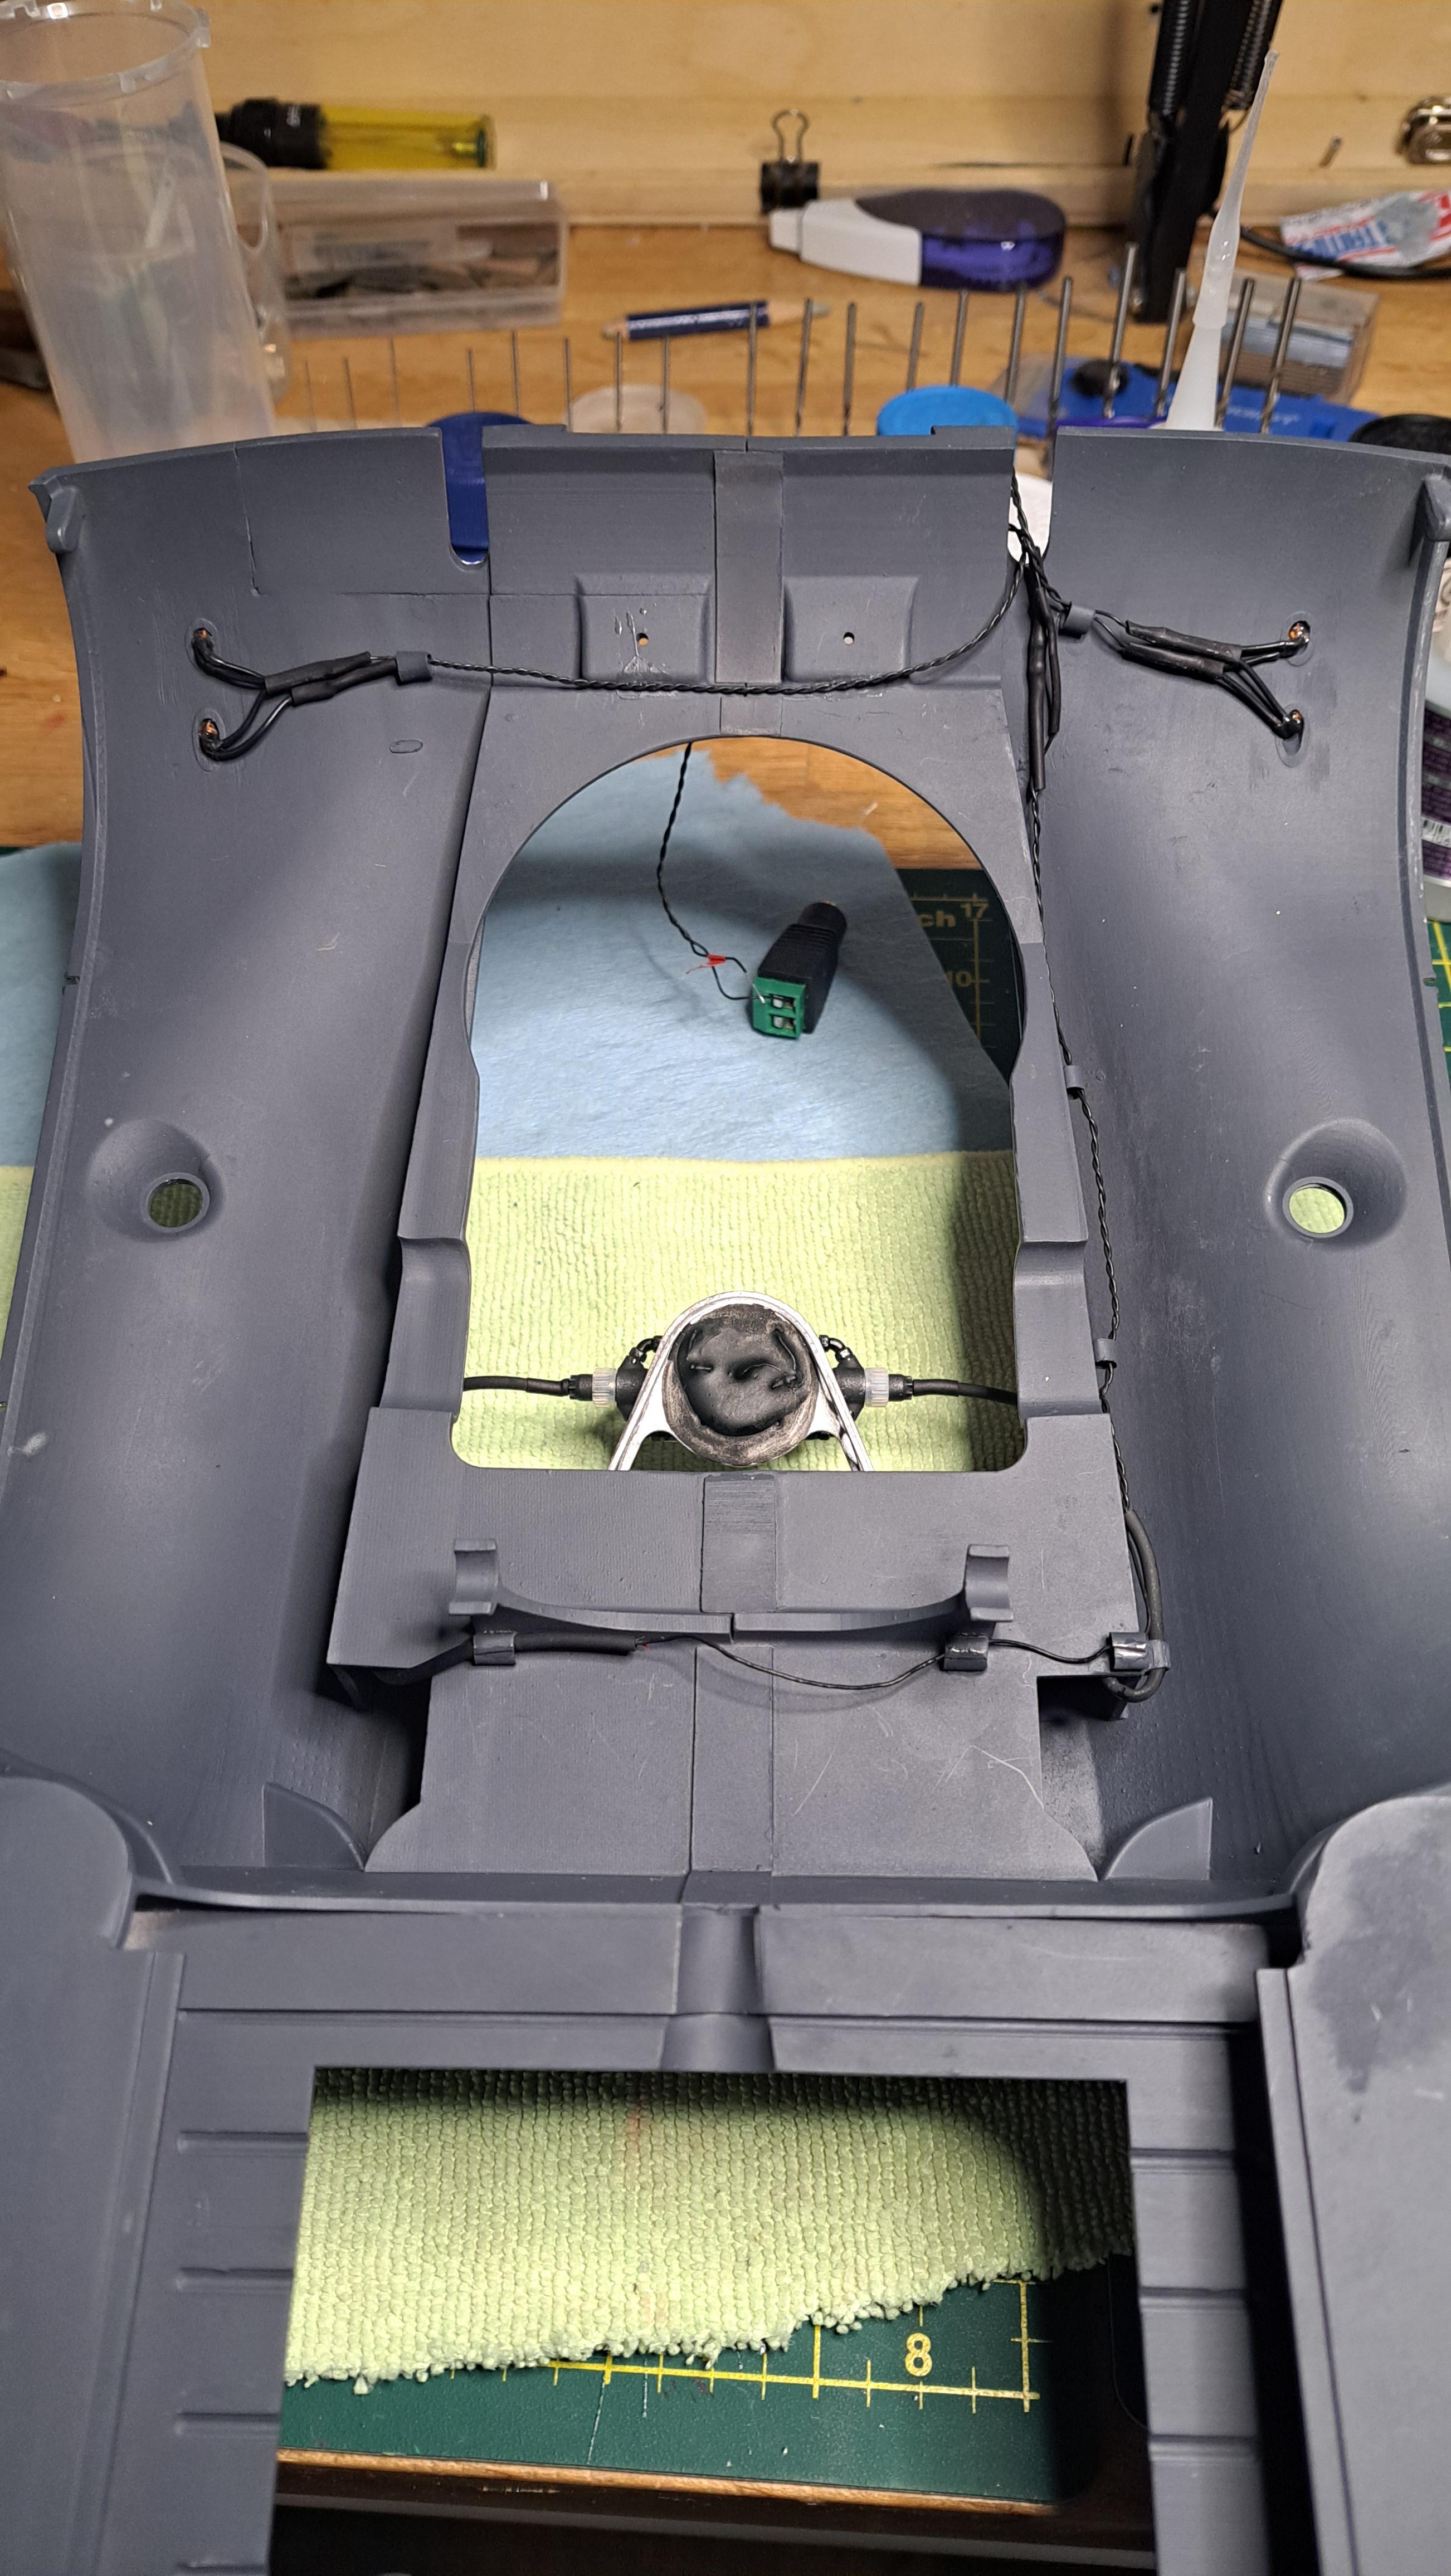
Installed the doors on the body

20250601_213709.jpg.c9a6aa8c86dafcaa85035ddeece4adee.jpg


20250601_213501.jpg.2e034e56e80b7d23acaf3df88fa1726a.jpg


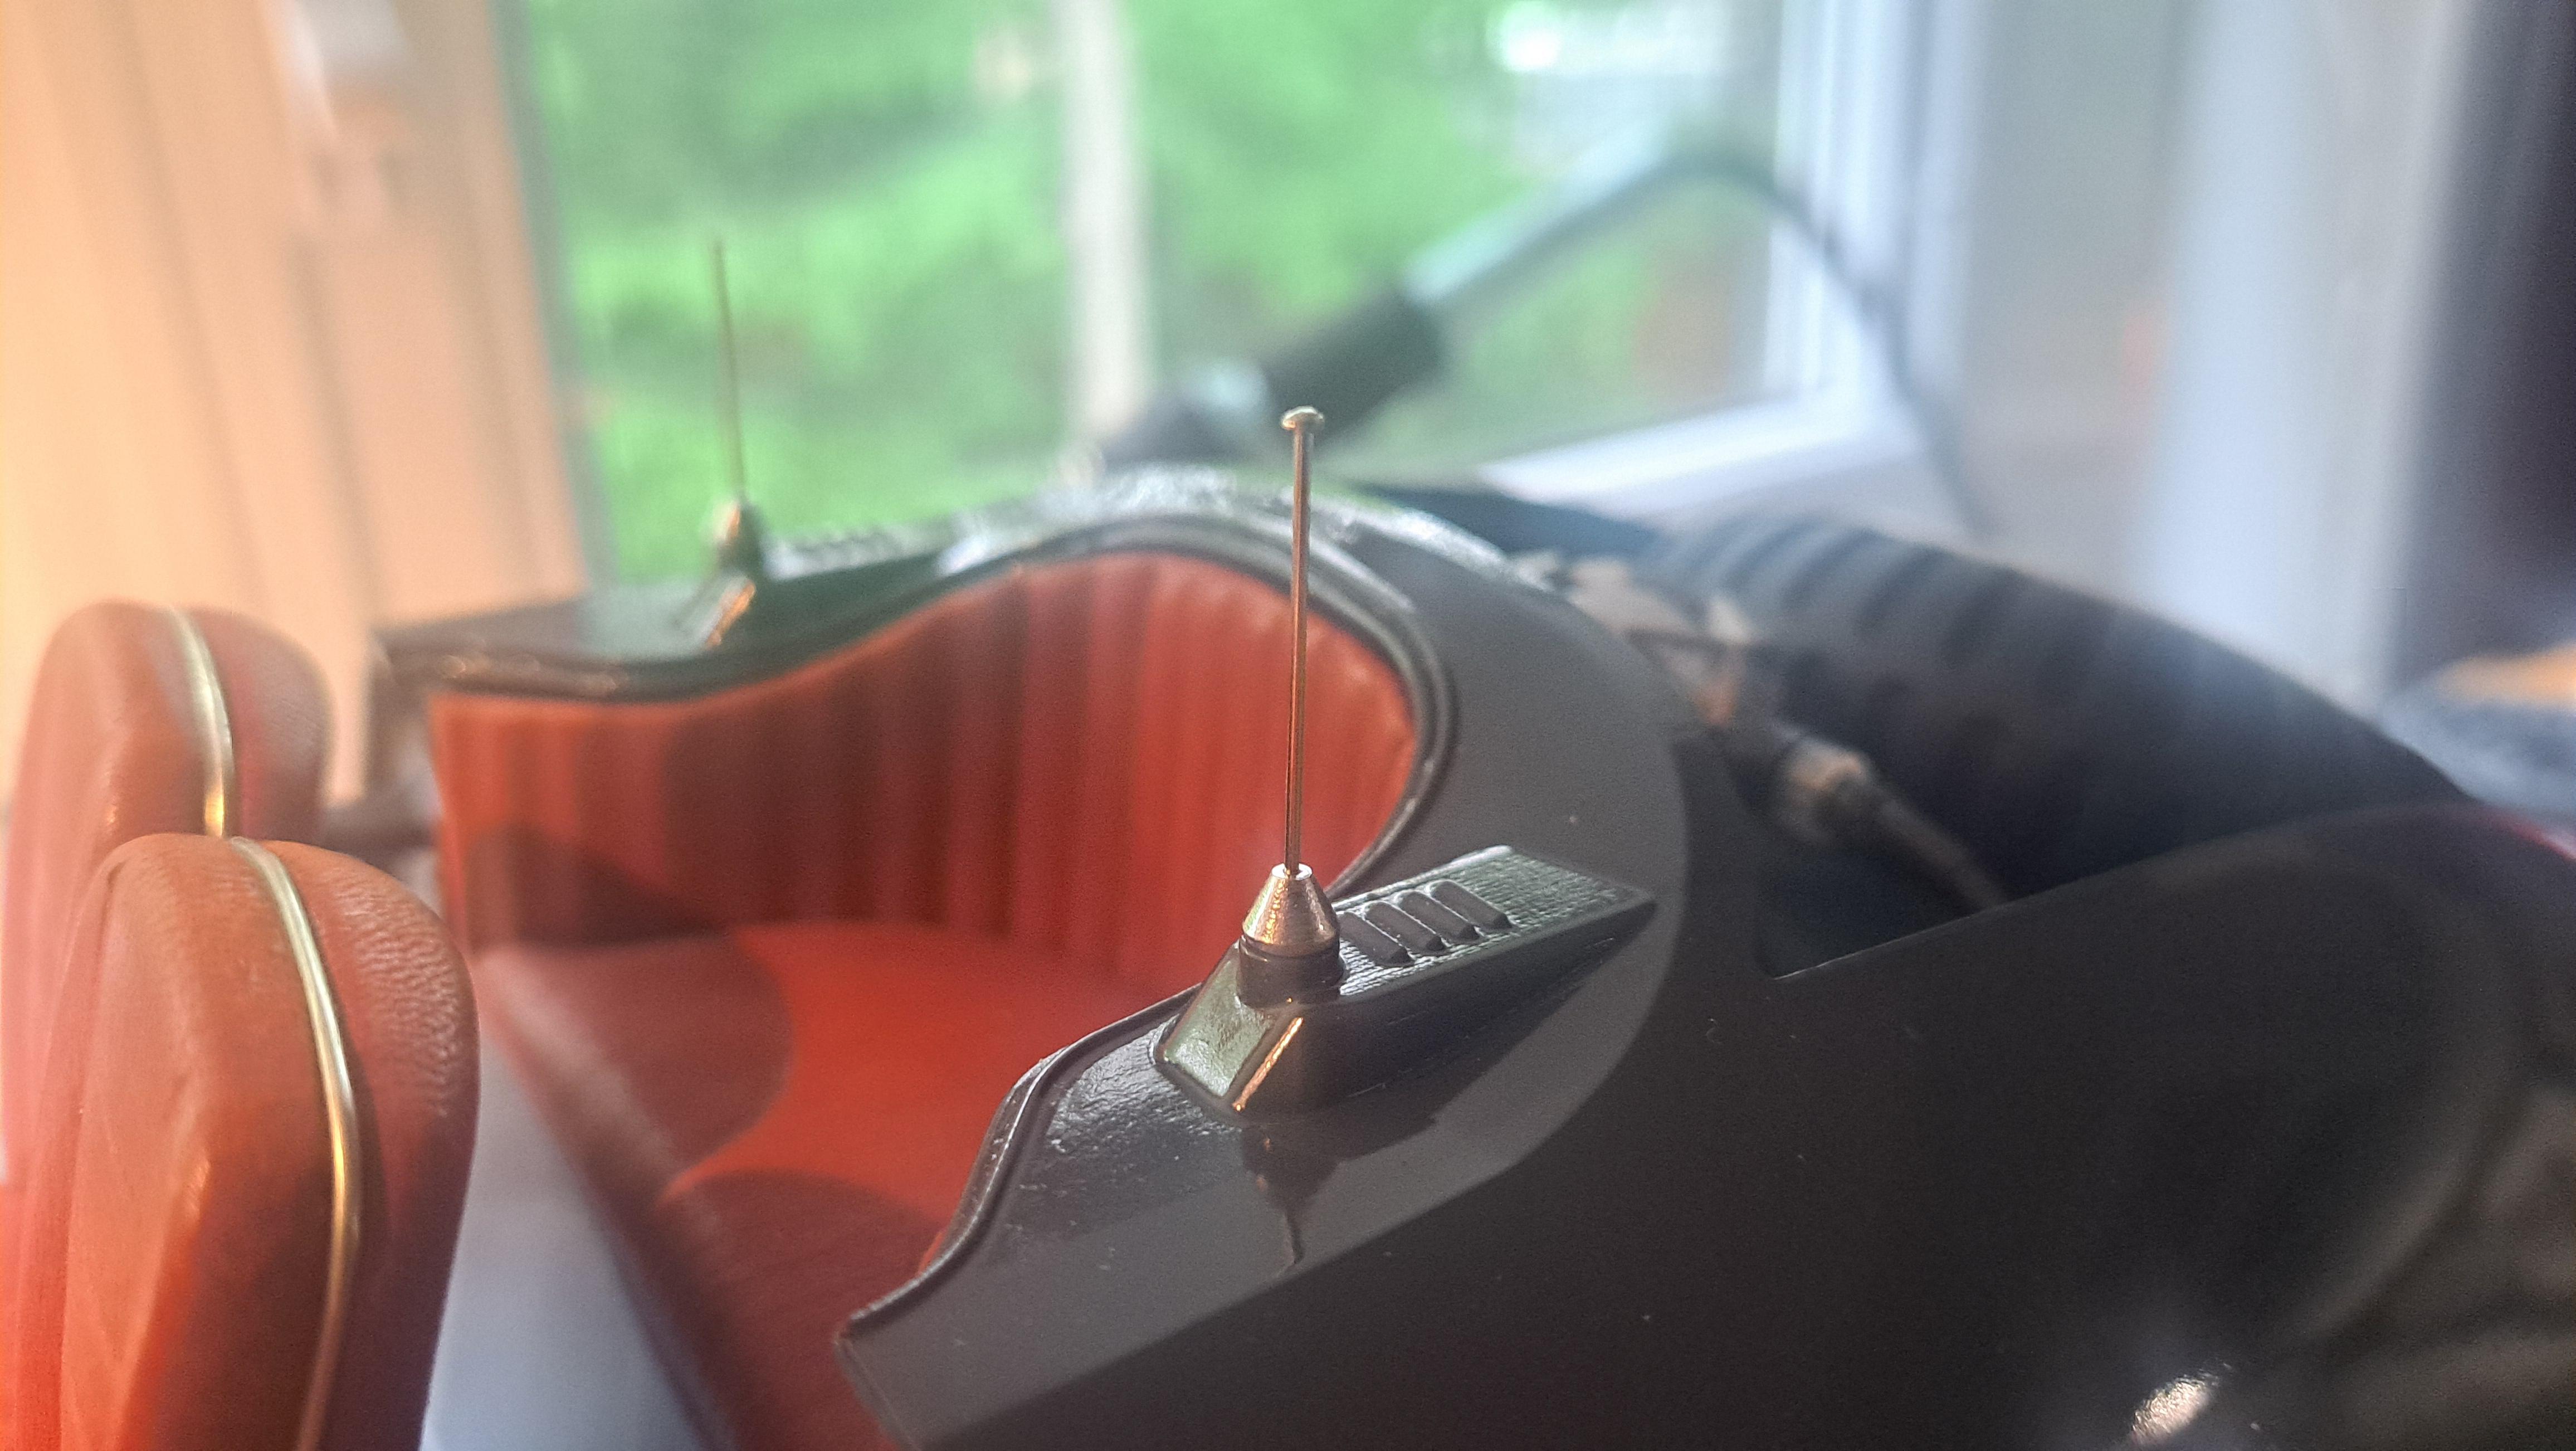
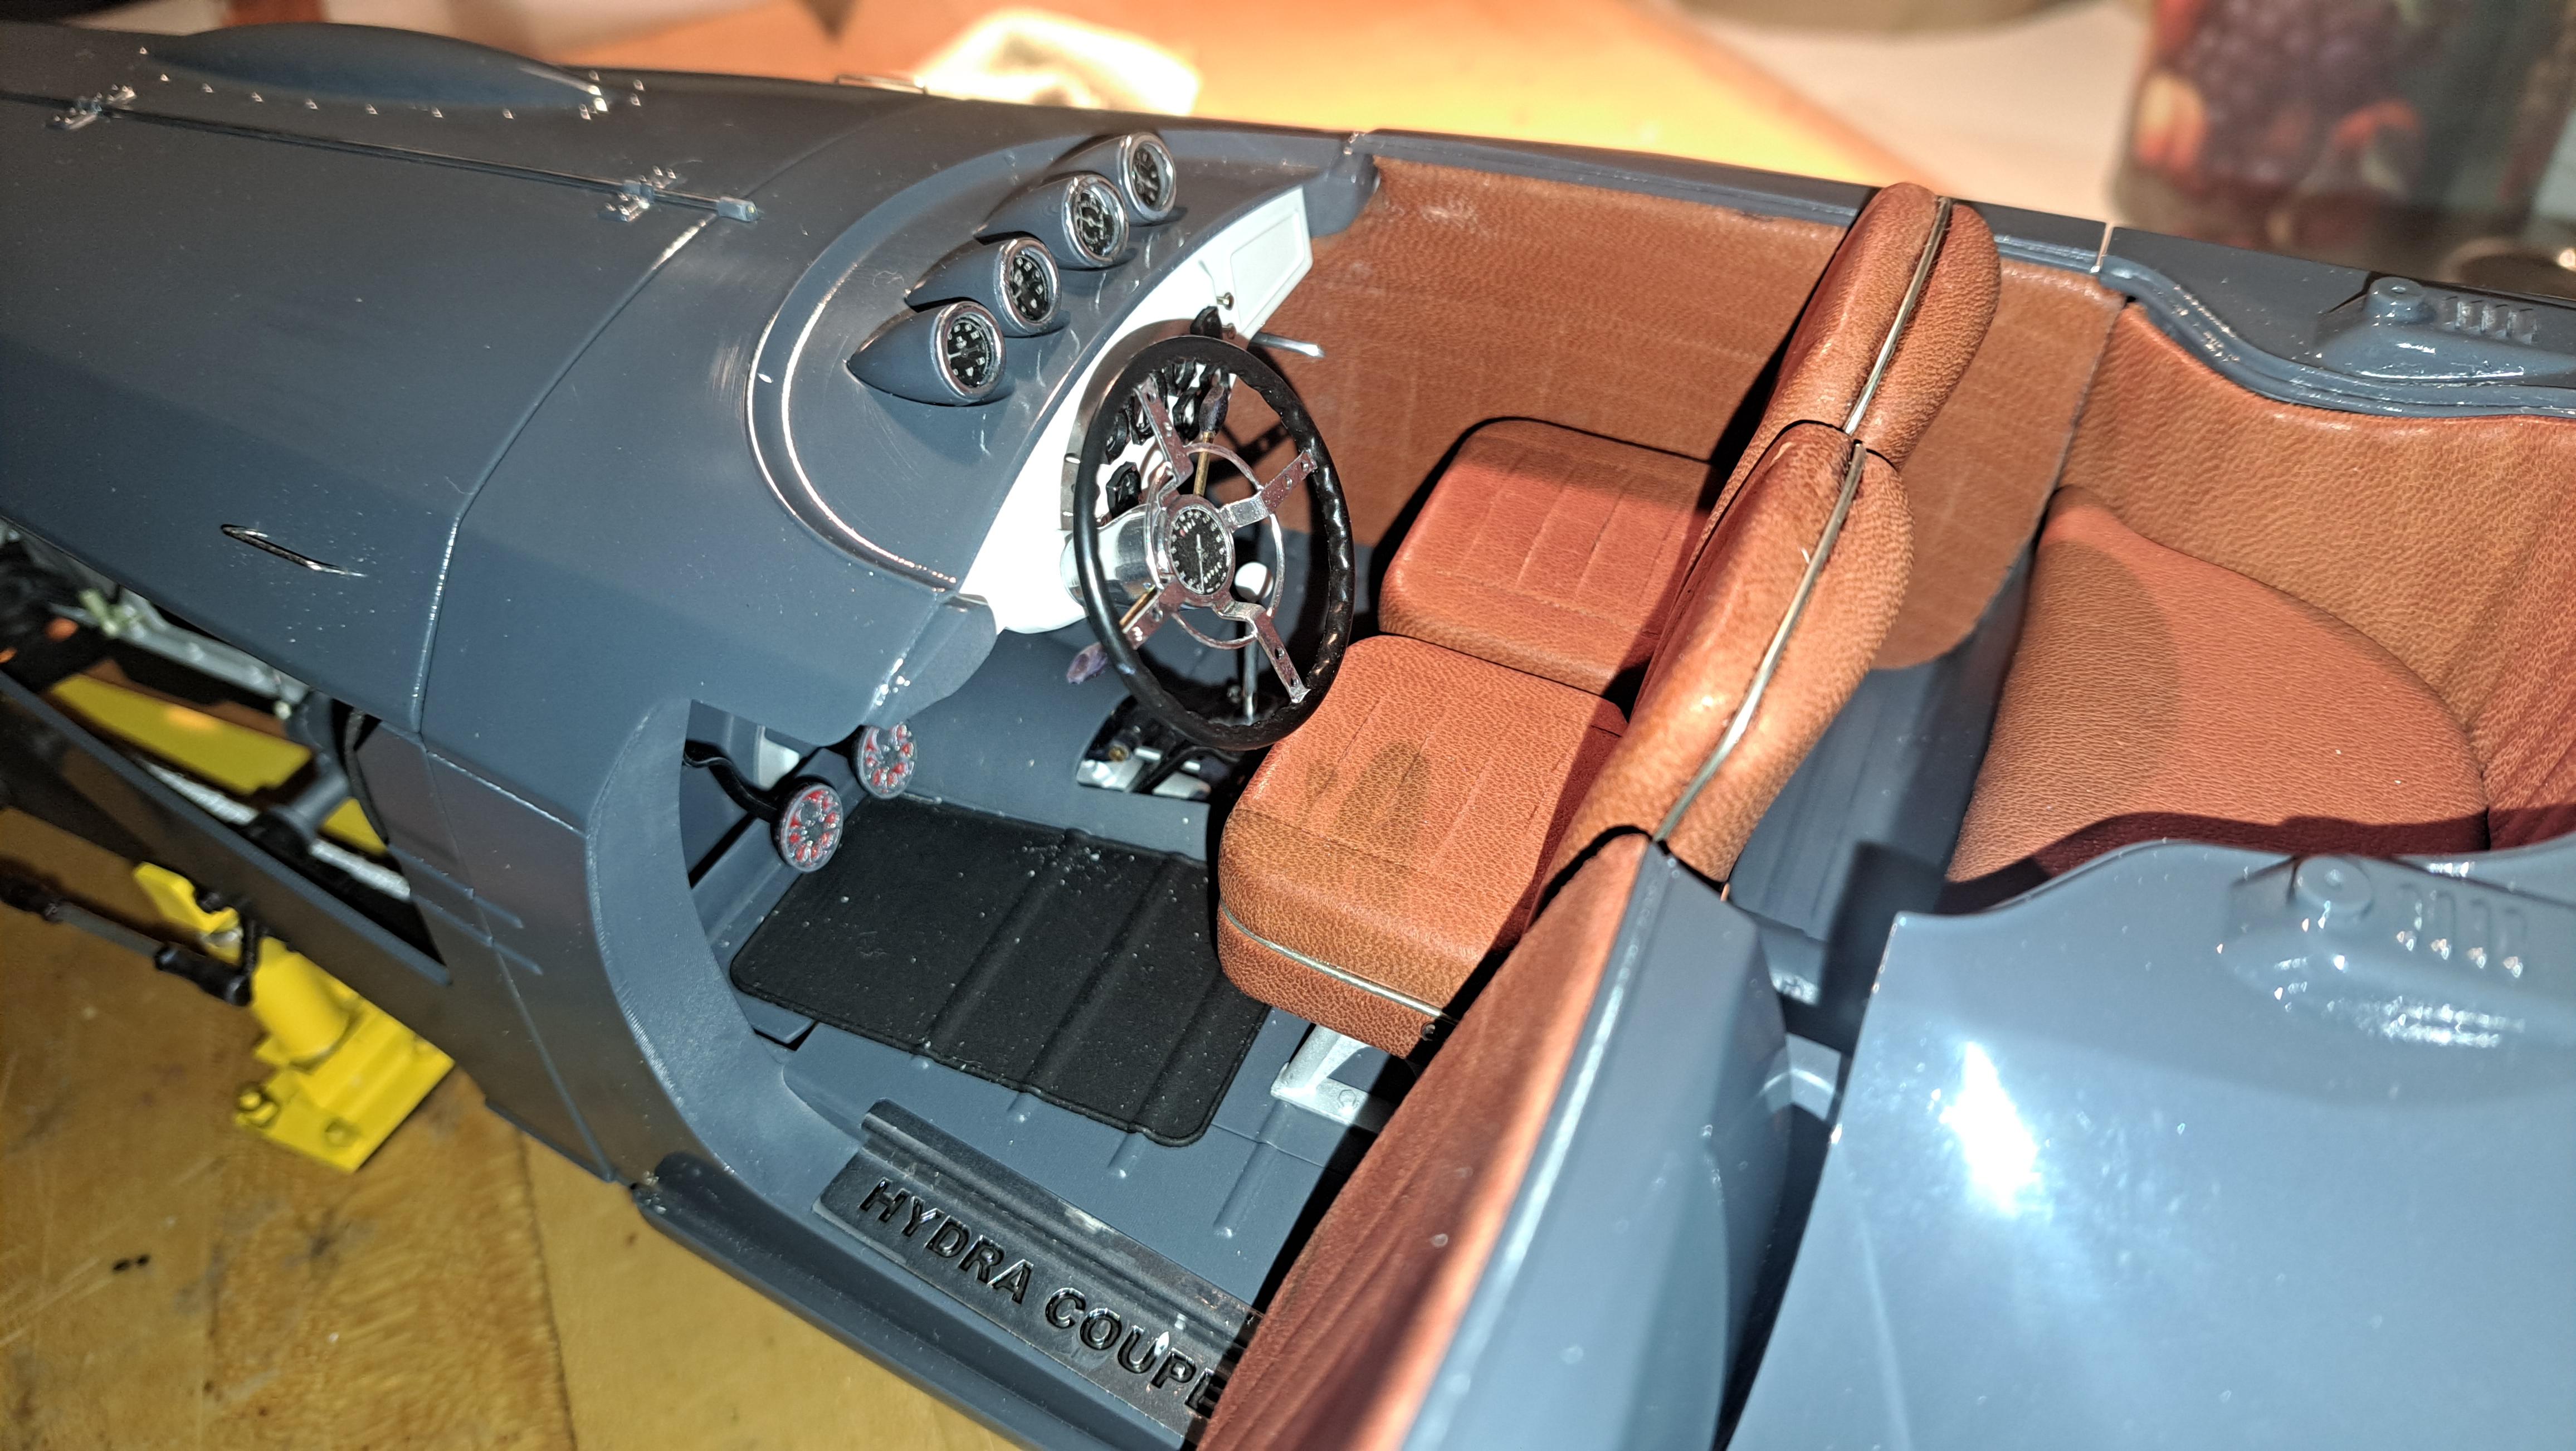
Installed the 4 gages above the dashboard

20250601_214623.jpg.e474befcddae3beb84039f97cb4ae370.jpg


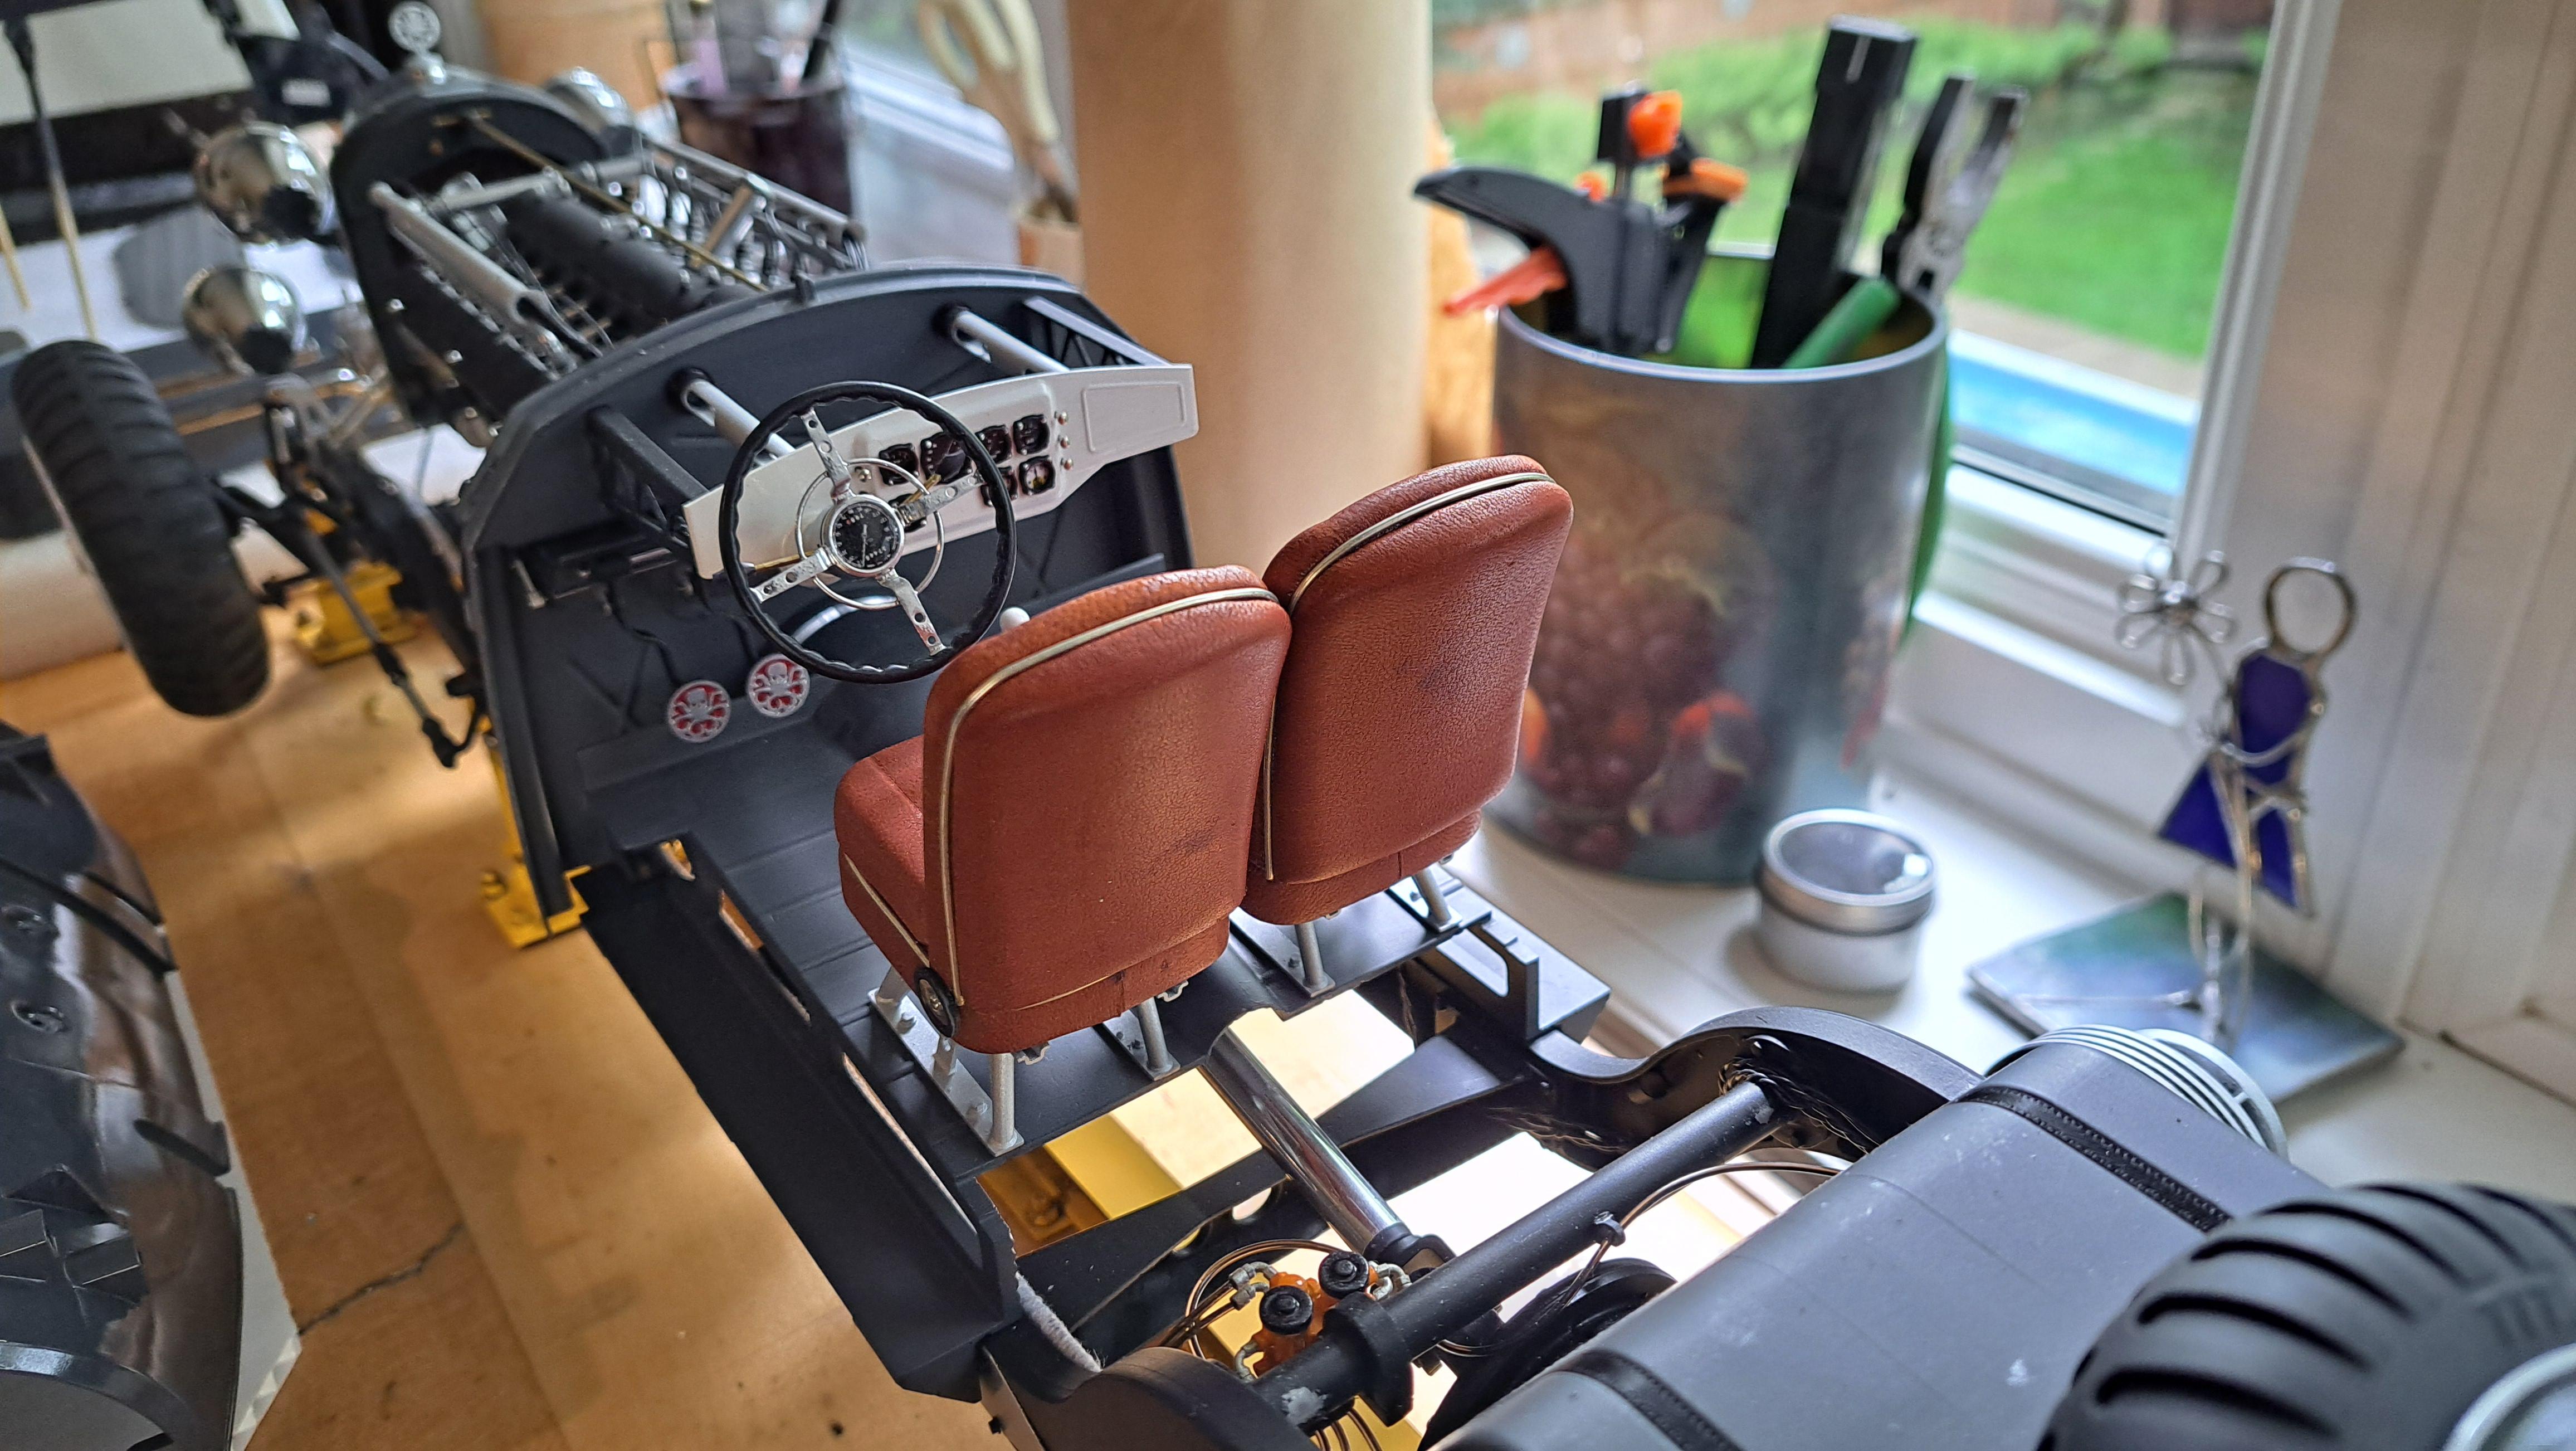
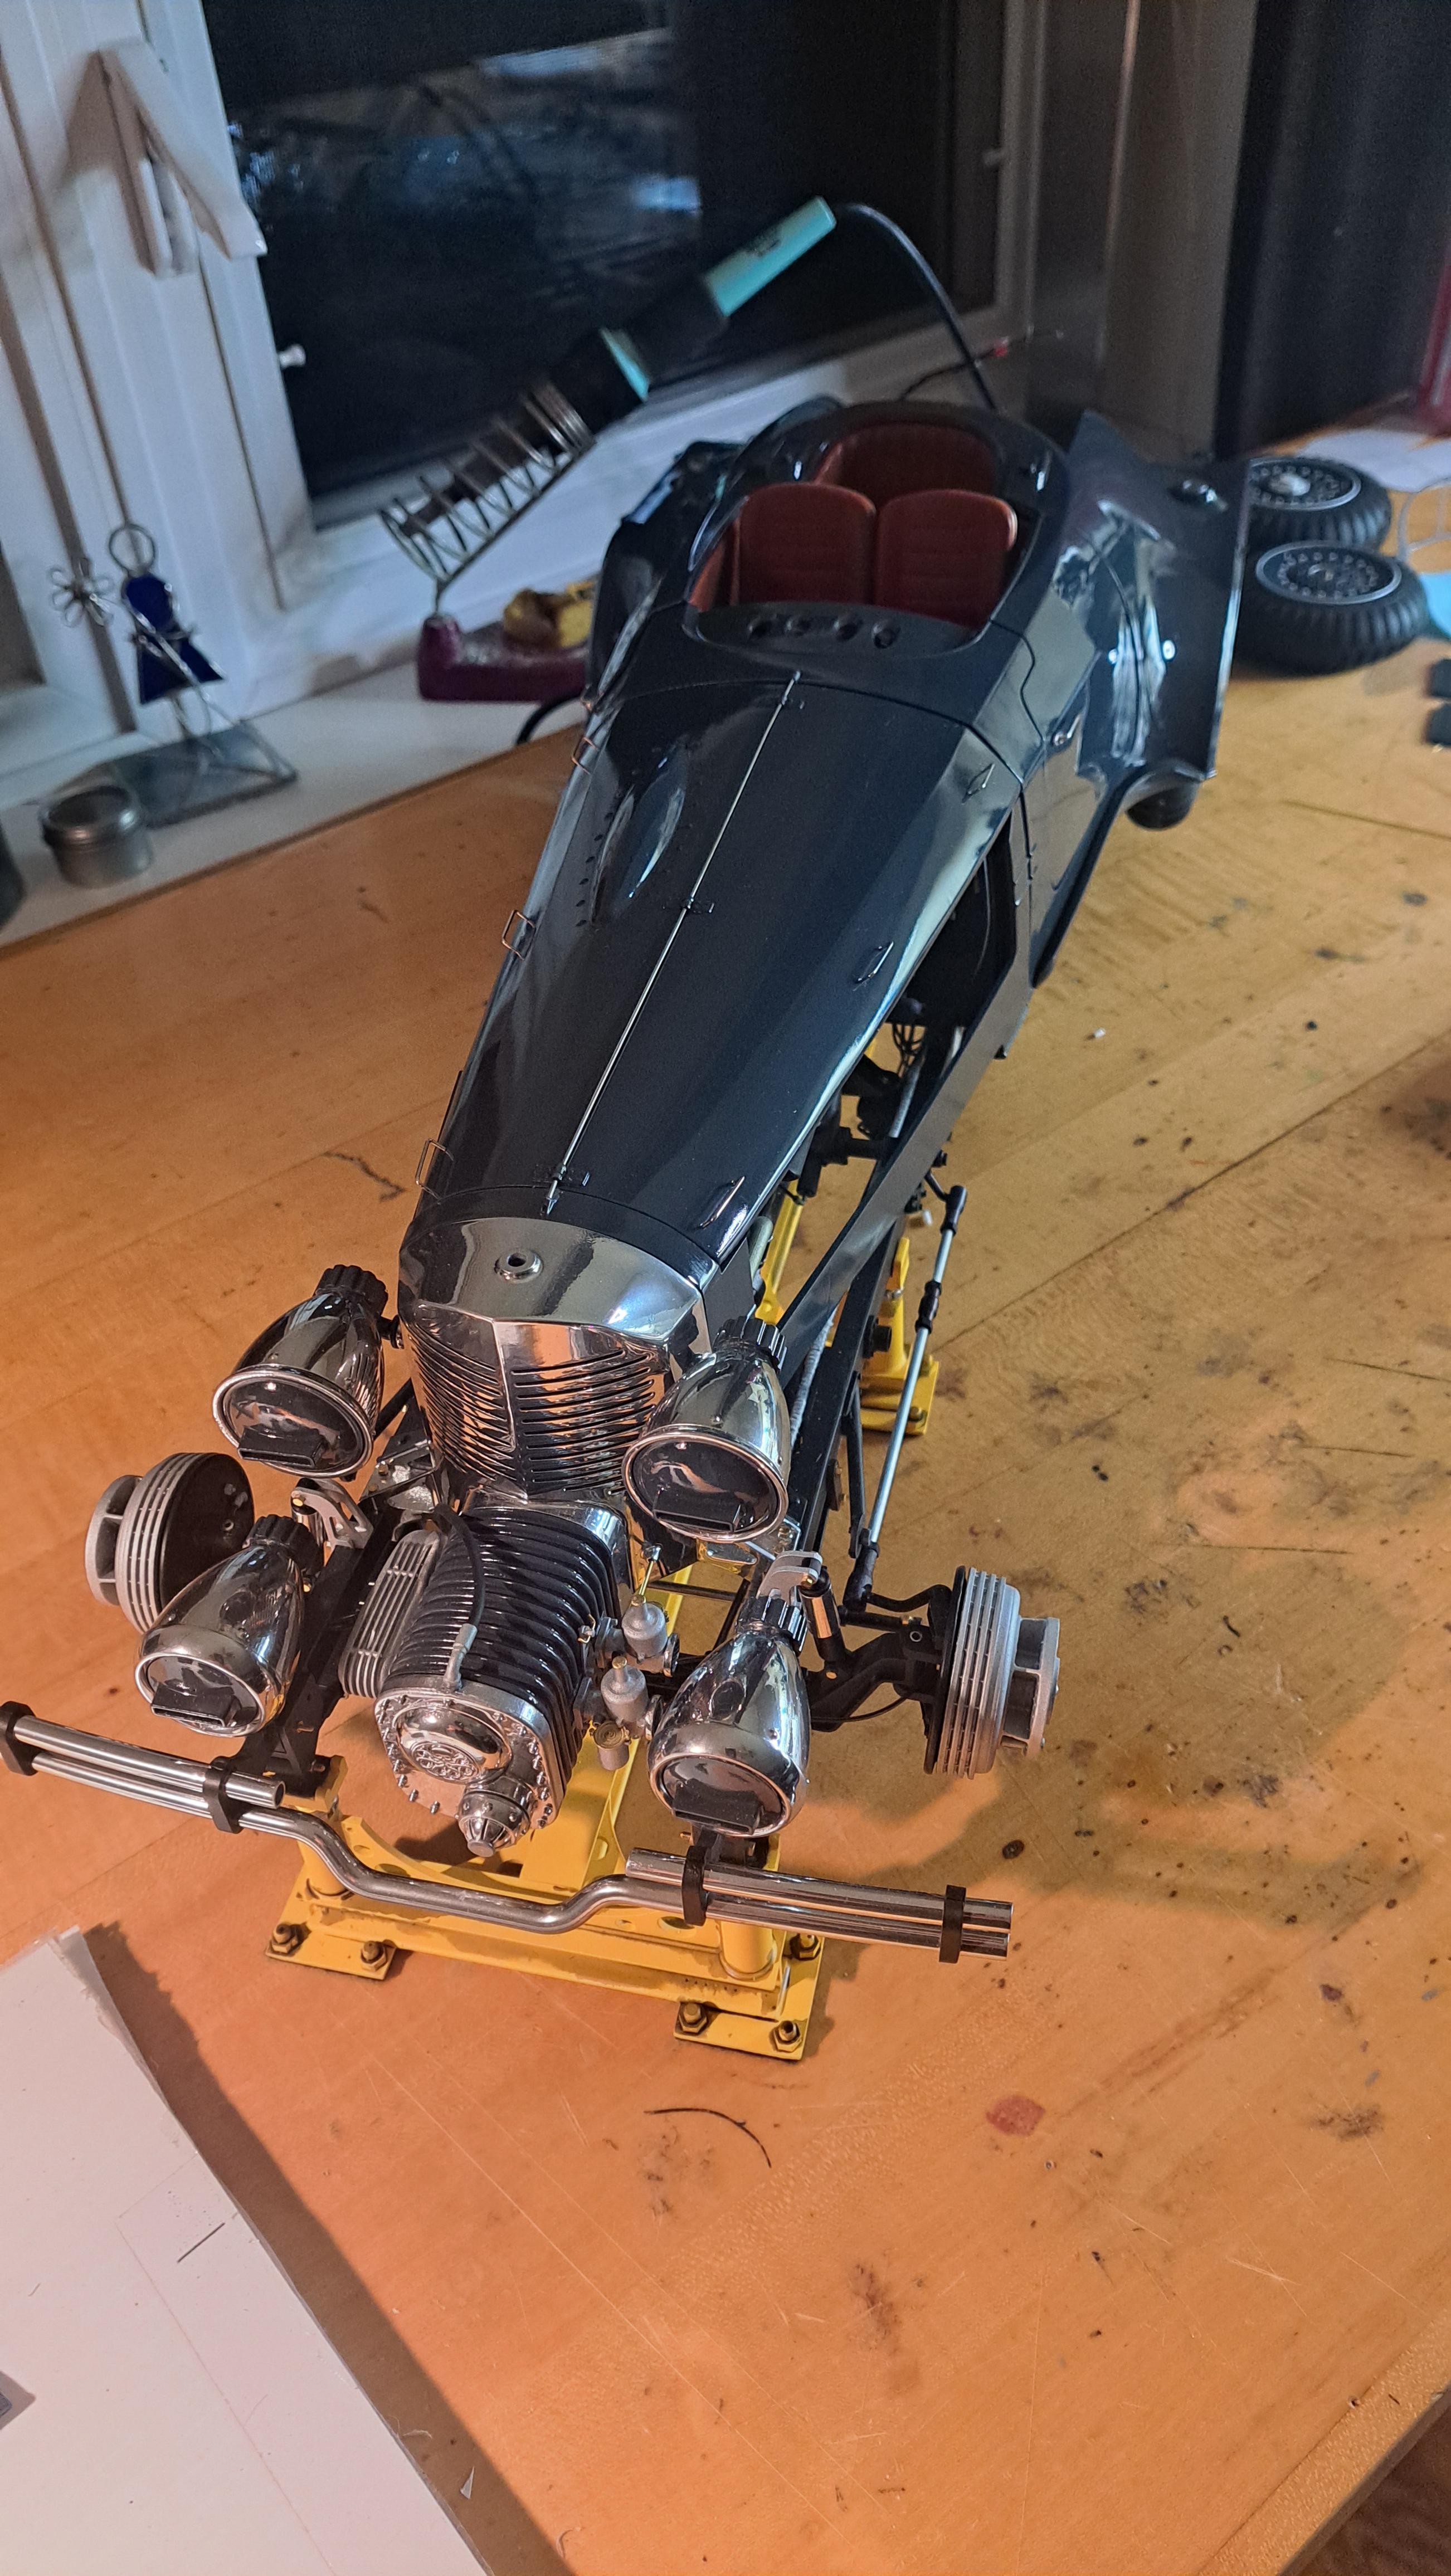
And took a few general pictures cause it looks so nice!!

20250601_213953.jpg.2cf62749e4ed8bb6b9e27cc5f4dbf7e4.jpg


20250601_214757.jpg.c1ab3f2324b6d3d42c3a443980d66aec.jpg


20250601_213632.jpg.96b8c15fe0cf1bb83d37cf240f14a6ee.jpg


20250601_214623.jpg.8acf293c6a5e1ff8babc9f06cc5e22cc.jpg


I also took proper pictures of the car without body parts on it. Here's a link to the album.

Hydra coupe final gallery
 
Back
Top