Mayflower 1/64 - Billing Boats

I removed the crackled paint with rubbing alcohol followed by gun wash, for good measure. It left most of the stain it seems. I then brush-painted the hull and used my MkI eyeball to sight the waterline.
I think it turned out OK.
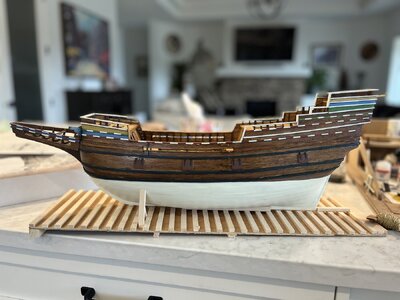
IMG_2767.jpeg

Now here is a question for all you veteran builders and mariners. I have highlighted line 24 in the drawing. It goes from a block near the deck, up and through another block and back down to be tied off to…..? On the second drawing it shows 24 with an arrow pointing down but to what? Hopefully not something below deck.
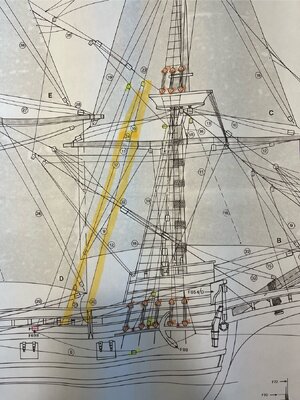
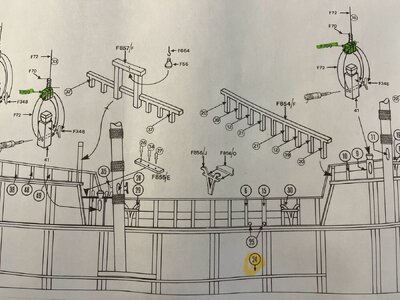
IMG_2768.jpeg

IMG_2769.jpeg

Any thoughts. Appreciate the look.
Cheers,
Dave
 
Have been studying a bunch of drawings, got some books on rigging (RC Anderson) and found a copy of the Mayflower instructions from a different manufacturer that has much clearer directions.
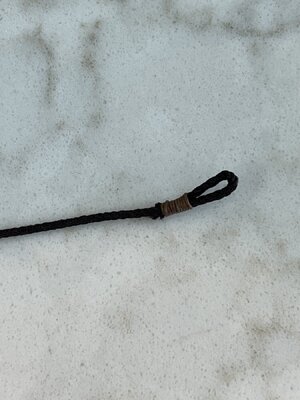
Started on my first bit of rigging - gammoning.

IMG_2798.jpeg

I managed to tie a loop and seize it to start the gammoning.

IMG_2799.jpeg

IMG_2800.jpeg

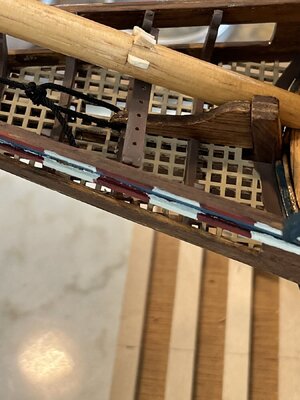
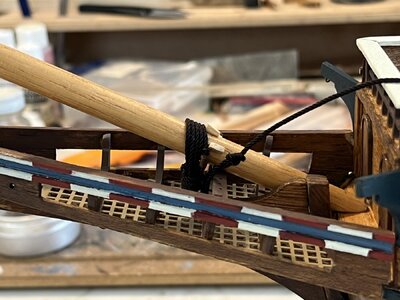
I then realized that the holes in the grate and the stem didn’t line up well so I had to extend the holes. I also had to remove the chocks and replace them after the gammoning was done. Oh, the challenges of tying small knots!

I did have the help of my “third hand” to hold the rope taut while I seized it.

IMG_2797.jpeg

IMG_2796.jpeg

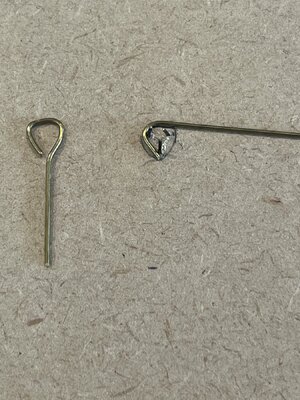
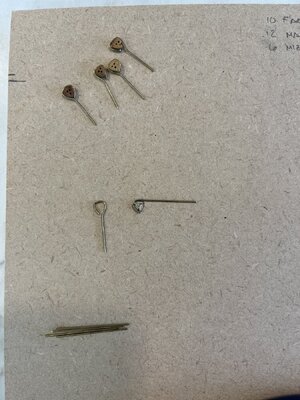
Once I bent them to fit around the deadeyes, I blackened them. For some reason some didn’t take despite all of them getting stripped with acetone and rinsed prior to blackening. Not worried, I can paint the ones that stayed brass-coloured after installing.
I used a jig to wrap the wire by inserting three pins into a slab of wood to represent the corners of the deadeye.
Thanks for looking.
Cheers,
Dave
 
Neil, there is a lot of fear and trepidation with every new step but I found that once I get into it and realize that it is within my capabilities, it gets better. My big fear is running out of material like rigging rope, or heaven forbid, ruining a mast.
Anyway, this is supposed to be relaxing….
Cheers,
Dave
Yes Dave. Totally agree with you there.
My biggest worry is knots ! I have and am always been hopeless at tying even the simplest knot. One of my non skills in this world.
As a retired carpenter and joiner, all the building is quite easy for me, albeit the odd poor instructions.
But I suppose after about 500+ knots to do on my build, no doubt I will be classed as a top knotter and rigger. Lol.
Thanks for your encouragement also.
Enjoying your build.
 
The last several weeks I have been reading books on rigging. Got my hands on William Baker’s “The Mayflower”, RC Anderson’s “Rigging of Ships in the Days of the Spritsail Topmast”, Lennarth Petersson’s “Step-by-Step Guide to the Intricacies of Square-Rig”.
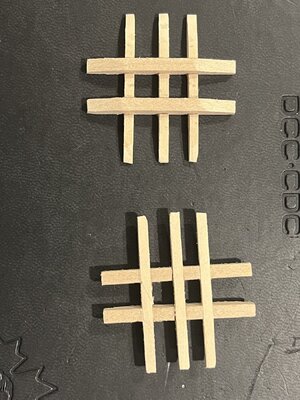
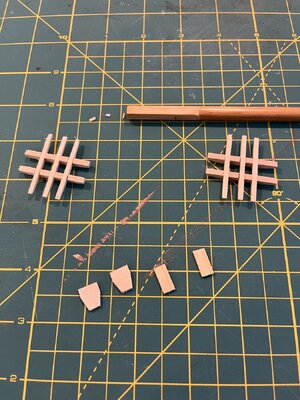
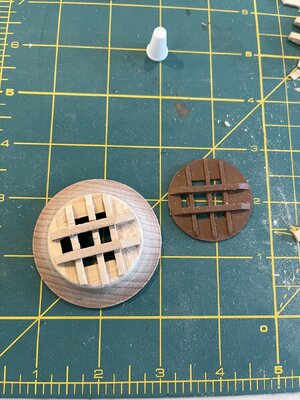
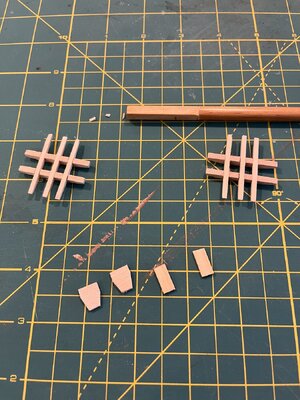
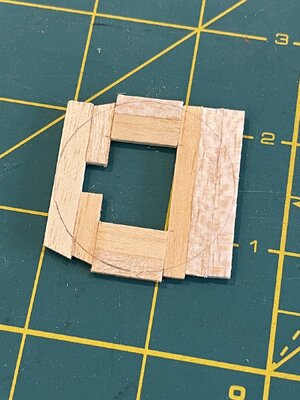
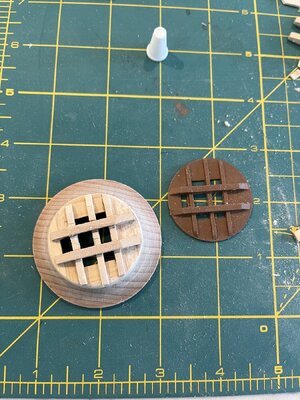
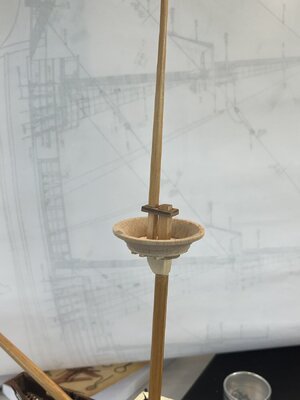
Moving towards getting the rigging started I decided to remake the plastic tops out of wood. Here I have the trestle trees and cross trees made. Next will be a floor. IMG_2819.jpeg

Thanks for looking,
Dave
 
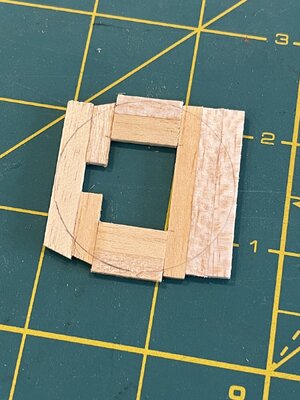
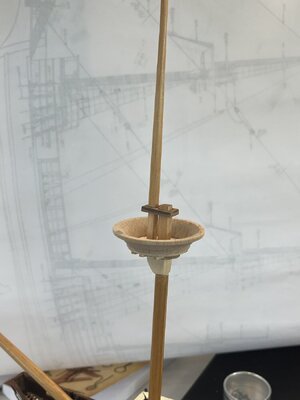
I finished the Fore and Main tops. I realized after that the first one got a mix of bass and balsa wood - hopefully it won’t be noticeable once it is finished.
The extra effort in replacing the plastic floor and trestle trees are worth it, I think.
The rigging drawing shows a couple of blocks hanging from the bottom of the trestle tree with now part numbers. They seem to be part of the running rigging attached to the spars. I think using eyebolts to attach the blocks will be the way to go - there is no indication on the drawing. I don’t know what they are called so the Anderson book doesn’t help. Maybe another perusal of the Shipways instructions will help.

IMG_2821.jpeg

IMG_2822.jpeg

IMG_2823.jpeg

IMG_2824.jpeg

Comments and tips welcome. Thanks for looking.
Dave

IMG_2821.jpeg

IMG_2822.jpeg

IMG_2823.jpeg

IMG_2824.jpeg
 
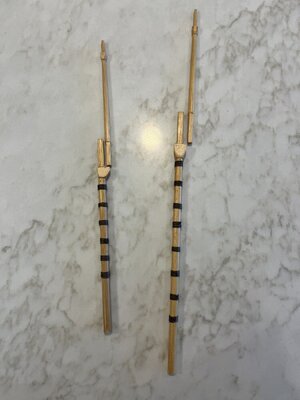
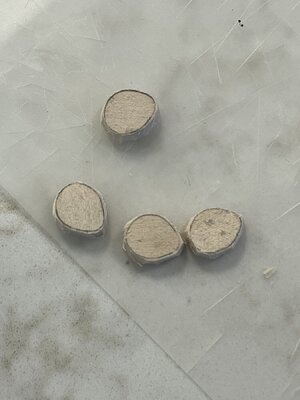
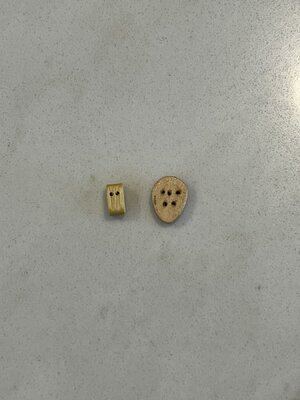
Did a bit of work over the last few days - squeezing in a few minutes a day. Made some dead eyes for the stays. The kit came with large double blocks but they are obvious ly out of place. I decided I wouldn’t sweat (what I consider) the small stuff but that discrepancy was too much. I also got the woldings done and shaped the mast tops. Had some issue with aligning them so that the squared parts lined up but was a little out.
I took measurements for the dead eyes from RC Anderson’s book on the Mayflower. I had to laminate a couple pieces and cut and sand them to size. They should do but seem massive.

IMG_2849.jpeg

IMG_2846.jpeg

IMG_2848.jpeg

Thanks for looking.
Dave
 
Back
Top