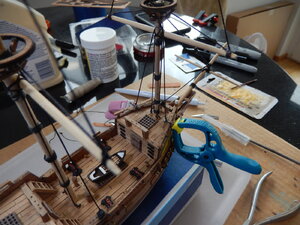
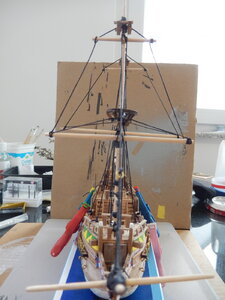
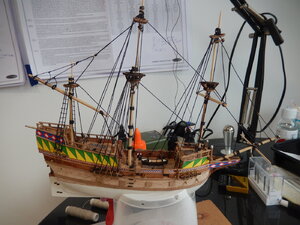
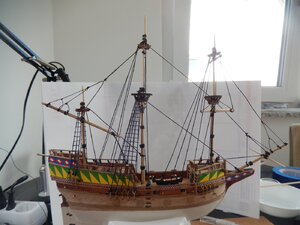
Thanks for the advice. Learning as I go. Hadn't thought about using clear nail polish to fix knots.May I suggest that masts are fixed and maybe wedged into appropriate position.Delay tying until most ,if not all rigging at any one stage, is ready. Maintain tension with pegs or heavier spring clamps, and fix knots with something reversible such as nail varnish/acetone or nitrocellulose/thinners or even dilute PVA glue/alcohol. Natural strings have a degree of elasticity and retightening is often necessary-overtightening must be avoided and certainly not used to alter mast or yard misalignment. Cut the surplus ropes as late as possible. Your idea about a marker to colour is good, I am running low on black thread.
Remember to remove watch and bracelets and roll up sleeves!!!
-

Win a Free Custom Engraved Brass Coin!!!
As a way to introduce our brass coins to the community, we will raffle off a free coin during the month of August. Follow link ABOVE for instructions for entering.
-

PRE-ORDER SHIPS IN SCALE TODAY!
The beloved Ships in Scale Magazine is back and charting a new course for 2026!
Discover new skills, new techniques, and new inspirations in every issue.
NOTE THAT OUR FIRST ISSUE WILL BE JAN/FEB 2026
You are using an out of date browser. It may not display this or other websites correctly.
You should upgrade or use an alternative browser.
You should upgrade or use an alternative browser.
8/31/2020
Late morning
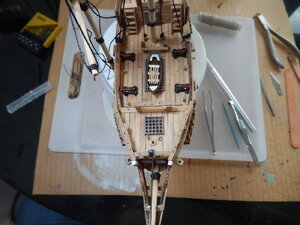
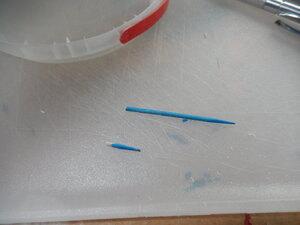
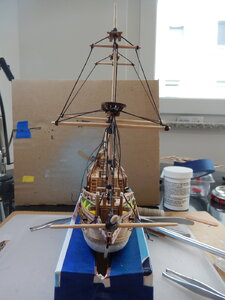
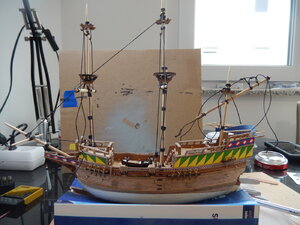
De-rigging of foremast completed successfully. Snapped foremast off at deck level and drilled a 1.5 mm hole in the base of mast & in the deck to accept a small dowel (pretty nice what a cocktail toothpick can be used for). Foremast remounted and aligned with main mast.
De-rigging of mizzen mast also completed successfully. Mizzen realigned properly.
Will continue re-rigging later today.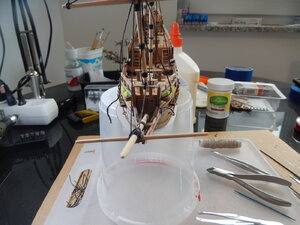
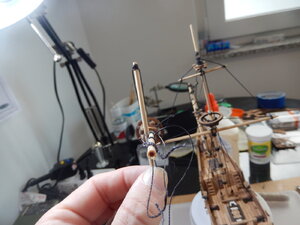
Have to remember to be more like the tortoise and less like the hare. No need to have a deadline to finish. When it is done, and done right, it will be finished.
Enough with waxing philosophical. Time to get back to ‘tarring’ more line.
Late morning
De-rigging of foremast completed successfully. Snapped foremast off at deck level and drilled a 1.5 mm hole in the base of mast & in the deck to accept a small dowel (pretty nice what a cocktail toothpick can be used for). Foremast remounted and aligned with main mast.
De-rigging of mizzen mast also completed successfully. Mizzen realigned properly.
Will continue re-rigging later today.


Have to remember to be more like the tortoise and less like the hare. No need to have a deadline to finish. When it is done, and done right, it will be finished.
Enough with waxing philosophical. Time to get back to ‘tarring’ more line.
Last edited:
Aso, if you don't might, I would suggest tapering the spars\masts close to their ends. Not just their ends. the taper must be a smooth transition: from the middle of the must\spar to their ends. 
Thanks Jim; appreciate the advice. Managed to get a couple of the yards tapered fairly well. Broke one of the top yards along the way and had to start from a piece of small diameter dowel to make a replacement. Will do the tapering better on the next build.Aso, if you don't might, I would suggest tapering the spars\masts close to their ends. Not just their ends. the taper must be a smooth transition: from the middle of the must\spar to their ends.
Agree that is best. Thanks for the tips!I had a teacher many years ago, who said that you can learn always from your mistakes, but learning from the mistakes of others is less painful.
9/6/2020
Shrouds and ratlines done; all fixed rigging done. This coming week I’ll work on the running rigging. Last sheet of plans; end of the project in sight.
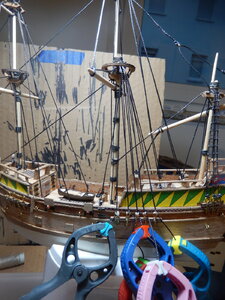
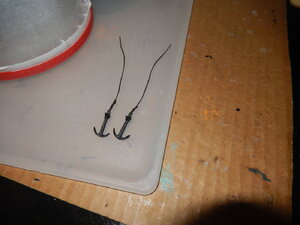
Had a minor scare earlier today. I attached the anchors to some cord and, using a clamp, had hung them up for the glue on the knots to dry. About an hour later I looked up where the anchors were hanging and one was missing. After searching the work table, floor area and even the waste paper basket (which is on the other side of the work table from where the anchors were) I had about given up and was planning a trip to my local modeling shop to see if I could get a replacement. As I was putting the ship back onto the work table from where I had put it during the search I looked down at the mizzen top – there was the anchor neat as could be. I apparently hit the clamp at some point while threading rigging and that was enough for the cord to slip out of the clamp’s jaws. s are secured safe awaiting installation later this week.
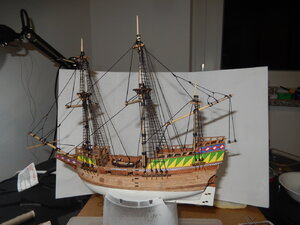
Shrouds and ratlines done; all fixed rigging done. This coming week I’ll work on the running rigging. Last sheet of plans; end of the project in sight.
Had a minor scare earlier today. I attached the anchors to some cord and, using a clamp, had hung them up for the glue on the knots to dry. About an hour later I looked up where the anchors were hanging and one was missing. After searching the work table, floor area and even the waste paper basket (which is on the other side of the work table from where the anchors were) I had about given up and was planning a trip to my local modeling shop to see if I could get a replacement. As I was putting the ship back onto the work table from where I had put it during the search I looked down at the mizzen top – there was the anchor neat as could be. I apparently hit the clamp at some point while threading rigging and that was enough for the cord to slip out of the clamp’s jaws.
 s are secured safe awaiting installation later this week.

Boy she sure has come together fast and beautiful John, great work so far!
What a lucky man to have a local modelling store!9/6/2020
Shrouds and ratlines done; all fixed rigging done. This coming week I’ll work on the running rigging. Last sheet of plans; end of the project in sight.
Had a minor scare earlier today. I attached the anchors to some cord and, using a clamp, had hung them up for the glue on the knots to dry. About an hour later I looked up where the anchors were hanging and one was missing. After searching the work table, floor area and even the waste paper basket (which is on the other side of the work table from where the anchors were) I had about given up and was planning a trip to my local modeling shop to see if I could get a replacement. As I was putting the ship back onto the work table from where I had put it during the search I looked down at the mizzen top – there was the anchor neat as could be. I apparently hit the clamp at some point while threading rigging and that was enough for the cord to slip out of the clamp’s jaws.s are secured safe awaiting installation later this week.View attachment 177350View attachment 177351
You'd think there'd be more than the two I've found so far in/near Stuttgart. One is about 20 km away and deals in plastic models; not really large but has a nice selection of models, tools and paint. The other is near the city center and deals mostly in RC planes, cars & ships. They have a few wooden ship kits (it's where I bought this one), some tools, paint, wood and assorted parts. Most of my tools I've picked up at the local home center or a local electronics store (which has a good assortment of tools of all sorts as well as paints for the RC models it also sells). I also look at the various craft stores that are around; never know what will be in one of them that will be useful.What a lucky man to have a local modelling store!
I'm starting to search the on-line sites for kits.
9/7/2020
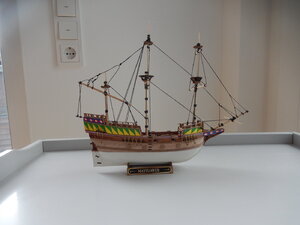
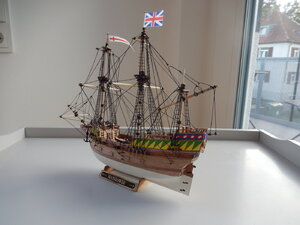
Didn’t need a week; finished the remaining rigging today. (I forgot it was a US holiday - Labor Day – which meant, for me, no need to go into the office.) Took my time, took a break in early afternoon and took a walk, all finished by early evening.
It’s been fun & I’ve learned plenty. Now need to ponder a bit and think about what my next project will be.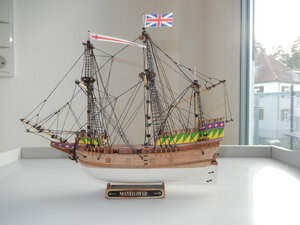
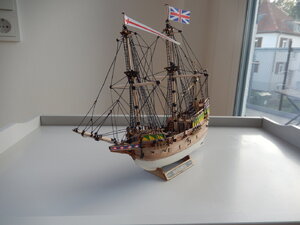


Congratulations on your first build. Well done


