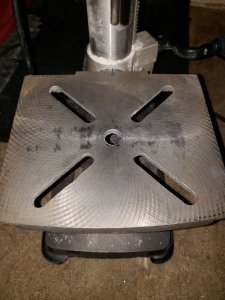
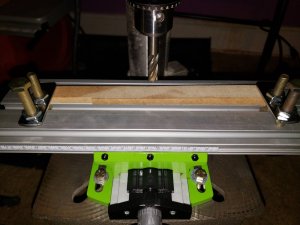
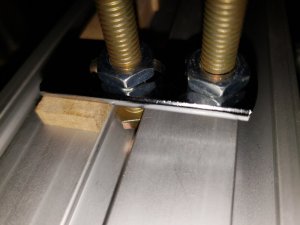
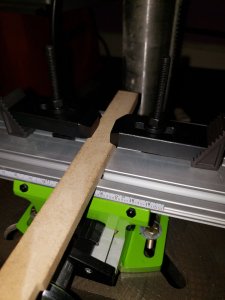
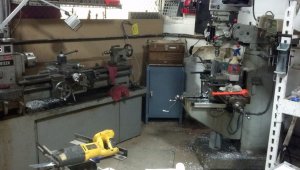
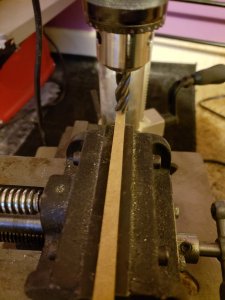
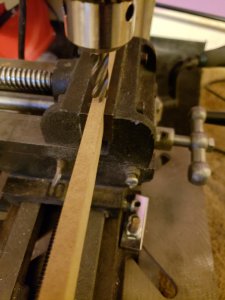
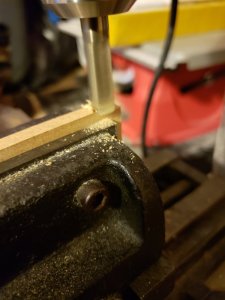
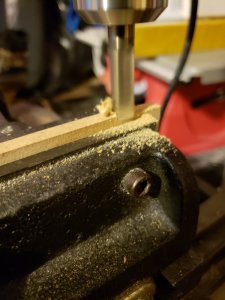
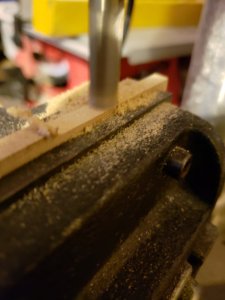
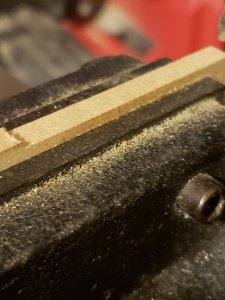
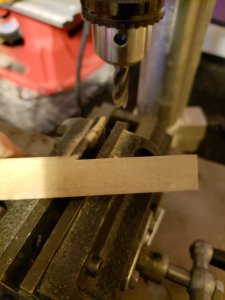
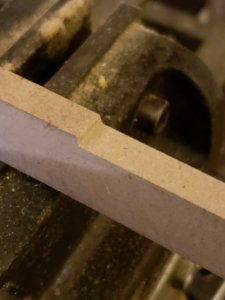
Hello Folks I promised to make a post on how you can use your Drill press as a milling Machine so here it is. First let me say I wanted to do this as a video but unfortunately my voice is gone and all I can get out is a low whisper so I figured I'd do this as a still image with much explanation on what's being done.
I have a Milling machine so I don't have to use this method but not everyone can obtain a Milling Machine. I struggled to get my first one due to Price, I now have 2 one is a large Turret machine and I have a small mini harbor freight machine for small hobby work. Ok so I want to first talk about the equipment you will need to perform this task and where to get it.
You will need a drill press I have a floor model Delta and a tabletop Ryobi I used the Ryobi for this demonstration because its in my ship building shop already. You will want a Min. 10" press if you use the Harbor freight Mill vice, and 8" if you use the Amazon milling table. I have owned the Harbor freight Drill press's and didn't care for them below I linked 2 decent Drill press units that can be used for this. I haven't used the WEN press but they make fairly decent stuff at affordable pricing.
Drill Press
https://www.homedepot.com/p/WEN-10-in-Drill-Press-with-Laser-4210/203602873

https://www.homedepot.com/p/Ryobi-10-in-Drill-Press-with-Laser-DP103L/205503636

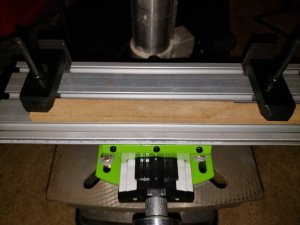
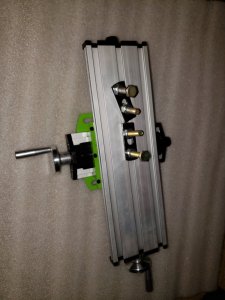
Next you will need a Milling Vice also called a Cross slide vice or milling table below are links to where you can get them. I own the 6" Milling Vice and the Amazon Milling table. The Harbor freight vice's are fairly tall and is the reason a min. 10" press is needed. The Amazon table is a much lower profile however it isn't a vice its a table and will require T slot clamping tools or a low profile machinist vice to secure your work. I have also provided links to those clamp tools further down in the Milling tool Misc. section.
Milling /Cross slide Vice
https://www.harborfreight.com/6-inch-cross-slide-vise-32997.html
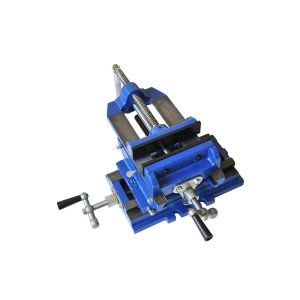
https://www.harborfreight.com/5-in-Rugged-Cast-Iron-Drill-Press-Milling-Vise-69159.html
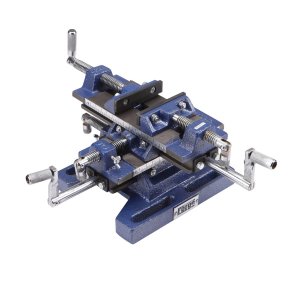
https://www.amazon.com/gp/product/B...title_huc_1?ie=UTF8&psc=1&smid=A16P4TUM521SQ8
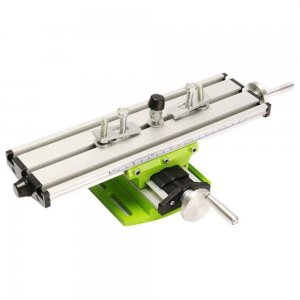
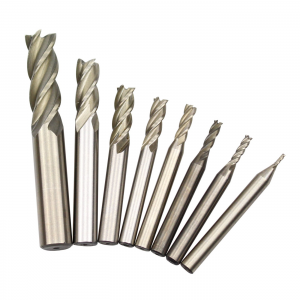
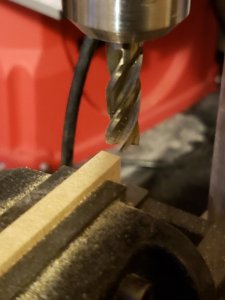
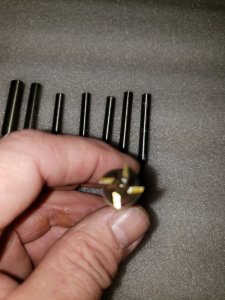
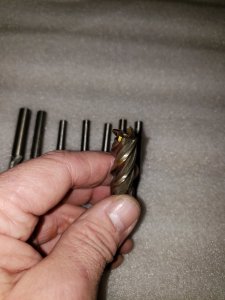
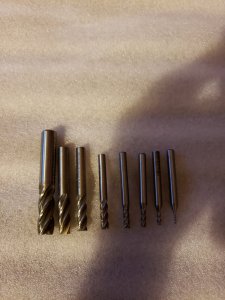
End Mills are the Cutting tools needed they are lake a drill bit they can bore straight into thing, but the biggest benefit is the ability to Plow through material using the side of the tool. There are more end mill types then I could ever post here they come in a wide range of sizes and profiles. For our purpose we will need flat End Mills this means the end mills business end will mill flat there are also Ball end mills that can mill a rounded channel and that can be uses for mast and spar work if one wanted to use those. For our purpose though the flat end mill will suffice. End mills Have flutes just like drill bits, those flutes carry waste material from the cutting surface the more flute the better the clearing of waste material. I prefer 4 flute end mills personally. Below are links to some decent end mills that will work well for wood, but could also be used for metals. I recommend using better brands for Metal work however. I probably have 200 end mills for all sorts of work for use on plastic, wood, aluminum, steel and titanium. Even Dremel bits can be used for milling work on some materials, however due to the small diameter they may require a collet system to hold securely, collet systems require a removable chuck they come in what know as MT1, MT2 ect. MT is Morse taper, most tabletop drill presses don't have the ability to remove the chuck via a taper system most are threaded on to the spindle. Milling machines use a taper spindle system this type of system is far more accurate then Drill chucks, but isn't really needed for model ship work. most table top machines will hold dremel buts without a problem but there are mini chucks that can be bought just incase these mount into your drill chuck and your tooling mounts into it. I will provide a link to those devices in the Misc. section.
End Mills
https://www.amazon.com/ALLPEN-4-Flu...1545296732&sr=8-4&keywords=end+mills+for+wood

https://www.amazon.com/DYWISHKEY-St...TF8&qid=1545296479&sr=8-13&keywords=end+mills
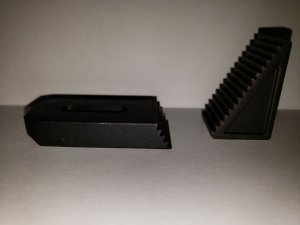
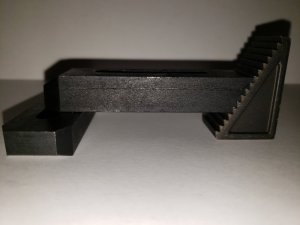
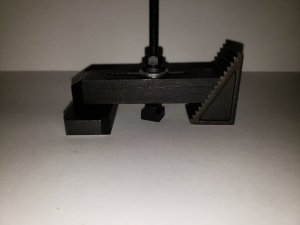
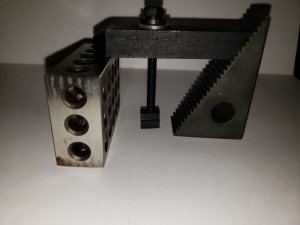
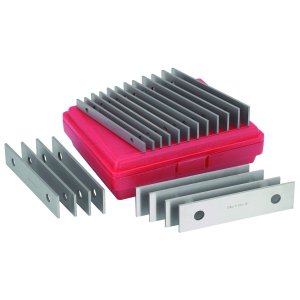
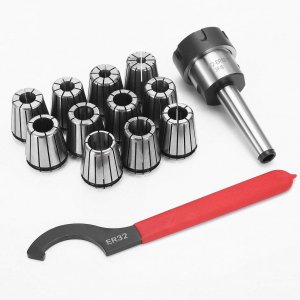
Now that we have some tooling there are a few items that are beneficial to a machinist they are a set of Parallels, Clamp set and Collet set or micro chuck. Parallels are used to raise your work in the jaws of the vice while maintaining that perfect parallel milling plane you established during the tramming process. Tramming is a process to make sure your milling table is square over its entire surface as it relates to the milling machines Head or spindle. There are many ways to do this. I have provided a link to some of the ways to get it done from tramming the table to tramming the vice. That link is below
https://www.youtube.com/results?search_query=tramming+a+mill
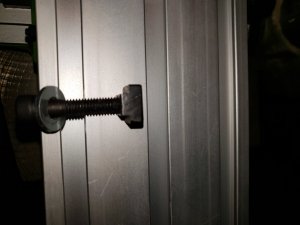
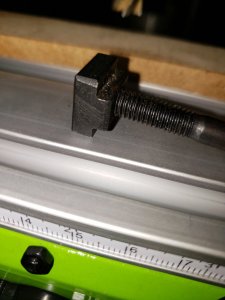
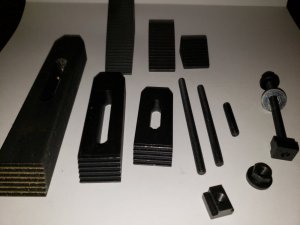
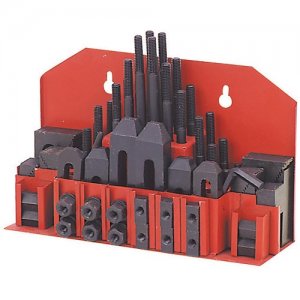
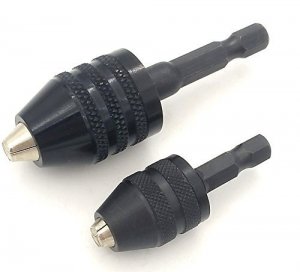
A clamp set is your best friend when using a Milling table such as the one I posted from amazon you will need to know a few things before you buy a clamp set unless you have access to bolts or T slot bolts that can be used with the clamps. Knowing the T slot size on the milling table will help determine what will be needed. If your using a milling Vice then you don't really need a clamp set. lastly the Collet set or Micro chuck these are used to hold securely small diameter tooling/ end mills, Dremel bits and tiny drill bits. Collet systems are also more accurate then Drill chucks in how they hold tooling, but we aren't in need of such precision for ship building unless your building a museum piece
Milling Tools Misc.
https://www.harborfreight.com/20-piece-parallel-set-789.html
https://www.harborfreight.com/58-pi...ch-16-nc-studs-1-2-half-inch-clamps-5952.html
https://www.amazon.com/LONKER-Keyle...8&qid=1546529831&sr=1-28&keywords=micro+chuck
https://www.amazon.com/Precision-Sp...qid=1546530640&sr=1-2&keywords=mt2+collet+set
Continued on next page please don't post till I'm done so this remains a continuous post
I have a Milling machine so I don't have to use this method but not everyone can obtain a Milling Machine. I struggled to get my first one due to Price, I now have 2 one is a large Turret machine and I have a small mini harbor freight machine for small hobby work. Ok so I want to first talk about the equipment you will need to perform this task and where to get it.
You will need a drill press I have a floor model Delta and a tabletop Ryobi I used the Ryobi for this demonstration because its in my ship building shop already. You will want a Min. 10" press if you use the Harbor freight Mill vice, and 8" if you use the Amazon milling table. I have owned the Harbor freight Drill press's and didn't care for them below I linked 2 decent Drill press units that can be used for this. I haven't used the WEN press but they make fairly decent stuff at affordable pricing.
Drill Press
https://www.homedepot.com/p/WEN-10-in-Drill-Press-with-Laser-4210/203602873

https://www.homedepot.com/p/Ryobi-10-in-Drill-Press-with-Laser-DP103L/205503636

Next you will need a Milling Vice also called a Cross slide vice or milling table below are links to where you can get them. I own the 6" Milling Vice and the Amazon Milling table. The Harbor freight vice's are fairly tall and is the reason a min. 10" press is needed. The Amazon table is a much lower profile however it isn't a vice its a table and will require T slot clamping tools or a low profile machinist vice to secure your work. I have also provided links to those clamp tools further down in the Milling tool Misc. section.
Milling /Cross slide Vice
https://www.harborfreight.com/6-inch-cross-slide-vise-32997.html

https://www.harborfreight.com/5-in-Rugged-Cast-Iron-Drill-Press-Milling-Vise-69159.html

https://www.amazon.com/gp/product/B...title_huc_1?ie=UTF8&psc=1&smid=A16P4TUM521SQ8

End Mills are the Cutting tools needed they are lake a drill bit they can bore straight into thing, but the biggest benefit is the ability to Plow through material using the side of the tool. There are more end mill types then I could ever post here they come in a wide range of sizes and profiles. For our purpose we will need flat End Mills this means the end mills business end will mill flat there are also Ball end mills that can mill a rounded channel and that can be uses for mast and spar work if one wanted to use those. For our purpose though the flat end mill will suffice. End mills Have flutes just like drill bits, those flutes carry waste material from the cutting surface the more flute the better the clearing of waste material. I prefer 4 flute end mills personally. Below are links to some decent end mills that will work well for wood, but could also be used for metals. I recommend using better brands for Metal work however. I probably have 200 end mills for all sorts of work for use on plastic, wood, aluminum, steel and titanium. Even Dremel bits can be used for milling work on some materials, however due to the small diameter they may require a collet system to hold securely, collet systems require a removable chuck they come in what know as MT1, MT2 ect. MT is Morse taper, most tabletop drill presses don't have the ability to remove the chuck via a taper system most are threaded on to the spindle. Milling machines use a taper spindle system this type of system is far more accurate then Drill chucks, but isn't really needed for model ship work. most table top machines will hold dremel buts without a problem but there are mini chucks that can be bought just incase these mount into your drill chuck and your tooling mounts into it. I will provide a link to those devices in the Misc. section.
End Mills
https://www.amazon.com/ALLPEN-4-Flu...1545296732&sr=8-4&keywords=end+mills+for+wood

https://www.amazon.com/DYWISHKEY-St...TF8&qid=1545296479&sr=8-13&keywords=end+mills

Now that we have some tooling there are a few items that are beneficial to a machinist they are a set of Parallels, Clamp set and Collet set or micro chuck. Parallels are used to raise your work in the jaws of the vice while maintaining that perfect parallel milling plane you established during the tramming process. Tramming is a process to make sure your milling table is square over its entire surface as it relates to the milling machines Head or spindle. There are many ways to do this. I have provided a link to some of the ways to get it done from tramming the table to tramming the vice. That link is below
https://www.youtube.com/results?search_query=tramming+a+mill
A clamp set is your best friend when using a Milling table such as the one I posted from amazon you will need to know a few things before you buy a clamp set unless you have access to bolts or T slot bolts that can be used with the clamps. Knowing the T slot size on the milling table will help determine what will be needed. If your using a milling Vice then you don't really need a clamp set. lastly the Collet set or Micro chuck these are used to hold securely small diameter tooling/ end mills, Dremel bits and tiny drill bits. Collet systems are also more accurate then Drill chucks in how they hold tooling, but we aren't in need of such precision for ship building unless your building a museum piece
Milling Tools Misc.
https://www.harborfreight.com/20-piece-parallel-set-789.html

https://www.harborfreight.com/58-pi...ch-16-nc-studs-1-2-half-inch-clamps-5952.html

https://www.amazon.com/LONKER-Keyle...8&qid=1546529831&sr=1-28&keywords=micro+chuck

https://www.amazon.com/Precision-Sp...qid=1546530640&sr=1-2&keywords=mt2+collet+set

Continued on next page please don't post till I'm done so this remains a continuous post



![20190103_224901[3893].jpg](/sosforums/data/attachments/55/55985-a6bbf0570c2785553347db3666849cdd.jpg?hash=prvwVwwnhV)
![20190103_225045[3892].jpg](/sosforums/data/attachments/55/55987-57cedc554f48b668ee3fb37f2f2df8f0.jpg?hash=V87cVU9Itm)
![20190103_224756[3894].jpg](/sosforums/data/attachments/55/55988-8403ec08d0221b13bd8f0b73d00fd1de.jpg?hash=hAPsCNAiGx)

