Misticque, 1/36 - Build Log by Moreplovac

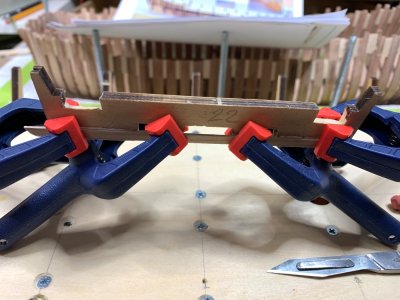
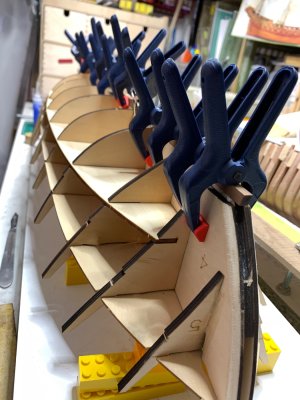
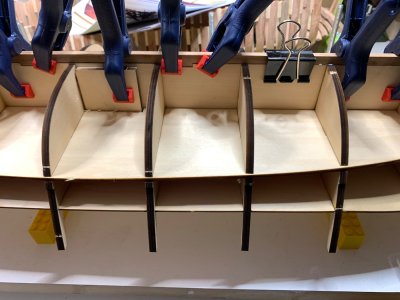
Continuing with keel installation…All bottom keel parts are in and secured with clamps..
IMG_9334.jpeg


IMG_9333.jpeg

Before that, making sure all fits nicely and no sanding needed. All parts with laser burns were either sanded or scraped, not completely but removing the most of burn from the wood.
IMG_9329.jpeg

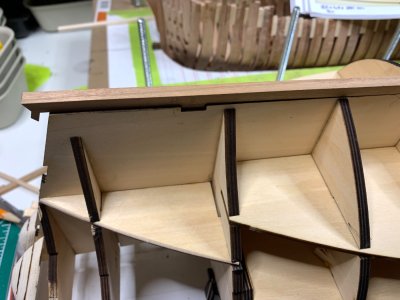
Bow area do need a bit fitting but all is completely mounted with just small amount of sanding. Just make sure you fit #6 (which is middle part on below picture) and then #7. It will fit very tight so make sure while testing not to push it all they way to the frames; it will be hard to remove it to add glue..
IMG_9336.jpeg

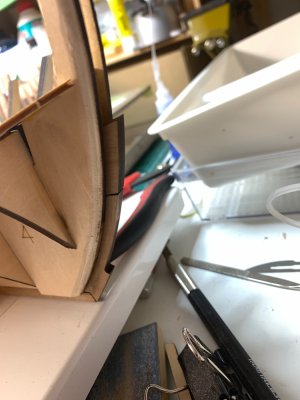
Glue applied and secured with clamps.. a bit of a sanding will be needed on the front end of a keel, facing outbound from the bow.
IMG_9344.jpeg

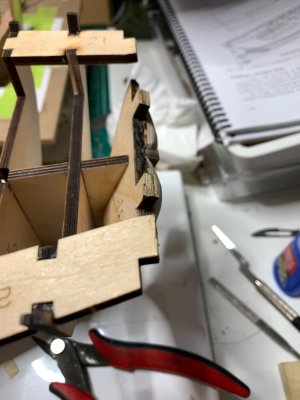
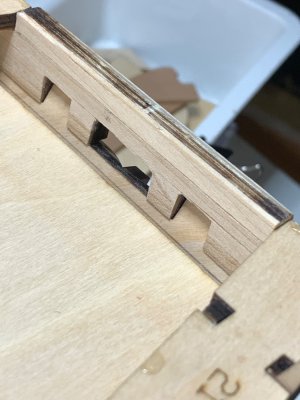
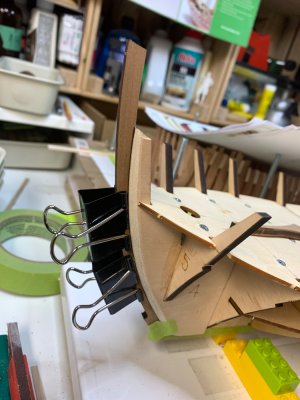
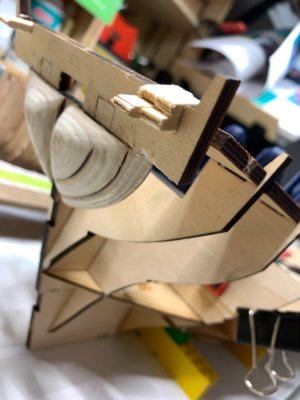
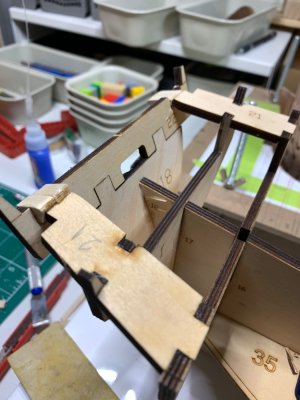
Not sure if i missed something (does not look like since all frames are positioned correctly and there is no other way to put them on) but the #21 does not fit, cannot reach to frame #18 and #22, so I ended up adding some extra wood to accomodate.. It is hard to believe that this part was cut short but will see later, it is not something that will not be fixable easy..
IMG_9327.jpeg
The area #21, will be covered with planks to simulate a “box” so we will see how it goes..
IMG_9326.jpeg

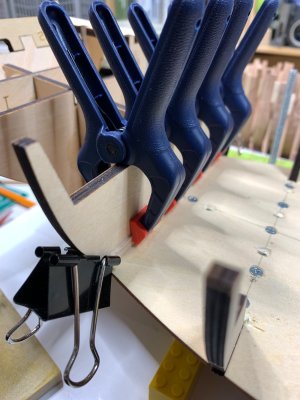
Then i installed planks on the area where cabin door will be mounted, sorry not sure what would be correct term. For that, i used maple planks from some other build. Very nice natural colour of this wood and its capacity to be scraped easily makes me think to use it on second hull planking, but will see. Planing to paint this area in red so wood grains might not be that visible. Now i have to find out the length of planks and simulate them on area.
IMG_9325.jpeg

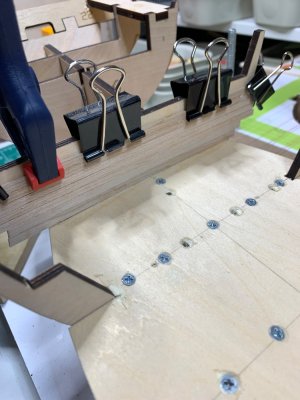
First plank installed; for this i used white glue and a bit of CA to keep planks quickly attached to the frame… trusty clamps are there to assist..
IMG_9328.jpeg

OK, done and now lets do some scraping..
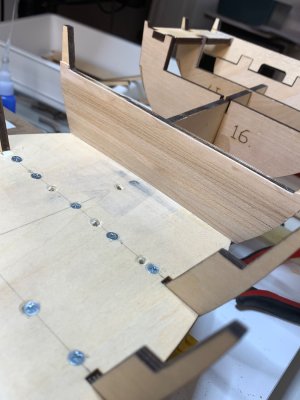
IMG_9345.jpeg

IMG_9343.jpeg

IMG_9342.jpeg

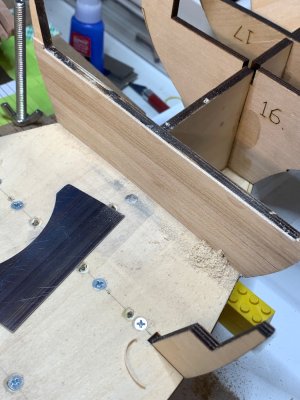
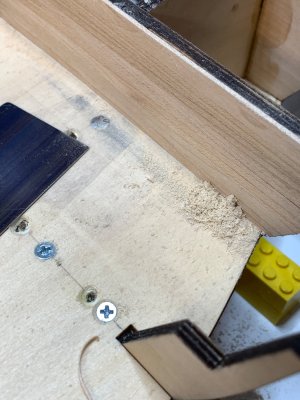
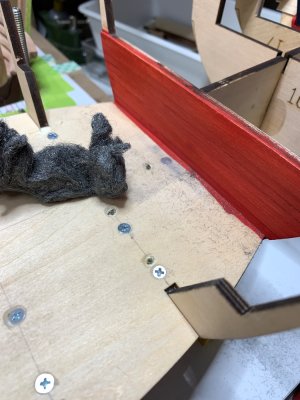
Also, sanded the screw head that was sticking out from installed deck..

Then i removed extra planks length and sand it flush with a frame.. Top plank is also sanded flush with a frame but it is not visible on this picture..
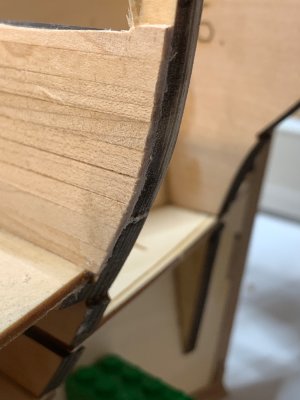
IMG_9341.jpeg

Happy modelling..
 
Hi Moreplovac. Something didn't seem right to me about the issue with frame #22. I'm not sure it was supposed to be attached to frame #18 in the same plane, but rather tilted forward to meet parts 21. There is another build log for a Misticque here (it isn't ZHL's, but the structure looks similar) that shows frame #22 tilted forward. I may be wrong, but it may be worth a closer look at your manual/drawings. :)
 
Hi Moreplovac. Something didn't seem right to me about the issue with frame #22. I'm not sure it was supposed to be attached to frame #18 in the same plane, but rather tilted forward to meet parts 21. There is another build log for a Misticque here (it isn't ZHL's, but the structure looks similar) that shows frame #22 tilted forward. I may be wrong, but it may be worth a closer look at your manual/drawings. :)
Yeah, you are correct; it appears to be more leaning towards the ship then actually following position of frame #18, which was kind of what I had on mind but was not able to confirm with plan. If I had making plan I would either put some more words in manual or cut the connecting edges for #18 and #22 on angle to have it, no mistake, correctly connected.
The log you have mentioned is one I am using to follow as well and it appears to identical with plan as zhl, so not sure how is that possible, two different companies, same plan... makes me thinking about BMW... Anyhow now I am confident no mistakes on plan but on my end, correction follows.
Thanks for pointing it out..

Happy modelling..
 
The "surgery" was performed well and frame #22 was removed and cleaned with some assistance from acetone..

IMG_9347.jpeg

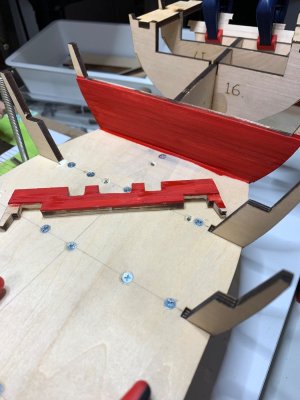
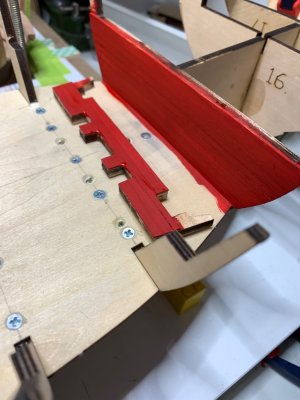
Now, I took opportunity to glue planks on it since this will also be painted in red.

IMG_9348.jpeg

IMG_9349.jpeg

Scrapped and sanded lightly..

IMG_9350.jpeg

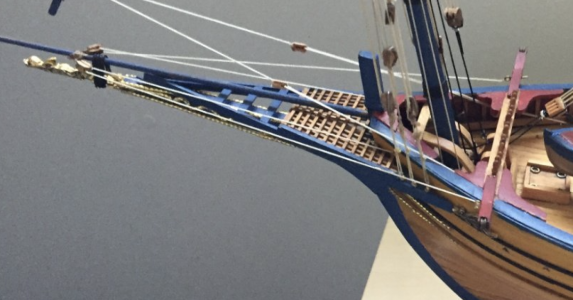
Then I worked a bit on a keel adding few more parts. These parts do need to be cleaned a bit more carefully and burn needs to be removed since they might be exposed as-is to viewer eyes... still not clear how to finish bow area, leaning towards painting it in black.. like in this photo..

Screenshot 2025-03-13 at 11.21.22.png

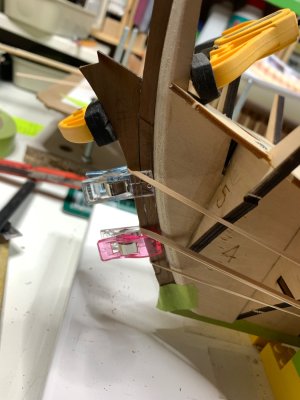
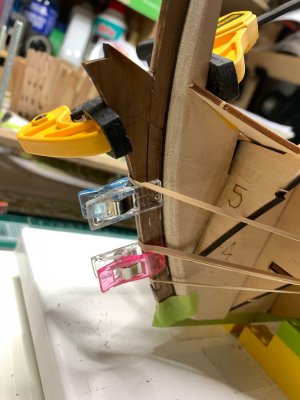
But still, burn removed and keel parts glued and secured with rubber bands...

IMG_9351.jpeg

IMG_9352.jpeg

There are little bit more sanding needed, seeing on area just under pink clamp, keel parts not flush...

Happy modelling..
 
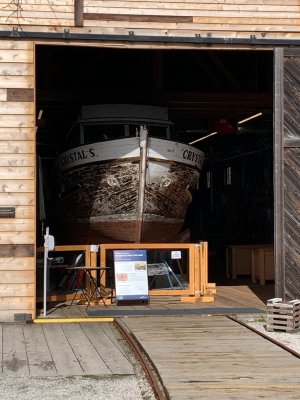
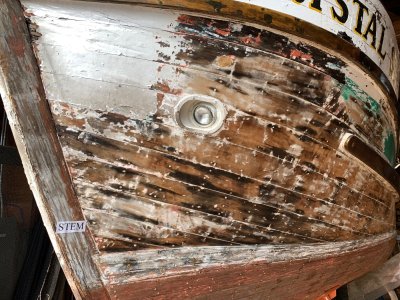
While taking some nice walk close to the old fish processing plant in Richmond BC, came across this little beauty, there were closing so I got an opportunity just to take few shots while they are still open. Next time... it is fishing boat in restoration phases...


IMG_9379.jpegIMG_9378.jpeg
 
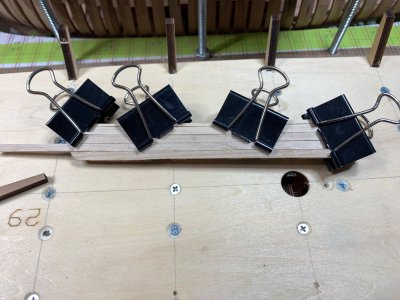
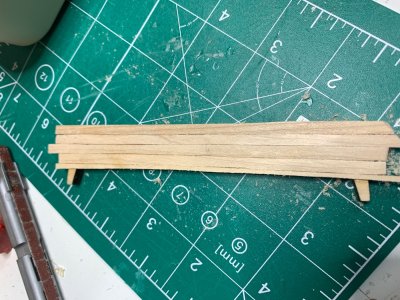
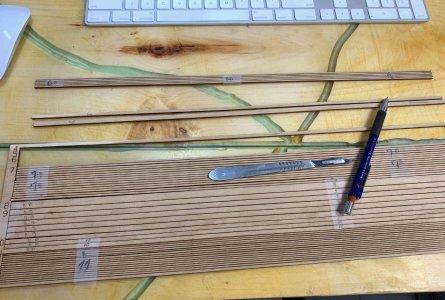
Planks that come with kit are easily breakable from frames so I spent some time arranging them and marking for future use..

Misticque-51.jpg

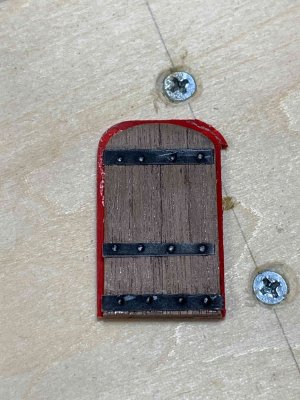
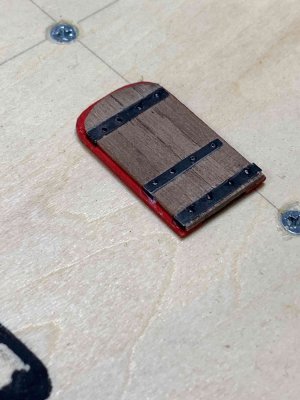
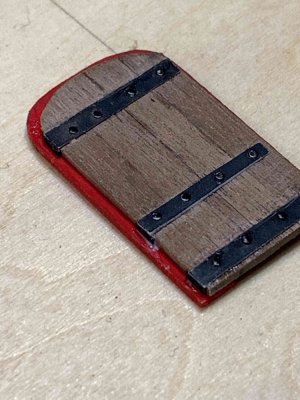
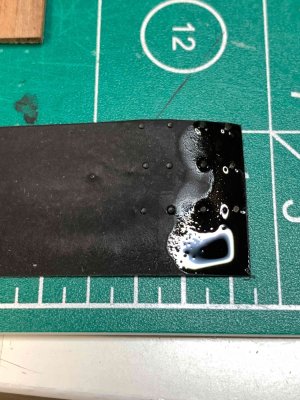
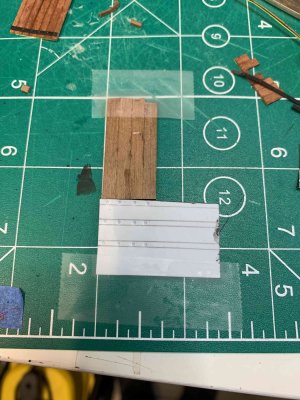
Then I worked on cabin door... first cut a piece of plastic and colour it in flat black.

Misticque-52.jpg

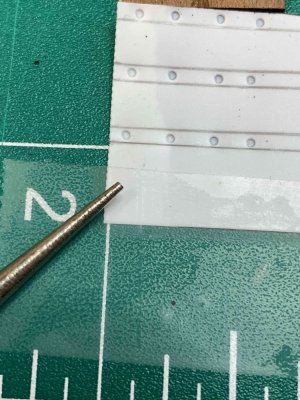
Then marked lines that will simulate hinges and on the back side, pushed with dull needle making a simulated bolts. Position of a bolts are following door planks..

Misticque-53.jpg

Misticque-54.jpg

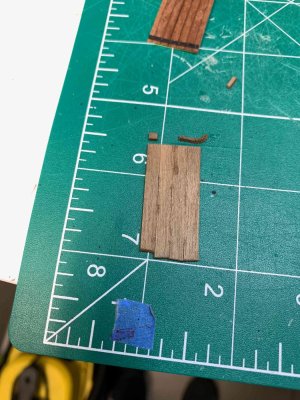
Door is made out of 4 planks, glued together and on the back, fixed with a transparent scotch tape, just to keep them tight.. this is version 2.0 and version 1.0 is slightly visible on the top of picture..

Misticque-55.jpg

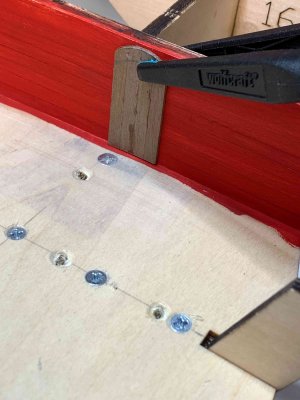
Then a bit of sanding was done to make concave top.. and tested on the model..

Misticque-56.jpg

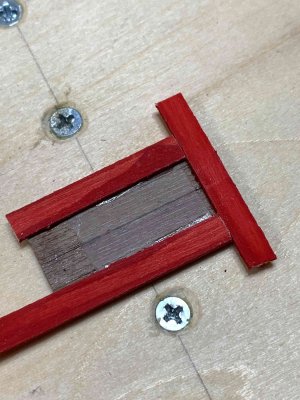
In order to simulate frame, I glue three planks at the back of the door; planks were coloured in red before ..

Misticque-57.jpg

Misticque-58.jpg

Then I marked the top of door, cut excess wood and shaped the frame..

Misticque-59.jpg
Misticque-60.jpg

Misticque-61.jpg

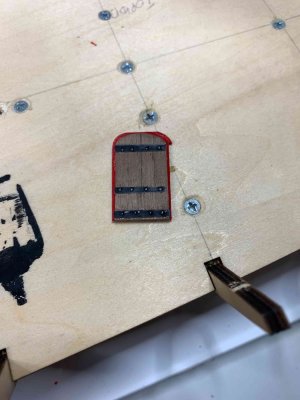
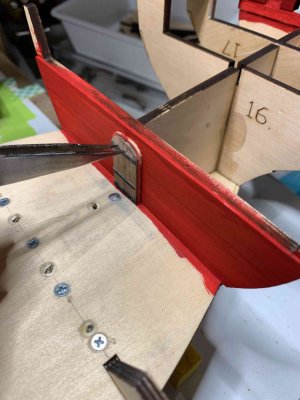
Little bit of touch up paint was applied at the side of door, on frame to eliminate visibility of CA glue...
Fitting test..

Misticque-62.jpg

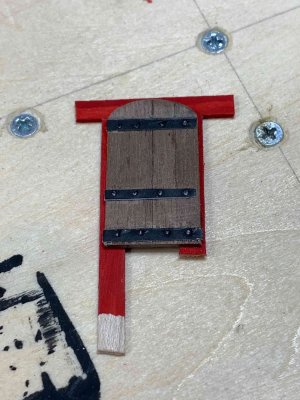
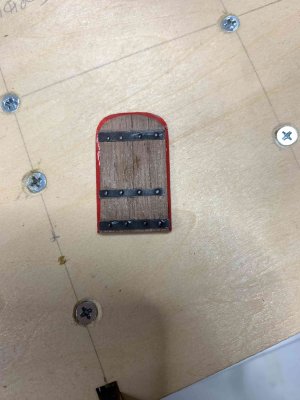
Then just added a tiny strip of plastic to complete hinge simulation....

Misticque-63.jpg

Misticque-64.jpg

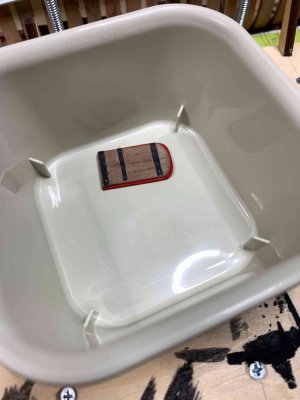
And door is resting and waiting for installation time, soon after deck planking is done..

Misticque-65.jpg

Happy modelling..
 
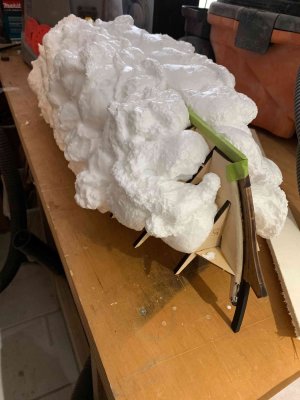
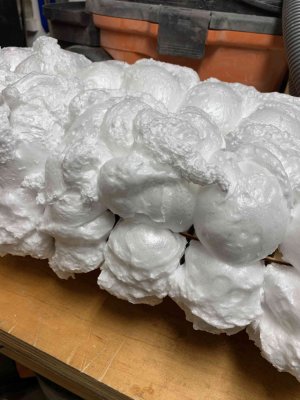
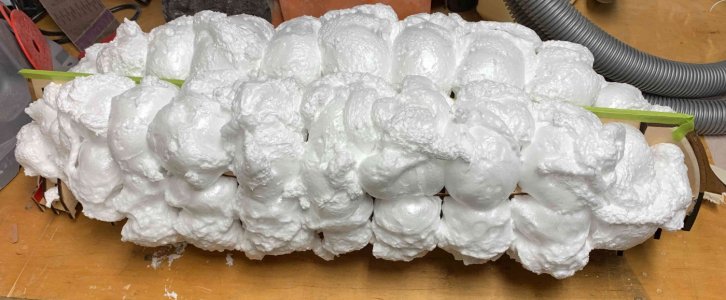
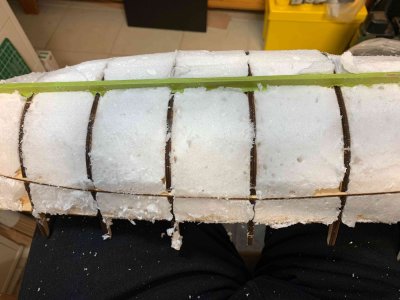
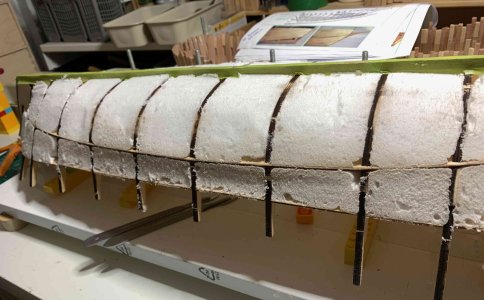
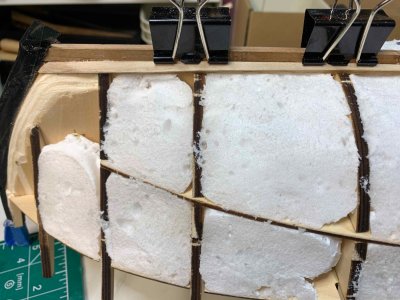
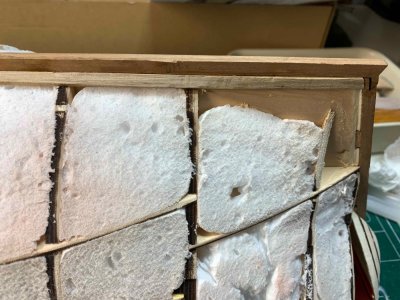
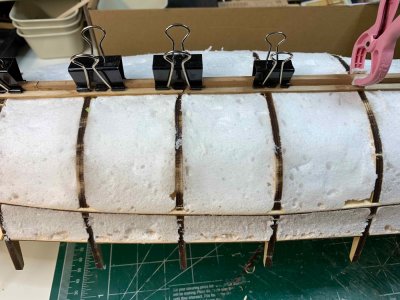
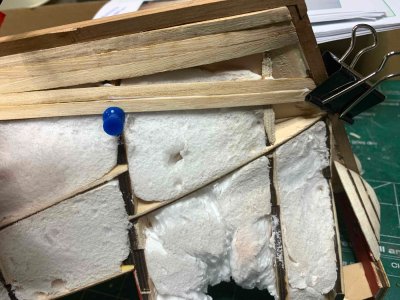
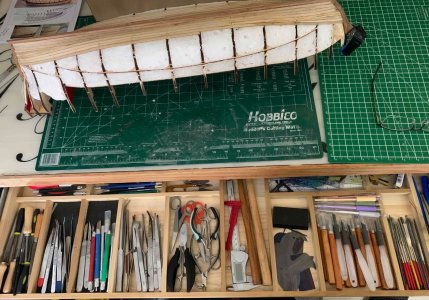
It is time for one of my favourite ship modelling stage - marshmallow-ing..
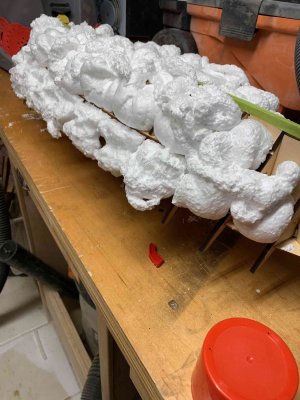
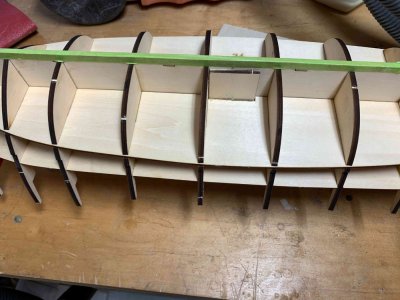
The ship is ready for this stage...
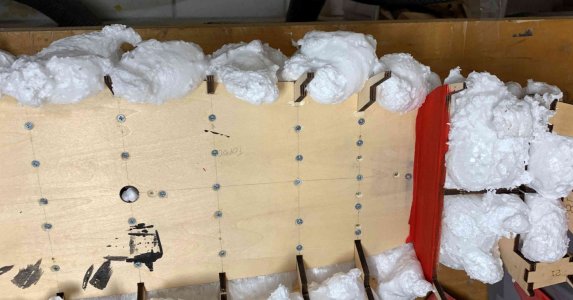

Misticque-67.jpg

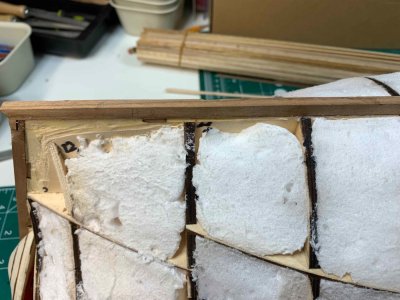
Instead of adding balsa wood, I recently started to use this process which kind of assist in planks to stay following model shape. Planks provided with a kit for a first planking level, are good and 3mm thick, the space between ribs can be on some parts a bit wider so I decided to use expanding foam and cover those spaces..
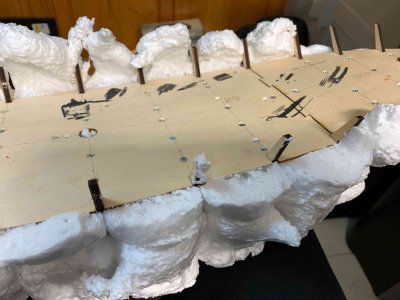
Misticque-69.jpg

Misticque-68.jpg

Misticque-70.jpg

Misticque-71.jpg

Misticque-72.jpg

The same rules apply here as with "do not eat yellow snow" regardless of temptations and marshmallow alike structure.....:-)

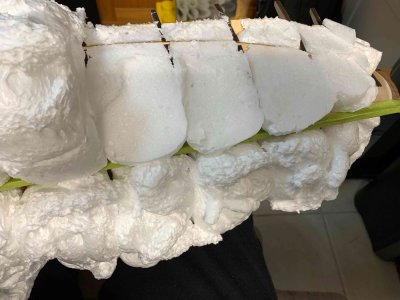
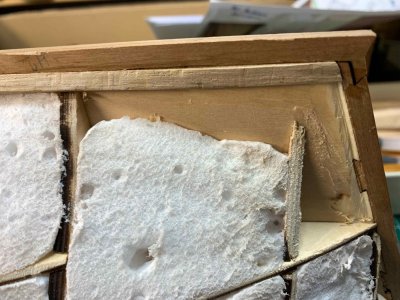
After several hours of drying, it is time to cut the excess...

Misticque-73.jpg

This foam brand appears not to be that messy when cutting takes place and it really helps having longer hand saw so that the blade can rest on ribs while cutting thru foam. After most of foam is removed with saw, I used some old planing

Misticque-74.jpg

Misticque-75.jpg

There are some final touches and clean up steps required, but it is ready for its first hull planking layer... still waiting for deck planking wood to arrive..

Misticque-76.jpg

Happy modelling.
 
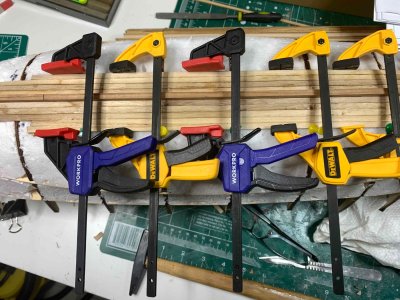
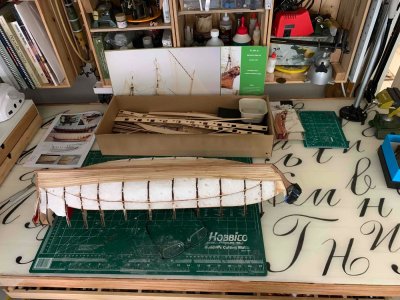
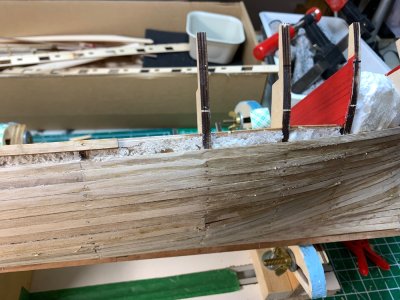
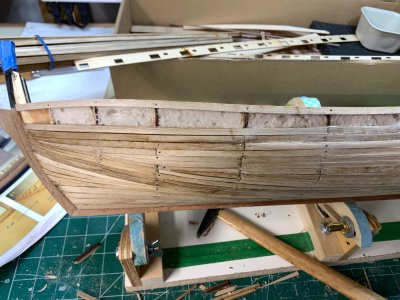
While waiting for deck planks to arrive, I started with hull planking, using kit provided (paulownia) planks. Never worked with this wood before but it appears is slightly hard to twist to follow the rabbet line and also prone for clamps marking, even dough I have used gentle clamps. not binder clips on plank.. But will see, this is first level planks, so some sanding will be needed.

Rabbet line and bearding line meet each other, this was in working stage picture taken, so it was much smoother later in the process..

Misticque-77.jpg

Garboard plank, first layer... the planks are not long to cover all hull length, so they will be put on, connecting on different frames during planking process..

Misticque-78.jpg

Misticque-79.jpg

Misticque-80.jpg

Misticque-81.jpg


Misticque-82.jpg

Happy modelling...
 
Back
Top