


- Joined
- Mar 25, 2017
- Messages
- 36
- Points
- 68

Hi all,
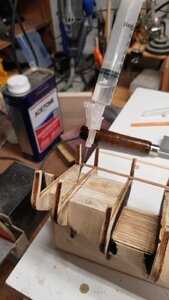
I was given an already started model of the Syren from Model Shipways. A very nice gift but I needed to do a lot of repairs and adjustments.
I will be documenting my efforts on YouTube as well.
View attachment 158082
I was given an already started model of the Syren from Model Shipways. A very nice gift but I needed to do a lot of repairs and adjustments.
I will be documenting my efforts on YouTube as well.
View attachment 158082
Last edited:


")


")


")


