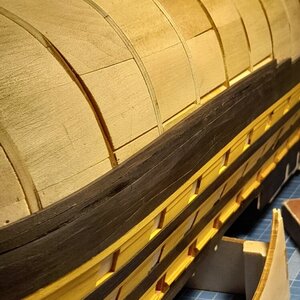
Model VICTORY by Deagostini, scale 1/84

Heinrich, I will modestly keep silent about this. ROTF ROTF ROTF ROTF
Sasha, I'm glad you showed me what a waterway is on a ship. I would call it a gutter line and I imagine at various locations along the deck would be a drain scupper for water to exit the deck. Would this be continuous through the bulkheads on a real ship?
 
Very good work Sasha. You can be well pleased with that! Thumbsup
Thanks Heinrich. I'm not entirely satisfied, I don't really like mainwelsbarhout. It is very difficult to adjust the 3 mm thick slats, especially on the bend in the nose. And it is visible. These places need to be worked on. I first soak the rail in water, then apply it to the case and press it with screws. I wait for the rail to dry, and after that I glue it.
 
Great looking build you have going, the yellow stands out vividly.

One question for some more knowledgeable then me.

When did they start painting the bulkwards in blood red around the guns?
 
Great looking build you have going, the yellow stands out vividly.

One question for some more knowledgeable then me.

When did they start painting the bulkwards in blood red around the guns?
Kurt, hi.
I couldn't find exactly when they started painting. It is indicated below that from the time of the galler. Found this information:
Since ancient times, the painting of ships was intended not only for decorative, but for a protective purpose. For some reason, they completely forgot that not only the ports were painted in the mentioned red color, but also the power elements of the hull, for example, beams, knees; as well as bulwarks, machine guns, bollards, bitengs and more. The insides of the boats were also painted red. It is also known that red paint was used as a primer for subsequent painting with black, yellow and other colors - on the hull. Red primer is found under the main paint as well as in the regels of the latrines and under the painted surface of the bowsprits.

On ships, from the time of galleys to the present, the notorious red paint is red lead (light red, it can be seen on bollards, bulwarks, knees) and iron (iron) red lead (pale red, dark red, to brown, its we see on the covers of cannon ports, on the walls of cannon ports, etc.).
Minium lead is produced by roasting lead, from the obtained oxides. Discovered by chance, in Athens, during a galley fire with a load of white lead.
The dignity of St. red lead - strength and durability of the coating, water resistance, especially to sea water, and protection of metal elements from corrosion - St. minium enters into an oxidative reaction with iron, creating a durable black oxide film that does not allow iron to rust from water and atmospheric oxygen.

Iron minium was also not a miracle for shipbuilders, and was available. It is also produced by burning iron oxide on oxygen (when iron ore is smelted), and is known to all of us as "dross". The paint based on this powder is also very resistant, it is also suitable as a primer, it is also waterproof, but it has one important advantage - compared to other paints used in shipbuilding, it is the most fire resistant. Fact: until now, red lead is used as part of special. extinguishing mixtures in industrial fire extinguishers. Well, you know about smoky gunpowder, about their slow combustion, about the smoldering remains of caps and wads, and so on and so forth ...
Now about the cessation of painting ports with red lead. In the first half of the 19th century, paints and primers came into use, much more resistant than red lead. These are: cobalts (all), cadmium, and, finally, chromium oxides (all). In addition to red cadmium, cobalts and chromiums had various shades of green. Russian, American, English fleets are very quickly introducing these primers and paints - because of the available raw material base. The least resistant, but the cheapest of the protective paints - white lead - is also used, more often - outside the side. under cadmium or minium soil, laid on wood or, later, iron.
 
Hello friends and colleagues. Thank you all for the comments and likes.
There are some minor changes in my shipyard. I have finished laying the mainwells velvet. The hardest part was bending these slats 8 cm long and 3 mm thick in the nose area. This is what it looked like when completed.
20220213_153417.jpg20220213_153429.jpg
 
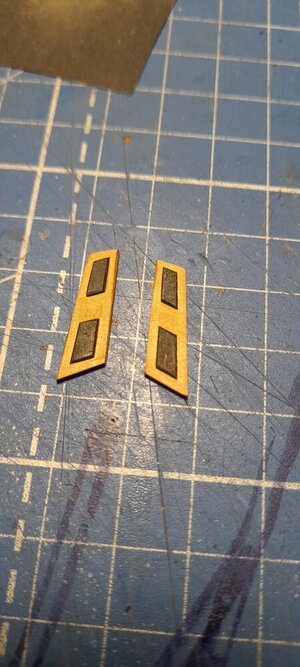
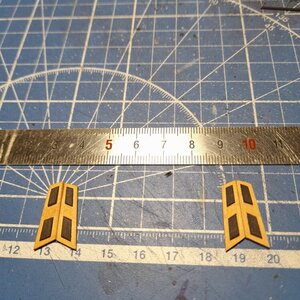
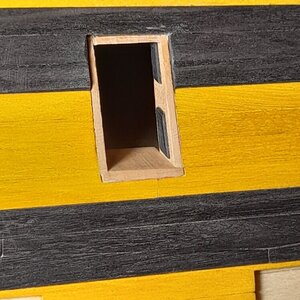
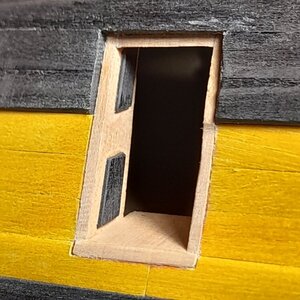
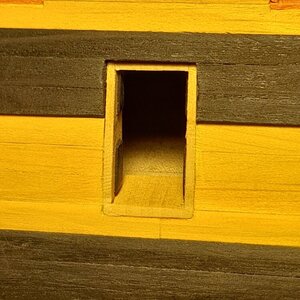
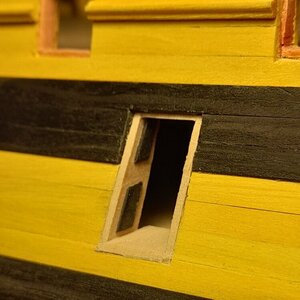
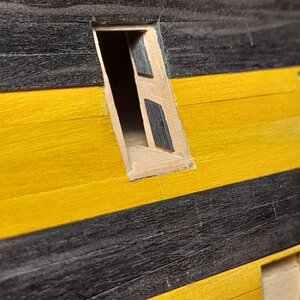
This idea came to me in the fall, but I put off this moment for a long time for various reasons. The original technology, according to which I planned to make these elements, did not go as they say. Shelved this idea, but now the time has come for these elements. These are decorative panels of the admiral's entrance. Pear base, black hornbeam inlays.
In the magazine from DeAgostini, on which I build this model, of course, such frills are not supposed. But I have McKay's Anatomy, which I often look at. As a result, this element appeared on the model.

20220212_173501.jpg20220212_191540.jpg20220213_174124.jpg20220213_174156.jpg20220213_174435.jpg20220213_194805.jpg20220213_194830.jpg
 
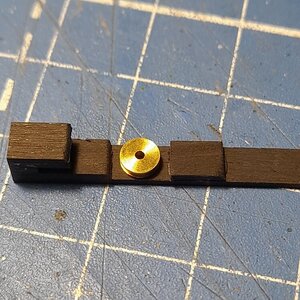
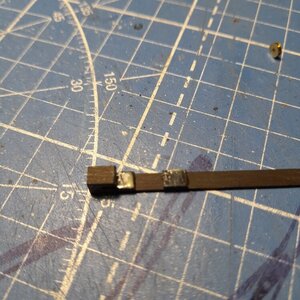
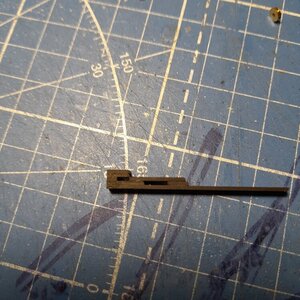
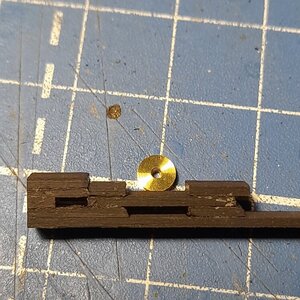
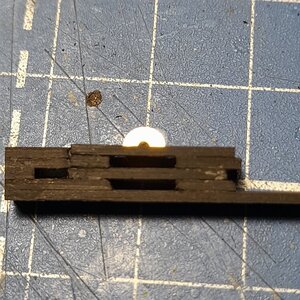
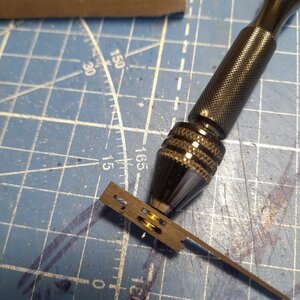
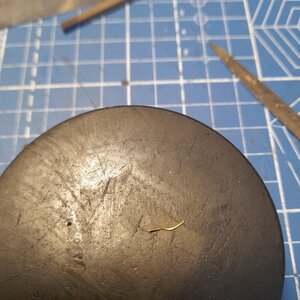
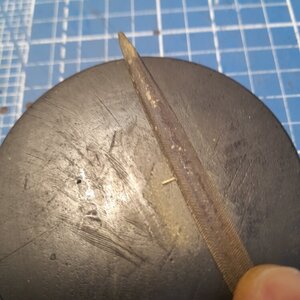
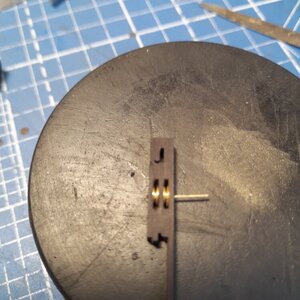
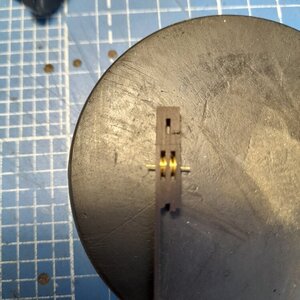
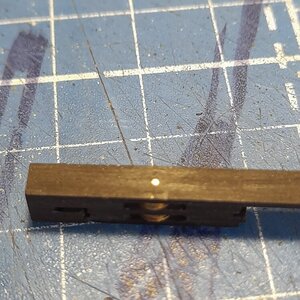
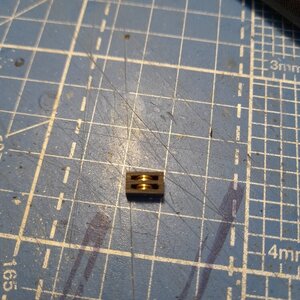
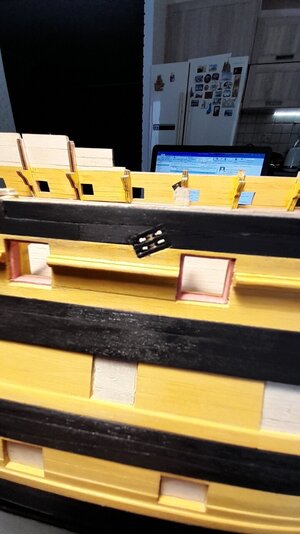
Hello. Pulleys from the store with a diameter of 4 mm arrived for me. I completed the double pulley-gat on the starboard side and installed it. I will show how I make this design without different machines. In my case, slats 1 mm thick and 4 mm wide are required. The manufacturing process itself is shown in the photo. If you have questions, please ask. I will answer with pleasure.
20220217_145837.jpg20220216_180410.jpg20220216_180519.jpg20220216_180540.jpg20220216_180855.jpg20220216_180959.jpg20220216_181036.jpg20220217_133751.jpg20220217_133904.jpg20220217_133926.jpg20220217_134005.jpg20220217_134038.jpg20220217_134228.jpg20220217_134503.jpg20220217_144020.jpg
 
Began to install slats lining the bottom. According to the book, below the mainwells of the velvet there were 7 shackled belts. the thickness of the upper edge of the first belt in 84 scale turned out to be 2.4 mm, the upper edge of the second belt 2.1 mm, below 1.8 mm, 1.67 mm and 1.5 mm. After installation, the protruding edges will need to be ground off and a smooth transition will be obtained from the upper belt under the velvet to the lower part of the skin. Now it looks like this. I did the lining. Reiki I have on a scale 4 mm wide, in the nose it turned out 2 mm. I narrow the straps in the nose and take off a little on the edge, which I apply to the previous rail.
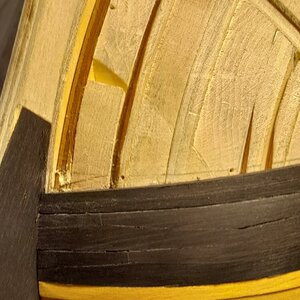
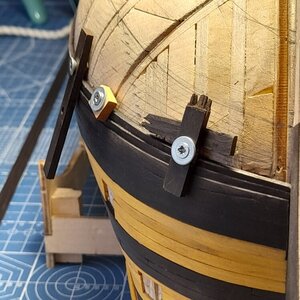
20220217_152109.jpg20220217_152137.jpg20220217_152127.jpg
 
Back
Top