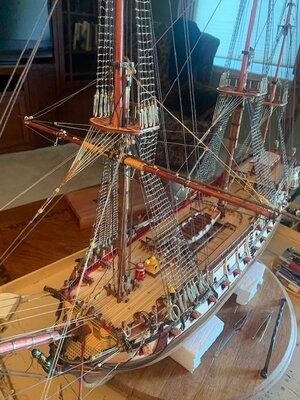
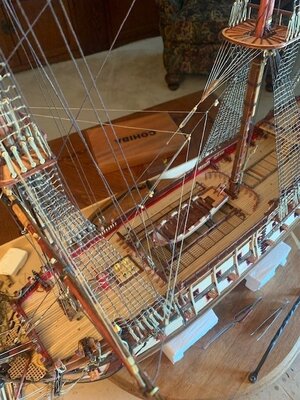
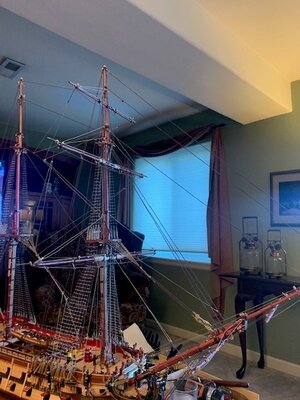
Montanes by OcCre 1:70

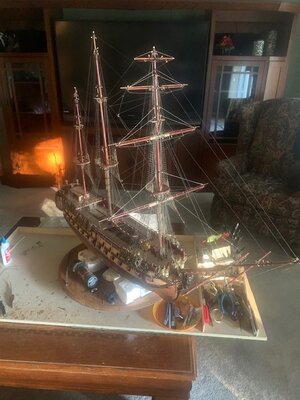
Weekly update - finished all of the standing rigging. Starting on clean up.

Good afternoon/morning/evening everyone. The standing rigging is done!! phew, glad to have this milestone achieved. So before I start on any of the running rigging I'll focus on getting all of these many many little tasks completed. Things to do:
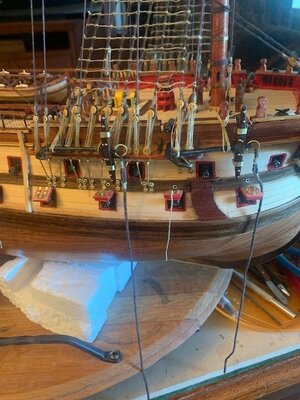
  • Mount the anchors (see below)
  • Several Items on the bow platform.
  • Get the cannon doors finished
  • Bunches of blocks that are attached to the standing rigging and rat lines
  • That funny football shaped thingy that goes on the mainmast ladder.
  • several little items on the mizzen mast platform - OrCre did not include enough of the pewter bits so I'll need to manufacture them. Pics to come next week
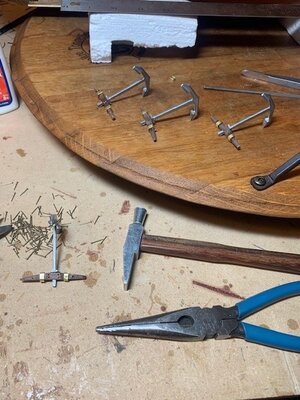
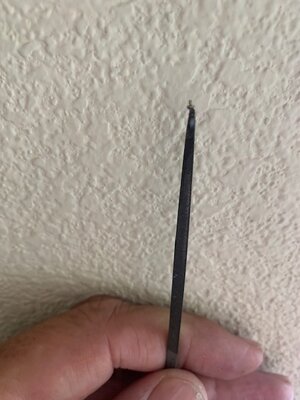
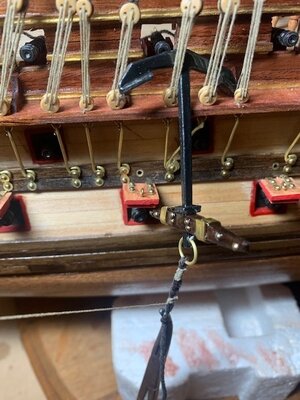
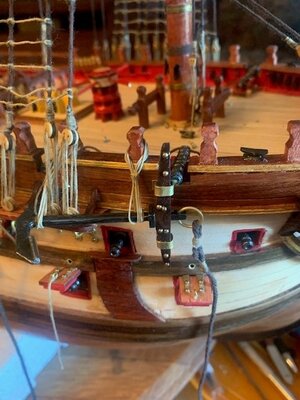
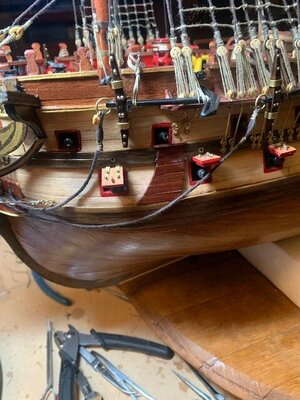
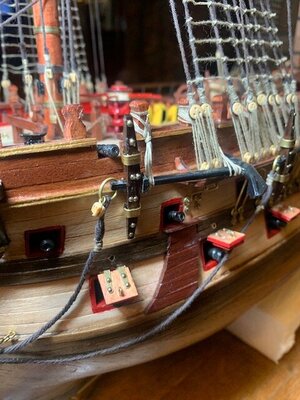
Anchors. Although they seem pretty straight forward I found that getting the nail heads attached to be problematic. Just too tiny, especially towards the outside of the anchor as I had to make the post very small. The only way I could get them secured was to use white glue to stick it to the end of a file, that way I could get it to fit. Sure enough I poked my finger with the 0.80 drill. I think that may be about the 10th bloody event on this build.

Another issue was the brass strips, OcCre did not provide enough of the brass strips. (not even close) So I had to use some of the brass that I got from Model Expo, which is much thicker. Too thick for the smaller/outer strip so I just set it to a single strip. Looks ok. I should get them fully connected this evening or maybe tomorrow evening.

Oh yeah. I also had to make the rings using some extra 0.80 brass.

Making progress folks
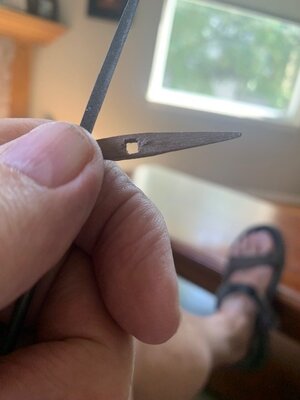
Anchors  pic 1.jpgAnchors  pic 2.jpgAnchors  pic 4.jpgAnchors  pic 4 - more blood.jpgAnchors  pic 5.jpgAnchors  pic 6.jpgAnchors  pic 7.jpg
 
Hello all - this is an interim weekly report. Kind of a long post - sorry.

Finalizing Anchors and my first serious look at running rigging. Oh dear.

For the anchors, I just need to connect the anchor to it's post via a double block. I did this on one side but it looks messy so I'll cut it out and start over. I have a better idea of what to do now and will post my results next week.
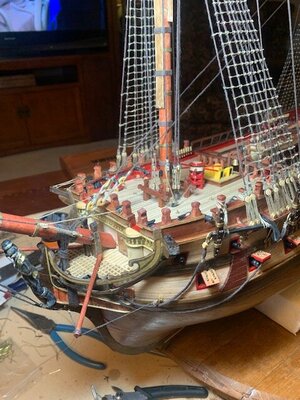
Next was to start working on these thingies called Tacks (I think). The little pole that sticks out of the bow deck. It was during this exercise that I realized rigging is going to be 10 times more complex then I originally imagined. Hats off to Mirek and his total mastery of rigging.

First a few pics of anchors and the tack's.

Anchors:
Anchors pic 7.jpgAnchors Pic 8.jpgAnchors Pic 9.jpg


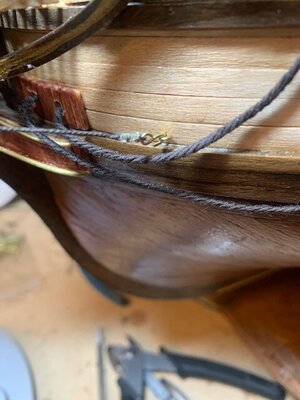
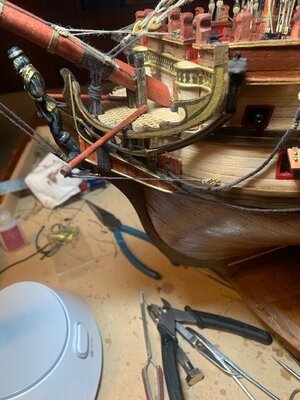
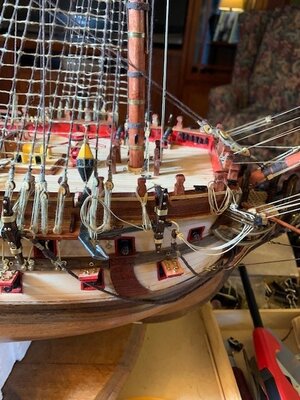
Now a couple of pictures of the tack thingy. I was pretty pleased with myself on making the hooks.

Tack Pic 1.jpgTack Pic 2.jpg

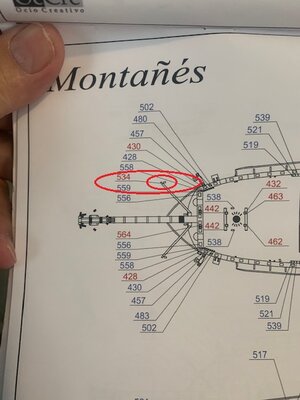
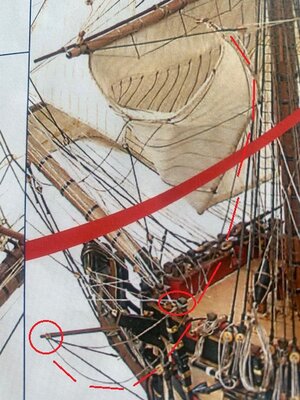
But while doing these I totally became aware of the block at its end. At first I thought this was part of the anchor tethering system. Nope. After poring through the instructions I finally spotted it. This is line 534.

Tack Line 534.jpg

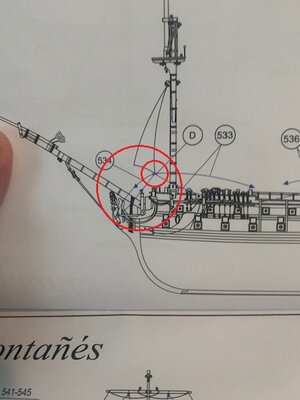
ok - so where does this line actually go. Oh dear. Mixed messages for sure. Had to search through many many pictures to find it but I found it.

IMG_1281.jpg

HUH!!! Let's have a look at the pictures, here is what these look like. Wicked different:

Tack Line 534 pic 3.jpg

Hmmmm. Looks like one end connects to a post and the other sky's up to the corner of the sale. At this point I am totally frightened about all of this. Time for some help via a book dedicated on rigging.

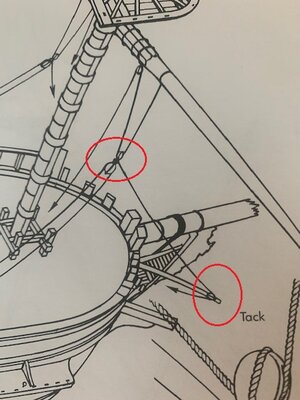
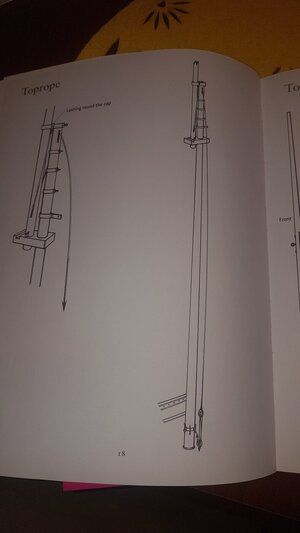
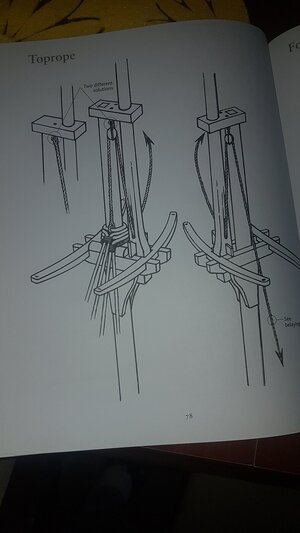
I found one in the shipwrights club library that seems similar to the Montanes. This one picture solved all of my confusion.

Tack line 534 pic 4.jpg

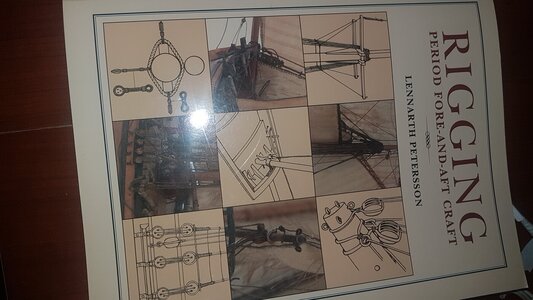
The book is called "Rigging Period Ship Models" by Lennarth Petersson. Mostly pictures but very very helpful. I wish I had this before I started the standing rigging.

Trudging along here. Still have several non rigging items to get done before I start making the yards.

Have a nice day.
 
Hello everyone - here is my proper weekly update / progress report

Spent the weekend working on and finishing the bowsprit yards. The best thing I did for myself (and sanity) was getting my fingers on that rigging book. After spending a ton of time looking at the instructions then looking at the pictures, then back to the instructions you would never figure out what to do. The actual instructions are filled with holes. Ghost destinations, unnecessary blocks etc.... I could go on a rant but instead I'll just get on with it.

Rigging so far has been pretty fun. Once you get a line figured out then placed on the boat it's very satisfying. During this next week I'll try to complete the foremast yards with the objective of getting them hung next weekend. Making progress.

Finished the anchors and the anchor float. In the pictures the anchor float is painted black. After discussing with my wife she decided to paint the top part yellow and the lower part black. I think it looks better and frankly it seems to make more sense.

Pict below starting with the anchor float.

Hoping everyone had a productive and nice weekend.

Sep 26 Anchor Float pic 1.jpg

Here are the bowsprit pics:

Sep 26 Bowsprit Yards pic 1.jpgSep 26 Bowsprit Yards pic 2.jpgSep 26 Bowsprit Yards pic 3.jpgSep 26 Bowsprit Yards pic 4.jpgSep 26 Bowsprit Yards pic 5.jpg
 
Hello everyone - here is my proper weekly update / progress report

Spent the weekend working on and finishing the bowsprit yards. The best thing I did for myself (and sanity) was getting my fingers on that rigging book. After spending a ton of time looking at the instructions then looking at the pictures, then back to the instructions you would never figure out what to do. The actual instructions are filled with holes. Ghost destinations, unnecessary blocks etc.... I could go on a rant but instead I'll just get on with it.

Rigging so far has been pretty fun. Once you get a line figured out then placed on the boat it's very satisfying. During this next week I'll try to complete the foremast yards with the objective of getting them hung next weekend. Making progress.

Finished the anchors and the anchor float. In the pictures the anchor float is painted black. After discussing with my wife she decided to paint the top part yellow and the lower part black. I think it looks better and frankly it seems to make more sense.

Pict below starting with the anchor float.

Hoping everyone had a productive and nice weekend.

View attachment 258268

Here are the bowsprit pics:

View attachment 258269View attachment 258270View attachment 258271View attachment 258272View attachment 258273
yes!
 
Hello all - this is an interim weekly report. Kind of a long post - sorry.

Finalizing Anchors and my first serious look at running rigging. Oh dear.

For the anchors, I just need to connect the anchor to it's post via a double block. I did this on one side but it looks messy so I'll cut it out and start over. I have a better idea of what to do now and will post my results next week.

Next was to start working on these thingies called Tacks (I think). The little pole that sticks out of the bow deck. It was during this exercise that I realized rigging is going to be 10 times more complex then I originally imagined. Hats off to Mirek and his total mastery of rigging.

First a few pics of anchors and the tack's.

Anchors:
View attachment 257896View attachment 257897View attachment 257898


Now a couple of pictures of the tack thingy. I was pretty pleased with myself on making the hooks.

View attachment 257899View attachment 257900

But while doing these I totally became aware of the block at its end. At first I thought this was part of the anchor tethering system. Nope. After poring through the instructions I finally spotted it. This is line 534.

View attachment 257901

ok - so where does this line actually go. Oh dear. Mixed messages for sure. Had to search through many many pictures to find it but I found it.

View attachment 257902

HUH!!! Let's have a look at the pictures, here is what these look like. Wicked different:

View attachment 257903

Hmmmm. Looks like one end connects to a post and the other sky's up to the corner of the sale. At this point I am totally frightened about all of this. Time for some help via a book dedicated on rigging.

I found one in the shipwrights club library that seems similar to the Montanes. This one picture solved all of my confusion.

View attachment 257905

The book is called "Rigging Period Ship Models" by Lennarth Petersson. Mostly pictures but very very helpful. I wish I had this before I started the standing rigging.

Trudging along here. Still have several non rigging items to get done before I start making the yards.

Have a nice day.
I have nearly to total running rigging in graf/ images from Bowsprit to the Mesan. just ask- Messenger is good for more private questions, so just ask before you run into problems as above.
 
Hello all, Weekly update.

Thanks for the advice El Capi.

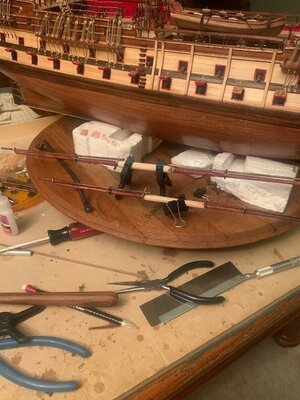
This last week was pretty much dedicated to the Foremast primary (largest) yard. Had to spend a bunch of time running around searching for materials. OcCre provided enough Sappelli to build another boat! But just enough 1x3 limewood to do the deck... only. Several of these yards require some of this in the center. I had one plank left so it was off to the store for more. I found a reasonable substitute at one of the local hobby stores.

Another mistake from OcCre was the amount of 3mm dowel rod material. They provided a single rod that was about 50cm's long. Enough for one yard! What they supplied instead was about 2 meters of 4mm. Which is not called for anywhere in the kit. So it was off to the stores again to find some sort of replacement. The closest I could get was 1/8 inch (3.175mm). But I found this to be too fat so I just used some sandpaper and my drill to bring them down to 3mm.

Continuing on... Building the yard and getting it rigged was certainly a learning experience. I wanted to get this one fully built and in place before doing others so I could spot what was difficult and learn how to better deal with the rest. The biggest issue, for me anyway, was getting the yard hung. What I did was to connect the center line first and snug it up. (this is the line with the two rings) By doing that I did not leave enough room to maneuver to thread the two outer lines. (these were the pullies) Talk about a struggle. Going forward I'll do that center line first but I won't snug it up, instead I'll let everything dangle down about 4 or so cm's. Then snug up all three at the same time.

Once I figured out the rigging instructions the rest went in ok.

This week I will continue working on the foremast yards.

Below are a couple of pics.

Oct 4 Formast yard pic 1.jpgOct 4 Formast yard pic 2.jpgOct 4 Formast yard pic 3.jpg
 
Hello all, Weekly update.

Thanks for the advice El Capi.

This last week was pretty much dedicated to the Foremast primary (largest) yard. Had to spend a bunch of time running around searching for materials. OcCre provided enough Sappelli to build another boat! But just enough 1x3 limewood to do the deck... only. Several of these yards require some of this in the center. I had one plank left so it was off to the store for more. I found a reasonable substitute at one of the local hobby stores.

Another mistake from OcCre was the amount of 3mm dowel rod material. They provided a single rod that was about 50cm's long. Enough for one yard! What they supplied instead was about 2 meters of 4mm. Which is not called for anywhere in the kit. So it was off to the stores again to find some sort of replacement. The closest I could get was 1/8 inch (3.175mm). But I found this to be too fat so I just used some sandpaper and my drill to bring them down to 3mm.

Continuing on... Building the yard and getting it rigged was certainly a learning experience. I wanted to get this one fully built and in place before doing others so I could spot what was difficult and learn how to better deal with the rest. The biggest issue, for me anyway, was getting the yard hung. What I did was to connect the center line first and snug it up. (this is the line with the two rings) By doing that I did not leave enough room to maneuver to thread the two outer lines. (these were the pullies) Talk about a struggle. Going forward I'll do that center line first but I won't snug it up, instead I'll let everything dangle down about 4 or so cm's. Then snug up all three at the same time.

Once I figured out the rigging instructions the rest went in ok.

This week I will continue working on the foremast yards.

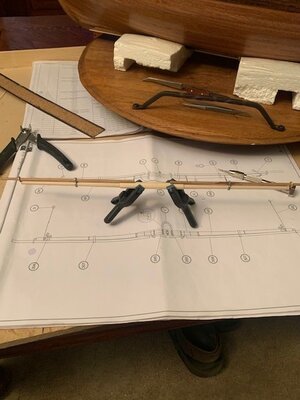
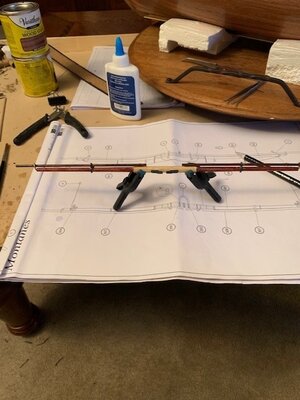
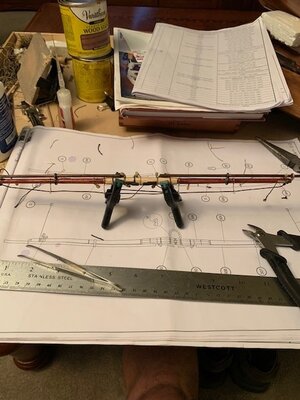
Below are a couple of pics.

View attachment 259619View attachment 259620View attachment 259621
Thanks for sharing. This is very instructive for guys like me.
 
Hello all, another weekly update / progress report.

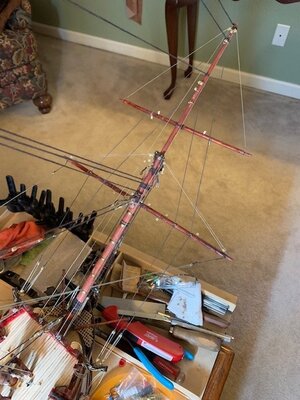
This week was spent working on the foremast yards. I managed to get the lower yard done last week and learned a ton. This week I wanted to complete the three uppers ones on the foremast. I managed to get two more and the last one is about ready to mount. This is tonight's project. Then on Tuesday I'll start working on the main mast yards.

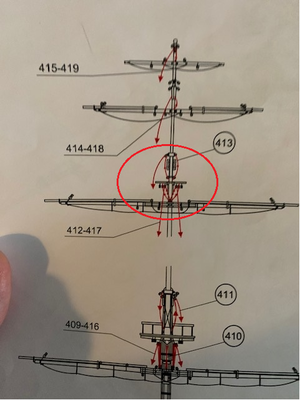
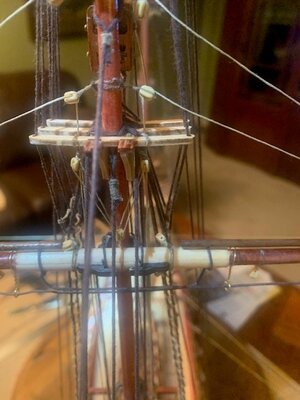
I ran into a problem. I cannot figure out how to connect line 413 to the second yard. See pic below. So I started searching around to see what others may have done. First was to have a look at Mirek's build. Compared to Mirek's rigging skills I am not even worthy of asking a question. This boat was for learning, lots of learning has happened !! On my next boat I will be upping my game. But in the mean time I still need to ask some questions.

See this pic. One is of the instructions and the other is my results, sans line 413. Right now I think I'll just leave it off. The question is how to connect line 413 to the yard. I know where it goes down on the deck and what it's for. But connecting it to the actual yard has me stumped.
Oct 11 formast yard instructions.pngOct 11 second yard up detail pic 1.jpg

below is a sequence of building a yard. and a pic of the foremast. Have a nice week. Broncos lost :(.

Oct 11 foremast yards almost done.jpgOct 11 making a yard pic 1.jpgOct 11 making a yard pic 2.jpgOct 11 yard all done pic 3.jpg
 
Hello all, another weekly update / progress report.

This week was spent working on the foremast yards. I managed to get the lower yard done last week and learned a ton. This week I wanted to complete the three uppers ones on the foremast. I managed to get two more and the last one is about ready to mount. This is tonight's project. Then on Tuesday I'll start working on the main mast yards.

I ran into a problem. I cannot figure out how to connect line 413 to the second yard. See pic below. So I started searching around to see what others may have done. First was to have a look at Mirek's build. Compared to Mirek's rigging skills I am not even worthy of asking a question. This boat was for learning, lots of learning has happened !! On my next boat I will be upping my game. But in the mean time I still need to ask some questions.

See this pic. One is of the instructions and the other is my results, sans line 413. Right now I think I'll just leave it off. The question is how to connect line 413 to the yard. I know where it goes down on the deck and what it's for. But connecting it to the actual yard has me stumped.
View attachment 261401View attachment 261402

poniżej znajduje się sekwencja budowania podwórka. i zdjęcie przednimasztu. Miłego tygodnia. Broncos przegrał :(.

View attachment 261403View attachment 261404View attachment 261405View attachment 261406
Witaj
Zawsze możesz pytać jeśli będę umiał ci pomóc to zrobić to zrobię. budujemy ten sam model zawsze możemy wymieniać się doświadczeniami i imi . W razie potrzeby pominąłem, ale tego wrócę, 20211012_093044.jpg20211012_094747.jpgaby zostało wykonane, aby zostało wykonane tak, jak na zdjęciach . Ale że te plany są bardzo uproszczone i niedokładne i jeszcze wiele razy zaskoczą.
Pozdrawiam Mirek
 

Attachments

  • 20211012_093115.jpg
    20211012_093115.jpg
    181.6 KB · Views: 6
Hello everyone - weekly update.

After reviewing Mirek's diagrams and the instructions I know what I "would" do. But I'd need to tear everything off so I am just going to leave it as is. There is so much going on that no one will notice anyway. (Sans me) For the mainmast I'll adjust the process.

This last week was pretty lame, as I did not get a lot done. I finished the foremast and just got the lower two mainmast yards started. This lower mainmast yard is 19 inches wide. pretty darn big. This evening I'll attach the the blocks and get it ready to mount on the boat maybe tomorrow evening.

Now for something completely off topic. This last Saturday I attended the monthly meeting of the Rocky Mountain Ship Wrights club. There are about 90 members with about 50 or so that regularly attend meetings. At any given moment there are between 6 and 10 active builds. Many of the members are outstanding "master" modelers. Most members are retired.

All of them are well aware of this platform. The problem with this platform is it's outstanding success. It only takes 5 days of no posting to drop down to 70th on the list. I want to propose a new Forum for clubs. I have searched and searched this site for a "Contact Us" email or feature and I cannot find one. Does anyone know how to get ahold of the Ships of Scale admin folks. For the heck of it I tried support@shipsofscale.com but it did not work.

Let me know. Thanks

couple pics below

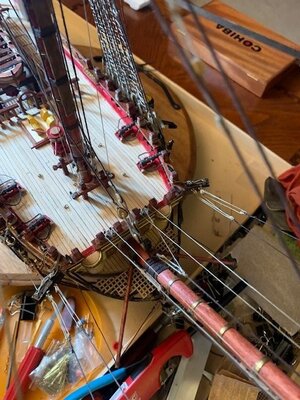
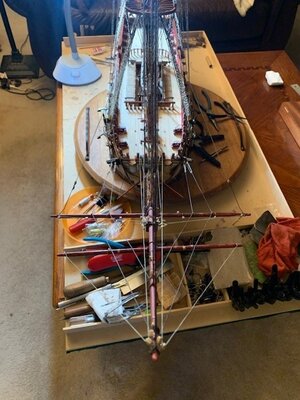
Oct 18 Foremast Completed pic 1.jpgOct 18 mainmast yards in progress Pic 2.jpgOct 18 Primary mainmast yard 19 inches Pic 3.jpg
 
Hello everyone - weekly update.

After reviewing Mirek's diagrams and the instructions I know what I "would" do. But I'd need to tear everything off so I am just going to leave it as is. There is so much going on that no one will notice anyway. (Sans me) For the mainmast I'll adjust the process.

This last week was pretty lame, as I did not get a lot done. I finished the foremast and just got the lower two mainmast yards started. This lower mainmast yard is 19 inches wide. pretty darn big. This evening I'll attach the the blocks and get it ready to mount on the boat maybe tomorrow evening.

Now for something completely off topic. This last Saturday I attended the monthly meeting of the Rocky Mountain Ship Wrights club. There are about 90 members with about 50 or so that regularly attend meetings. At any given moment there are between 6 and 10 active builds. Many of the members are outstanding "master" modelers. Most members are retired.

All of them are well aware of this platform. The problem with this platform is it's outstanding success. It only takes 5 days of no posting to drop down to 70th on the list. I want to propose a new Forum for clubs. I have searched and searched this site for a "Contact Us" email or feature and I cannot find one. Does anyone know how to get ahold of the Ships of Scale admin folks. For the heck of it I tried support@shipsofscale.com but it did not work.

Let me know. Thanks

couple pics below

View attachment 263617View attachment 263618View attachment 263619
Contact @Donnie if you would like to suggest something to an administrator.
 
Hello all - weekly update.

I managed to get the two big mainmast yards built and installed. The lower one (19 inches!!) was pretty straight forward. I was actually able to understand the instructions. Phew!

For the next one up I was faced with the mysterious instructions as the same yard on the foremast. I just ignored the instructions in the manual and just used the same technique as the lower yard. Worked perfectly.

Will do my best to get the mainmast yards done this week.

Couple pics below.

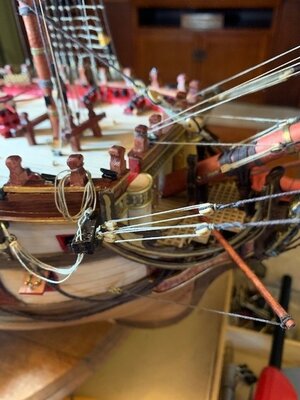
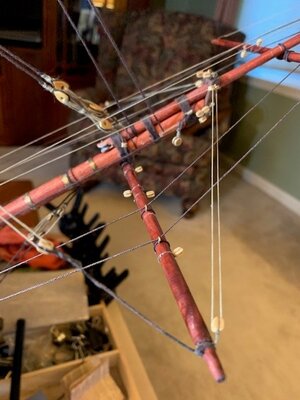
Oct 25 Mainmast 2nd yard pic 5.jpgOct 25 Mainmast yard work pic 4.jpgOct 25 Mainmast yards half done pic 6.jpg
 
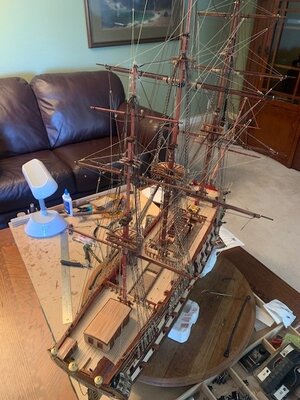
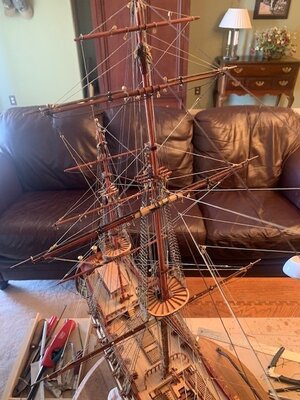
Update - missed last week.

Hello all. I got crazy busy involved with elections last week so things got a bit stalled on my end. I am just plugging away with yards. The complexity of the rigging is amazing. It takes a lot of time to pull the rigging without destroying what you have already done. Plus the end points sometimes see odd to me. Either way I am close to completing the yards. I can just imagine what its going to be like once I start adding the sail rigging as well.

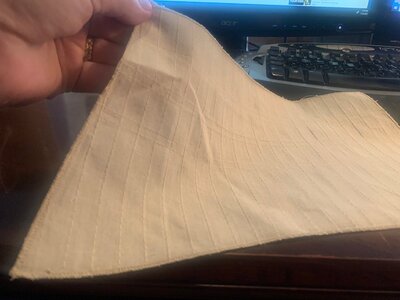
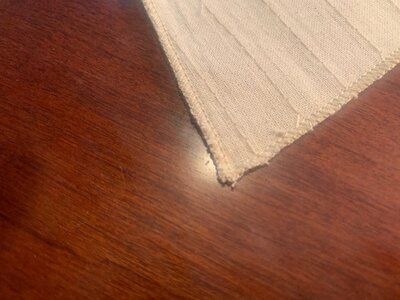
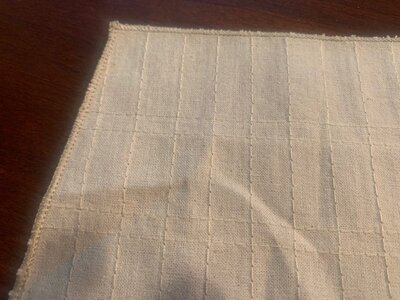
Next up is the sails. The good news is that the sails that OcCre sent over seem pretty good. So the starting point seems ok. This weekend we'll start sewing on the string around the outside of the sails to be use for clews. Any recommendations on what string to use for this.

Pics below.
Yard pics Pic 7.jpgYards pic 8.jpgSail Quality Pic 1.jpgSail Quality Pic 2.jpgSail Quality Pic 3.jpg
 
Back
Top