Montanes by OcCre 1:70

Joined
Nov 29, 2020
Messages
182
Points
213

Location
Westminster, Colorado
Hello all,

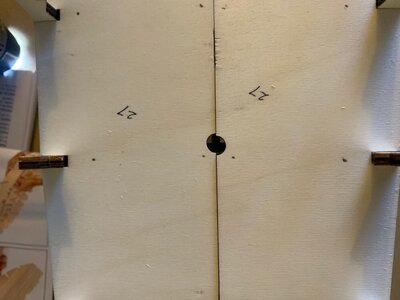
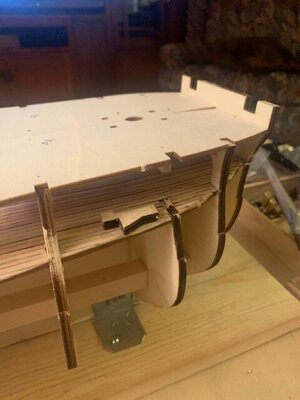
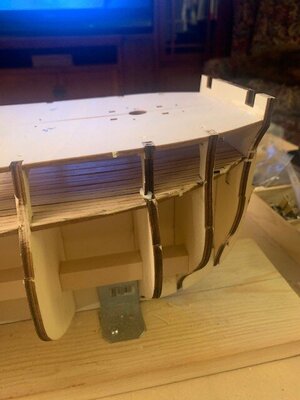
Well, starting building out the skeleton of the Montanes and I am dealing with troubles already!! I glued the two main center sections and all was well until the next morning. The Aft center "board" decided to do two things, bend and twist. Out here in Colorado during the winter time things are incredibly dry so to say the least I was pretty surprised. I had a 1/3 inch bend, and more frustrating, a 1/3 inch twist.

After dry fitting the frames that twist really gets magnified. Sorry, I did not take a picture (should have).

After pondering the situation for a while I decided to go ahead and glue in the frames and see if I could get the bend out by adding the crossbeams. (the 2cm by 2cm reinforcements) Not really. So did the next best then and build a stand which took most of the bend out. That took the bend out of the bottom section but I still had an 1/8 inch at the top. Took that out with the deck.

Next challenge is to see if I can take out this crazy twist. The only way to accomplish was to twist it back by hand then glue and nail the deck. I prepped the decking by pre-drilling some 0.8mm holes for the nails. I added the glue then twisted it a little past straight and had my wife tap in the nails. IT WORKED!!! That also took out the last bit of bend (I'm left with 1/16 inch bend and can live with that).

Net result is I'll need to add the deck planking later. Ok fine I can do that.

Sunday morning I found more warping. I'll deal with these later.

Kind of a wobbly start.
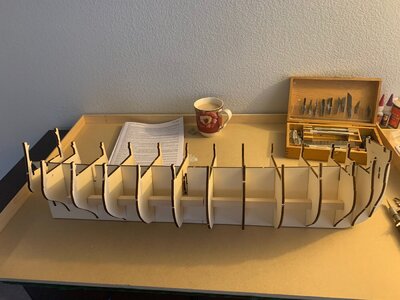
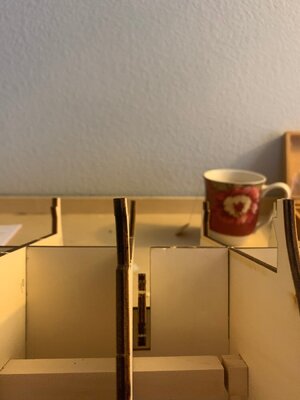
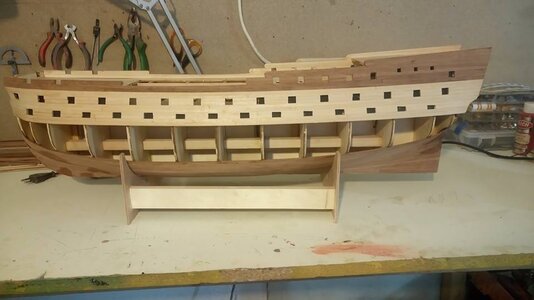
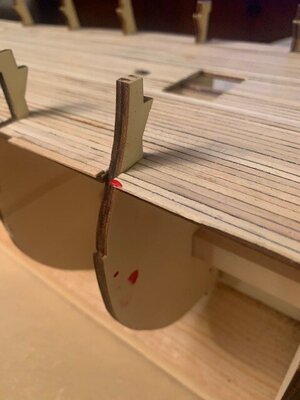
Framed out pic 1.jpgTwisting Pic 1.jpgWarping Pic 1.jpg
 
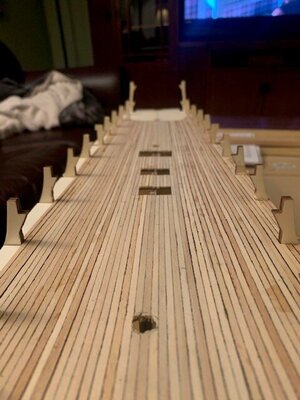
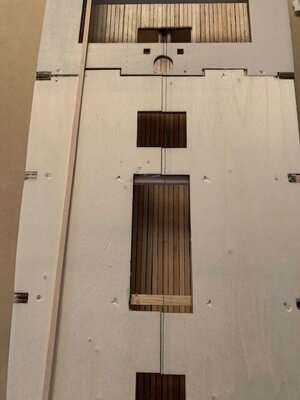
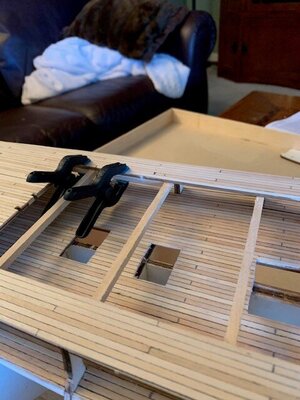
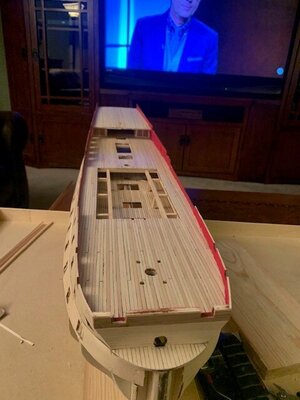
Now that I have everything reasonably straight I've started on the 1st deck planking. Instead of using a pencil to darken the edges I'm using some acrylic paint. Before sanding I'll stagger mark every 5 cm's a cut point with each plank 20 to 25 cm's long. I'll play around to see which length looks best. Right now I'm thinking 20cm's might look good. View down the bowsprite slot - nice and straight.jpgFirst Deck Planking - nice and straight.jpg
 
Hi Scottola
Congratulations on overcoming the problem.
It's good to see another Montanes here. :)
I think bend and twist problems are not your fault.
OCCRE puts 4 crosbeams.
In my opinion there must be two instead of four.
They are for to prevent the model from bend and twist. So they have to be long enough from stern to stem.
In my model I didnt use OCCRE supplied ones.
I prepared two 15x15mm crosbeams and used on the model.

This is my Montanes several months ago. You can see the crosbeam on this photo.

19510553_1817570341886375_4272091970161135748_n.jpg

Maybe you want to look at my building log :


If you want to ask a question about the model, you can do so without hesitation.

Best Regards.
 
Last edited:
A little late for your work, but when you have warped plywood you can dampen and then press under glass and weight to allow it dry flat.

Your project is looking good for problems you have.

Keep up the work and photos, we are here to support when needed, the best thing I like about the SoS forums.
 
Thanks for the replies. I've been following the other Montanes builds on the SOS forum. Believe me I'll be paying attention. Last night I wrapped up the decking on the first deck. This evening I am going to get it sanded and varnished. AND, I'll dry fit the the second deck to see how things line up. Several of these posts are warped as well. I have a plan.

LOL - on the very last bit of decking I jabbed my thumb. Montanes 1 Scott 0
First blood.jpg
 
Dear Scot

First get well soon.

I like to sign my models with my DNA as you did so :)

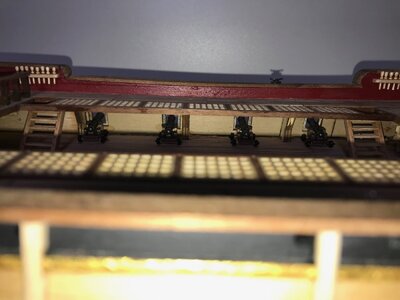
At this point of your construction, I want to warn you about the guns on the upper deck.

There are 8 guns with carriages . Last night I glued them at their places.

I spend 2 hours for just gluing and it was frustrating.

I suggest you to locate and glue those guns before instaling the forecastle deck plates. ( I think BOM number is 32)

Just an idea.

IMG_2738.jpg
 
Based on what I learned on the first level decking here is how I am prepping the decking for the second level and third level. I created a simple jig and cut a hundred or two 20cm lengths of the 1m by 3m decking material. Then stack 8 or 9 of them together with the 1mm sides facing up. Clamp them together, tightly!!, then add the black paint to only one side and one of the ends. Once the paint is fully dried give the paint side a light sanding to knock out any bumps. If you do both sides you end up with a black side laid against another black side which results in too much.

Still have to deal with the warped posts that hold up the second deck. I'll take some pics this evening and post the gunk tomorrow. if you look carefully at the picture below you can see the warping of the second post.

Steady by jerks.

Prepping the second level decking.jpg
 
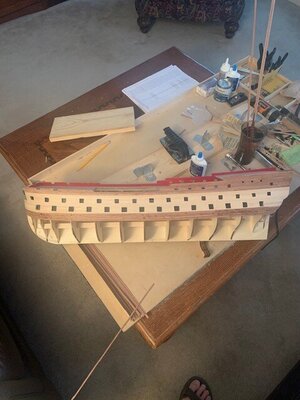
More progress on the Montanes on new years eve and new years day. I'm focusing on the second deck and dealing with hopefully the last bit of warping., I did a dry fit took some pictures of the issues but after reviewing I found them a bit boring, This time the challenge was not just twisting the frame to straighten it out but to individually bend/force the warped posts (Not sure the proper name so I'll just all them posts) to click into place on the 2nd deck plywood floor.

The plan of attack was to get some holes drilled on the deck that would actually be in the correct spot. Then add glue per instructions. Place each deck plate, then push or pull each post to fit into their respective slots. While I held it in place my wife would go ahead and nail it in place. The whole process was working well until I got to the worst offender. I was slowly bending it into its slot when it just broke off. Oh well. I just easily glued it in place. LOL.

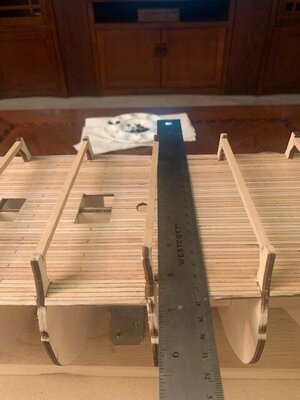
I took a final look at the over all bend and it's still about an 1/8th of an inch off in the center. by taking a tight bit of thread from center front to the center back you can see the bend. I marked the straight line so I can make sure the floor planking was straight.

Pics below


Bent post pic 1.jpgBroke a post.jpgFixed the post.jpgStill a little bend but not much.jpg
 
Finished up with the decking of the second deck, it looks reasonably good. Had to put in a couple of sliver pieces, I don't think they will be noticeable.

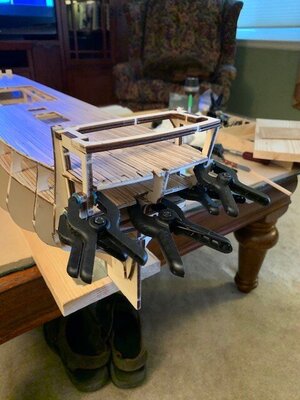
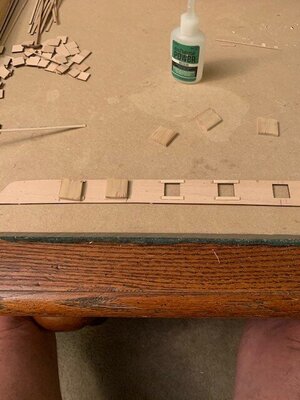
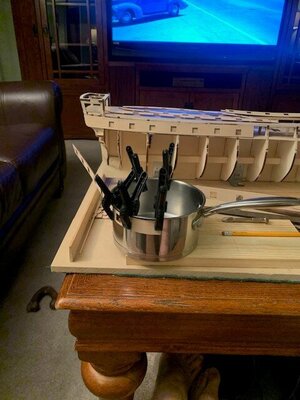
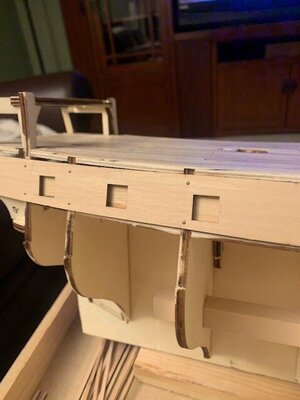
Next step is to frame out the center section and get the gun port boards all in place. I spent a lot of time looking at how OcCre suggests building the back side of the gun ports. (that part to plug the fake cannon into). It seemed hokey to me. To accomplish the same thing it would be a ton easier just to glue squares to the back side. Which is what I decided to do. But after thinking about it a bit more I decided to set them back another millimeter.

What this should do, after I put in the frames around the cannon port holes, is to give me a 1mm gap. The cannons will be set back 1mm and have that space round them that I think will look nice. Hopefully I didn't screw the pooch here. Below are some pics of the adventure. My plank bender has not arrived so I had to improvise - lol.

Building out the center section.jpgAdding the aft supports.jpgAltering the gun ports.jpgPoor mans blank bender.jpgGun ports - recessed back one mm.jpg
 
Hi Scottola, first of all I'd like say you congratulations for the job you are doing, is really good.
Don't be afraid of the obstacles you're facing, the way you pass them will make you grow as a modeller.
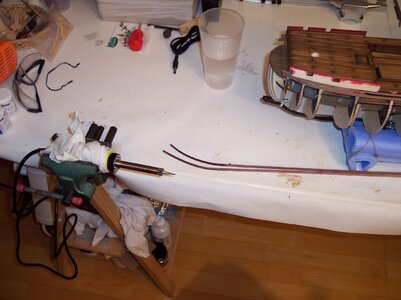
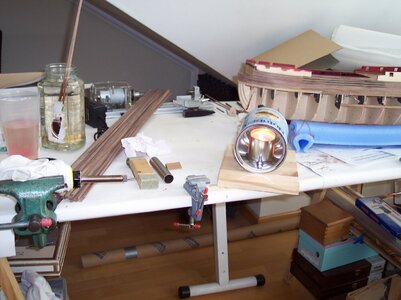
Regarding the plank bender, here are a couple of ideas that can help.. The soldering and the hot-tin.
100_2828.JPG100_2857.JPG
 
Hello Jaime,
Do you know if any plans exist for the Spanish ship 'El Glorioso'?
I watched the scratch built model being built by a Spanish modeller in another forum a few years back but I never saw it being completed.
I looked into the ship's history and if ever there was a ship with a suitable name that was it.
 
Thanks for the links Jaime. I did not know the Montañés had such a history.

I have an electric plank bender on order. I expect is mid next week. I don't think I'll need for a bit yet. I've worked with Sapelli before on a couple of smaller models with some stiff curves. The bends on the bow don't worry me too much but those super tight bends on the aft look dodgy for sure. I have never tried bending walnut either. Just messing with the two woods it looks like the walnut may be a challenge.

This evening I am going to finish the cannon ports and might start on the bulwarks.

Pics tomorrow.
 
Hello Jaime,
Do you know if any plans exist for the Spanish ship 'El Glorioso'?
I watched the scratch built model being built by a Spanish modeller in another forum a few years back but I never saw it being completed.
I looked into the ship's history and if ever there was a ship with a suitable name that was it.
Good evening John. I,ve asked my sources and unfortunatelly there are no plans of the Glorioso.
There are several models around but all of them are aproximations to the real one.

Moreno Sorli VIDEO

El Glorioso. Todo a babor

Nice model

Glorioso. DISARMODEL

And my apologies to Scottola to “contaminate” his thread.

Greetings
Jaime
 
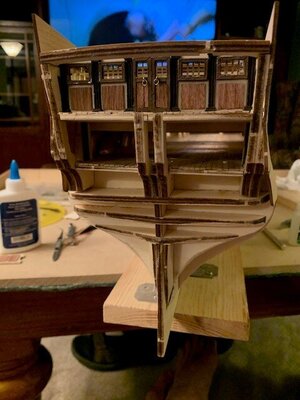
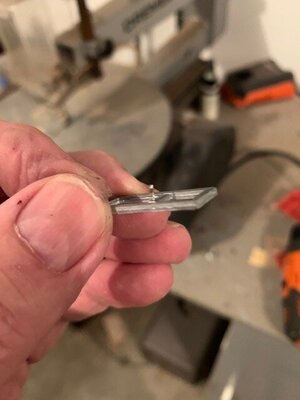
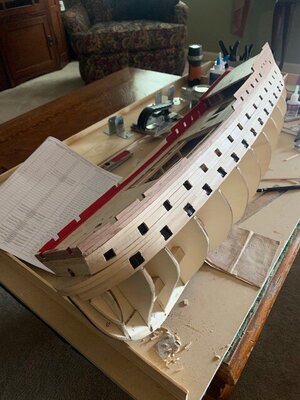
Continuing on. I now have the all of the cannon ports installed, the Bulwarks, the bulk heads and the back doors built. Went through 3 0.8mm drill bits on those little doors. In retrospect I probably should have just built them from some wood.

I still have to add a couple of planking strips to the deck and need to finish the aft section where the cannons go. At this point we'll get the cannon ports painted black and start prepping for the big "planking" event.

Before starting this exercise I'll spend a lot of time with the ribs to make sure that each plank flows well. I saw a model once where one of the ribs had a bump on it that make the model look like it had a case of the mumps on one side. With these laser cut they should be pretty well defined. Even so as I look down the ribs there seems to be a few areas that could use some sanding.

here are a few pics
Back Doors.jpgBroken Drill Bit.jpgAlmost ready for planking.jpg
 
I see another Montanes on here on SOS. I am diffidently feeling the my amateur status that's for sure. Even so I will continue.

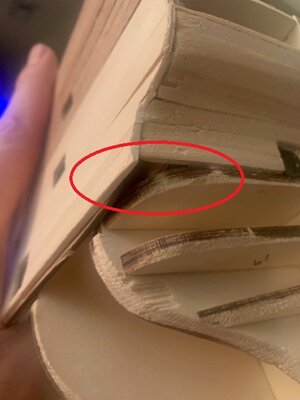
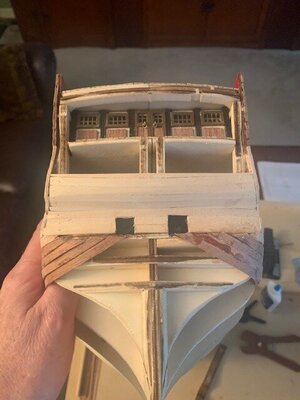
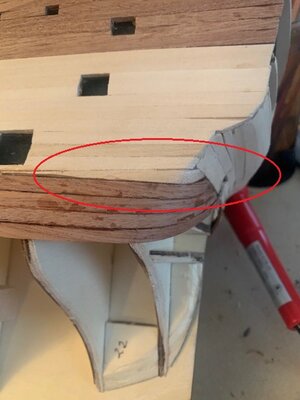
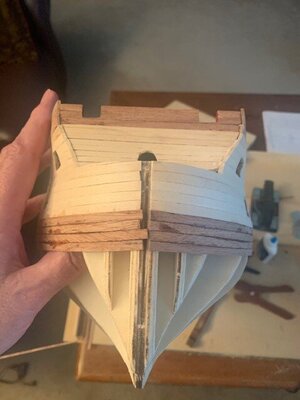
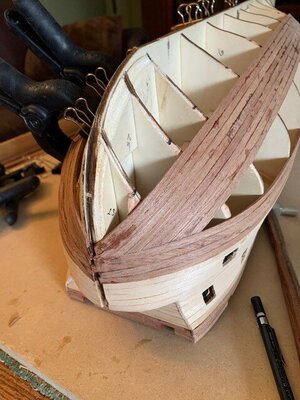
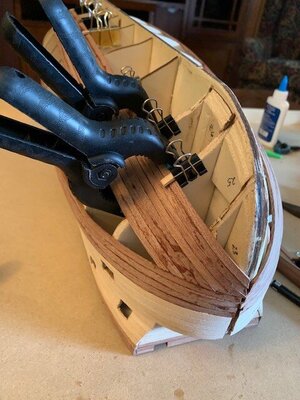
I wrapped up the planking on the top section. Had a bit of a challenge getting the first (Lime Wood) plank to wrap around the aft section. What I ended up doing was to shaving part of that last plank to make it thinner then added a an extra bit below to get it around the corner. The next bit was to shave a millimeter off of the back end of the next 4 blanks to get it back to straight. Success Good news is that all of this will be covered with the walnut planks.

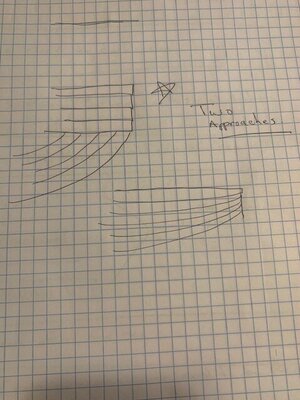
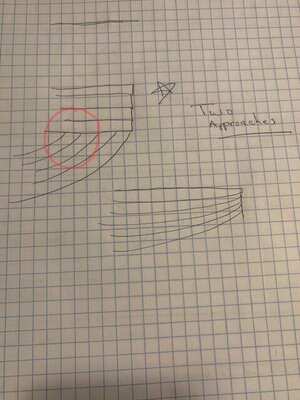
Also - there seems to be two unique approaches to planking. Both have merit and both approaches look great when done. Clearly both have their challenges. I decide to take the approach of keeping 4 to 5 planks coming straight around the bow then putting a plank across the middle. Today I will tinker around and decide whether to use 4 or 5 straight planks.

BTW the heat style plank bender finally showed up from Model Expo. By it's self it seems ok for the moderate bends but for the tight ones I am finding more success using it in conjunction with a crimp style bender.

LOL - I left some skin on that last aft plank. Little too much CA.

Planking Style desision Pic 2.jpgBack end decisions.jpgPlanking on the aft Pic 4.jpgPlanking starboard aft resolving the first bend Pic 2.jpgPlanking starboard aft resolving the first bend Pic 1.jpgPlanking on the bow Pic 5.jpgPlaning Continues Pic 3.jpg
 
Hi Scottola, regarding the two aproaches of planking, I think the first one is the solution for modellers to plank with no much effort. This way doesn’t need the two ways of bending (plain and edge bending). The second approach is harder to achieve but the results are more realistic.
CA6E5271-8908-48C8-A840-56CB6BB21944.jpegBFC31DD7-CDC4-4F1C-B3DF-FBC91F9B54FC.jpeg

And now imagine in real life how can be possible to fix those planks to the frame....

0A73E228-D58E-434F-8831-D9DE0FA7FA71.jpeg
 
Shoot!!! I did not think of that!! next time I make a big decision I get opinions first. This approach minimizes the dual bending of the planks. I think will look ok when done. That plus my skill sets are not quite up do speed of most of those on this board. below are some pics from this weekends progress.
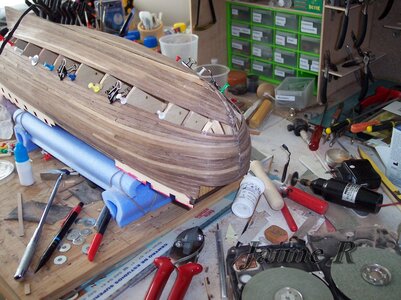
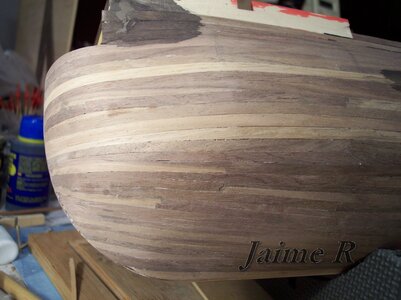
Planking progression pic 7.jpgPlanking progression pic 8.jpg
 
I see another Montanes on here on SOS. I am diffidently feeling the my amateur status that's for sure. Even so I will continue.

I wrapped up the planking on the top section. Had a bit of a challenge getting the first (Lime Wood) plank to wrap around the aft section. What I ended up doing was to shaving part of that last plank to make it thinner then added a an extra bit below to get it around the corner. The next bit was to shave a millimeter off of the back end of the next 4 blanks to get it back to straight. Success Good news is that all of this will be covered with the walnut planks.

Also - there seems to be two unique approaches to planking. Both have merit and both approaches look great when done. Clearly both have their challenges. I decide to take the approach of keeping 4 to 5 planks coming straight around the bow then putting a plank across the middle. Today I will tinker around and decide whether to use 4 or 5 straight planks.

BTW the heat style plank bender finally showed up from Model Expo. By it's self it seems ok for the moderate bends but for the tight ones I am finding more success using it in conjunction with a crimp style bender.

LOL - I left some skin on that last aft plank. Little too much CA.

View attachment 209672View attachment 209673View attachment 209674View attachment 209675View attachment 209676View attachment 209677View attachment 209678
Hi from an Old Timer (40 YEARS +) I have just today seen your build. -I am involved with another person building Montanes from Turkey - as I build Montanes about 15 Years ago, I have right now seen some of your images -will go through all later- Not only you but nearly building from kits, follow the instruction manuals-WHICH in MY POOR Knowledge is WRONG. They all insert the DECKS, before Planking which wive not only but many Headdeck. Ones the decks are inserted and the planking is done, you no possibility to change anything inside. example after glueing the false gunport and the insert the Dummy Gun, more than will in most case get loose, and fell inside, no change to get it out. There are many more examples. What made me making this message is the LACK of STERN and BOW Fillers -special in Montanes, as the brown planks are difficult to bend. You yourselves have marketed the areas with RED. There are various methods to fill the gap between bulkheads -bow and stern -although I did fill all the Gab until the lower gundeck
P.S. I like very much this ship as it is different in many ways -Cabin on the quarter-deck, fastening point for running Riggen etc. Head up and go ahead. I am today only an OLD grumpy Gay, but if you need help just ask
 
Back
Top