MSW USS Constitution

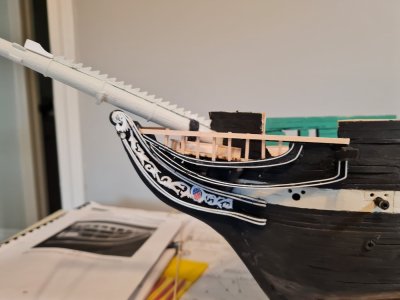
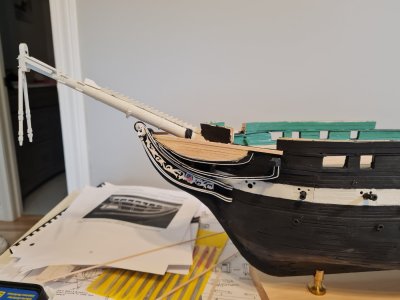
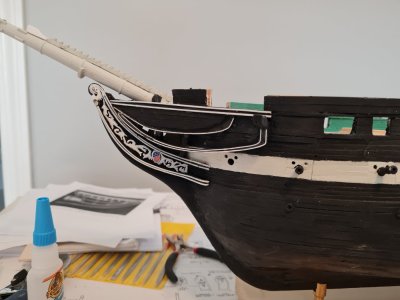
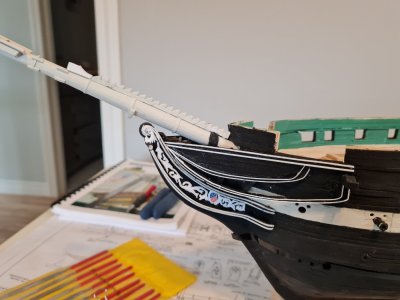
The bow is complete, as far as I am concerned. I am not doing anything else with it other than the hawse ports.
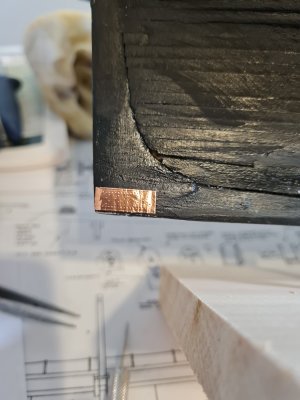
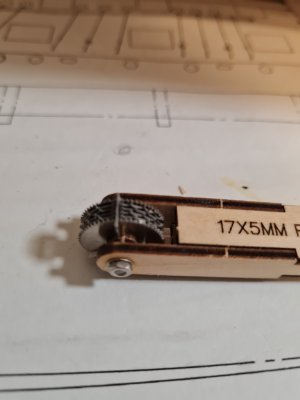
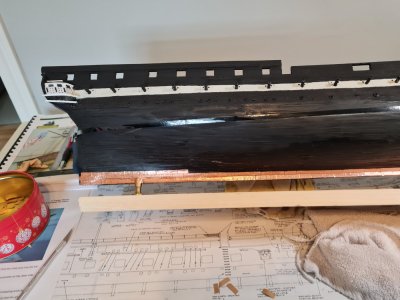
I have marked where the waterline is by using a waterline marker that I purchased from Amati. It isn`t the best thing in the world but I got it to work for me.

Now I have to start making copper plates and complete the plating of the hull. It may be hard to see, but if you look at the hull, you can see some 1/4" black tape. The bottom of that tape is where the waterline is located as per the plans.

bow.jpg
 
Last edited:
Here is plate 1 of a bazillion
ROTF. I had to giggle with this…..enjoy;).
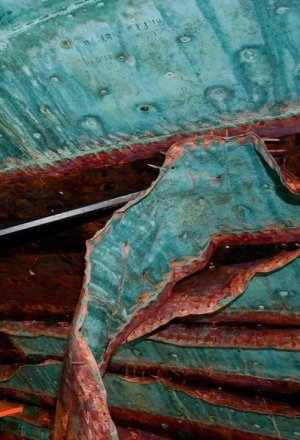
Just a point of reference, the coppering started at the water line and worked down with the overlap of the lower strake on top of the one above it. Note the number of nails and their small size. The photo below is the USS Constitution.
Allan
View attachment 518452
I have seen modellers attempt the overlap at this scale and fail miserably. Allan is correct Jack and it is your call however I think overlapping is an added complication….whew;). Cheers Grant
PS: lovely progress.
 
I think overlapping is an added complication
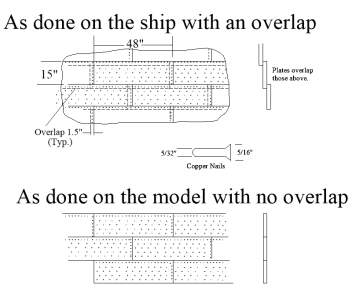
Totally agree. A problem though is if the plates have two rows fore and aft, one on top, and another row on the bottom and they are not overlapped. Better to have one long row if the plates are butted together so they would have the appearance of being overlapped. Same for the short sides, just have the nail dents on one side. Drawing showing comparison of actual practice and model version below.
Allan

1746632504813.png
 
Last edited:
Well I decided to start over the copper plating. It doesn't look good with the overlapping and I am concerned it will only get worst.
First time coppering a hull with plates.
 
Well I decided to start over the copper plating. It doesn't look good with the overlapping and I am concerned it will only get worst.
First time coppering a hull with plates.
Jack,
Once you're satisfied with how it starting to look, my recommendation is to burnish each tile with a plastic spoon or other such implement. This will ensure good adhesion so that tiles don't slide around as you work and also reduce the chances of tiles peeling off later. It will also smooth the tile out to eliminate any wrinkling or creasing created from handling the tiles. It should leave your nail dimples visible, but you should experiment on a test piece first: the hardness of the wood used for planking and how hard you press with the spoon will effect the outcome. I like to burnish each tile as I go along, but I don't think it has to be done that way.
great idea. Thanks for the feedback
 
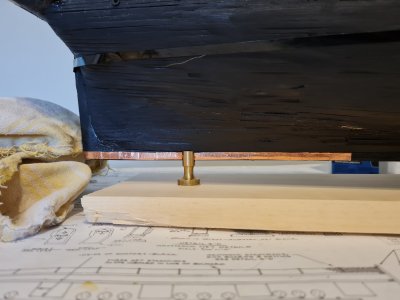
well l have completed two rows of copper tiles and not without redo. This is very finicky work. Last boat I did that had coppering on it, I used copper paint, but I think I like the tiles better. It's a lot more work, but I think it's worth it. Now the only thing I want to change is the shininess of the copper. I have seen some people simulate verdigris and I'll do some research to learn how to do that. I am not a big fan of the shininess.

tiles.jpg
 
Back
Top