• Ships of Scale has incorportated an extra level of security when you log In. Please follow on-screen prompts to acknowledge that you are not a robot via a "Check Box" or a "Pictorial Check Box Puzzle". This is needed due to higher level of AI Activity Security.
  • SUBSCRIBE TO SHIPS IN SCALE TODAY!

    The beloved Ships in Scale Magazine is back and charting a new course for 2026!
    Discover new skills, new techniques, and new inspirations in every issue.

    NOTE THAT OUR NEXT ISSUE WILL BE July/August 2026
  • Win a Free Custom Engraved Brass Coin!!!
    As a way to introduce our brass coins to the community, we will raffle off a free coin during the month of August. Follow link ABOVE for instructions for entering.

My Cheap and Cheerful Halcon 1:100

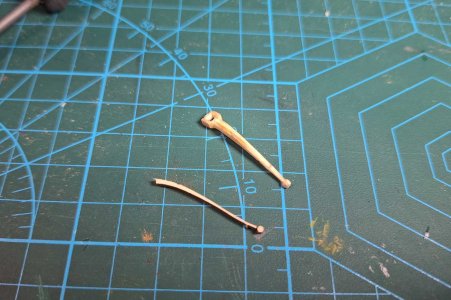
Similar to a lot of pieces on this kit, the tiller was a flat piece of laser cut ply, and was absolutely terrible. I carved a new tiller from wood scraps.

Here is the original at the bottom of the photo, with my new and improved tiller.

47.jpg
 
Time to fit the cannons.

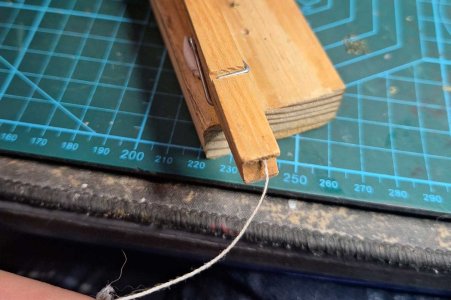
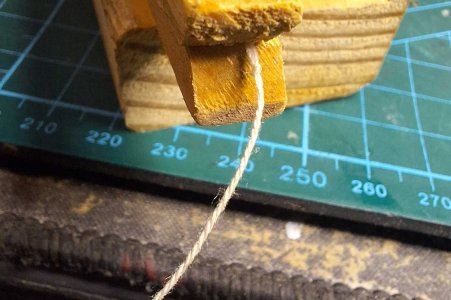
I started by braiding some rope using white thread. I don't have a rope making jig, so I did it the low-tech way, twisting three pieces of thread held by a clothespin into a more realistic looking rope.

50.jpg49.jpg

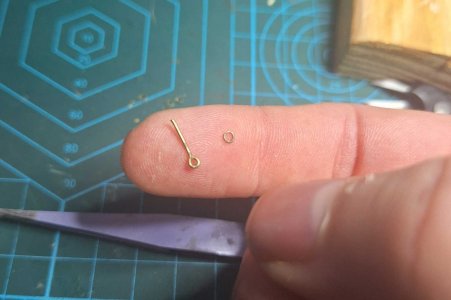
I then bent some wire into rings and eyebolts.

51.jpg

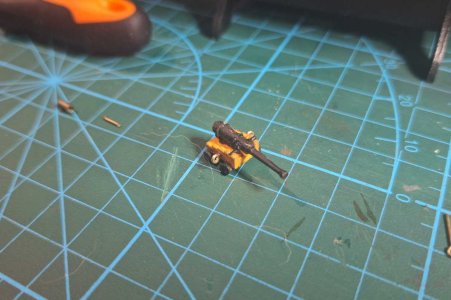
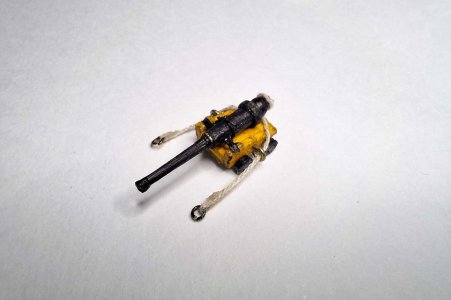
24 tiny eyebolts and 12 miniscule rings later, I could finally fit them to the cannons.

52.jpg

I then put my newly fashioned rope to good use, rigging up the cannons for installation.

53.jpg
 
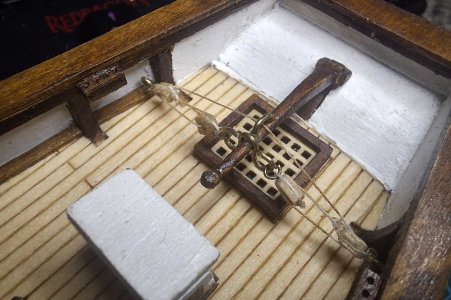
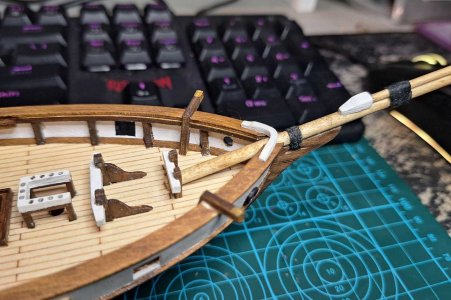
Before installing the cannons, I set about adding the tiller. I took more inspiration from Jack, and shamelessly tried to copy his incredible tiller configuration. However, my soldering skills leave a little something to be desired, so I settled for some bent wire for the fittings.

I carved some tiny blocks from scrap, and used more white thread for the rope. In hindsight, I wish I used a little bit thicker thread, but I am 90% happy with it, so I will let it be.

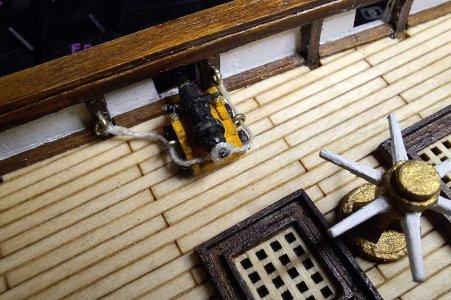
The final installation looked pretty good despite the thread being a bit thin.

54.jpg
 
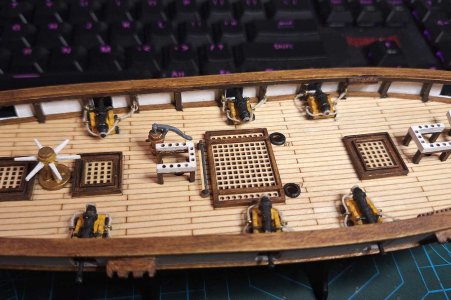
In hindsight, I might have been a bit hasty in fitting the cannons to the deck, but what's done is done.

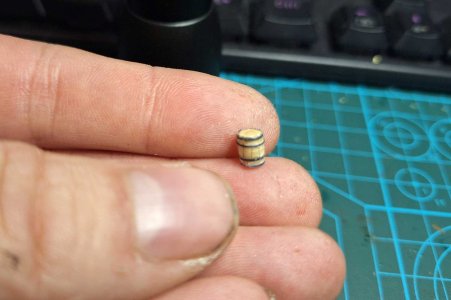
While pondering my next move, I carved some tiny barrels for decoration. Every ship needs a barrel or two.

58.jpg
 
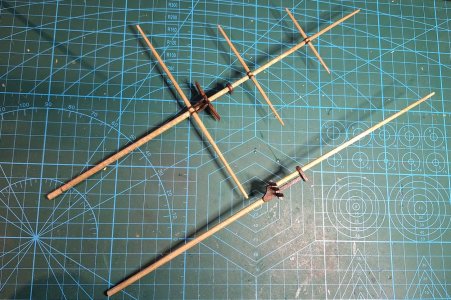
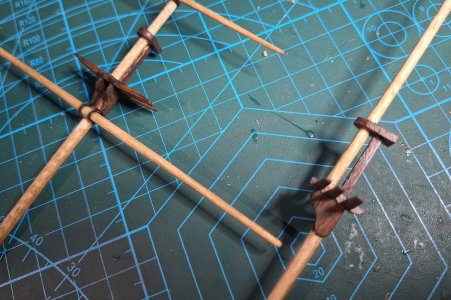
I also did some work on the masts, adding some cheeks (not included in the kit), painting the mast head, and tying on the yards.

60.jpg59.jpg
 
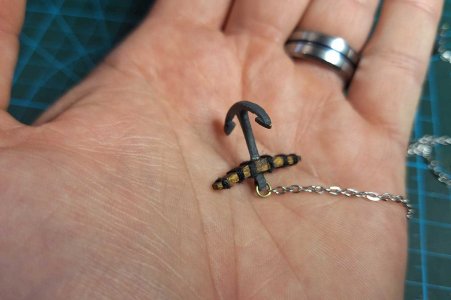
I had ordered some chains from my aforementioned favourite cheap website, and they have finally arrived. This means I can finally get back to work on the anchors.

The eye had a bit too much material at the top, which meant I couldn't install a ring without it being massively oversized, so I trimmed it down. I then made some rings from wire, and attached the chain to the anchor.

61.jpg

Overall I am very pleased with the result, however the chain looks a bit "fresh". If anyone has any methods of making it look a bit less shiny and new, please point me in the right direction. I am not looking to have it rusty and severely weathered, but pristine stainless steel looks a bit out of place.
 
Hi, how did you make them?
Hi Gary.

I carved the basic shape from a wooden meat skewer, made some vertical cuts to simulate the staves, and used a thin strip of paper for the hoops.

Then it was just a matter of adding a little paint on the hoops. I'll do a little show and tell on here as soon as I have some time.
 
Hi Gary.

I carved the basic shape from a wooden meat skewer, made some vertical cuts to simulate the staves, and used a thin strip of paper for the hoops.

Then it was just a matter of adding a little paint on the hoops. I'll do a little show and tell on here as soon as I have some time.
That would be great Fungusaurus. They must be tiny. I was thinking 1/4 scale, maybe easier
 
Coming along nicely!
I love how everyone has fish personal flavor of this kit.
Thank you.

I think the minimalist nature of the kit gives a lot of room for interpretation whereas more detailed kits are a bit more rigid, especially for someone like me who hasn't done a lot of custom modelling. Also, because it is an inexpensive kit, you aren't really afraid to mess something up and more open to experimenting. :)
 
Last edited:
Making another barrel, this time showing the steps along the way.

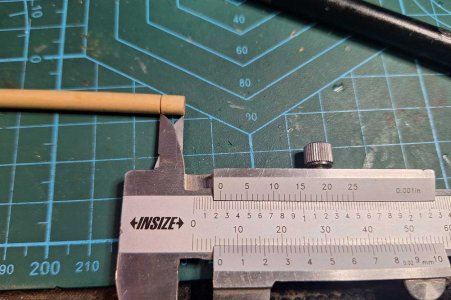
I start off with a 5mm diameter wooden skewer, and then measure 6mm in height. From what I can see the barrels used on 19th century ships, vary in size depending on what it was used for. The Royal Navy gunpowder and grog barrels vary between 50 and 60 cm in height, so I went for 60cm, which translates to 6mm at 1:100 scale. I then make a cut about 1 mm deep at the 6mm mark.
62.jpg

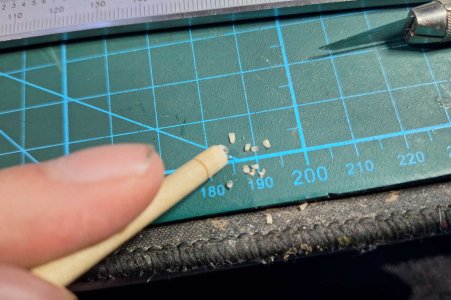
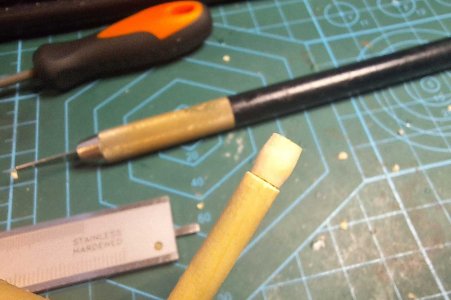
Next I start shaving the ends down. Starting in the middle and working to the outside, I shave small slivers off to taper it thinner at the ends. Once I have the basic barrel shape, I file it smooth and sand it with some fine sandpaper.
63.jpg64.jpg

Next, I put my modelling knife down along the length, and press down to create a light cut from top to bottom, simulating the staves of the barrel.
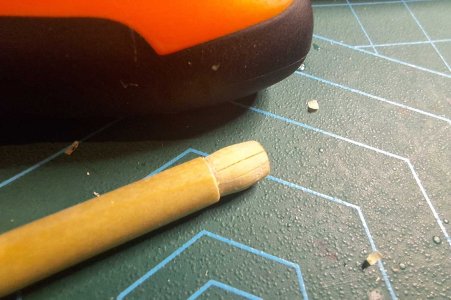
65.jpg

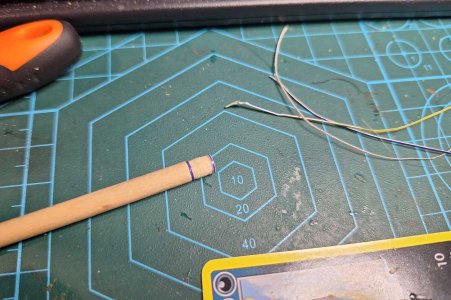
I then make two light cuts near the top and bottom to give myself a guide for where the hoops need to go.
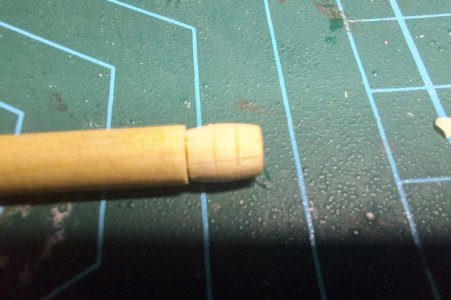
66.jpg

I use some cardboard (some fake flea market Pokémon cards to be precise) and cut a thin strip which I will use to make the hoops. The one in the photo was slightly too wide, so I cut another, slightly thinner strip.
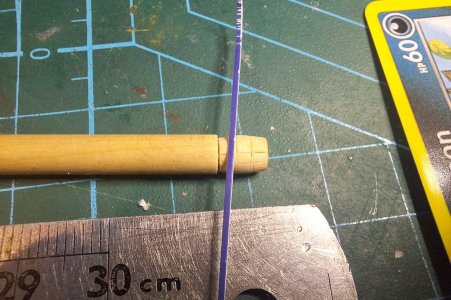
67.jpg

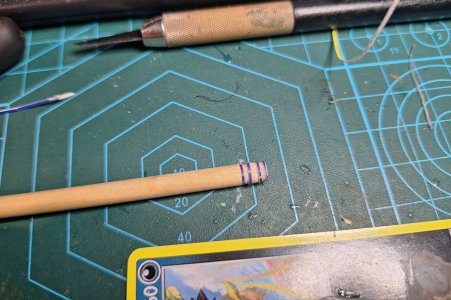
Using CA, I then glue the bottom, top and middle hoops in place.
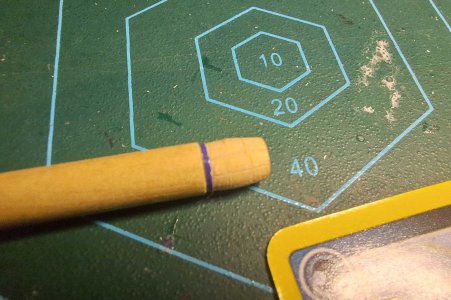
68.jpg69.jpg70.jpg

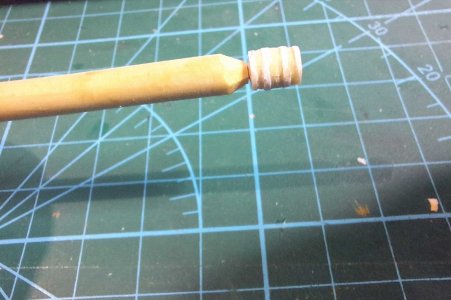
After everything is in place, I sand the hoops with 1000 grit paper to make them thinner, and the barrel is now ready for painting.
71.jpg

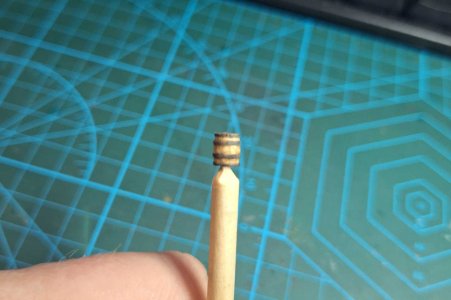
I used acrylic paint to colour the hoops, then gave the staves a wash with thinned out burnt umber followed by a wash with burnt sienna.
72.jpg

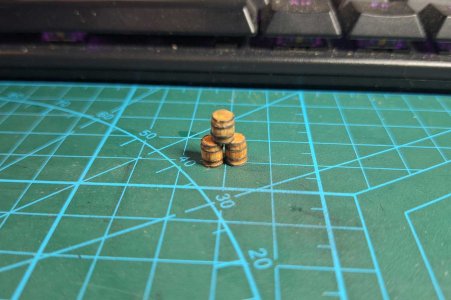
And we now have 3 barrels ready to transport some gunpowder or rum. :D

73.jpg
 
Back
Top