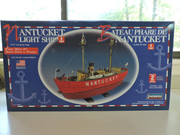
NANTUCKET LIGHTSHIP - 1:95 scale by LINDBERG

Joined
Nov 29, 2016
Messages
376
Points
268

Location
Atlanta, GA
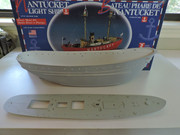
I finished up on my first wooden boat and I thought I would take a break by turning my attention to this little ship with a wonderful history. I purchased this kit from Hobbylinc and it arrived well packaged and intact. I read a review that said this was an old mold and expect some flash and injection marks. After looking over the parts, I could see that it does have some issues that will require putty and sanding.

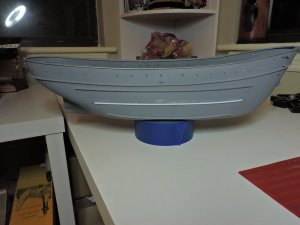
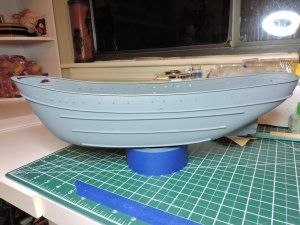
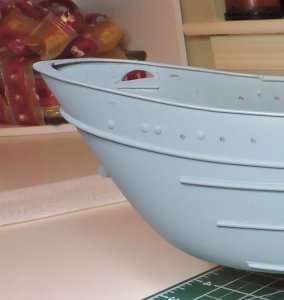
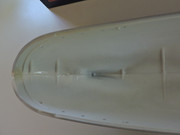
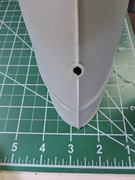
First off, I sprayed everything with primer gray. I then set about work by using CA glue to connect the two hull halves together. Two areas that did not align up on my model was the opening on the bow for the anchor and the opening for the propeller on the bottom aft end. I will try to do some putty work, drilling and sanding to help fix my problem. I ran a good bead of Testors model cement from a tube all along the interior seams of the hull. I am planning to install wiring for lights and I do not want the seam to open when I drill.

As for color scheme, I'm told that this kit represents this vessel just before she was refitted from steam to diesel power in April of 1960. Since I do not own an airbrush, I will use ModelMasters Guard Red on hull, Testors Flat Black for waterline strip and Red Oxide for anti-fouling red. Testors Gray for all deck(s), Flat white for all bulkheads, and Badger Union Pacific Armor yellow for my 'spar' on masts, funnel, ventilators, etc.


Nice project and you seem to be experienced enough to tackle the issues you mention. I will be pleased to follow your build.
I remember I built long long ago the South Goodwin. This model, I think, was smaller than this one. I loved to build her, although I had some problems with soft plastic chains and railings, so that I was never quite satisfied with the result. But it could have made a spectacular model, and would definitely make a nice pair with your Nantucket lightship. I just wonder if it was correct that the South Goodwin model had no propeller!? Was that correct?

Then, just another point: plastic model kits usually feature a protruding keel. While this is correct for wooden sailing ships, I doubt this was used on steel boats. When I built my Flower Class corvette, I completely removed this keel, and yes, I had to reinforce the inside joint of the hull,, but the result is a very convincing hull shape. I wonder if it would not be the same with your model?
 
JPC - thanks and I'm looking forward to working on this kit. I looked up information on the South Goodwin lightship model and it was issued with having no propeller. I cannot find information as to whether the real vessel was 'towed' to it's position or was able to sail under it's on power ( thus, it would be in need of a propeller).

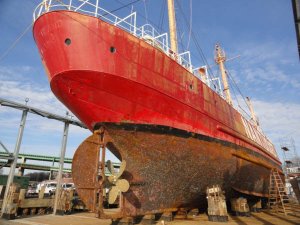
I have looked at pictures of the Nantucket LV-112 while she was in drydock in 2011. Her keel lines look similar to what is portrayed by Lindberg on my kit. I noticed that the model hull is missing a few holes just above the water line ( I presume these are drain holes for the bilge ). I will mark them on my hull to be drilled open.

I found this here about the loss of the South Goodwin lightship 90:

The lightship South Goodwin was commissioned in 1937, its official number being LV-90. It was constructed from iron and steel and was 118 feet long and displaced 317 tons. The vessel was unpowered and had to be towed to and from its station four miles off of Dover with the help of a Trinity House tender. The engines that aboard were to power the anchor winch, the foghorn, and electric power. The lightship was held on station by four mushroom anchors but, during the night of its loss, apparently, not all of the anchors were deployed.

https://jayseaarchaeology.wordpress.com/2017/08/06/the-loss-of-the-south-goodwin-lightship-lv-90/
 
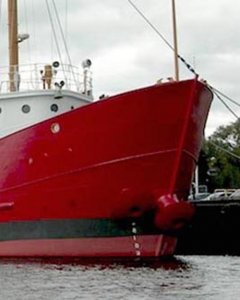
I found this photo of the Nantucket while she was in dry dock back in 2011. It clearly shows the black strip is running between two rub rails, where as the Lindberg hull only has one rub rail. I plan on using styrene strips to create my 'missing' rail. *** What appears to be the top rub rail on the kit should actually be a much thinner seam line that is running around the upper hull.

Nantucket in drydock 2011.jpgDSCN5593.JPG

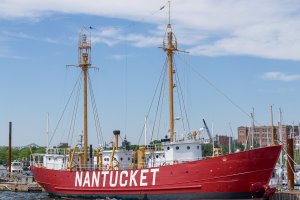
I also noticed that there are 7 openings that run just above the black strip that are not on the Lindberg hull. I'm not sure if these are water intake openings or drains for bilge. I plan on drilling open these holes and possibly using some styrene tube to create the port openings. Any ideas on this one?

FUSCO_NANTUCKET_3 photo of ship with masts.jpg
 
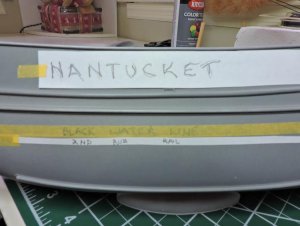
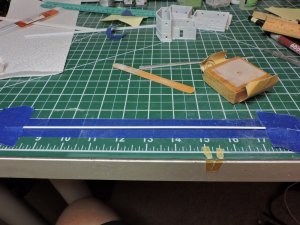
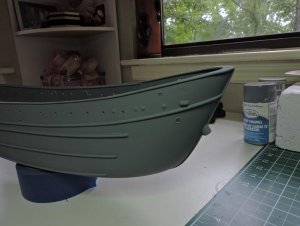
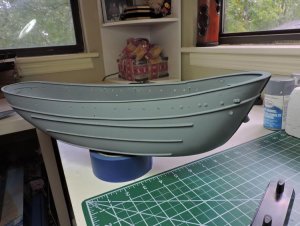
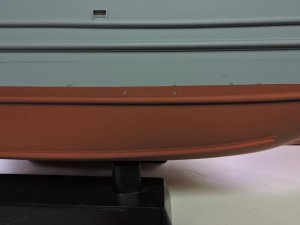
I worked on adding my missing rub rail to the ship's hull today. I taped down two strips of Evergreen round styrene and used a sanding block to flatten down about 1/3 of the round. I then used a file to round off the edges and cut them to size. I used a ruler to mark the placement of the rail to hull and then used a strip of tape along the line as a guide. CA glue was used to attach rail to hull. I then finished it off with gray primer.
I'm holding off on drilling any exit drain holes along waterline until I do more research on the hull for pre-1960. The color photo above shows 7 openings just above the boot stripe - but this photo is a fairly recent one. I feel that there must have been something like this used on the older hull to bring in/or drain water for the propulsion unit (which was a steam-powered system at that time).


DSCN5602.JPGDSCN5604.JPGDSCN5606.JPG
 
Last edited:
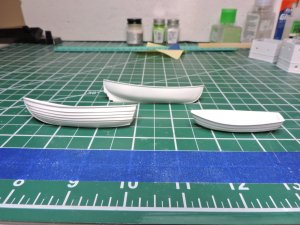
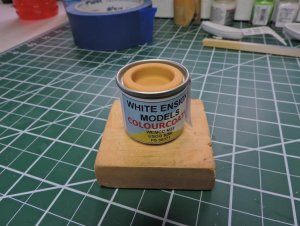
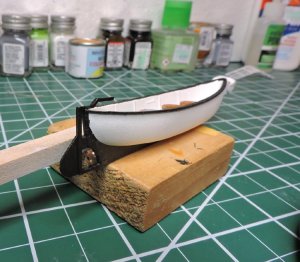
Primed my boats for the ship with white primer. I will need to go over them with some very fine sand paper before any paint is applied. I believe that by the 1950's, the USCG had standardized paint colors for their vessels. The very older version of this ship had the boats painted with red and black, but I think by the 50's they were painted white with black rails. I will look at more photos before final paint is added. My USCG Spar paint from White Ensign arrived today for the superstructure, masts, and vents as did my 360 degree LED 5mm lights from Superbrightleds for the beacon lights on the masts.

DSCN5608.JPG
 
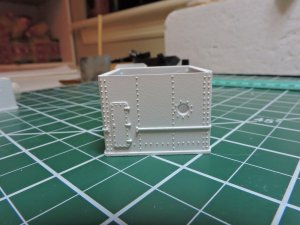
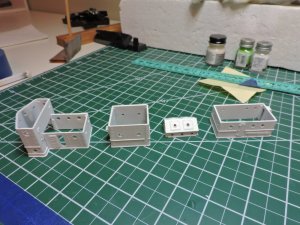
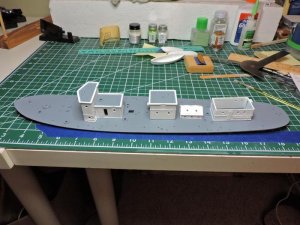
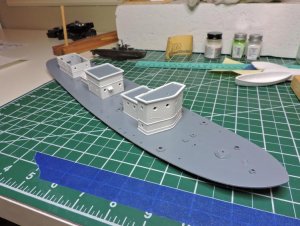
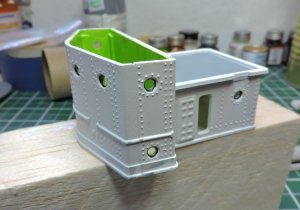
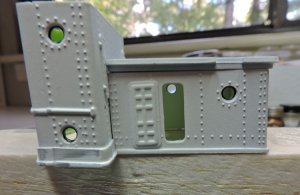
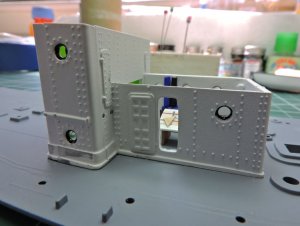
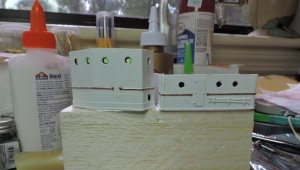
In between having a new roof installed on my house, I worked on putting the superstructures together. Almost every section of the walls had flashing, especially many of the portholes, that had to be filed off and sanded smooth. I used Tamiya liquid cement to bond the walls together and white glue to help fill in any visible seams. I then sanded smooth and sprayed everything with white primer. I had sprayed the top deck pieces for these structures with gray and then, after drying, I taped them off so I could spray the edging on these decks white. here they are place on deck for fitting only. (not glued)

DSCN5614.JPG DSCN5611.JPG DSCN5617.JPG DSCN5619.JPG
 
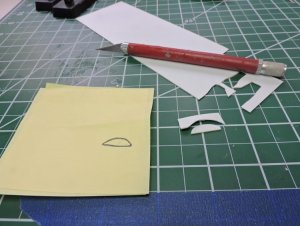
After looking at more pictures of the lightship, I wanted to correct the half-circle opening on the starboard bow that Lindberg molded to hold the auxiliary mushroom anchor to the hull. The actual hull shows that the auxiliary anchor was housed next to the main anchor at the bow of the ship. I first held a post-it to the inside of hull and traced the opening with a pencil. I then transferred it onto a sheet of styrene and cut the shape out with an X-acto knife. I used a sanding file to smooth the shape to fit the opening and then applied liquid cement, both on the inside and outside, to bond it to the hull. I used a little gray putty to fill in the seams and left overnight to dry. I then sanded it smooth and gave the hull a shot of gray primer.

0bcebb0e-238a-45b2-9306-6dbfb74368fe - Copy.jpg DSCN5606.JPG DSCN5631.JPG DSCN5627.JPG DSCN5628.JPG

and YES, here is my USCG Spar paint from White Ensign!

DSCN5626.JPG
 
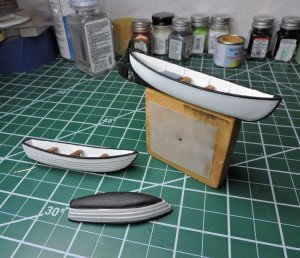
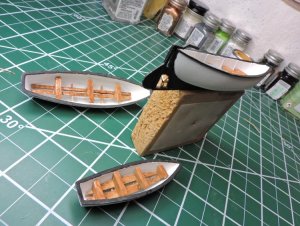
I was able to get a little more work done today and focused on the three small boats for the deck. I have settled with using white for the hulls, black for keel and rails and wood color for the interior seat. I need to spray them with Dullcoat and then add some rope coils.

DSCN5632.JPG DSCN5638.JPG DSCN5637.JPG
 
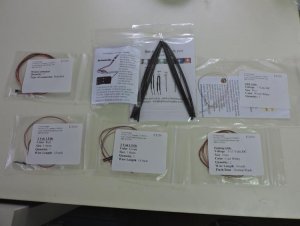
I went online and purchased lighting from https://www.modeltrainsoftware.com/ I ordered (1) AA battery holder with wired connector, a pair of wired connectors, shrink tube, (2) Pico warm white led's ( for cabins), (2) 3mm flashing bright white lights (for masts), and 1.8mm led lights (red & green) for port and starboard lights. Now all I have to do is figure out how to install everything! LOL
 
Alrighty then... back to work. My lights will be arriving on Tuesday. I plan to place one inside of the main cabin to illuminate the portholes. I don't know how I overlooked this open door, but I did. I do not wish to have just an empty view inside, so I'm trying come up with some options. 1) cut a small opening into the inside deck and add stairs that would be going down into the lower hull. 2) possibly place a false wall (made from styrene) just inside the door so it would block seeing the whole open compartment. My wife suggested taking a photo of the inside and the shrinking down to paste on the back wall - do the same with the floor. So, that's the plan. Here is a couple of the photos before any work. I need to tone down the green wall. It should be more of a pastel mint green.

DSCN5642.JPG DSCN5643.JPG
 
Someone suggested that I make sure I 'black out' the interior superstructures to prevent any light leaking out or thru the walls of cabins. Back to the drawing board. I painted all interior walls and ceilings with silver paint. After all was dry, I then painted everything with a flat black. I put them aside to dry and I will repaint them with white and pale green.

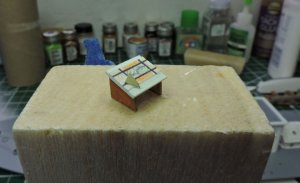
I got out my Evergreen sheets and strips and decided I would make a 'chart' table to be placed just inside the open hatchway on the port side of wheelhouse. I cut out two angled pieces for the legs; a small rectangular piece for leg supports; and a rectangle shape for my table top. I used liquid cement to bond everything together. I painted the legs and support a rust colored brown. I made a 'chart' using a post-it and glued that to the table top. Very simplistic, but this should help block some of the light emitting from open hatch and also add some interest. I had a piece of flattened round that I used for my rub rail, so I glued two of them to the interior wall and painted one black and one blue for piping.

DSCN5651.JPG
DSCN5647.JPG

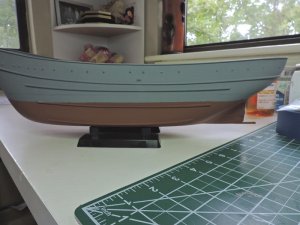
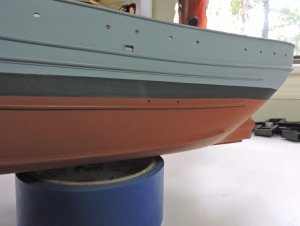
Set all of that aside and turned my attention to the ship's hull. I drilled two small holes into the hull's mid-ship just above the waterline to simulate the intake/discharge openings. I marked my waterline and masked off the upper portion of hull. I then sprayed the lower portion with an anti-fouling red oxide paint.

DSCN5652.JPG
DSCN5653.JPG

My lights from modeltrainstuff.com arrived one day early - Yeah !!! I'll try to post a picture tomorrow. So far so good and thanks to all of those who have offered suggestions and for following along.
 
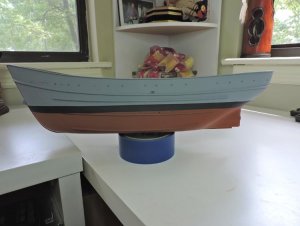
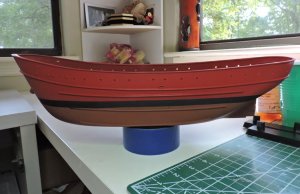
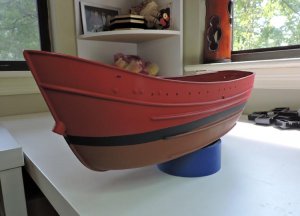
My morning project. I masked off the upper and lower portions of the hull and sprayed the boot stripe a flat black. I used Tamiya tape for curves along the edging and blue painters tape to mask off the larger areas. It came out pretty clean looking.

DSCN5668.JPGDSCN5669.JPG
 
So this is what I have accomplished on Thursday and this morning. I was able to mask off and spray the upper section of hull a gloss red. After drying overnight, I sprayed the hull with Dullcoat to flatten any gloss shine.

I taped all around the railings on the superstructures and painted the rails brass. My next item will be to paint the fire hose that is attached to one of the cabins. I have to do some research and see if the hatches were white in color, or were they gray. ?

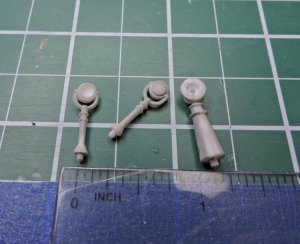
I filed off the flashing on the three searchlights that will go atop of the wheelhouse. The two smaller lights had mold indentations on both side of light and housing. I decided to drill out all three lights and I used a dab of Elmers to seal up the indentations on the housing side.
DSCN5679.JPG DSCN5680.JPG DSCN5678.JPG DSCN5681.JPG
 
Very Nice. I did not know that Lindberg made this. This is going to be an impressive project. Good idea about blacking out the interior for the lights. I used Evans Lights on my San Felipe - nice product.
 
Back
Top