Newbie mistake - Lowell Grand Banks Dory

Joined
Feb 21, 2023
Messages
67
Points
88

Location
Medina, Ohio
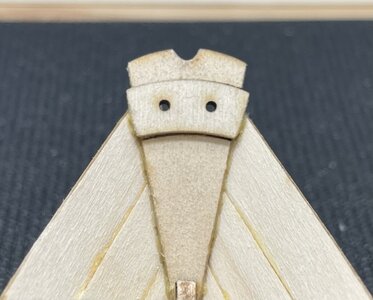
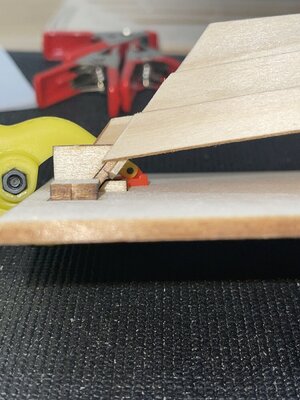
The question before the committee is: to fix or not to fix? Newbie mistake but somehow I set the transom way too high and now the stern cleat is well above the sheer strake and will sit above the cap rail too once in place. I’ve reviewed dozens of photos of this model (and even some of real dories) and this is definitely wrong. Which bugs the heck out of me. But the way I see it, there are two choices facing me currently:

1) Tear the transom out and refit. Risk of greater damage to model is moderate to high considering the fragility of the strakes…but if it works will make me less grumpy for messing up.

OR

2) Press onward, be forever reminded of my novice learning curve and when asked why the stern looks so high simply tell people “the fisherman/boat-builder was drunk when he built it”

Photos for reference. I’ve already test fit the remaining parts. It’s sitting too high.
BCE8BF0A-86EF-498E-8938-F7D5B9C5279D.jpeg
1AFDD10F-24F5-4794-A547-C26006E9EA95.jpegA4B3DC95-2370-4B87-9D6B-DC9170C39355.jpeg
 
Last edited:
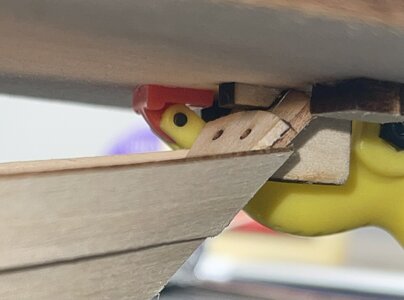
The question before the committee is: to fix or not to fix? Newbie mistake but somehow I set the transom way too high and now the stern cleat is well above the sheer strake and will sit above the cap rail too once in place. I’ve reviewed dozens of photos of this model (and even some of real dories) and this is definitely wrong. Which bugs the heck out of me. But the way I see it, there are two choices facing me currently:

1) Tear the transom out and refit. Risk of greater damage to model is moderate to high considering the fragility of the strakes…but if it works will make me less grumpy for messing up.

OR

2) Press onward, be forever reminded of my novice learning curve and when asked why the stern looks so high simply tell people “the fisherman/boat-builder was drunk when he built it”

Photos for reference. I’ve already test fit the remaining parts. It’s sitting too high.
View attachment 362092
View attachment 362093View attachment 362094
What glue did you use? It may be able to be dissolved.
 
Heat gun eh? I have one but the particular spot has been cured for weeks. Would that still work? It’s a really tight spot. I may need to go the denatured alcohol route as the safer approach. Is rubbing alcohol basically the same thing?
There are lots of pages on the internet if you sesrch on soething like " undoing pva joints".....
 
Heat gun eh? I have one but the particular spot has been cured for weeks. Would that still work? It’s a really tight spot. I may need to go the denatured alcohol route as the safer approach. Is rubbing alcohol basically the same thing?
Rubbing alcohol may work but is a bit different from de-natured. Try it! Denatured is ethanol, rubbing alcohol is isopropyl....
 
Rubbing alcohol may work but is a bit different from de-natured. Try it! Denatured is ethanol, rubbing alcohol is isopropyl....
Will do. I was able to carefully pry off all the strakes from the transom so now I’m left with trying to disconnect the stern knee. THIS is the spot where I can really mess the whole model up if I’m not careful.

Thank you for all your thoughts so far!!
 
Rubbing alcohol will work. I use 70% concentration, which I believe is the most common. One caveat however. Maybe glue a couple of pieces of scrap, let them cure and test. The wood in the pictures looks a bit like lime/basswood and not super dense. There is a possibility that if you soak the joins you wish to dissolve that the wood, through capillary effect could carry the alcohol to nearby joins you DON'T want the glue dissolved. Go slowly and try using the alcohol sparingly at first. Good luck!!

Let us all know how you made out.
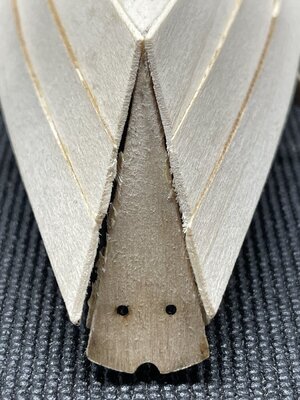
Thank you for the advice. I have been able, through very gentle force, to pop all the strakes off of the transom (as pictured). The hard part is the knee-transom joint (also pictured). Maybe using q-tips I can gently dab the alcohol at the top of the joint and through the capillary action it will slowly seep through the whole joint. At least I know I glued it well!

Just have to be super careful because the bottom planks are very fragile and if I’m not careful I could crack the whole stern corner of the hull.
57F3A5B0-005D-40EC-AF06-FB2B3B190671.jpeg4F1BB207-019E-4223-B3BC-9046898E074B.jpeg
 
We share your pain! I think we have all made this kind of mistake in our model shipbuilding. I had to tear apart both sides of the stern quarter galleries on a Constitution model and remake them. That was ugly! :)
That sounds like it was ugly!! And honestly as I assess the situation and in hindsight, there was no true way to know this was going to happen until getting to this point. I was following the instructions pretty much word for word so it was looking really good until the final strakes when I suddenly realized “uh oh”.
 
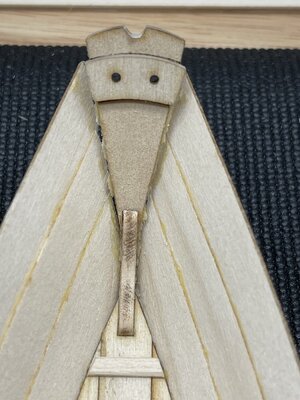
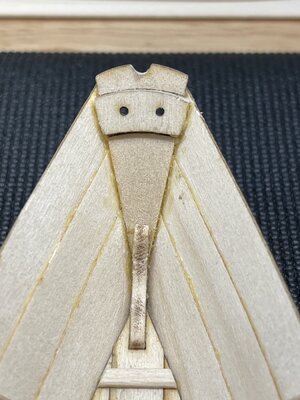
UPDATE: After lots of careful poking and cutting along the seam I managed to pop the transom out, files it down a bit, and refit it into place. Not as clean with my glue as before, however definitely a better fit. Will just need to do a small bit of sanding to make the cap rail sit flush like it needs to. Since that is required anyway per the instructions, no problem. Feeling much better about the look. The transom is still not exactly the way it should be but it’s 90% of the way there so I’ll call it good.

Thanks for all the advice! Very glad to have joined up.


EC1C4B80-863F-485D-8B4F-E294032D319F.jpeg6E35F57A-2062-4B9F-A86C-C896A3D97522.jpeg
 
Last edited:
UPDATE: After lots of careful poking and cutting along the seam I managed to pop the transom out, files it down a bit, and refit it into place. Not as clean with my glue as before, however definitely a better fit. Will just need to do a small bit of sanding to make the cap rail sit flush like it needs to. Since that is required anyway per the instructions, no problem. Feeling much better about the look. The transom is still not exactly the way it should be but it’s 90% of the way there so I’ll call it good.

Thanks for all the advice! Very glad to have joined up.


View attachment 362446View attachment 362449
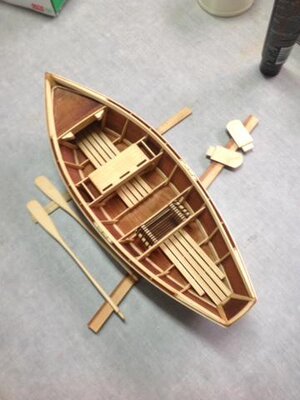
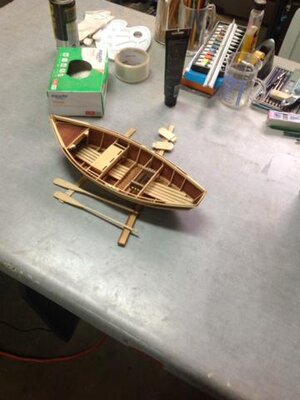
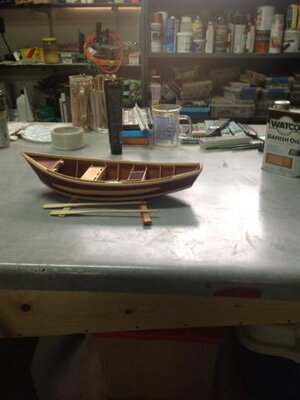
Dories are fun builds. Especially since I sometimes flyfish from one here in Idaho. River dories known as driftboats are great on the many rivers here.IMG_2032.JPGIMG_2030.JPGIMG_2033.JPG
 
Last edited:
How did you get the transom too high? I am building this right now and don't want to go where you went! Nice fix though!
Honestly I have no idea where I went wrong. I followed the instructions to the letter so either the markings on the parts were in the wrong spot (which could have been…my transom was taped into the parts board when I got it so maybe botched laser cut job??) or I messed something up when I was installing the strakes.

Either way, I managed to get it out and shaved down a bit. I should have shaved a little more because the top of the one piece should be below the sheer strake and cap rail and the top of the transom should be almost level, just slightly above, the cap rail.
 
I can understand that! I opted to not use the 3 pieces for the keel boards. When test fitted they had a notch to port and starboard of the center line that did not appear on the 1-piece........so I took the easy way out. I have a laser and I suppose I could have cut new ones, but since the alternative was available, I chose that. Now I'm asking why they did this in the first place! Thanks Don for responding.
 
Back
Top