OcCre Bounty Launch 1:24 - first build

Joined
Jan 14, 2021
Messages
23
Points
58

New year new hobby, I finally took the plunge and got a plank on frame kit! With our 3rd lockdown in the UK I thought this would e an ideal time to knuckle down and start a long dreamt hobby.
To do this I chose the OcCre Bounty Launch1:24. This is rated at a low difficulty by OcCre so sounds perfect for myself. A bit more information about the kit:
She is 435mm long, 100mm wide and 260mm tall
Twin masted
Double planked
and at the moment that is all I can tell you.
The short story on the booklet quotes "Following mutiny on the Bounty, Captain Bligh, along with 18 loyal members of the crew were cast adrift in the launch, and made a remarkable voyage to the island or Timor, after spending 41 days in the worst possible conditions." - They were some hardy men

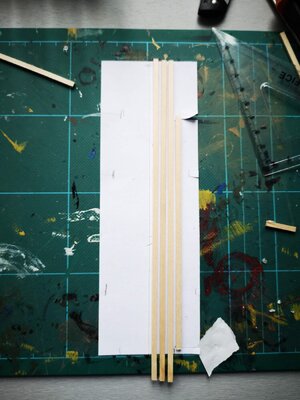
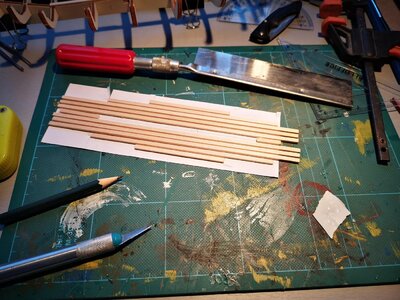
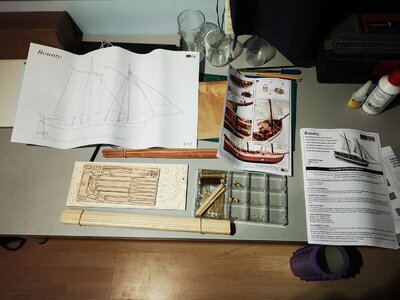
The first picture is of the contents of the kit of which I have a few questions:
In the part list it says I should have 35 2x5x400 planks for the lining strakes however I counted 47? Is it normal to get extra as I cannot find anything with similar dimensions that would require an extra 12 planks
There are no 2x3x200 planks however I have extra 2x3x400 planks so are these the parts I am looking for?
And finally what's the best way to stop the boat rocking s at the moment it sits on its keel but is very unsteady

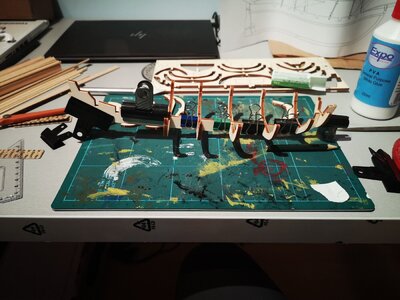
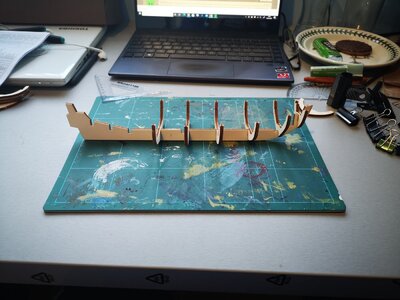
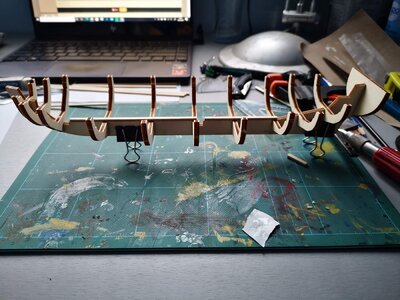
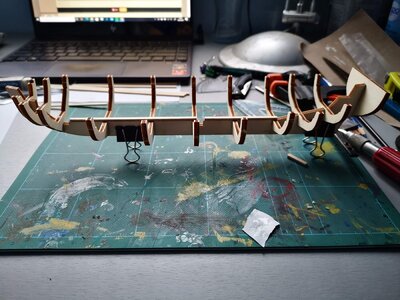
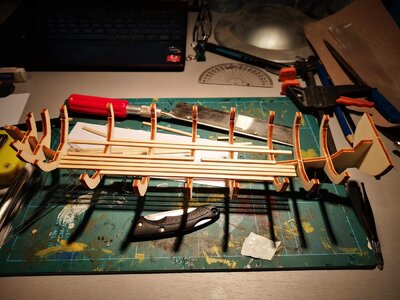
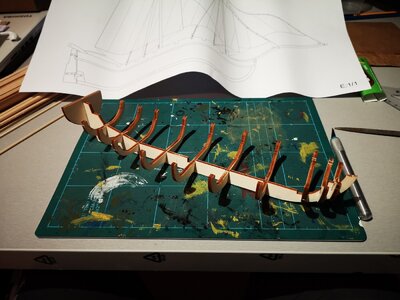
The second pic is of my dry fit which was really good, everything was level after sanding the bits that hold it in the tray of parts off
IMG_20210114_174136.jpgIMG_20210114_191253.jpg
 
New year new hobby, I finally took the plunge and got a plank on frame kit! With our 3rd lockdown in the UK I thought this would e an ideal time to knuckle down and start a long dreamt hobby.
To do this I chose the OcCre Bounty Launch1:24. This is rated at a low difficulty by OcCre so sounds perfect for myself. A bit more information about the kit:
She is 435mm long, 100mm wide and 260mm tall
Twin masted
Double planked
and at the moment that is all I can tell you.
The short story on the booklet quotes "Following mutiny on the Bounty, Captain Bligh, along with 18 loyal members of the crew were cast adrift in the launch, and made a remarkable voyage to the island or Timor, after spending 41 days in the worst possible conditions." - They were some hardy men

The first picture is of the contents of the kit of which I have a few questions:
In the part list it says I should have 35 2x5x400 planks for the lining strakes however I counted 47? Is it normal to get extra as I cannot find anything with similar dimensions that would require an extra 12 planks
There are no 2x3x200 planks however I have extra 2x3x400 planks so are these the parts I am looking for?
And finally what's the best way to stop the boat rocking s at the moment it sits on its keel but is very unsteady

The second pic is of my dry fit which was really good, everything was level after sanding the bits that hold it in the tray of parts off

Dear MadNav

Since you are using these boards by cutting and shaping, it is normal to put extra in the kit.

You can use 2x3x400 planks by cutting them to half. Their thickness and widths are same.

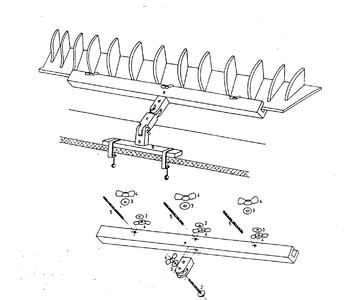
There are some equipment to keep your boat straight. You can buy online or from a shop. Here is an example

71309_html_m437c0b62.png

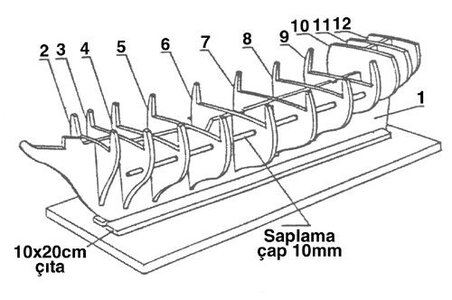
Or you can build your own upon your needs just gluing some wood in order to keep your boat straight. Please look at the picture below (the jig under the model.)

You should continue to use this jig until you've glued at least one or two planks on both the port and starboard side of your model. Later, your model will not be distorted.


4a901907d9fecf2c4c34a1aa113c69d1.jpg


I hope it helps.

Best Regards

Bilal
 
Dear MadNav

Since you are using these boards by cutting and shaping, it is normal to put extra in the kit.

You can use 2x3x400 planks by cutting them to half. Their thickness and widths are same.

There are some equipment to keep your boat straight. You can buy online or from a shop. Here is an example

View attachment 205709

Or you can build your own upon your needs just gluing some wood in order to keep your boat straight. Please look at the picture below (the jig under the model.)

You should continue to use this jig until you've glued at least one or two planks on both the port and starboard side of your model. Later, your model will not be distorted.


View attachment 205710


I hope it helps.

Best Regards

Bilal
Hi Bilal,
Looks great thanks, only issue is there doesn't seem to be any centre rib to make this possible! I guess the option for this would be to cut indents into the wood to go around the ribs?

Thanks
MadNav
 
Madnav cutting the woods works. You must glue the wood straight in a certain line.

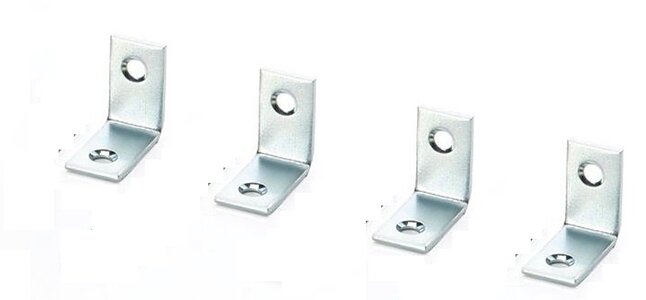
Just an idea : I have L shaped metals for this progres like in the picture. I usually use them by screwing in pairs opposed (accordig to the thickness of the keel) on a flat surface and place the model on this jig.

01-1122    01-1080.jpg
 
Madnav cutting the woods works. You must glue the wood straight in a certain line.

Just an idea : I have L shaped metals for this progres like in the picture. I usually use them by screwing in pairs opposed (accordig to the thickness of the keel) on a flat surface and place the model on this jig.

View attachment 205721
These look rather useful thanks!
 
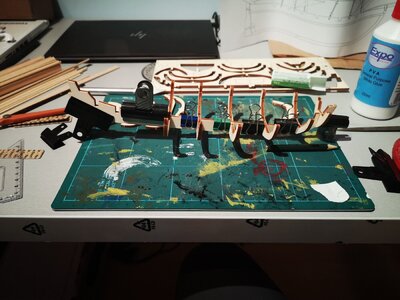
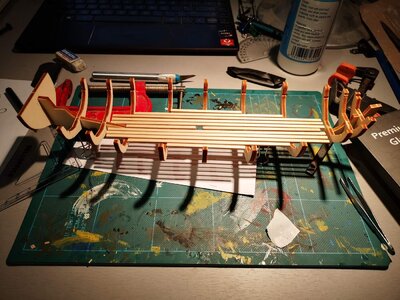
After the dry fit I glued the ribs on. As I only have a few claps I did this in 2 stages.
IMG_20210114_223313.jpg
This was the first set, if I was to do it again however I would start by gluing rib number 3 in first as I found it difficult to support it while the glue was wet as ribs 2 and 4 were in the way. There isn't much space on rib 4s side either so I aligned it and put a drop of superglue on to hold it while the PVA was drying.
IMG_20210115_101559.jpg
IMG_20210116_102219.jpg
The next step is the floor
 
Last edited:
The link to your next step photos doesn't work :( We advise all members to attach all the images pertaining to the build along with their text...This way we can assure that your images are always available.

BTW, many thanks for starting the build log!
Hi Jimsky,
Is this any better? I can see all my pictures so I hadn't noticed the issue!IMG_20210114_223313.jpg
 
The attached pictures can beseen very-well. Those are pictures from the link you have provided (still an issue). Because you are using your personal Google drive.

1610736551909.png
 
Hi Jim,
I do not understand - all his post and images look ok to me here
 
Evening all!
Firstly thanks everyone who's helped with the technical bits and bobs of forum posting, hopefully everything will sail smoothly from here onwards.

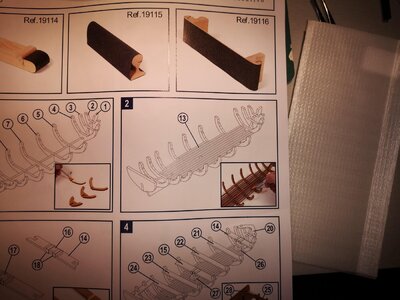
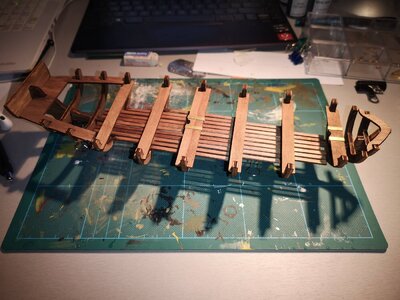
The flooring is now all glued down but is was definitely an interesting section of the build! Pic 1 is of the instructions which in all honesty I spent ages analysing last night with little success of a plan.
Floor instructions.jpg
However a new day new head and I had a plan. I started by cutting all the floor sections to length and gluing the central planks, making sure there was sufficient space for the masts by using the dowels they will be made from. After this I made a paper stencil of where all the bulkheads (correct name for what I was calling ribs!) so I could work out the spacing.
Floor plan out 1.jpgfloor plan full.jpgFloor 1st plank glued.jpg

I then transferred these with the 4th ones from the centre as these align with the bulkhead curves (and are 15mm from the centre) then put the 3 in and finally the small outer ones. I applied glue on all the bulkheads that the middle 3 planks were to be stuck onto then put them on one at a time and got the spacing aligned and then pressed them into the glue
Floor gluing in process.jpgFinished Floor.jpg

Next step is the seating so this should be slightly easier
 
Morning All,
Previously I had said the next step is the seating however after re reading and checking the pictures again the current built section needs to be stained a different colour to the seating. This should arrive today, exciting!

To keep myself busy I decided to look at making the little bits and bobs that are laid on and around the ship and have hit a hurdle with the oars so I am going to throw my solution out there.
I need to cut from my 3mm diameter dowel 8 150mm shafts for the oars, 1 130mm shaft for the Main yard and 1 115mm shaft for the Fore yard - nothing too complex yet. Therefore I need 1445mm (plus cutting losses) of dowel. The problem arises when you are provided with 4 400mm dowels. There is more than enough dowel but unless someone has a secret joining method I don't actually have enough. My plan is to cut the yards out at their length from 2 of the dowels then half the one that will have 130mm cut off the end, giving me the maximum length I can make the oars. My question is would the oars being 15mm or so short be noticeable?

And a final question is it easier to cut a sliver out of the dowel or would drilling a 3mm hole in the blade work better? I have a hand saw and wood drill bits in my armoury but no big powerful saws like band saws or anything

Thanks
 
you are correct - the appearance of the timber is much nicer and more realistic Thumbsup
 
Sanding is now complete ready for the first planking. As I want to get it right (obviously) what's the best way of preparing the wood for bending, I was thinking of building a mini steam box but how big is the main question. The planks for this model are 400mm so do I go for one that fits these but risk having to build a new one with a larger model. As all scales are different what would be the 'usual' length for a full length plank on a ship. Currently these ones are 9.6m in scale so I can see that being a handful if not really heavy in the real world.
 
The first planks are on! The mark 1 steamer is working great but I will need to make some more permanent fixings. Anyways onto the boat:Bending first plank.jpg
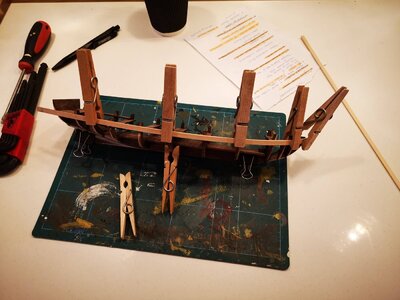
The first planks needed to be aligned 3mm from the top of the bulkheads so I started by marking these with a pencil. After this I set up the steam bender, not really knowing how long I needed to put the wood in for. I started with 10 minutes, this made the wood more flexible but I decided to put it in for a further 5 mins just to make sure as the bow has a small curve radius so I didn't want to snap it. Picture above is how I held it in place as it cooled - Mam hasn't noticed the missing pegs yet, probably due to the awful weather!

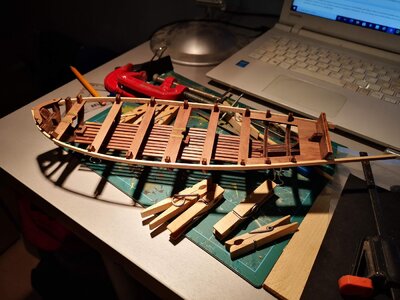
I then glued this on, wishing I had shaped the other side first as the first plank on the other side was much harder to align whilst trying to be careful with the first. However below is the finished article and back to the bender to make the next pair!
First planks glued.jpg
 
New year new hobby, I finally took the plunge and got a plank on frame kit! With our 3rd lockdown in the UK I thought this would e an ideal time to knuckle down and start a long dreamt hobby.
To do this I chose the OcCre Bounty Launch1:24. This is rated at a low difficulty by OcCre so sounds perfect for myself. A bit more information about the kit:
She is 435mm long, 100mm wide and 260mm tall
Twin masted
Double planked
and at the moment that is all I can tell you.
The short story on the booklet quotes "Following mutiny on the Bounty, Captain Bligh, along with 18 loyal members of the crew were cast adrift in the launch, and made a remarkable voyage to the island or Timor, after spending 41 days in the worst possible conditions." - They were some hardy men

The first picture is of the contents of the kit of which I have a few questions:
In the part list it says I should have 35 2x5x400 planks for the lining strakes however I counted 47? Is it normal to get extra as I cannot find anything with similar dimensions that would require an extra 12 planks
There are no 2x3x200 planks however I have extra 2x3x400 planks so are these the parts I am looking for?
And finally what's the best way to stop the boat rocking s at the moment it sits on its keel but is very unsteady

The second pic is of my dry fit which was really good, everything was level after sanding the bits that hold it in the tray of parts off
Hallo @MadNav
we wish you all the BEST and a HAPPY BIRTHDAY
Birthday-Cake
We hope, that you are still working on your first build ...... hope to see some progress - keep in mind, that the beginning is not easy
 
Back
Top