Buccaneer by Occre - First build ever

Hello Toni,

Your work looks great - whether it's your first or 21st build! And yes life does indeed get in the way with our builds. I usually start my work before 4 AM in order to get 2+ hours in before other things beckon me.

Best wish for continues success on your build.

Thank you and, wow, you're sure an early riser!
 
Yes, I do. He starts work on the keel at about the 31:00 minute mark. And after I watched a bit of it again, I see that he actually glues it before even the 1st planking. Here's the link:

Thanks for the videos, definitely helped. I think I'm going to cut a thin rabbet into the false keel to receive the second planks. I can't find any pictures of the actual Endurance to show whether there was a rabbet line in the keel. The directions for the kit say to do the second planking first then glue on the false keel, as you pointed out. But I might try and cut a thin rabbet line in the false keel (the second planks are very thin), attach the false keel, then do the second planks. Not sure how much of a difference it'll make as the whole hull is going to be painted black, but I might give this a shot. Thanks again.
 
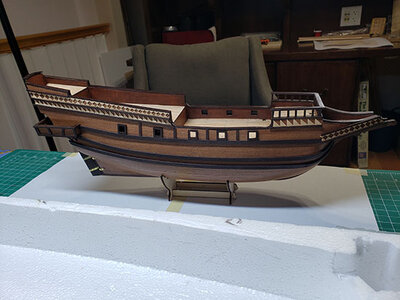
I was at an antique store a couple of months ago and ran across a gorgeous hand-carved galleon. I fell in love but it was out of my price range so I had to walk away. Over the next few weeks I found that I couldn't stop thinking about it so decided to try my hand at building my own. That's how I ended up finding The Buccaneer by Occre. The following is my shaky attempt at bringing this ship to life.

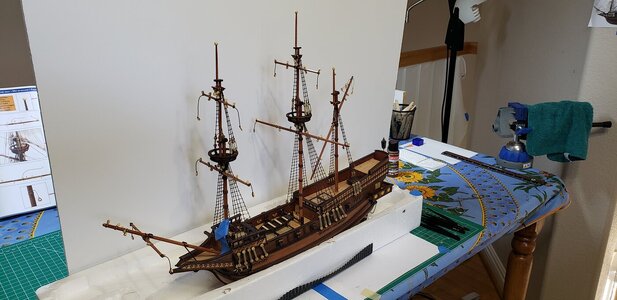
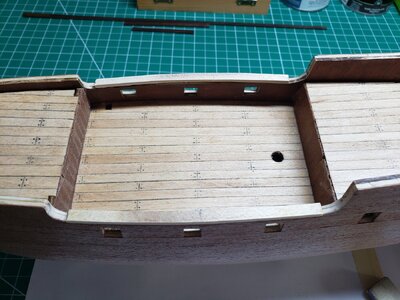
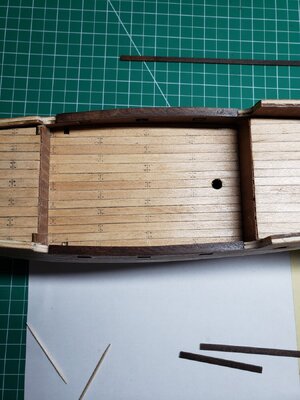
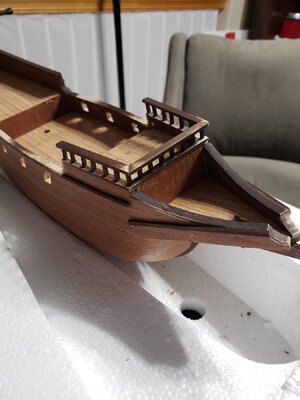
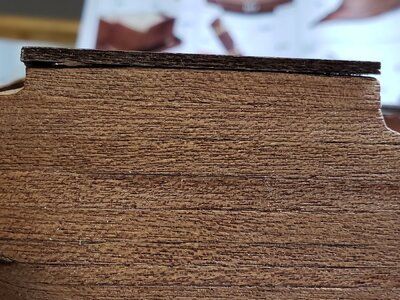
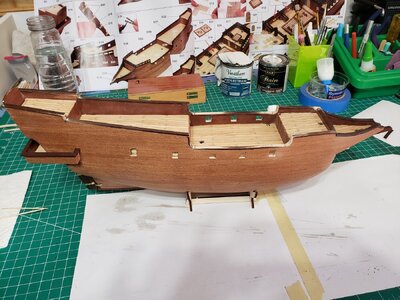
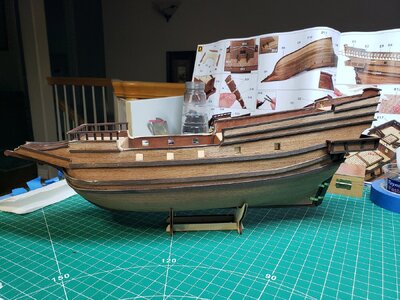
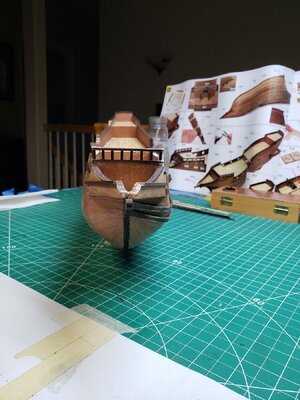
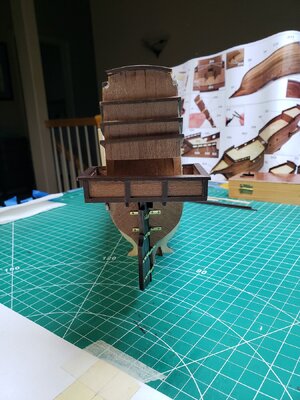
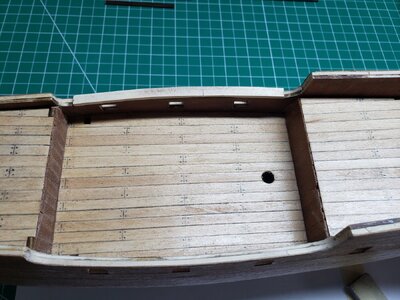
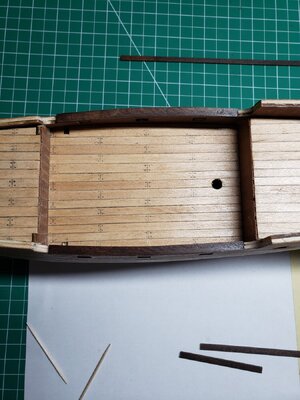
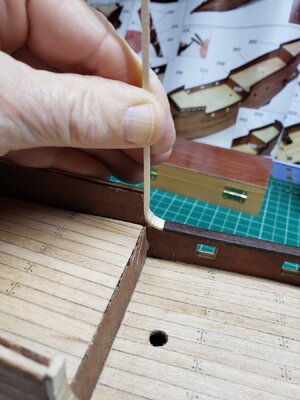
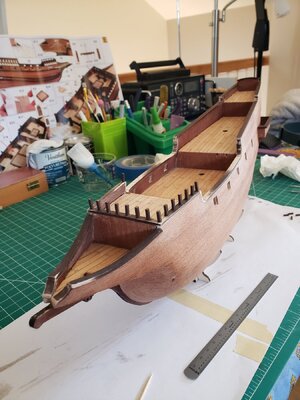
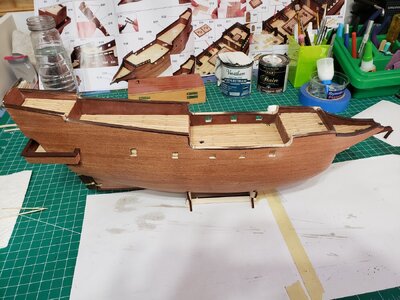
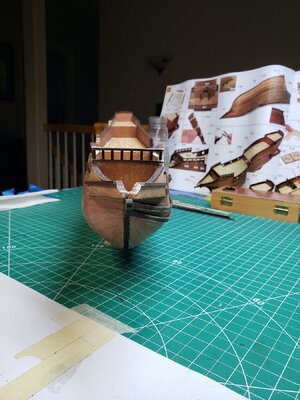
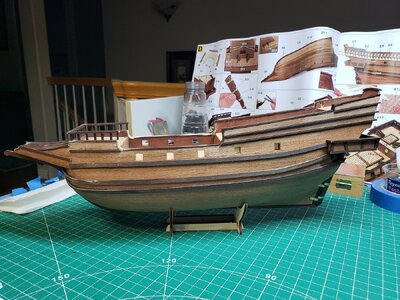
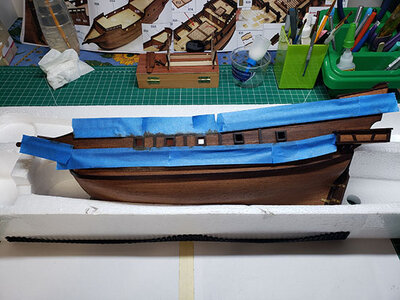
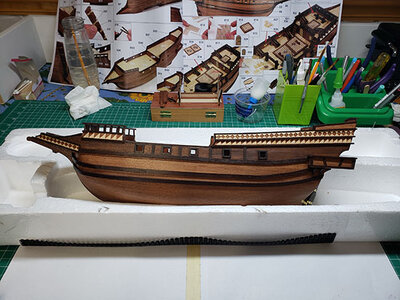
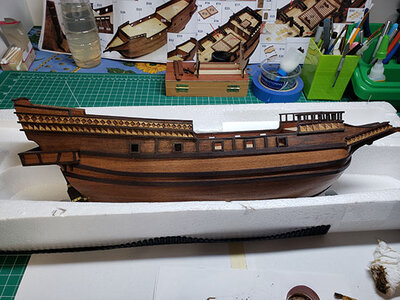
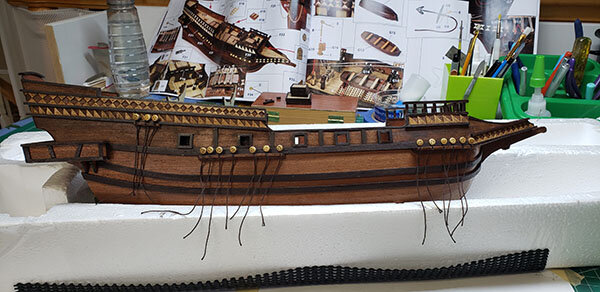
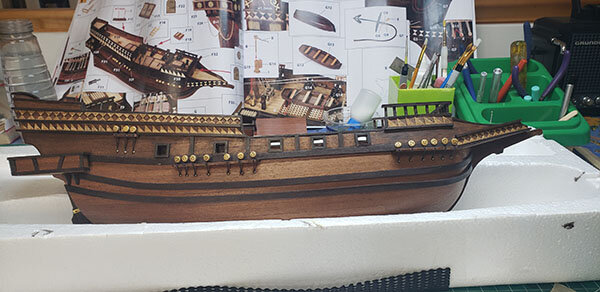
Thanks for reading and allowing me to share my journey. Here are pics of my build so far:

View attachment 421823View attachment 421818View attachment 421819View attachment 421820View attachment 421825View attachment 421826View attachment 421821View attachment 421822

View attachment 421824
Hallo @Toni_S
we wish you all the BEST and a HAPPY BIRTHDAY
Birthday-Cake
 
It's raining buckets here in Southern California so I thought I'd take this opportunity to update my build log. I feel fortunate that we still have electricity and internet when so many others are in such precarious positions during this "Pineapple Express" storm. I guess I'm at an advantage living up on a hill but, then again, I suppose my house could go sliding down the hill any second now. I'll keep my fingers crossed.

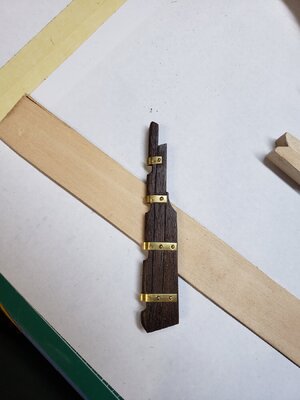
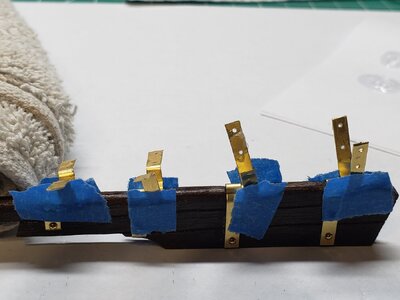
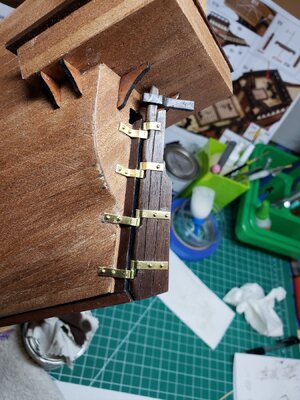
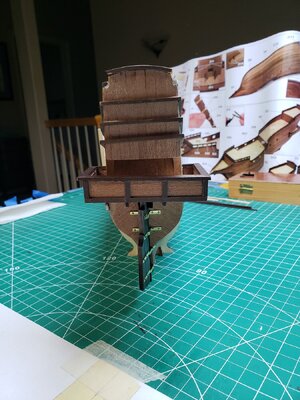
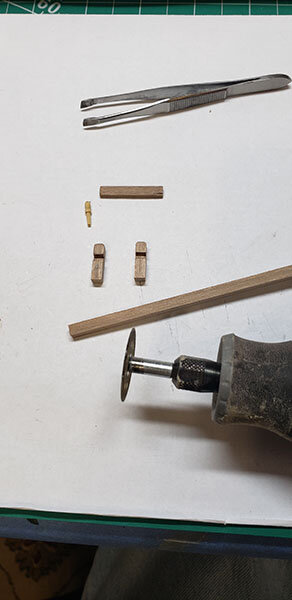
So, I moved on to the rudder and trim which I had been looking forward to for so long. It's hasn't been as easy as I thought it would be. Attaching the hinge brackets to the rudder was pretty straightforward but then I cut the hinge pins too short so the brackets that attach to the stern kept falling off when I tried to position it under the balcony. I ended up having to tape them onto the rudder, position them as best as I was able, and then bend them into the shapes that they needed to be in order to glue them flush to the stern. After a couple of hours, I finally got it into place.

rudder1.jpg rudder2.jpg rudder3.jpg

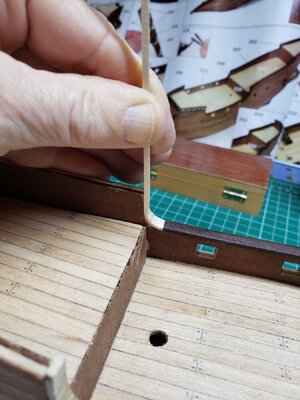
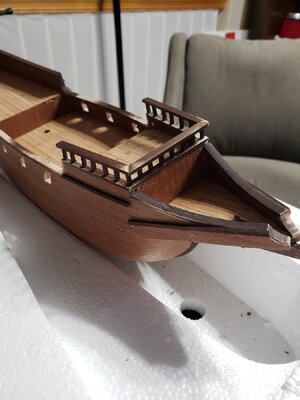
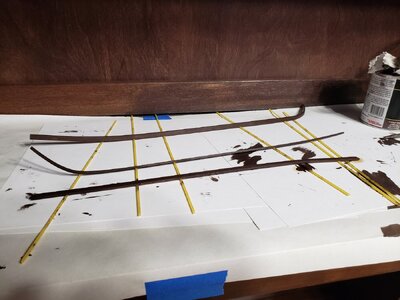
Then on to the trim. I thought that this part would be easy-peasy but right off the bat I saw that there was going to be a lot of tweaking involved to get it right. Firstly, the deck railing didn't just fall into place. The wood is straight and the sides of the ship are curved. Back to bending wood. I thought after finishing the hull that I was done with bending wood but nope! So I the bent the railings, stained them, then glued them into position. Same went for much of the remaining trim on the ship.

trim1 (2).jpg trim4.jpg

The sections of railing below were really, really tight bends. They got all kinked from the iron, which really bothers me. I'm eyeballing the electric plank bender from Model-Expo and wondering if that would do a better job on bends like these. Does anyone have any opinions or suggestions on the best way to create tight bends?

trim5.jpg

And then the top deck railings. I messed up here with simple math and ended up putting one too many spindles on each side but, what the heck, it's passable, I think.

upperdeck.jpg

And lots of sanding/filling gaps along the way to even things out. I'll touch everything up later when I've finished the trim.

gaps.jpgsanding1.jpg

Although Occre's instructional YouTube videos don't show any bending involved on the side strips, I found I had to do a *lot* of bending to get the trim strips to fit onto the hull. I still don't like the way they look but I did the best I could. My husband keeps telling me that I should cut myself some slack since this is my first build but I had such high hopes. haha.

port.jpg bow.jpg stern.jpg

At this point I'm waiting for the stain to dry on the starboard strips before I can continue.

starboardsidestrips.jpg

And that's about as far as I've progressed for now.

I pretty much suck at ship building but, as they say, start at the bottom and work your way up. I can't help but get better if I just keep putting one foot in front of the other.

Thanks for reading. Have a beautiful day!

trim1.jpg

trim2.jpg

trim4.jpg

trim5.jpg

upperdeck.jpg

upperdeck1.jpg

gaps.jpg

sanding1.jpg

bow.jpg

port.jpg

stern.jpg

starboardsidestrips.jpg
 
Last edited:
Very good work on this model - and good progress
 
Hello, again, to all of you good people. I hope everything is going well with everyone.

And I do mean *very* good people for not calling me out about attaching my tiller on backwards (see my previous photo exhibiting this in all of it's glory)! I really honestly know nothing about ships but am learning so much as I work my way through this build. Had the tiller not crumbled off my ship from manhandling during construction I probably wouldn't have figured it out for who-knows-how-long. But I did finally figure it out, fixed the problem, and all's well that ends well.

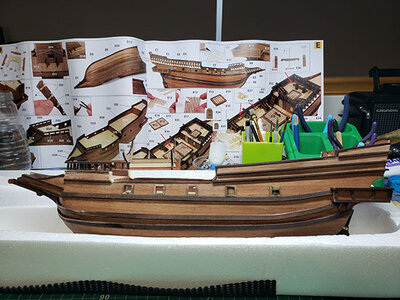
Anyway, moving on. I finally got all of the trim onto the ship and also added frames around the gun ports. I had a hard time cutting the port hole openings so some of them were really messed up and the only way to hide that was to add the frames. They aren't in scale but for this build I'm okay with that.

Bucaneer1_resized.jpg


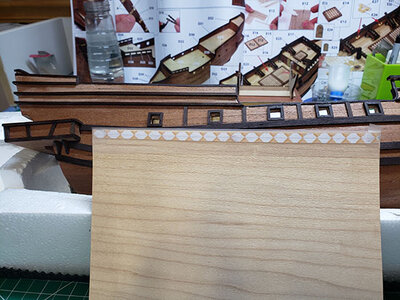
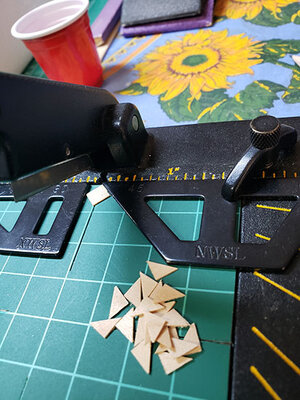
Then onto the decorations. Instead of following Occre's instructions and gluing the supplied paper pattern directly onto the ship, I used very thin cherry veneer that I cut with a Chopper II tool so that the pieces all came out the same. I did have to custom fit here and there once I glued them onto the ship but I think they came out pretty good overall.

Bucaneer2_resized.jpg

Bucaneer3_resized.jpg

Bucaneer4_resized.jpg

Next was "antiquing" the upper part of the ship with Judea de Bitumen. I didn't know what this stuff was...and kind of still don't...but I love it. It adds a slight tint to the 2nd planking that darkens it just slightly. Interesting how it works. Here's a thread about it if you're curious: https://shipsofscale.com/sosforums/threads/judea-de-bitumen-is-anyone-familiar-with-this-wash.13644/

Bucaneer5_resized.jpg

Bucaneer6_resized.jpg

Bucaneer7_resized.jpg

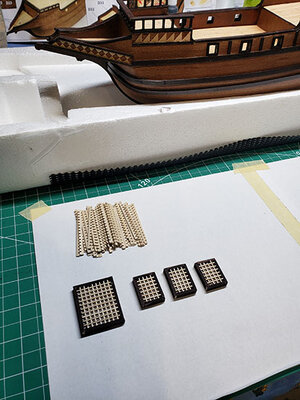
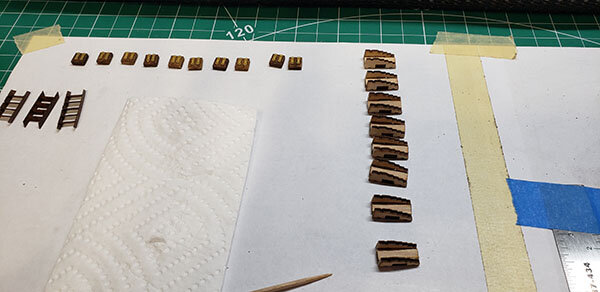
On to the belaying pins and rack, stairs (ugh, that was hard!), deck racks, cannons, etc..

Bucaneer8belayingpins_resized.jpg

Bucaneer9racks_resized.jpg

Bucaneer10cannons_resized.jpg

Bucaneer11stairs_resized.jpg

Bucaneer12stairs_resized.jpg

Glued them all in place:

Bucaneer15stockeddeck_resized.jpg

And then started working on the chainplates:

Bucaneer13chainplates_resized.jpg

Bucaneer14chainplatessecurede_resized.jpg


That's it for now. I've been working on the masts and yards for a couple of days but haven't gotten very far yet. Lots of staining and sealing so lots of down time waiting for them to dry between coats.

I'm really loving this build but, wow, I had no idea the amount of work that goes into it. When I browse thru pics of all of your ships my eyes are wide open now and I am in complete awe of you all.

Thanks for sharing this journey with me!
 
Last edited:
I'm eyeballing the electric plank bender from Model-Expo and wondering if that would do a better job on bends like these. Does anyone have any opinions or suggestions on the best way to create tight bends?
If you haven’t purchased an electric plank bender, I’d recommend spending the money. I use an old soldering iron back in Colorado. It does a decent job, but the plank bender that I have here (Mexico), is so much better. I recently purchased Micro-Mark’s plank bending tool but forgot to bring it with me. I see places to use both of them.
 
If you haven’t purchased an electric plank bender, I’d recommend spending the money. I use an old soldering iron back in Colorado. It does a decent job, but the plank bender that I have here (Mexico), is so much better. I recently purchased Micro-Mark’s plank bending tool but forgot to bring it with me. I see places to use both of them.

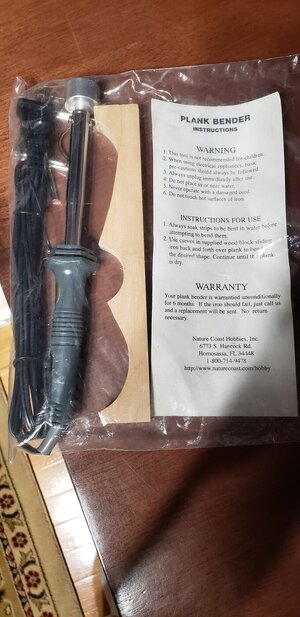
A few weeks ago a saw a really good deal on Ebay for an open box Occre Albatros. For my 2nd build I had been planning on getting a beginner's kit so that I could concentrate heavily on planking. Well, the pics of the open box showed everything inside and there was a plank bender included. Couldn't believe it. $80 for the whole thing.


I don't think it's a brand name but it looks pretty much the same as the Model Expo and/or Micro Mark ones, so we'll see how I do with it. Happy that you recommended it since I have no experience whatsoever working with one.

PlankBender.jpg
 
Not just a good price on the Albatros, but then a nice surprise as well. Using the bender does take practice, but in the end it’s a great tool. Don’t skimp on the soaking time before using the bender. And depending on the bend, you may need to long soak/bend/short soak/bend a few times.
 
It's raining buckets here in Southern California so I thought I'd take this opportunity to update my build log. I feel fortunate that we still have electricity and internet when so many others are in such precarious positions during this "Pineapple Express" storm. I guess I'm at an advantage living up on a hill but, then again, I suppose my house could go sliding down the hill any second now. I'll keep my fingers crossed.

So, I moved on to the rudder and trim which I had been looking forward to for so long. It's hasn't been as easy as I thought it would be. Attaching the hinge brackets to the rudder was pretty straightforward but then I cut the hinge pins too short so the brackets that attach to the stern kept falling off when I tried to position it under the balcony. I ended up having to tape them onto the rudder, position them as best as I was able, and then bend them into the shapes that they needed to be in order to glue them flush to the stern. After a couple of hours, I finally got it into place.

View attachment 425881 View attachment 425882 View attachment 425883

Then on to the trim. I thought that this part would be easy-peasy but right off the bat I saw that there was going to be a lot of tweaking involved to get it right. Firstly, the deck railing didn't just fall into place. The wood is straight and the sides of the ship are curved. Back to bending wood. I thought after finishing the hull that I was done with bending wood but nope! So I the bent the railings, stained them, then glued them into position. Same went for much of the remaining trim on the ship.

View attachment 425884 View attachment 425886

The sections of railing below were really, really tight bends. They got all kinked from the iron, which really bothers me. I'm eyeballing the electric plank bender from Model-Expo and wondering if that would do a better job on bends like these. Does anyone have any opinions or suggestions on the best way to create tight bends?

View attachment 425887

And then the top deck railings. I messed up here with simple math and ended up putting one too many spindles on each side but, what the heck, it's passable, I think.

View attachment 425888

And lots of sanding/filling gaps along the way to even things out. I'll touch everything up later when I've finished the trim.

View attachment 425890View attachment 425891

Although Occre's instructional YouTube videos don't show any bending involved on the side strips, I found I had to do a *lot* of bending to get the trim strips to fit onto the hull. I still don't like the way they look but I did the best I could. My husband keeps telling me that I should cut myself some slack since this is my first build but I had such high hopes. haha.

View attachment 425893 View attachment 425892 View attachment 425905

At this point I'm waiting for the stain to dry on the starboard strips before I can continue.

View attachment 425906

And that's about as far as I've progressed for now.

I pretty much suck at ship building but, as they say, start at the bottom and work your way up. I can't help but get better if I just keep putting one foot in front of the other.

Thanks for reading. Have a beautiful day!

View attachment 425864

View attachment 425865

View attachment 425866

View attachment 425867

View attachment 425869

View attachment 425870

View attachment 425871

View attachment 425872

View attachment 425873

View attachment 425874

View attachment 425875

View attachment 425876
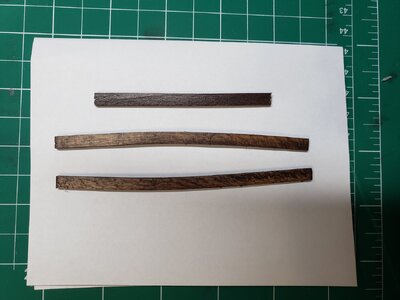
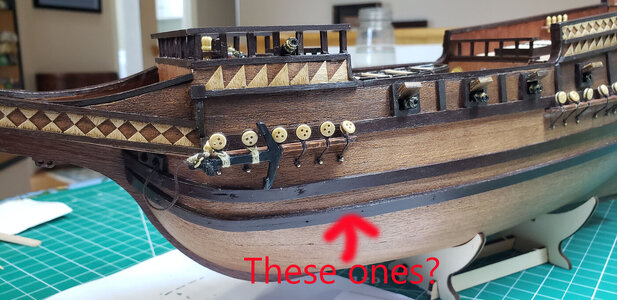
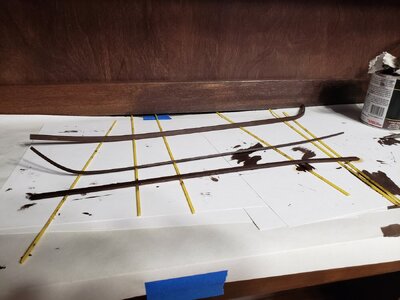
I was thinking I’d try to bend the board a midship from “one” board until I saw your picture showing that the center of the board bends outward just enough to make me rethink that. I’ll now be doing it with 3 pieces like you did.
 
I haven't quite figured out how to insert images at a reasonable size in this build log so forgive the very LARGE pics in this post. I've noticed how some build logs have pics that you can click on and it takes you to a gallery where, if you want, you can enlarge them yourself. I love that format but don't know how to do it. Any tips on how that is done would be appreciated.

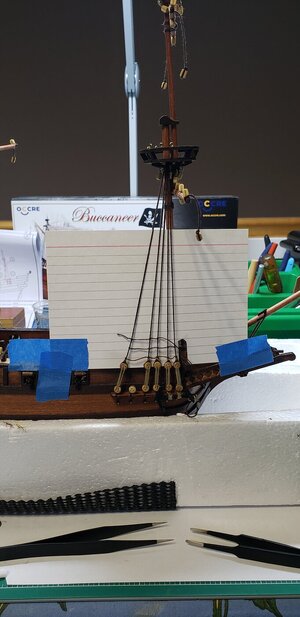
So, on to the masts and yards:

Occre's instructions come with large sheets of paper that have diagrams of the masts/yards in 1:1 scale. I don't know what I would have done if I hadn't had those to use as guides. I just laid the dowels on top of the diagrams and in that way I could sand and scale to the exact shapes and sizes for each piece. Next staining, waiting to dry, then sealing, waiting to dry. And here they are ready for assembly.
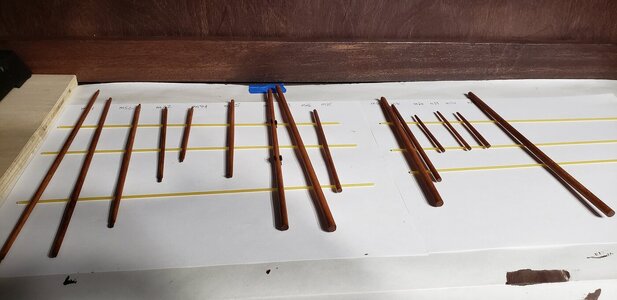

1MastsStained.jpg


I read a few posts on the forums here about how to attach the yards to the masts and wisely chose to listen to the experienced builders suggestions of joining them together by inserting a pin before gluing. I'm so glad I did because, later, as I started the rigging, I kept bumping and knocking into the yards which caused the glue to come loose. But because they were attached with pins they held in place very well in spite of my dorky clumsiness.
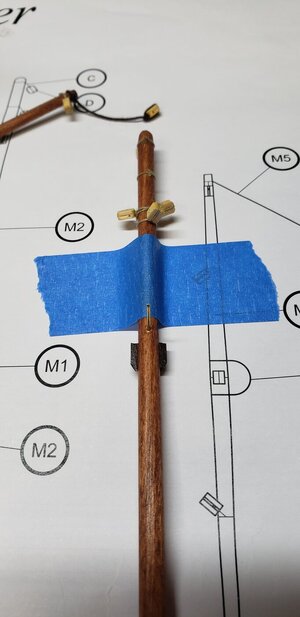
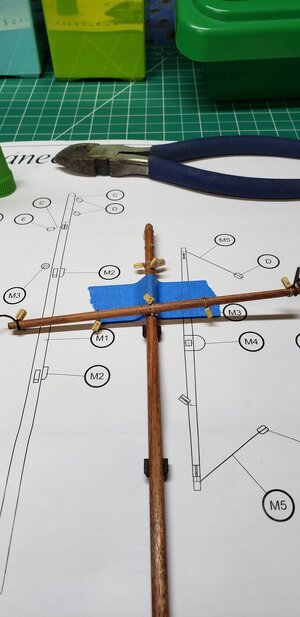
2PinInMast.jpg3MastOnPaper.jpg

Oh, yeah, and those little pulleys (don't know the technical name for them...please tell me if you do) need to have a drop of glue applied to the ropes to hold them in place. I wanted to make sure they weren't going to move so I pushed on each one while still wet to make sure they stayed put. Here's the result of that:
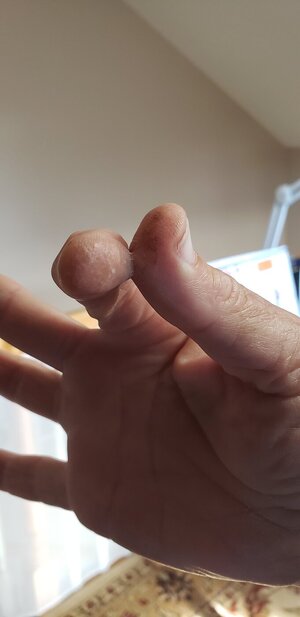
3nGluedfingers.jpg

Took me ~15 mins of rubbing lotion 'round and 'round my thumb and finger til I could get them apart.


And here are the masts in place. I was concentrating so heavily on the crow's nests, etc., that I forgot to take any pics during the process.
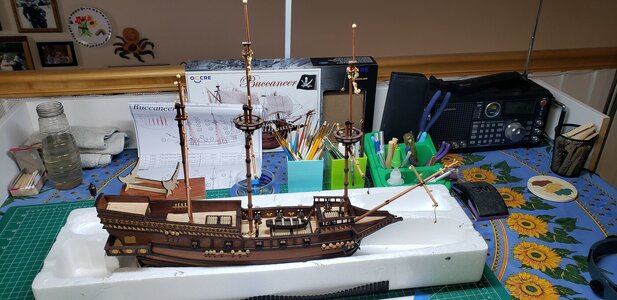
4MastsOnShip.jpg

Next up was the rat lines. I was so excited. For some reason I was really looking forward to this part. I don't know why because after I had finished the first section (there are 10 total) I was kind of exhausted. Only 9 more to go. Ha!!! It was at this point that I decided to take the plunge and subscribe to Spotify. I knew I was going to need some company during this process.

And here are the results:
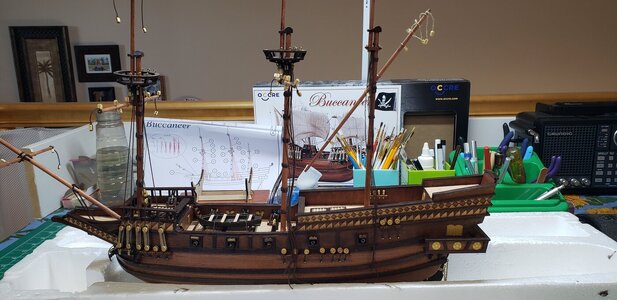
5ChainPlatesAndRatLines.jpg6RatLinesBeginning.jpg7RatLinesFinished.jpg

When I started the tangled web of rigging I *totally* gave up on taking pics. My head was spinning in circles trying to figure out how to do it. The YouTube videos fall soooo short on detail. Most especially for a beginner like me. And the paper instructions are not much better. But after much biting of nails and gnawing of teeth I've finally gotten to this point:
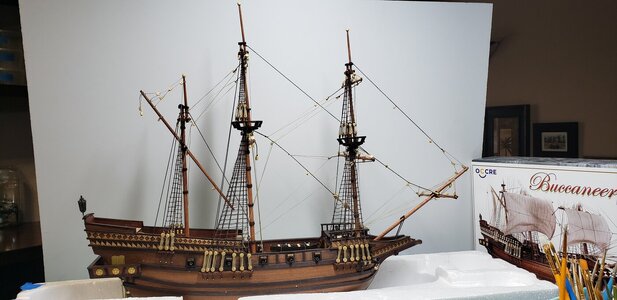
9RiggingAtThisPoint.jpg

And that's where things stand at this point in time. I was hoping that, as time went on, the crooked top of the main mast wouldn't show so much but it looks worse than when I initially glued it on all wonky-like. It's too hard to fix it now so I'm hoping that the sails will hide it. I keep muttering under my breath, "Next build I won't let this happen again". And, hopefully, that will be true.

Here's a diagram that I'm going to be referring to as I move on to the sails. I'm such a noob at this that I need all the help I can get. Especially diagrams that are designed for 1st Graders. Yup, right up my alley.
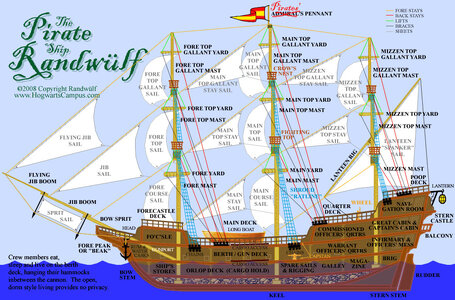
10SailDiagram.jpg

Soooo, until next time, happy building, everyone. And I highly recommend Spotify to get you through the hours and hours and hours and hours and hours and hoursssssssssssssssssssssssssssssssssssssssssss of work ahead of you! ;)

Take care for now!
 
Last edited:
I was thinking I’d try to bend the board a midship from “one” board until I saw your picture showing that the center of the board bends outward just enough to make me rethink that. I’ll now be doing it with 3 pieces like you did.


Sorry, I'm very slow. Which boards are you talking about?

boards.jpg
 
Back
Top