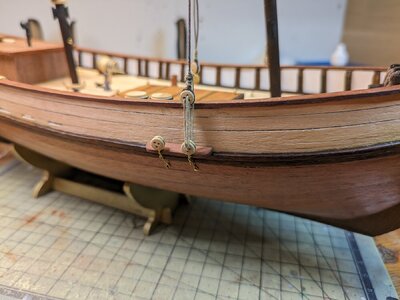
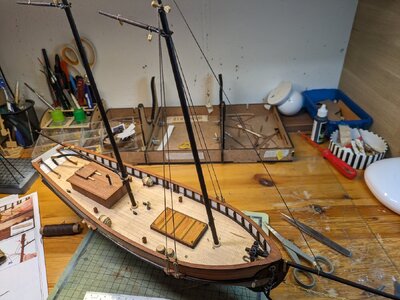
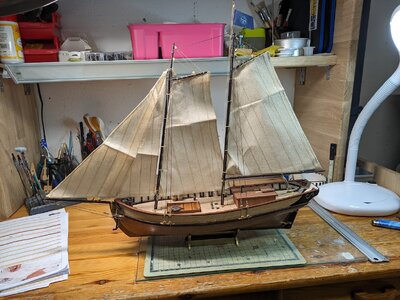
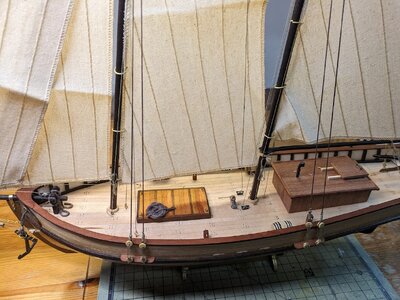
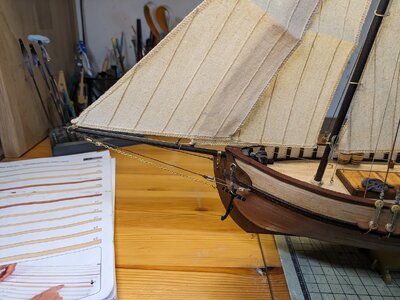
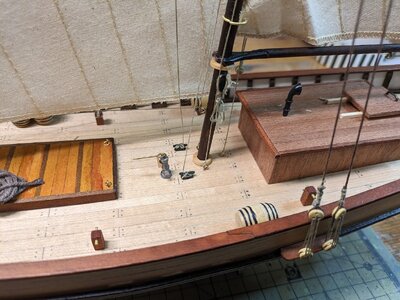
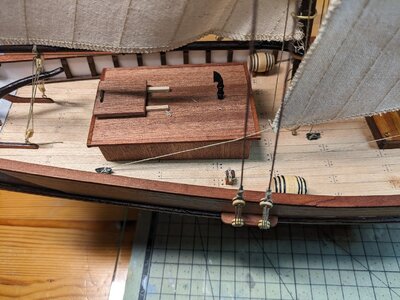
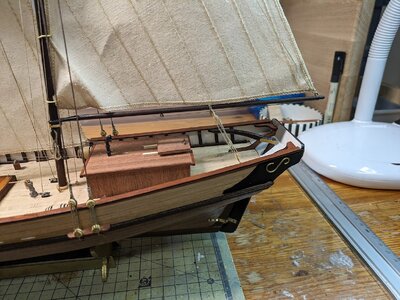
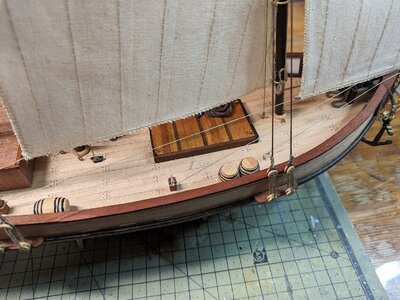
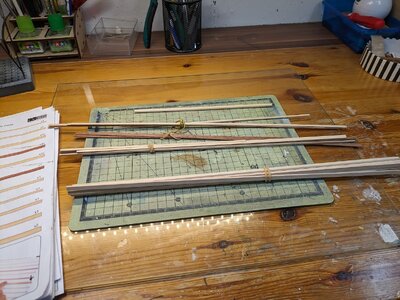
Did you cut a rabbet into the keel?Welcome on board and thanks for sharing your build. I have built the Occre Endeavour and attached the keel after the first layer of hull planking but before applying the 2nd layer. I felt this would give me a better finish as I was able to butt the 2nd layer against the keel. I also drill some holes through the keel into the bottom of my build and pushed small panel pins in to make the keel more stable. The attached image shows the final result. Keep up the good progress.
View attachment 423117
-

Win a Free Custom Engraved Brass Coin!!!
As a way to introduce our brass coins to the community, we will raffle off a free coin during the month of August. Follow link ABOVE for instructions for entering.
-

PRE-ORDER SHIPS IN SCALE TODAY!
The beloved Ships in Scale Magazine is back and charting a new course for 2026!
Discover new skills, new techniques, and new inspirations in every issue.
NOTE THAT OUR FIRST ISSUE WILL BE JAN/FEB 2026
You are using an out of date browser. It may not display this or other websites correctly.
You should upgrade or use an alternative browser.
You should upgrade or use an alternative browser.
Occre Polaris already halfway done [COMPLETED BUILD]
- Thread starter mapoo
- Start date
- Watchers 16
-
- Tags
- completed build occre polaris
- Joined
- Jun 13, 2022
- Messages
- 310
- Points
- 168

No I was not aware of a rabbet at the time. However as the Endeavour has a bluff bow I don’t believe a rabbet is so essential compared to a ship with a more pointed bow as the 2nd layer of hull planking butted up pretty well against the keel.Did you cut a rabbet into the keel?
Very small update, not much time today
Marking the correct length
View attachment 422128
cutting (cheap tool from Amazon)
View attachment 422129
adding white glue (small bottle with a very fine opening...again from Amazon)
View attachment 422130
remove the glue excess first with a tool and then with a wet tissue
View attachment 422131View attachment 422132
...and fix it
View attachment 422133
With the white glue I had the problem that I had to wait some time after every strip for the glue to set. Many strips I had to do twice because I didn't wait long enough and shifted the strips unintentional. So I tried it with nitrocellulose glue (UHU hart). Like with the white glue I always tried to put the correct amount of glue on the strips and then glued it together. It works well, you have to take care for glue stains more, because they are harder to remove as from white glue.
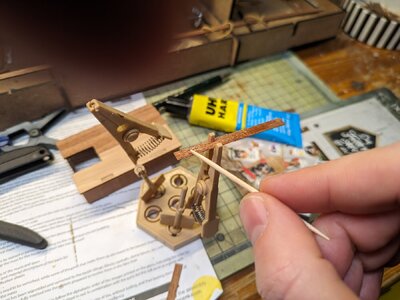
The metall parts got a bath of burnishing agent.
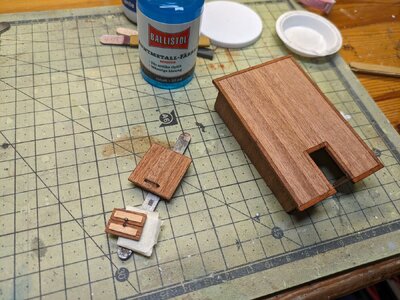
And here now the finished deck construction befor varninshing.
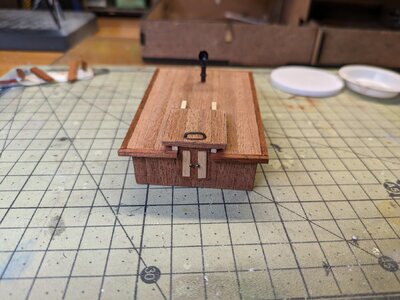
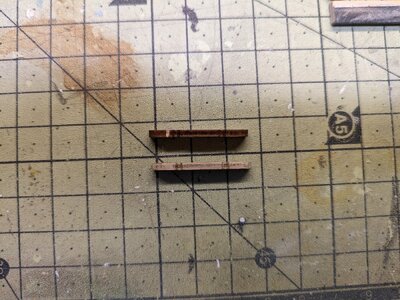
There are four more parts to be glued to the outside of the ship. I sanded away the black 'burning marks'. (the upper one befor sanding, the below one after sanding).
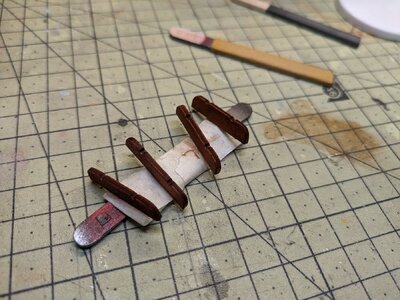
But when using the sapelly dye you see the different layers of the wood. The middle layer is getting much darker. Any idea how to prevent that, other than scratch build these parts?
Last edited:
With the white glue I had the problem that I had to wait some time after every strip for the glue to set. Many strips I had to do twice because I didn't wait long enough and shifted the strips unintentional. So I tried it with nitrocellulose glue (UHU hart). Like with the white glue I always tried to put the correct amount of glue on the strips and then glued it together. It works well, you have to take care for glue stains more, because they are harder to remove as from white glue.
View attachment 424056
The metall parts got a bath of burnishing agent.
View attachment 424059
And here now the finished deck construction befor varninshing.
View attachment 424060
There are four more parts to be glued to the outside of the ship. I sanded away the black 'burning marks'. (the upper one befor sanding, the below one after sanding).
View attachment 424063
But when using the sapelly dye you see the different layers of the wood. The middle layer is getting much darker. Any idea how to prevent that, other than scratch build these parts?
View attachment 424064
Another point I did before varnishing:
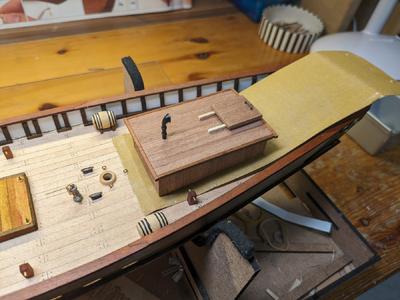
I put sanding paper on the deck and sanded. So it should fit to the longitudinal curve of the deck (thanks @Uwek). So here I should not have a gap like shown in post #7
Welcome on board and thanks for sharing your build. I have built the Occre Endeavour and attached the keel after the first layer of hull planking but before applying the 2nd layer. I felt this would give me a better finish as I was able to butt the 2nd layer against the keel. I also drill some holes through the keel into the bottom of my build and pushed small panel pins in to make the keel more stable. The attached image shows the final result. Keep up the good progress.
View attachment 423117
Just a comment about occre Polaris. My kit was missing some pieces. When I emailed occre they fedexed the parts to me in the United States. Pretty impressive!!!!I glued the keel to the hull and then just drilled holes up through the keel into the hull. I then cut the heads off panel pins, put some glue in the holes and then pushed the panel pin in.
I have just started Polaris. Trying to make sure bulkheads fit correctly before glue comes out. Should the top of every bulkhead be even with top of keel. Mine sure aren’t. ThanksWelcome on board and thanks for sharing your build. I have built the Occre Endeavour and attached the keel after the first layer of hull planking but before applying the 2nd layer. I felt this would give me a better finish as I was able to butt the 2nd layer against the keel. I also drill some holes through the keel into the bottom of my build and pushed small panel pins in to make the keel more stable. The attached image shows the final result. Keep up the good progress.
View attachment 423117
I, too, just started my build of the Polaris. To answer your question, No they weren't, but it would have been nice if they had been. I also dry-fitted the deck and clamped it in place before gluing the bulkheads. That way I didn't need to worry about misaligned bulkheads.I have just started Polaris. Trying to make sure bulkheads fit correctly before glue comes out. Should the top of every bulkhead be even with top of keel. Mine sure aren’t. Thanks
Hi,I have just started Polaris. Trying to make sure bulkheads fit correctly before glue comes out. Should the top of every bulkhead be even with top of keel. Mine sure aren’t. Thanks
no they waren't. But that's fine as at a later step the 'correct' keel is glued onto this false keel (step J). You have to leave the false keel free of blanks.
I wish you a lot of fun with your Polaris.
Step Q - done:
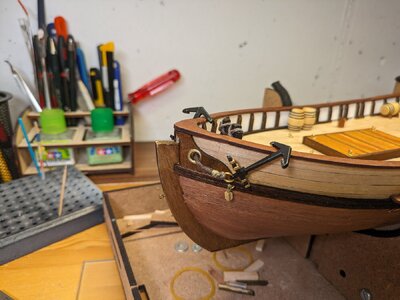
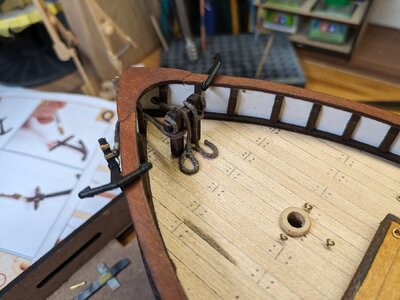
glued together the parts of the anchors with CA glue, painted and varnished them.
Then fighted with the threads. In the end I won (or is it a draw?)
When I look into the manual the 'easy' part is done now. I fear the fiddely work with threads is not really mine (much to clumsy) and I don't have an idea how the round sanding of the masts and the bowsprit will work
glued together the parts of the anchors with CA glue, painted and varnished them.
Then fighted with the threads. In the end I won (or is it a draw?)


When I look into the manual the 'easy' part is done now. I fear the fiddely work with threads is not really mine (much to clumsy) and I don't have an idea how the round sanding of the masts and the bowsprit will work
Bravo... good job. Compliments
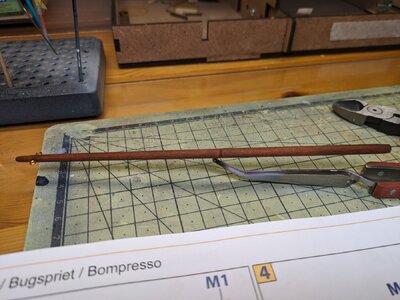
So tapering the mast is the next step:
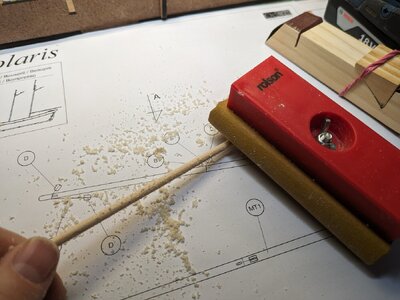
This is my first tapering of a mast...
I tried it with a sanding sponge and with my sandingblock. Works fine but in the end it was not really round
Then I tried to simulate a lathe with my electric drill:
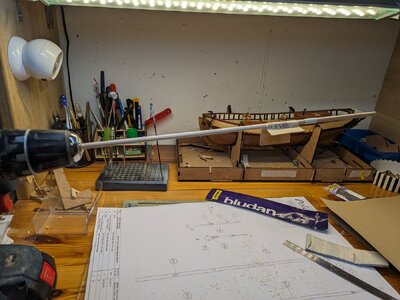
With this the mast is getting quite round...
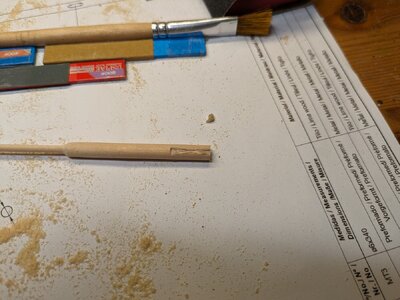
but there are chuck left marks on the wood. No problem here as this piece is not needed.
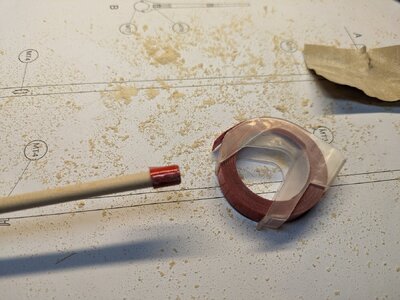
...next try with dymo tape around the mast
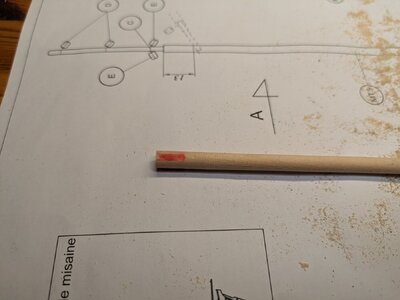
better...but there is still room for improvement.
With first Tamiya tape and then Dymo tape it worked ok. It is still no lathe, but better (rounder) than just sanding. Is a lathe the next electronic device that is needed? Not sure what my with says if I buy another big tool.
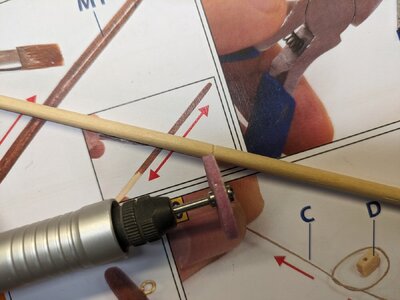
Then I made a mistake I think now. I made notches where the blocks are attached. Are you making notches where something is added to the masts? I revied some of the building logs, but didn't find something similar. Or do you have tips to get the sanding round.
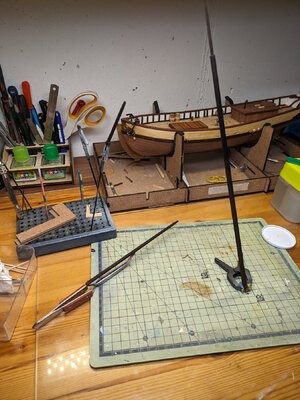
When all masts where inthe correct a good shape they got two layers of walnut dye and they are now waiting for the varnish.
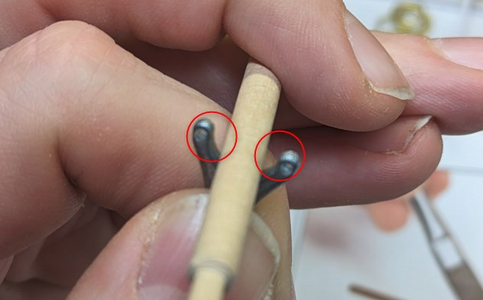
Is it ok that there is so much space betten the mast and this ???... piece?
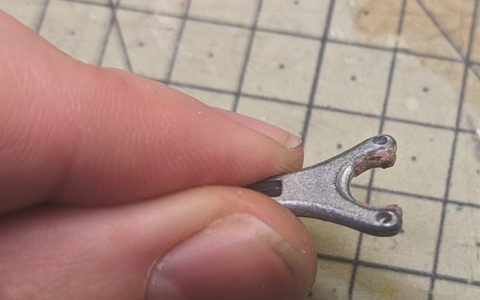
I added some thin stripes ... is that necessary or would it work without them too?
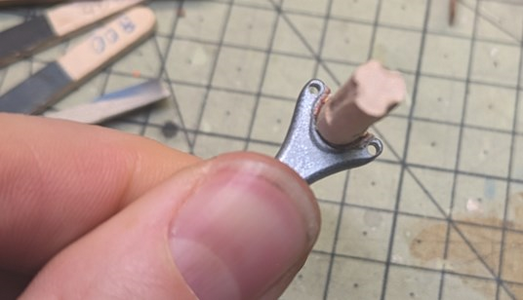
fitts perfect now, but I'm still not sure if it is needed. In the manual pictures it looks like it would work without this stripes too. In other buildlogs I found modellers that where creating this pieces of wood. I think I'm not able to do this.

This is my first tapering of a mast...
I tried it with a sanding sponge and with my sandingblock. Works fine but in the end it was not really round
Then I tried to simulate a lathe with my electric drill:

With this the mast is getting quite round...

but there are chuck left marks on the wood. No problem here as this piece is not needed.

...next try with dymo tape around the mast

better...but there is still room for improvement.
With first Tamiya tape and then Dymo tape it worked ok. It is still no lathe, but better (rounder) than just sanding. Is a lathe the next electronic device that is needed? Not sure what my with says if I buy another big tool.

Then I made a mistake I think now. I made notches where the blocks are attached. Are you making notches where something is added to the masts? I revied some of the building logs, but didn't find something similar. Or do you have tips to get the sanding round.


When all masts where in

Is it ok that there is so much space betten the mast and this ???... piece?

I added some thin stripes ... is that necessary or would it work without them too?

fitts perfect now, but I'm still not sure if it is needed. In the manual pictures it looks like it would work without this stripes too. In other buildlogs I found modellers that where creating this pieces of wood. I think I'm not able to do this.
Question for you..your model looks great by the way. I keep studying the stem and realize it should have been cut down. I can’t find anything in the instructions about that.it’s evident that the bowsprit and fashion pieces with not install correctly unless I cut down the stem. Advice?? ThanksStep P done:
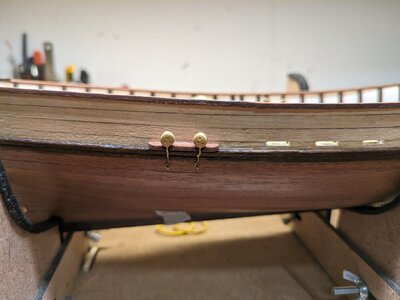
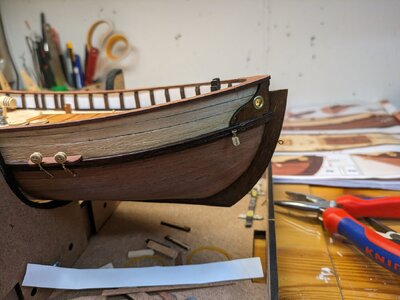
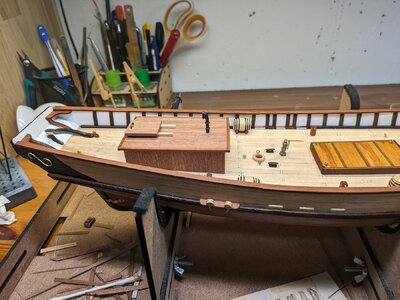
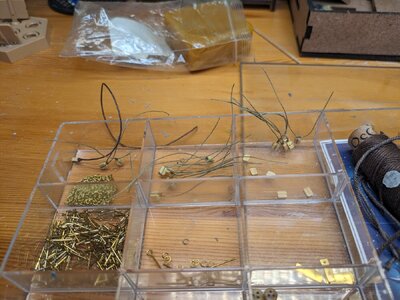
Everything glued with CA glue in this step. What you have to take care of here is, that you should use different sizes for the predrilling of the nails (I used 0,2mm) and the eyebolts (0,8mm). If you try to use a 0,2mm for the eyebolts you will bend them...belive me
View attachment 425057
View attachment 425059
View attachment 425060
Hi,Question for you..your model looks great by the way. I keep studying the stem and realize it should have been cut down. I can’t find anything in the instructions about that.it’s evident that the bowsprit and fashion pieces with not install correctly unless I cut down the stem. Advice?? Thanks
I haven't cut down anything from the stem. It was done exactly like shown, I only had to mill the hole for the bowsprit quite a lot.
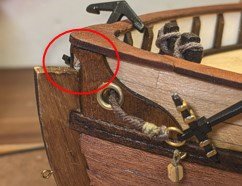
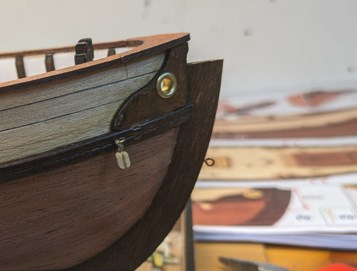
cheers
I realize that the bulwark was not mounted high enough. Now I have to figure something outHi,
I haven't cut down anything from the stem. It was done exactly like shown, I only had to mill the hole for the bowsprit quite a lot.
View attachment 429456View attachment 429454
cheers
Beautiful, nicely done! Magic Mike
Congratulations also from my side - well done


