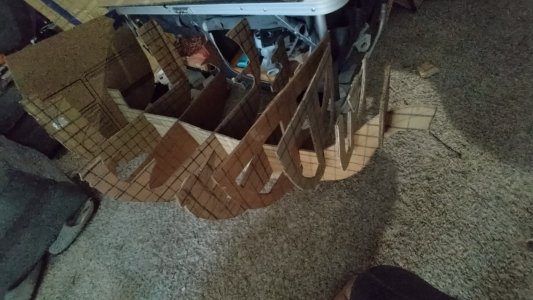
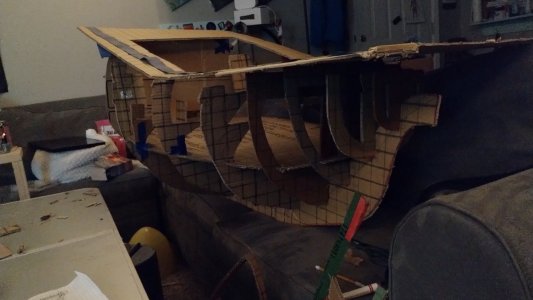
Oro Jackson of Roger Pirates, Capt: Gol. D. Roger, Show: One Piece

Log 9:

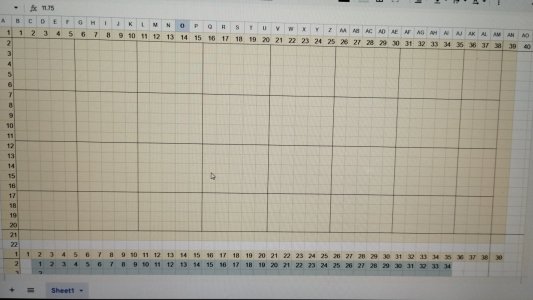
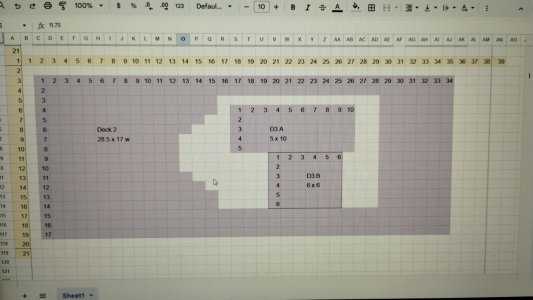
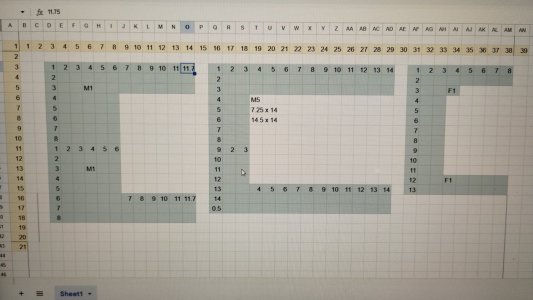
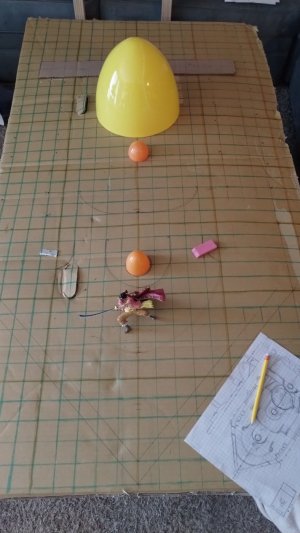
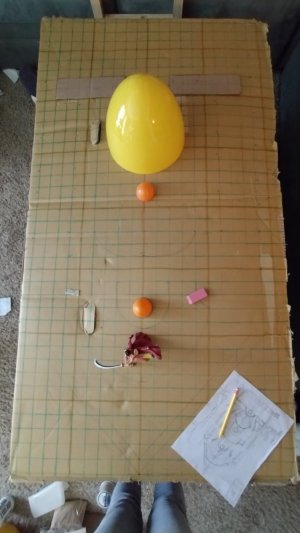
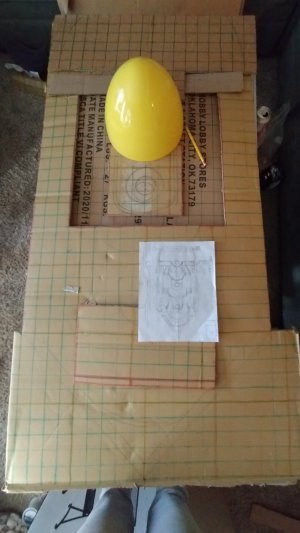
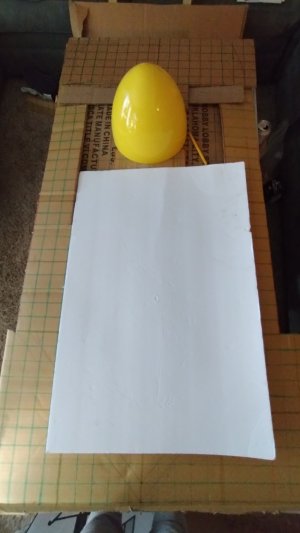
After feeling frustrated by the quantity of time it was taking to put a grid down (I tried many methods) my fiance gave me the final tips I needed to get tape to work to make a grid. We are now back in business. This weekend is the last weekend before the deadline of April 30 so excited to get cranking and VERY nervous about the deadline. The ship is now even bigger than the coffee table lol I have my doubts on transporting it to work. My mom has offered to pick it up with her truck. Don't know what Ill do with it once the competition is over as I fear it is too large to keep in my apartment. Here's to hoping I have enough paint lol

IMG_20250426_115833605.jpgIMG_20250426_115828135.jpgIMG_20250426_115838650.jpgIMG_20250426_115844567.jpgIMG_20250426_115849184.jpgIMG_20250426_115855777.jpgIMG_20250426_123141440.jpgIMG_20250426_123202845.jpgIMG_20250426_155354087.jpg
 
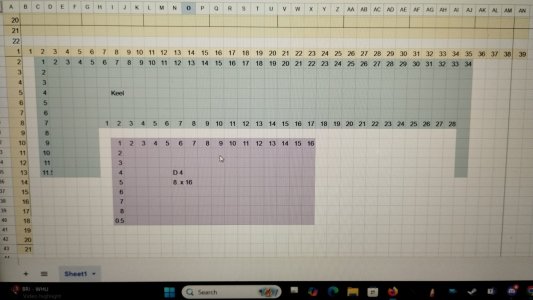
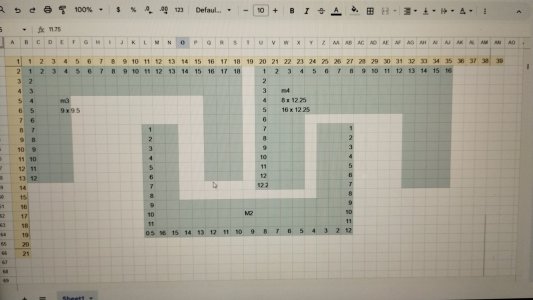
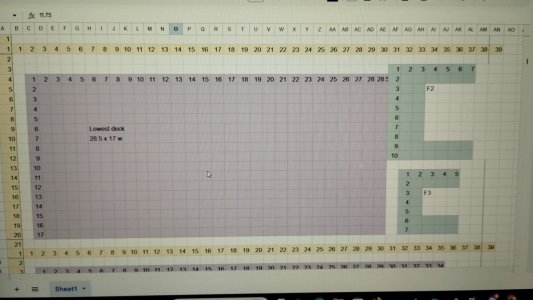
Based on the math I tested out in Excel id need 3 bike boxes. I have 1 and a TV box and. Fruit box in the house already. So trying to make it work.

For more info on the measuring, tape, the width I needed, stuck together on the wall and tracking with a wide felttipped marker is doing the trick for the grid.
 
I am really enjoying watching your project. Also seeing how you overcome challenges.
There is another material you might consider using if it's not too late.
It's called Foam-core board. it's like 1/4 " thick made of 2 sheets of posterboard material with foam in between. The other problem you would possibly have would be if you made it from would, it might be too heavy to move. :)
That’s a great suggestion. I think budget might be a limitation, though.
 
Log 10:

All the decks are now cut! Just the keel and the 5 main frames left. Running low on cardboard. Will have to raid my fiance stash again.
IMG_20250426_190318335.jpg
I think being smart enough to not use grid might of saved me some time and waste but sometimes we work with what the wind gives us.
 
I am really enjoying watching your project. Also seeing how you overcome challenges.
There is another material you might consider using if it's not too late.
It's called Foam-core board. it's like 1/4 " thick made of 2 sheets of posterboard material with foam in between. The other problem you would possibly have would be if you made it from would, it might be too heavy to move. :)

That's a good point on the wood! I hadn't considered that! I am worried about the frames holding up as I had only planned on doing the ones visible from the outside.

I have one piece of poster board
IMG_20250426_190527119.jpg
Not sure if I'll use it for anything.

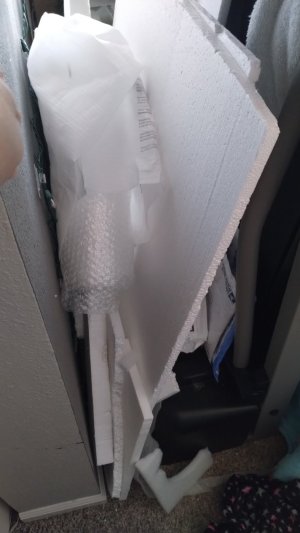
I also have a collection of foam from previous purchases over the years. Not sure why we have been holding the stuff.

IMG_20250426_191215013.jpg

As Namabiiru said, budget is a constraint. As well as knowledge. I have played with card board in the past. Even if it was just riping down boxes, I'm more familiar with it than other materials. So that might also be playing a part in using that over the pallet wood I got from some roofing work the apartment had done.
 
Log 11:
IMG_20250427_155541818.jpgIMG_20250427_155559918.jpg


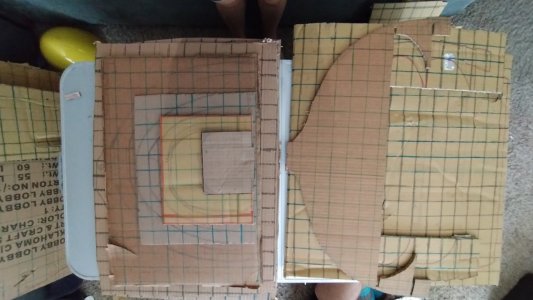
With that all the big parts are cut out. From here on out, math be darned, we go by feel and just making it fit lol lots of test fits and tweaks in my future. And tape where I cut off too much. No ca glue so hoping hot glue will do the trick or I have a store run in my future.... Let's gooo!
 
Log 12:

Added a deck! IMG_20250427_213843123.jpg
And starting to find out how to place the other one. Luckily cardboard is forgiving if I don't have my measurements exact. This deck will go where the supports are. Getting the below deck in worked well by tracing the keel on the board for where each frame would go, then tracing each frame at the deck line on its respective keel line of the deck. Unfortunately that brings us to the end of today.

As I needed the fiance help with test fitting the lower deck in, I think it's going to stay like that for a bit so I'll probably use an off cut to make similar measurements to transfer for the mid deck. After that the top decks are only in select places. While I'm certain I worked all weekend on it, I am a little disheartened by how much time to took to measure cut and put together. I'm excited to get to the detail work. But it is cool that the structure is almost done. Maybe if I did more and sat around thinking about it less I would be further lol the balancing act of the perfectionist lol someone once said fail fast and often is the best way to course correct.

I did swap one frame that was single cardboard with double cardboard for added strength to @Corsair point. I have been using masking tape/paper tape in other areas.
 
I am feeling giddy as a school girl each time I get a piece done and can put it into the ship :3 it's funny how these things can be so challenging and rewarding

'Analysis paralysis' is definitely me lol I spent the half hour of my alarm snoozing thinking about how I'm going to do the horizontal planks on the side considering I still want the main frames to be visible lol

Oh another lesson I learned/implemented from someone here was to layer your frames on each other to verify sizes. I trued everything up to the deck 1 line (as Namabiiru suggested having a deck would hold the frames together) then compared the frame height to where I wanted it to show on the keel. I then started from the largest frame and worked smaller tracing the previous frame each time. It let me find that I had counted wrong on three frames which were a half inch to a whole three inches long in some spots lol such is the fun of ship building I think lol
 
Log 13:

Monday Tuesday I worked to get as much done as I could before bringing it into work to be decorated with peeps. After being consumed by the project in all my free time I spent the last two nights catching up with family and friends while the ship remains on display at the office for the contest duration.

So to catch up, here is what was missed...

Got the second deck added on Monday along with adding the aft deck. The second deck was too wide in some parts and the frames too narrow in others. I haven't quite gotten around to dealing with that yet. But at least got it to fit. Lesson here would be to measure before assembling. So that it's easier to cut out the notches and draw and layout everything on top of each other. If you are proficient in cad - that would probably help... So yeah I look some long skinny off cuts, taped them to where deck 2 goes on the frames, then drew it onto the keel lines previously added. Not sure that makes sense, but I can draw up an example of wanted.

The back deck, ended up being too tall. I started to cut it but then decided that would have to wait till after the peep diorama event. Still not sure how the math didn't work out. But to match the pictures I need to shorten it.

Didn't think I had any pictures from Monday but apparently I did haha
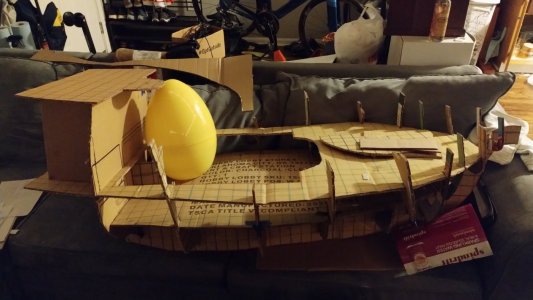
IMG_20250428_230621585.jpg

So till then I decided to see how much "planking" I could finish.

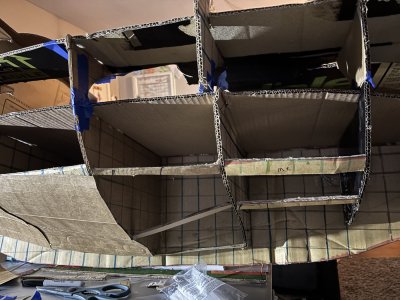
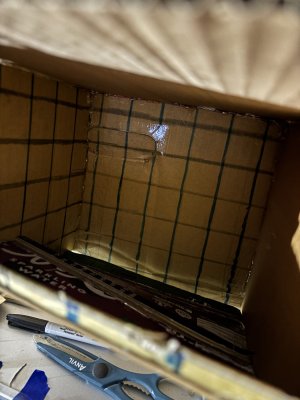
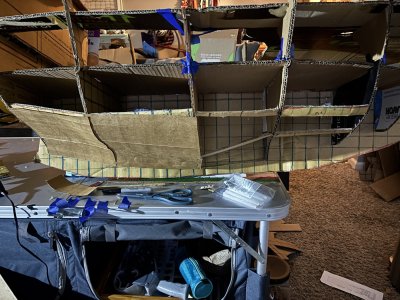
For planking I took pop boxes and rolled them and cut off off shaped tabs. From the paint experiment, this was my favorite. From there I was worried on how to add them so I pivoted to bring bothered by the bottom deck not staying in place / not being able to maneuver the ship to the angles I needed if I were to apply it. (I tried flipping the ship upsidedown and one of the frame detached from the week point at the deck joints on one side. Nothing tape can't fix but didn't want to make it worse.) So I pulled out some of my old college books to hold the keel in place as I got to hot gluing everything together. Having the skinny off shoots lying around from the adjustment of the mid deck I might of been having too much fun with the hot glue and started adding little bits here and there between frames. I switched to the other side and started doing the same when I fully realized that this was to help give structure to the "planking" as the single test planking I had done to the aft was sagging in and losing the desired shape.

Finding that the cardboard would turn as I went up, I set to just doing segments which worked beautiful. Might try my hand at paper mache later to see if I can't cover any of the seams.
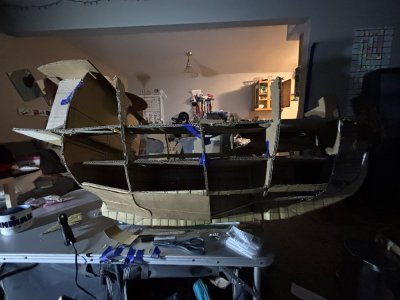
IMG_8464.jpgIMG_8460.jpgIMG_8461.jpgIMG_8463.jpg

From there to cover the frame seam, I finally found a use for my one sheet of foam board. Using the hot glue to melt a channel for the ridge on the frame, the foam covered it well.

My phone died so there were no more pictures before the big day.

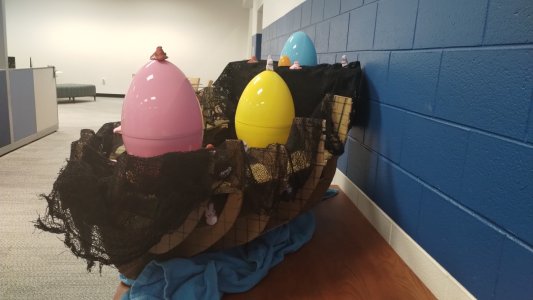
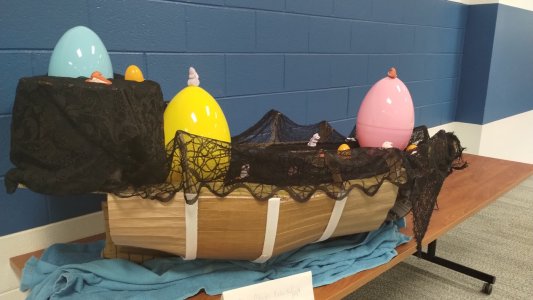
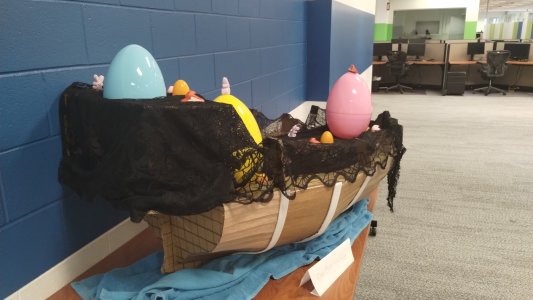
From there, with only one half looking like a ship, I then decided to do a 'davey Jones from pirates of the Caribbean' type thing. Called it "Dead Chicks make no Peeps"
IMG_20250430_172400407.jpgIMG_20250430_172408829.jpg
The "healthy" looking side.

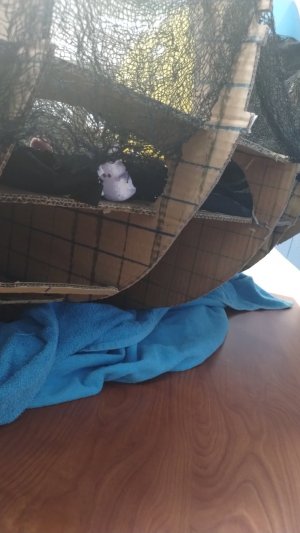
IMG_20250430_172417102.jpg
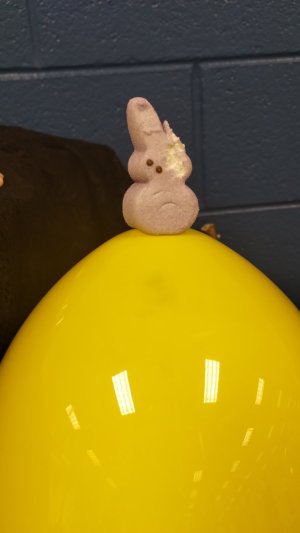
The 'skeleton' side (note how the peeps look half eaten lol )

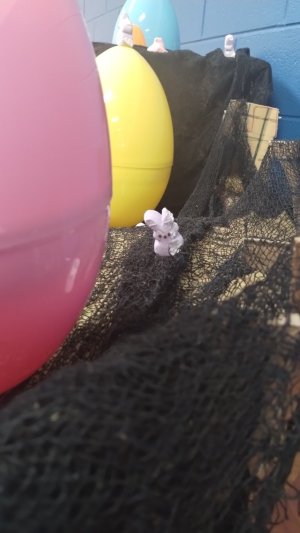
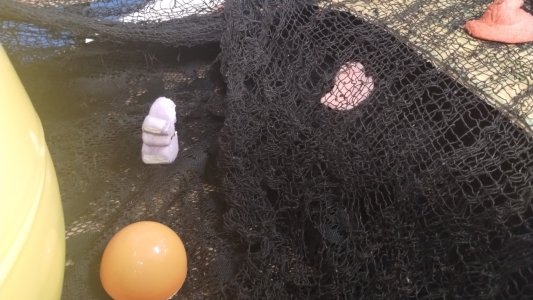
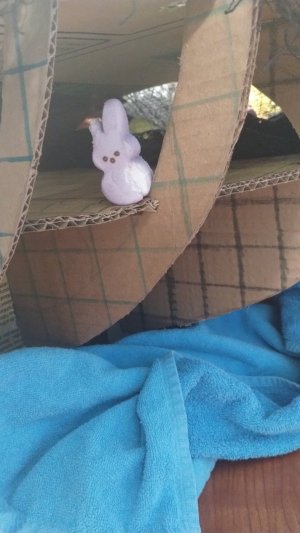
Some notable peeps
IMG_20250430_172422136.jpgIMG_20250430_172425758.jpgIMG_20250430_172435507.jpgIMG_20250430_172451980.jpgIMG_20250430_172443115.jpgIMG_20250430_172455907.jpg

Will be taking a break for a bit but will probably be back at it the following weekend. Need to help clean the house this weekend.
 
That is absolutely wonderful !!! I always thought it would have been fun to participate in one of those office contests, my team (Data Center IT) was always to busy to participate. :)
So, are they going to judge them? Yours is terrific and very inventive and imaginative ! of course, I might be a little prejudice. ROTF
 
Back
Top