- Joined
- Sep 10, 2024
- Messages
- 1,022
- Points
- 393

Bummer! You could always do it the hard way - like me!I just tried to order this upgrade kit, it is out of stock.
 |
As a way to introduce our brass coins to the community, we will raffle off a free coin during the month of August. Follow link ABOVE for instructions for entering. |
 |
 |
The beloved Ships in Scale Magazine is back and charting a new course for 2026! Discover new skills, new techniques, and new inspirations in every issue. NOTE THAT OUR FIRST ISSUE WILL BE JAN/FEB 2026 |
 |

Bummer! You could always do it the hard way - like me!I just tried to order this upgrade kit, it is out of stock.
Well I did move the mast forward one frame, so I'm partially there. LOLBummer! You could always do it the hard way - like me!
I emailed Pavel to see when the mast stem upgrade kit would be back in stock, he replied an hour or so ago stating it is back in stock. My guess is his web store won't be updated until Monday or so, anyway...good news!Well I did move the mast forward one frame, so I'm partially there. LOL
Steve
DittoWell I did move the mast forward one frame, so I'm partially there. LOL
Excellent news.I emailed Pavel to see when the mast stem upgrade kit would be back in stock, he replied an hour or so ago stating it is back in stock. My guess is his web store won't be updated until Monday or so, anyway...good news!
Steve


advice needed.....ink on one scrollwork seems to be washed out with detail missing, and of a different color.......i emailed pavin to ask for a replacement for the lighter one, which i'd be happy to pay for, but no reply yet......is that an unreasonable request?......
View attachment 540086


Good to hear.will probably wait to see what other people come up with.........
oh.....pavel is sending me a replacement.....just have to pay shipping.....as edd sulivan says...good shew.....

Welcome to the Oseberg club!Good to hear.
PS: I ordered the 1/35th - hoping to receive it quickly - No, even directly from Pavel's shop its 6-8 weeks before shipping. Oh well.

Hello, RussF... You're building a beautiful ship, and your modifications are very instructive. I'm not as experienced a modeler as you are, but I also want to build a similar longship for myself. However, my construction will be entirely manual... based on the blueprints. My ship will be 36 cm long. My blueprints are based on a simple set, and I'll need to modify them. Do you mind if I ask you some questions during the construction process?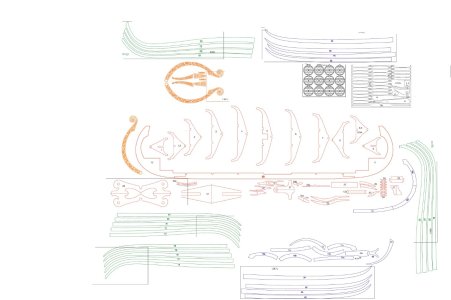


I admire the drakkars from Gokstad and Oseberg. I have finished my little Gokstad, with improvements to my liking. Now I've decided to build my favorite drakkar from Oseberg. The model will be built exclusively manually. I want to try to make it look like Oseberg. The additions touch the front stem...There will be a dragon's head. The ship will have the name "DRAGON"...Of course, I'll be happy to answer anything I can. It looks like you have a nice set of part drawings to get you started. Is it any ship in particular, or just a general representation of a longship? I would also direct you to this posting of mine where I have the link to Dr Bischoff's dissertation on Oseberg. There are many good drawings and photos there.
I haven't had the opportunity to work on mine for about 10 months, but the plan is to get back to her soon.
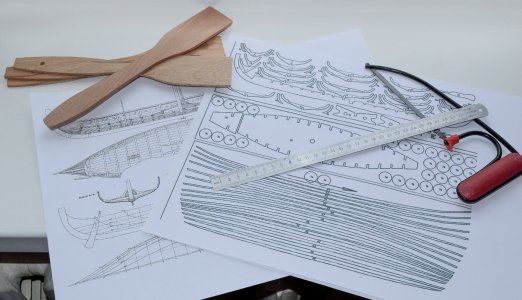
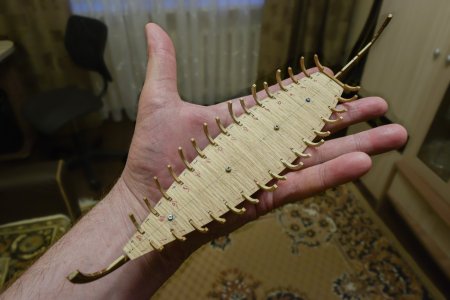
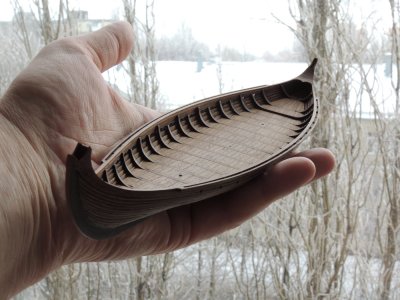
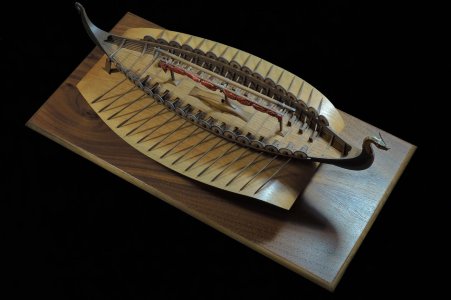
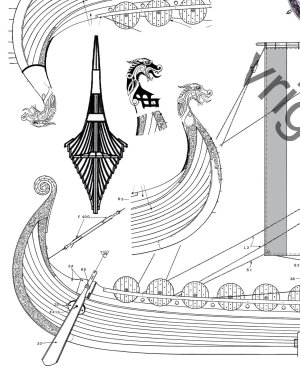

I admire the drakkars from Gokstad and Oseberg. I have finished my little Gokstad, with improvements to my liking. Now I've decided to build my favorite drakkar from Oseberg. The model will be built exclusively manually. I want to try to make it look like Oseberg. The additions touch the front stem...There will be a dragon's head. The ship will have the name "DRAGON"...View attachment 574193View attachment 574194View attachment 574195View attachment 574196View attachment 574197

Having two drawings, I see that the mast height is different... Nikitin's is much higher than mine. Which one do you think is more correct?View attachment 574204

That would be hard to say for certain, since most of the actual mast from Oseberg was gone. Since your target length is about 36cm, that puts the scale at about 1:60. The full sized reproduction, Saga Oseberg, had a mast length of 1235cm with a yard of 1050cm. Scale sizes would be 20.58cm and 17.5cm respectively. I believe these dimensions were derived from historical evidence from othe
