- Joined
- Sep 10, 2024
- Messages
- 1,025
- Points
- 393

Would be interested in what boards were not nailed, I only have a general idea. Also I wanted to ask if you had any idea on the possibility of how to show the rove that would be visible on the inside of 11 and 12th plank ? Scale size would be 1 mm square.
Until I can get permission to post drawings from the book, I will describe the locations as best as possible.
Each "room" is a space between bitis. The locations are based on the position of the mast. I have moved my mast forward one room as it is located in the full sized ship, therefore you will have to decide where you want to place the un-nailed boards based on where you are placing the mast.
The rooms immediately forward and immediately aft of the mast are unfastened. Then, going aft, there are 3 rooms of fastened boards and then 1 room of unfastened boards. The rest aft are fastened. Forward, the last two full length rooms at the stem are unfastened. So, if you moved your mast forward there are 4 rooms of fastened boards forward. If you left your mast in the center, there would be 5. I hope that is clear enough, but please ask if not.
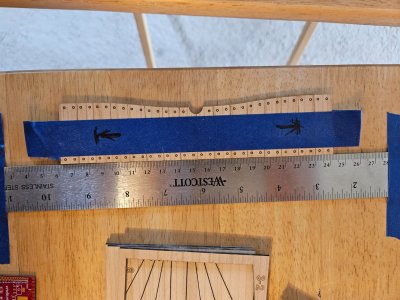
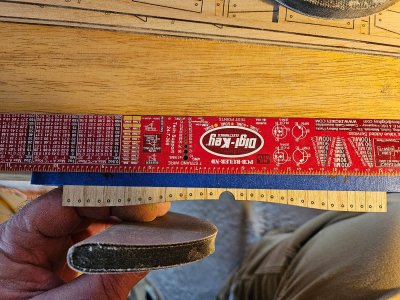
As for the roves, well, I've been thinking about that a lot. Most were square, but some were rhombic. I thought about cutting small squares of black construction paper, gluing them on and drilling through it to place a nail with a smaller head than those used for the rivet heads.
I really want to use some of the nails from Dry-Dock Models and Parts, but I'm still on the fence a bit. For one, the quantity needed to represent actual scale would be quite expensive - I'd have to file a special requisition with the Admiral. Second, by the looks of it, at this particular moment, they are out of stock of all but one size.
Olha used a black putty and wiped it into the holes. There would inevitably be some left in the surrounding wood grain, but I suppose if your finish were dark enough, that would be hidden.
Another idea I have entertained is to drill the holes and use a 3D pen to push black molten plastic into them, then sand it flush, although you wouldn't get the effect of a rivet head. With either of these last two methods, you could drill a hole and with a small diameter rod that has been ground to a square taper, you could push it into the holes and effectively make them square. The filler would then take on that shape, giving the illusion of roves.
As I said, still working it out in my head.


 The deck boards are going to take a lot of work because, after all, they are one of the most visible parts on the model. I'll outline here what my plans are and then keep everyone updated on the progress as it happens. Of course, to quote Robby Burns, "The best laid plans of mice and men ..."


