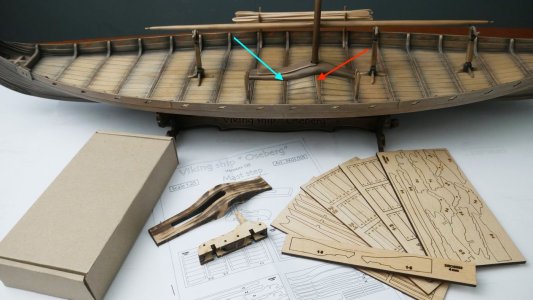
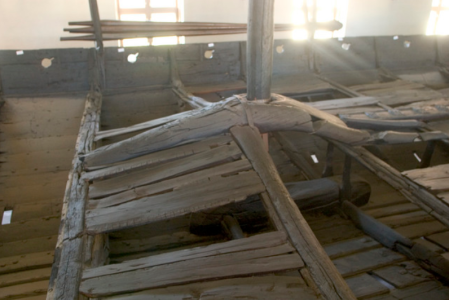
Russ,
thanks for your detailed response - How the 1/35th structurally looks TBD? - I would also assume that it will reflect his larger example. Having looked at
many 1/1 images, as well as the Pavel's kit I knew that I would need to do some scratch building for areas of open deck views.
Yes, cutting to shape tiny nails are my thoughts as well - But as you mentioned - some negatives attached to that idea. - looking forward to your solutions!
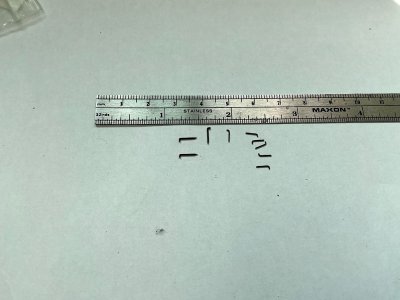
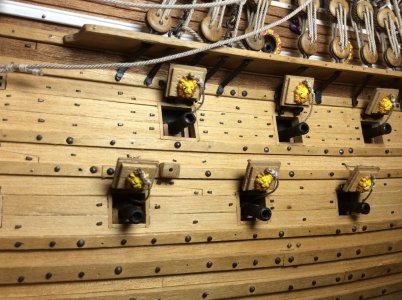
I did visit some HO train retail sites - they have several items that would work well for the rivets IMO - could be a solution. Note image from my Vasa - I used
HO railroad tie cleats that come in two sizes as well as miniature nails.
Regards,
View attachment 532190View attachment 532191
That's an interesting use of those rail spikes, John. It looks good on your Vasa.
The rivet heads on the actual ship are 20-25 mm in diam. The roves are also about 25mm sq. That translates to 1mm in my scale and 0.78mm on the 1:32 version. Looking a photos from the museum, you can see that the heads are very nearly if not totally flush with the surface of the plank. Any "scale" nail head we try to use that stands proud of the surface at all will probably be too much. I don't want to exaggerate the heads, just indicate them. The roves were slightly prouder, but not by much.
Olha shows a technique where she drills holes and fills them with a blackened wood putty. Certainly quick and it allows you to sand everything flush without losing the color of the filler, but I don't like the idea of the putty getting pressed into the surrounding wood grain and having to sand more than I want to in order to remove it.
Certainly, I could cut small segments of 1mm brass wire, blacken it and press it into the holes, but you wouldn't be able to sand at all afterwards for fear of removing the blackening.
So, I'll go ahead and share the idea I have, but keep in mind, it has not been tested at all (I don't even have the equipment yet), and I cannot vouch for any results until I have tried it.
My thought was to drill all the necessary holes first. T represent the square roves, I would file the tip of a piece of wire or the back end of an old drill bit into a tapered point with a square (or slightly rhombic) cross section. After drilling the hole, I would just push the tip of this tool into the hole, giving the hole a square shape. It is small enough, that theoretically, it should work well. Finally, using a 3D Printing Pen (that extrudes molten plastic from the tip), I would press the tip over the hole and inject a small dab of plastic into the hole. Once cooled (about 5 seconds), I should be able to easily sand it flush with the strakes.
That's my thought - I don't know if it will work. If anyone has a 3D pen and would like to try it, I would be most interested.


