Kurt Konrath
Kurt Konrath
What is the line in old Gospel song, "One day at a time"
 |
As a way to introduce our brass coins to the community, we will raffle off a free coin during the month of August. Follow link ABOVE for instructions for entering. |
 |
 |
The beloved Ships in Scale Magazine is back and charting a new course for 2026! Discover new skills, new techniques, and new inspirations in every issue. NOTE THAT OUR FIRST ISSUE WILL BE JAN/FEB 2026 |
 |

Thanks, it's a slow start.Looking good Jan!

....sweet Jesus. That's all I'm asking of you. Just give me the strength to do what I have to do.What is the line in old Gospel song, "One day at a time"
Thanks, it's a slow start but fun so farLooking good Jan!
Wow, you are a few steps ahead of me. Those are great photos, thanks.Hello. I wish you luck and patience with this boat. I'm building it now.
View attachment 506819
View attachment 506820
View attachment 506821
View attachment 506822
Ah, thank you for that, reminds me of singing in the choir many man years ago.....sweet Jesus. That's all I'm asking of you. Just give me the strength to do what I have to do.
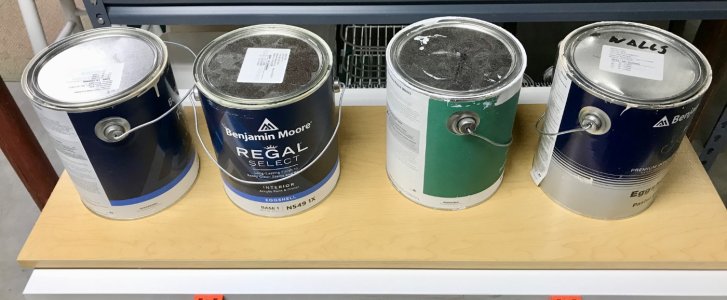
NO,NO. I really don't like painting. Those are the backup paint cans for the Admirals 1:1 scale paint jobs. I do the Blue tape thing to help put, but she does the painting. I haven't been able to enlist her help painting my models.Jan, are those paint cans for an upcoming Honey-Do list. If so are you shirking your duties.

What was the term Clint Eastwood's charter said in Heartbreak Ridge "Improvise, Adapt and Overcome" which you done well.The Keel:
I was concerned about what type of glue to use on the two sections of the keel.
Well this morning I got the bug and decided to use the Titebond II I had on hand. I spread glue on one half of the keel as quickly as I could and pegged that section together. Then I quickly spread glue on the second half and pegged that. I found trying to hold 4mm pegs with tweezers in one hand and a small hammer in the other was quite the challenge or simply put a PIA.
View attachment 506701
Pavel used large water bottles as weights to keep the keel flat while the glue sets. These full gallon paint cans were handy, so....
Jan
Yup. BTW that was/is a great movie.What was the term Clint Eastwood's charter said in Heartbreak Ridge "Improvise, Adapt and Overcome" which you done well.
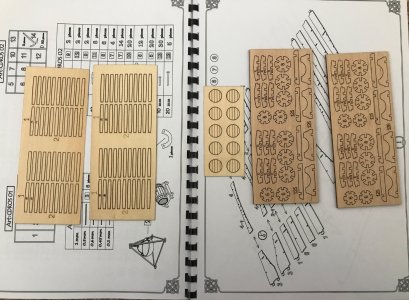
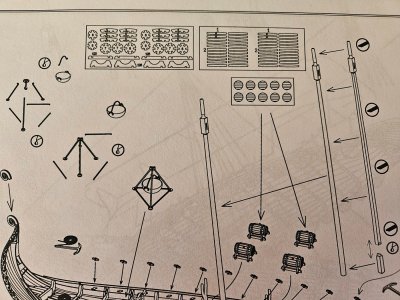
I have a question for you. Tell me how many sheets you have with the parts for barrels? I had one sheet with the details. I started assembling the barrels yesterday, and I realize there won't be enough parts for the barrels.
View attachment 507042


 I think he was getting tired of drawing by the time he got to this point.
 I guess they're not sent out in order.
BTW Jan, I ordered and received my kit before you, yet my serial # is 68 and yours is 61. Not fair!I guess they're not sent out in order.
 We can swap when you finish #68 and then you can then finish #61 and keep the lower serial number
