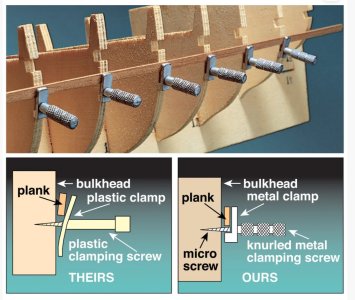
These might be of help as well https://micromark.com/products/micro-mark-10-piece-planking-clamp-set?keyword=planking

 |
As a way to introduce our brass coins to the community, we will raffle off a free coin during the month of August. Follow link ABOVE for instructions for entering. |
 |
 |
The beloved Ships in Scale Magazine is back and charting a new course for 2026! Discover new skills, new techniques, and new inspirations in every issue. NOTE THAT OUR FIRST ISSUE WILL BE JAN/FEB 2026 |
 |

That is correct. And it dries quickly too. I usually get the stuff that is pink and turns white when it dries.Polyfilla spackle is not sold as powder btw - it comes ready-mixed in tubs. Good product I have found - but remember, it air-dries to set - this isn't a plaster-based filler.

This is only my third ship model so it's not constrained by experience or patience. In my first model I tried the ugly first layer, nails, spackle with a second layer of thin walnut. The end result was good but I didn't enjoy it much.Chelseafan is right 100%. If you spend the time to groom and shape each plant to fit, no clamps or pins are required. It does take a lot of time and patience, however, and these are not things in great abundance with most new modelers. The results speak for themselves.
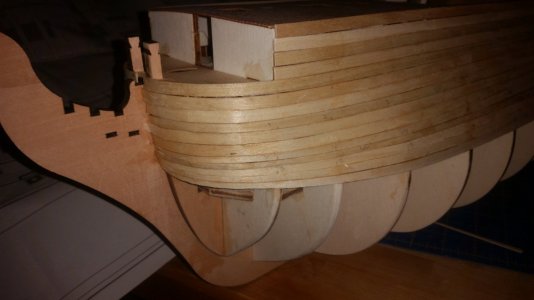
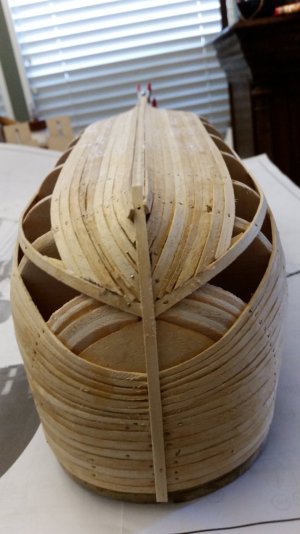
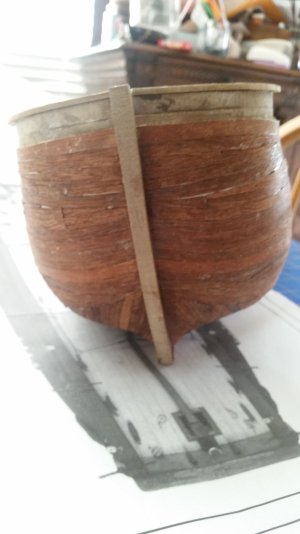
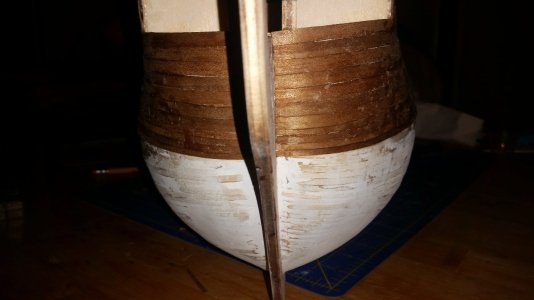
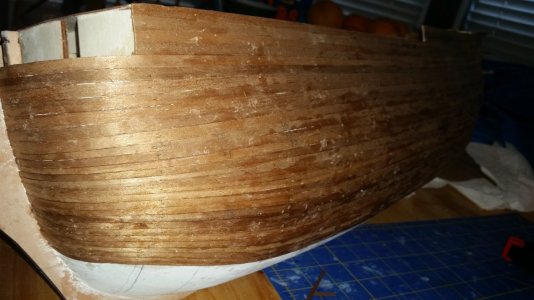
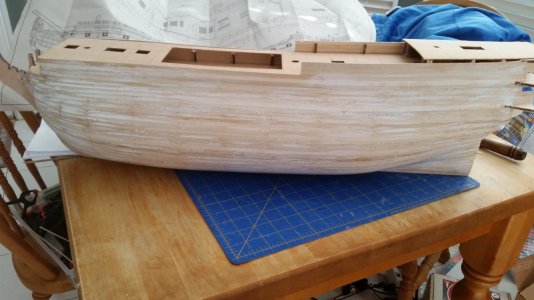
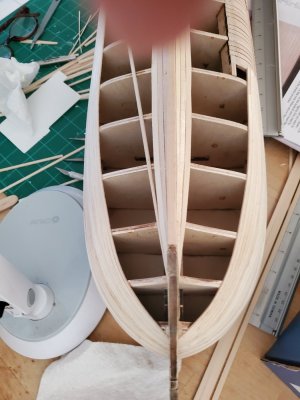
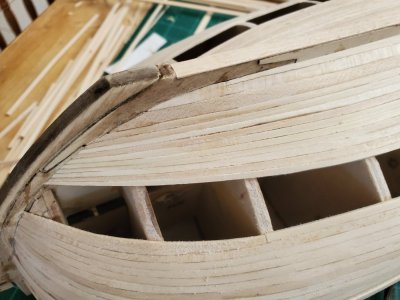
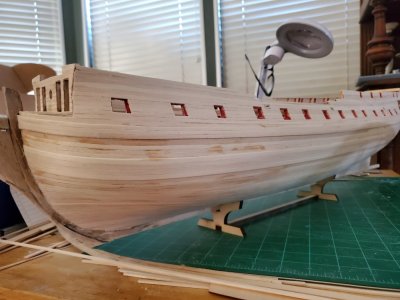
Thanks for doing this. Others of us have recommended these videos as well, but it feels like preaching to the choir the majority of the time. It is not that difficult to arrive at a great job of planking without pins of any kind and few, if any, clamps if pre-shaped edge bending is used. Happily some kits are now providing spiled planks which makes the job even easier without pins and clamps and no edge bending necessary.I tell anyone go and watch Chuck Pissaro's wonderful YouTube short videos on planking accurately.

Could someone provide a link to this video on YouTube pleaseThanks for doing this. Others of us have recommended these videos as well, but it feels like preaching to the choir the majority of the time. It is not that difficult to arrive at a great job of planking without pins of any kind and few, if any, clamps if pre-shaped edge bending is used. Happily some kits are now providing spiled planks which makes the job even easier without pins and clamps and no edge bending necessary.
Allan

Could someone provide a link to this video on YouTube please
Have used them but care needs to be taken that you don't split the bulkheads/frames (I pre-drilled with a .8 mm bit when I used these on the Gunboat Philadelphia (which is what the instructions for that kit suggested using). Also, get the ones with the metal heads if you are going to use them; the heads of the plastic-headed ones can break off easily when pressing them in to wood.Has anyone used 'push pins'; placed into the frame member to hold the plank in place?
View attachment 498810

I just use a small punch and small hammer and knock the pins in further before sanding rather than pulling them out. Given all models have a 2nd layer of planking you never see the pins again. Regarding planking practice over a number of models will help with your technique ... keep plugging away.Hi, I am new to this wonderful hobby and am building my first model, Polaris by OcCre, I have received several helpful emails from members but a thought has occurred while sanding the first planking layer. The OcCre videos and other vids show the pins in place and consequently you have to file them flat to get a flat surface for the next layer of planks.
My question is when I was carrying out the first planking I inserted the nails as shown on the plans, which is a lot of nails, but could I nail the pins in to say three quarter of their length rather than the whole way and when the glue has dried remove the nails. When the nails are hammered in flat it is difficult to remove them without damaging the planks.

The oint if my post was that it didn't have a second layer so the first has to be perfect. And it can be, quite easily.I just use a small punch and small hammer and knock the pins in further before sanding rather than pulling them out. Given all models have a 2nd layer of planking you never see the pins again. Regarding planking practice over a number of models will help with your technique ... keep plugging away.

Hi Keith, Thanks for your thoughts along with all the other contributors. If you have the time to read all their comments and suggestions along with all the associated videos, courtesy of YouTube, you will see there are quite a few different ways of securing the planks. With and without pins.I just use a small punch and small hammer and knock the pins in further before sanding rather than pulling them out. Given all models have a 2nd layer of planking you never see the pins again. Regarding planking practice over a number of models will help with your technique ... keep plugging away.

Sorry Chelseafan, I should have quoted you in my post to Keith as wellThe oint if my post was that it didn't have a second layer so the first has to be perfect. And it can be, quite easily.
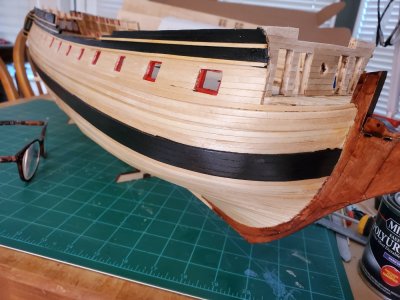
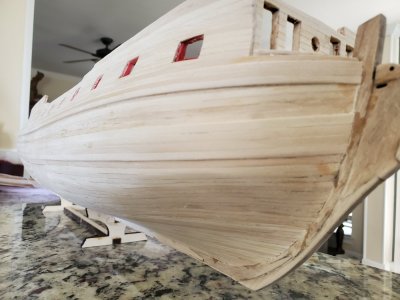
No pins, clamps or nasty twists in the planks. And all in a single layer.
View attachment 499372
View attachment 499373

No sweat!Sorry Chelseafan, I should have quoted you in my post to Keith as well

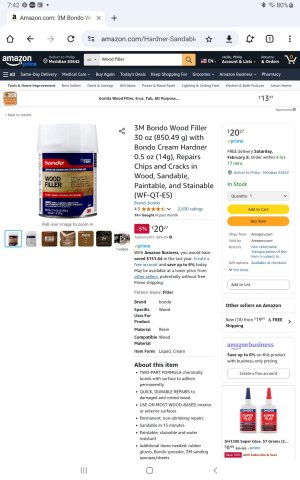
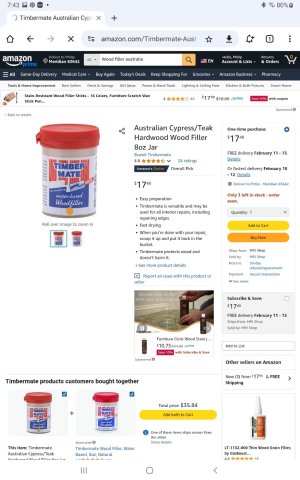
Goop cement is silicone rubber and does not dry to a solid, hard substance. Be careful. If you're looking for a wood filler, there are many. My favorite is Timbermate (Australian). It is easiky worked and doesn't dry out in its container. Available in different colors too. And one other great one is Bondo wood filler.With regards to your present model, not future ones that you might build.
Have you considered goop? This is an inelegant name for various formulations that you might trowel on to your model. Here in the USA I would use Durhams Rock Hard Water Putty, an acrylic powder that you mix with water. There are similar materials sold by specialty woodworking companies. You could also use auto body filler. All of these dry hard and sand well. Once it hardens, it should be sanded to a smooth hull shape.
The “double planking” of POB kits is not prototypical boat or shipbuilding. It is used by many kit manufacturers to provide a surface for adding the “real” planking, while using the minimum number of bulkheads. So, using goop is not cheating. Anything that will provide a fair solid surface is OK. You can then add your second layer of planking OR paint the hull without the second planking.
My advice allows you to move ahead to complete your model and to build a better one next time.
Roger
