Step 27…
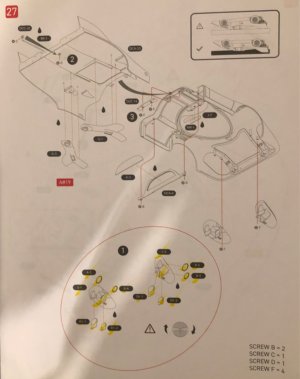
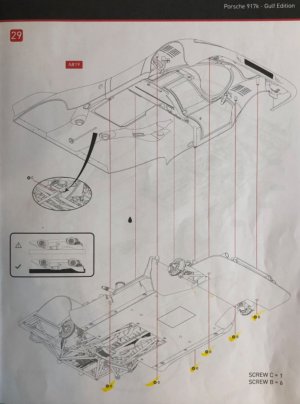
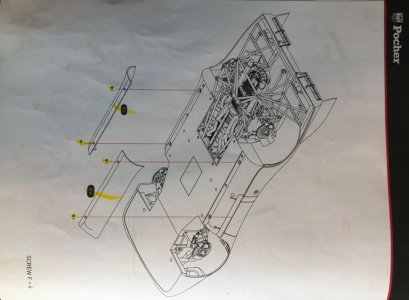
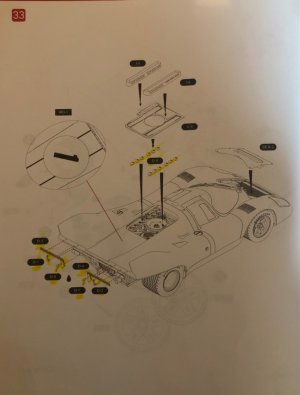
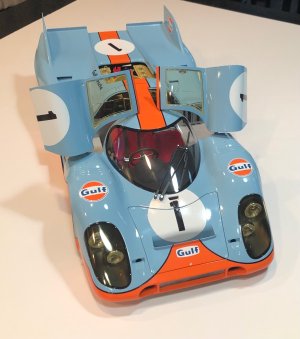
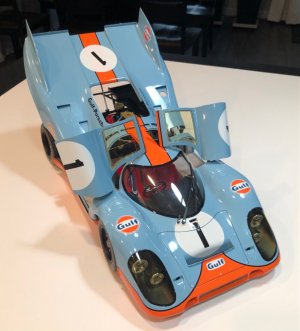
A lot going on here… building the headlight assemblies, the rear view mirror, the top of the firewall with window, the rear ducts for the transmission cooling, joining the tail of the body, adding the headlight assemblies, and adding the strut for the rear to open.
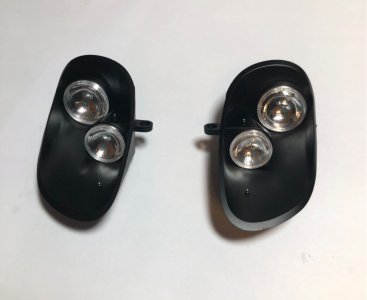
The headlight assembly parts as provided…

The chrome plated part below the headlight buckets shows…sigh…

So I will have to paint those black first…then assemble the headlights.
The scary part as always with glass, is gluing them without squeeze out that fogs the glass or leaves an ugly blemish. Never use CA glue! I have learned to be very careful and apply the glue to the piece the glass will go on, never the glass itself! Second, use as little glue as possible, better to have to glue the part again than get excessive squeeze out and ruin the glass (which is plastic).
My complaint with these, is the clear headlight lens were actually a little too big to sit in the bucket and seat all the way…sigh! So I had to put glue on the face of the bezel and sit the lens on top carefully.
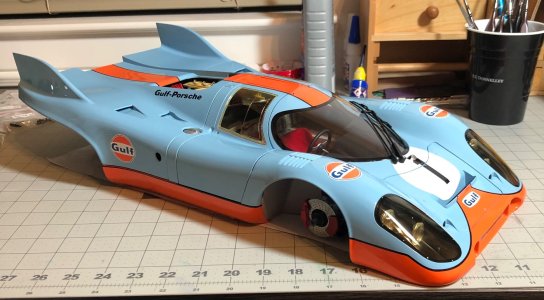
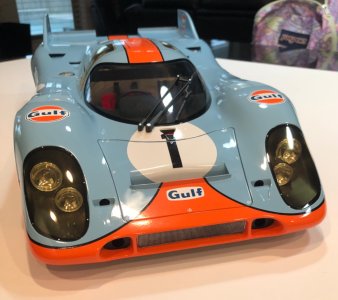
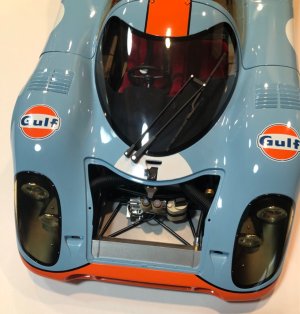
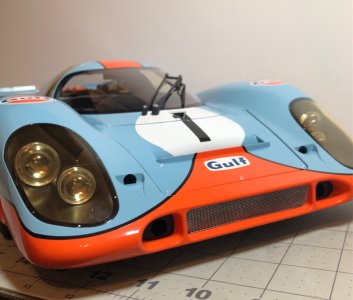
Anyway, here they are…
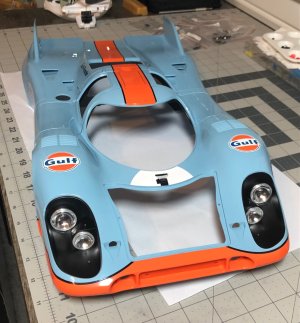
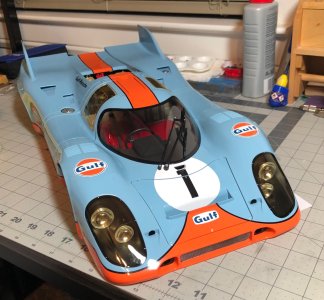
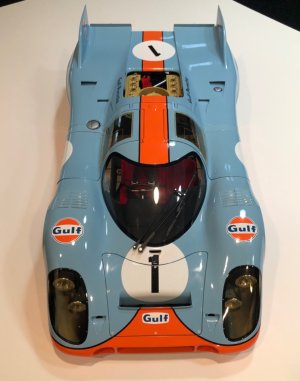
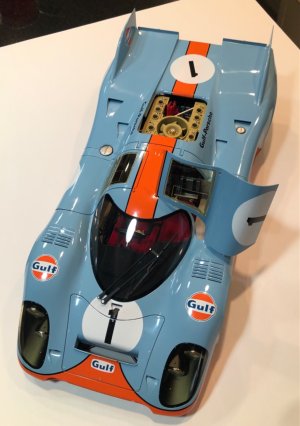
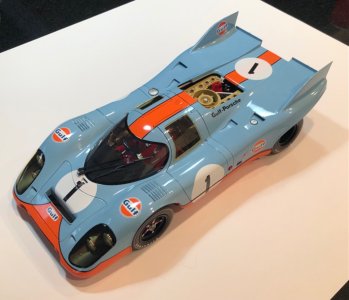
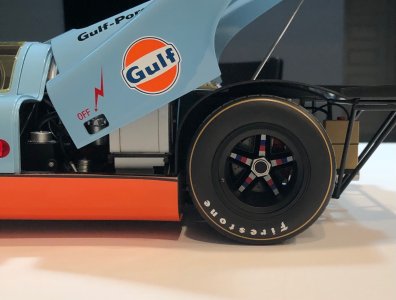
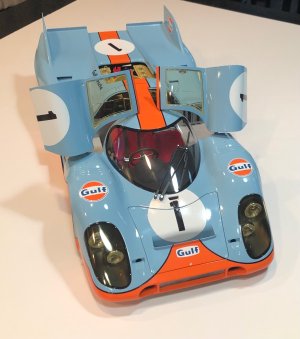
And on the body…
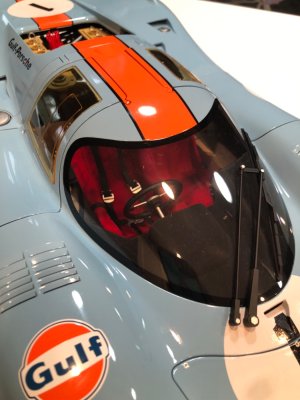
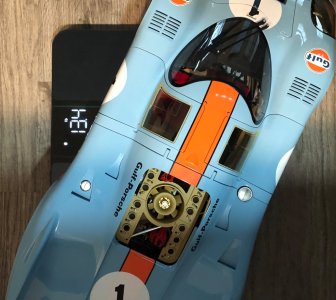
The mirror and upper wall with glass…
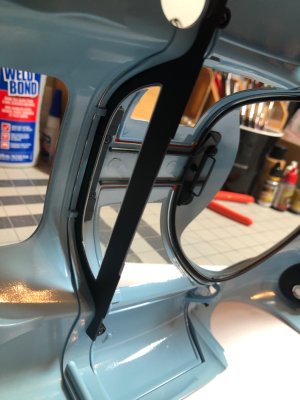
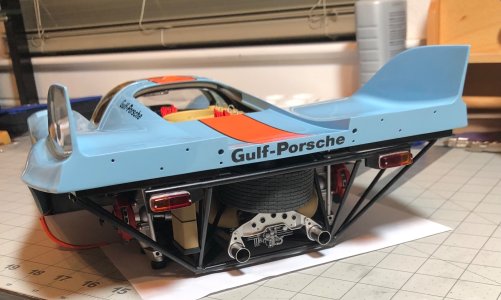
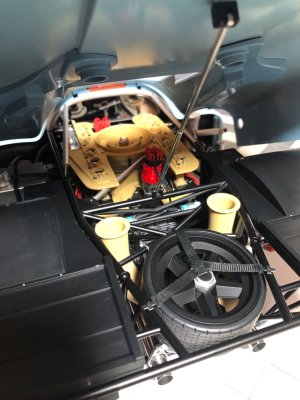
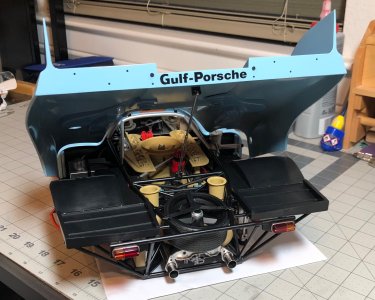
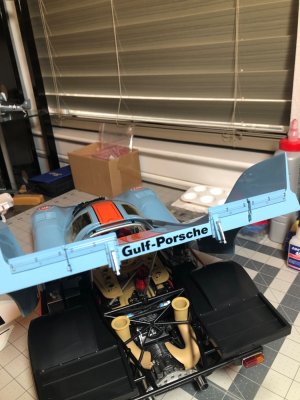
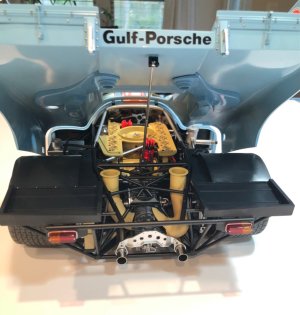
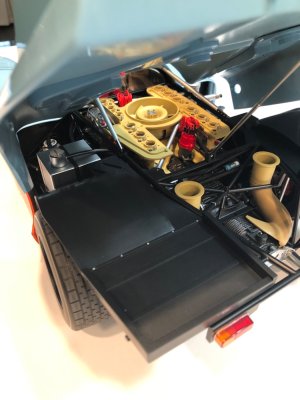
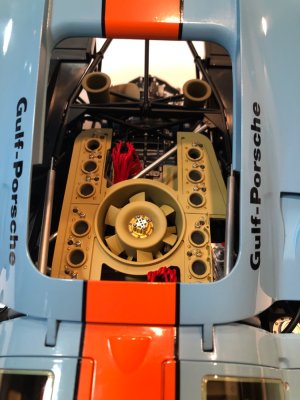
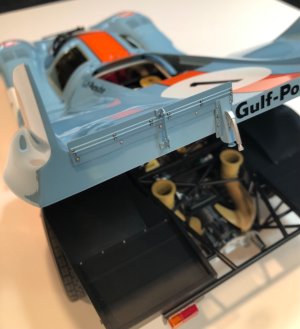
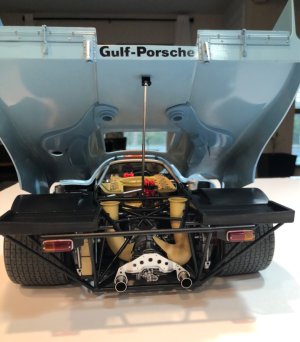
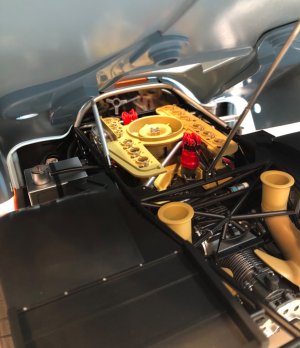
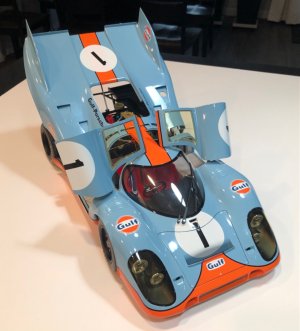
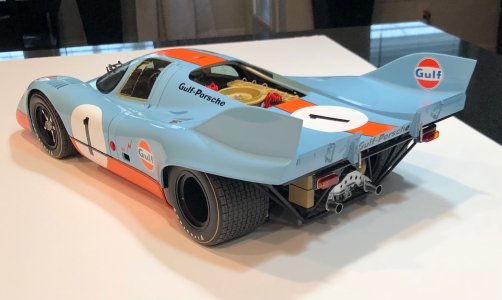
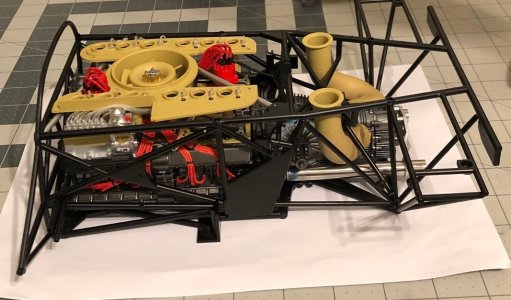
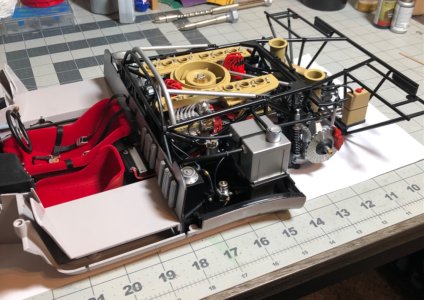
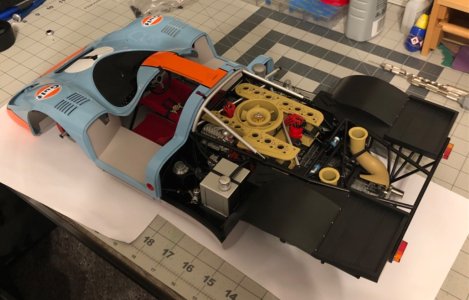
And finally the rear with cooling ducts that line up with the pieces on the transmission when it is closed.
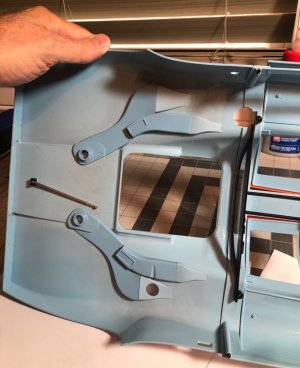
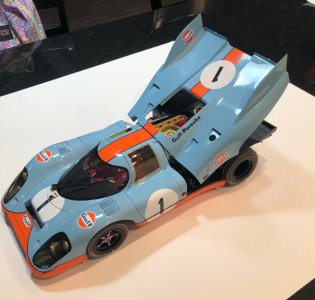
As you can see they actually sit inside the vertical riser on the chassis for the cooling ducts when closed …cool design! And of course the strut is attached.
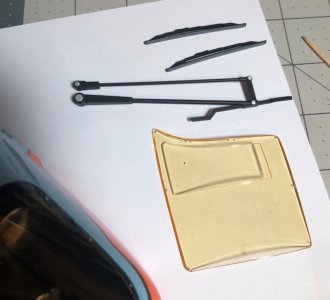
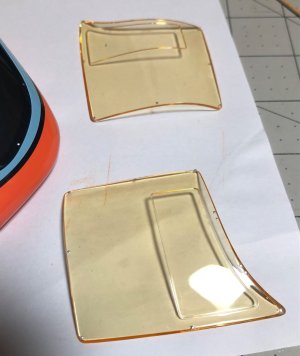
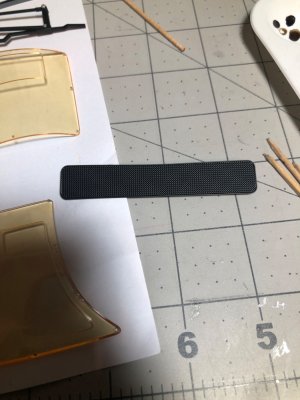
So I survived this step. Next will be more glass for the windshield, doors and to cover the headlights. They should really consider designing the kit to have the glass snap in place verses gluing. But hey, who is afraid of another challenge?

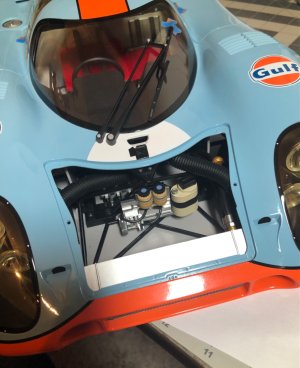
In addition, when the body is joined to the chassis, I then have to reach inside the front hood area and connect the cooling hoses for the front brakes and cabin.

 But I can strive for it and settle for my best effort.





















 .
.