Absolutely superb ! Great skill and talent.
Tis a thing of beauty.
Tis a thing of beauty.
 |
As a way to introduce our brass coins to the community, we will raffle off a free coin during the month of August. Follow link ABOVE for instructions for entering. |
 |
 |
The beloved Ships in Scale Magazine is back and charting a new course for 2026! Discover new skills, new techniques, and new inspirations in every issue. NOTE THAT OUR FIRST ISSUE WILL BE JAN/FEB 2026 |
 |
Thanks BillGreat details throughout your build!
Bill
Thank you very much!Absolutely superb ! Great skill and talent.
Tis a thing of beauty.
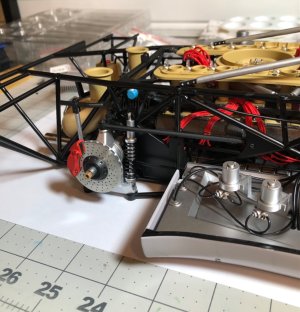
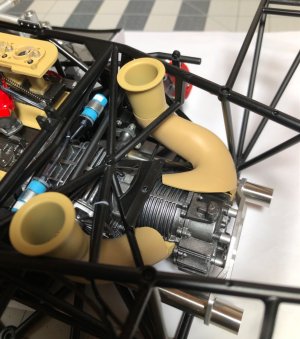 You can see it between the coil and the cooling duct.
 Hi Paul, I had considered that too, however my Lotus 72 is still rust free and it was completed in June of 2023.Hi Dean, I had a passing thought...what is the brake rotor made of? Any chance they painted that part to avoid long term rust/corrosion, and you have now exposed the metal to the elements?

Good to hear that you've thought about and looked into it.Hi Paul, I had considered that too, however my Lotus 72 is still rust free and it was completed in June of 2023.So I am going to assume it’s fine. But I did some research…
View attachment 509336
That’s the breakdown for Pocher kits. As you know, zinc alloy is fairly corrosion resistant, not as much as stainless, but not being exposed to any harsh environments in my house, it should be fine in my humble opinion.
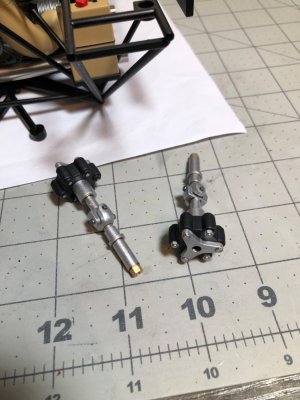
Rear axle assemblies finished…
View attachment 509058
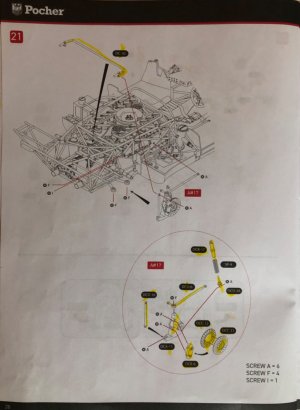
Next is the rear suspension on the drivers side and attaching the sway bar on this side.
View attachment 509059
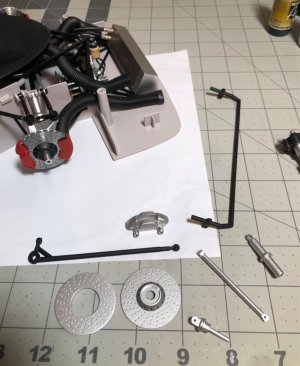
The parts as provided…
View attachment 509060
I will paint the caliper red, turn the brake disc after gluing the halves together, and add detail to the remaining parts, there is one part not shown here.
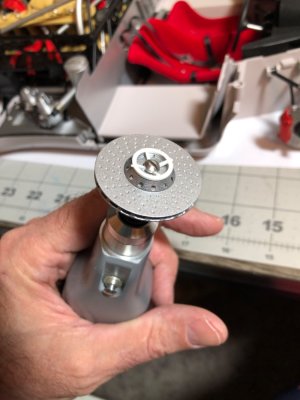
I used two plastic discs to hold the brake rotor in the Proxxon rotary tool.
View attachment 509061
There is another one under the brake disc.
Then I turned the rotor and sanded the silver paint off. Then the hub was painted black and the cross drilled holes were painted.
And finally after finishing all the parts I was able to add the rear axle assembly and the parts to complete the rear suspension on the drivers side.
View attachment 509063
A view looking to see the rear axle assembly…
View attachment 509064You can see it between the coil and the cooling duct.
The other side will be a repeat of this side.
The brakes looks much better now, Dean. Especially the discs are very realistic.And the other side rear suspension and brakes…
View attachment 509198
I learned from the other side one F screw should be a G screw.
Assembled…
View attachment 509199
View attachment 509203
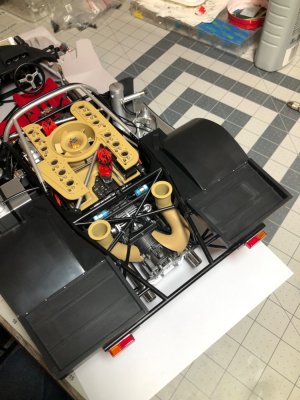
And some overall pics of current progress…
View attachment 509200View attachment 509201View attachment 509202
Next will be the rear fender skirts and tail lights or brake lights.
Not long ago I had a transmission to start with!
Thanks Paul, I sure did.Good to hear that you've thought about and looked into it.
Thank you Peter.The brakes looks much better now, Dean. Especially the discs are very realistic.
Regards, Peter

Thank you, I appreciate that. I’m trying my best to make it look realistic and not like a model.I would hate to tackle one of this type of kit. There's absolutely nowhere to hide. Not only would a single scratch, smear or fingerprinteek
completely ruin the effect but every viewer is an expert on what it's supposed to look like. I think the only thing more difficult to pull off would be the face of a well known celebrity.
So take a bow, Dean, because the only reason I'm certain that it's a model is the presence of the cutting board. Top job!
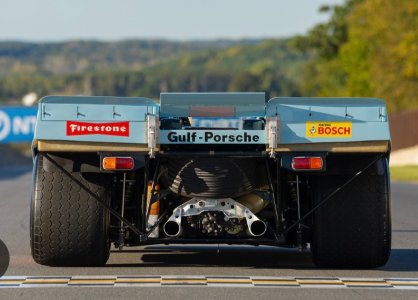
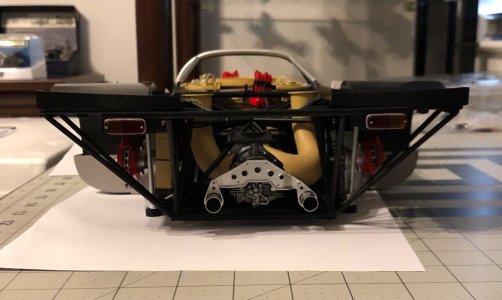


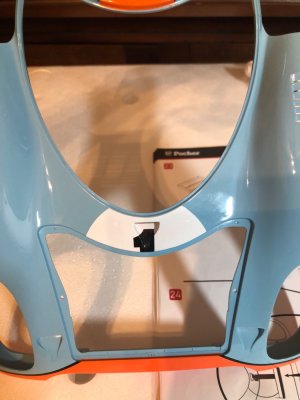
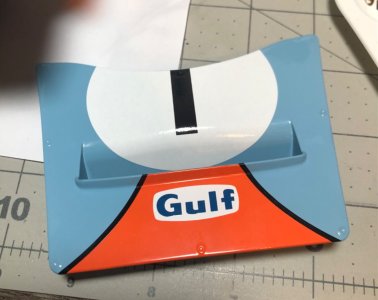
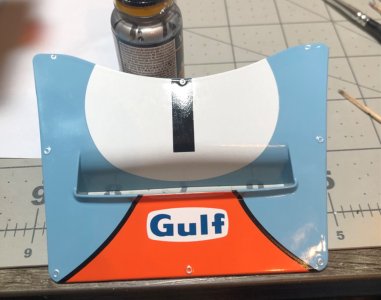

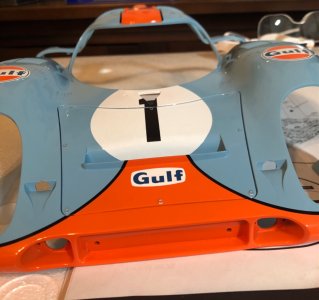
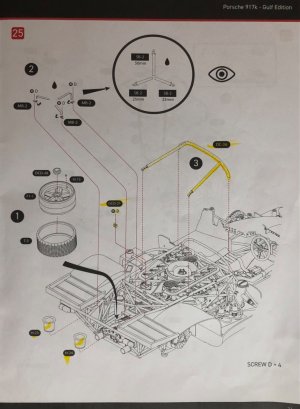
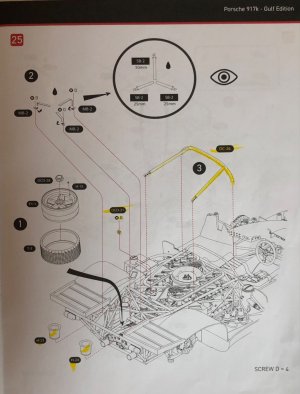
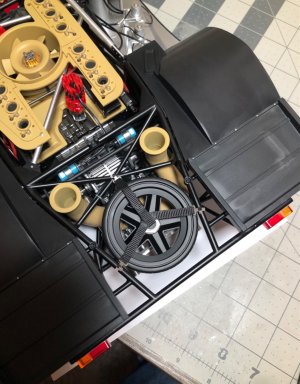
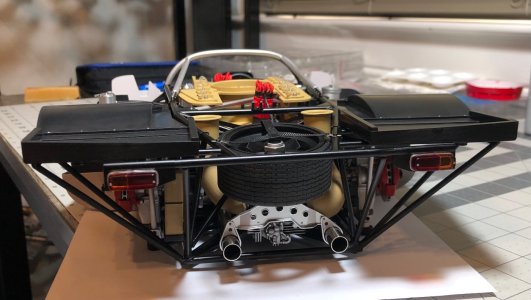
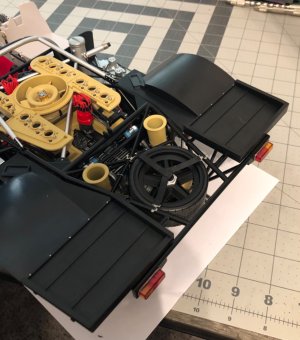

As a detail lover: The straps for that spare tyre looks very good, Dean.Finishing up step 25…
View attachment 509790
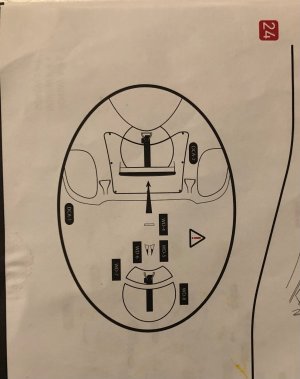
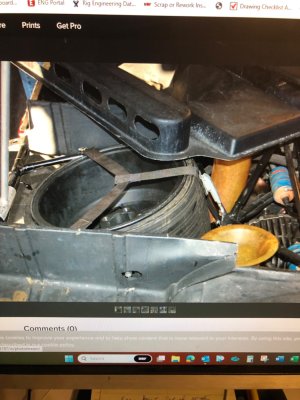
The instructions are a bit ambiguous on the spare tire straps. So I used an online reference…
View attachment 509791
Even thought it’s a bit different, I knew how the straps should come together.
View attachment 509792View attachment 509793
I scuffed the tire tread just enough to make it more noticeable.
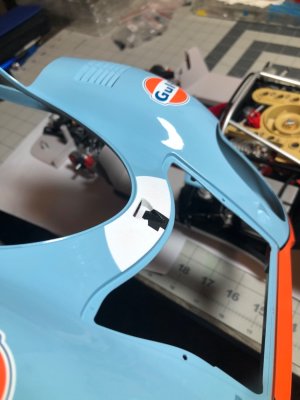
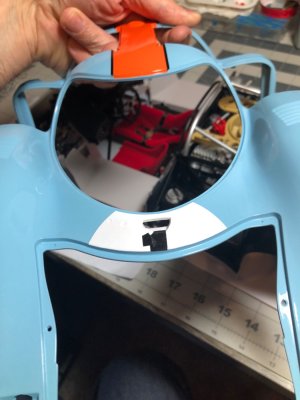
I wish the joint where the belts come together would have been a little cleaner, as I had to use more glue than I preferred. I think if I hit that area with some clear polyurethane it will help with the overall look. Then it’s time to start on the body assembly.
I can always remove the spare. I thought of leaving it off in the first place. There were many times the car was raced without a spare or passenger seat to reduce weight. The kit is modeled after the car Jo Siffert and Derek Bell drove to win the 1971 Monza 1000km. And they were running with a spare and passenger seat. So to match the plaque that comes with the kit, I decided to honor that.
And finally without my work light, this is how it will be viewed in ambient light.
View attachment 509798
In which case it seems to be passable.
Please, not too many details at once in a evening ………. It will make you drunk ……...But I’m a real stickler for details, and little stuff drives me to drink!

