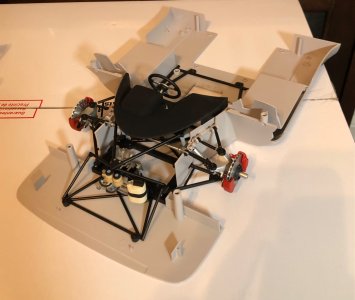
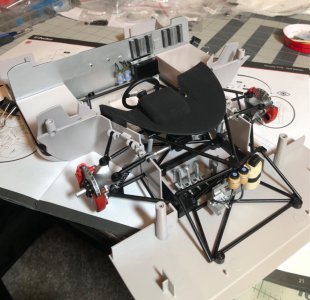
Building the dash and steering mechanism, and the two sides…
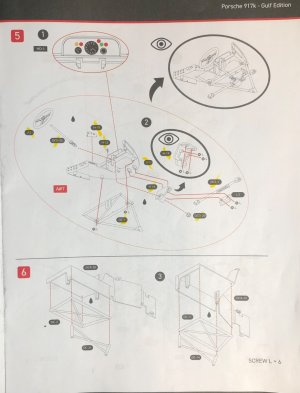
Starting with the dash, as supplied…

Not bad at all, but the control knobs were not correct, they have a silver ring on the face and the bezels were left black.
So the first thing was to paint the bezels silver, then paint the knobs grey.
Then I painted the gage bezels silver. They were actually black on the car, but I want contrast to make them pop.

I also painted the indicator lights above the gages silver first, and then put color in the center to look like a silver bezel was around them.
Next was putting on the gage decals.
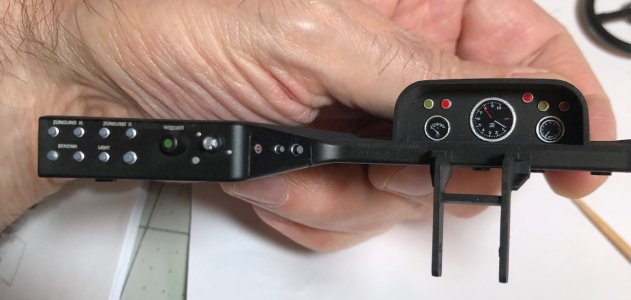
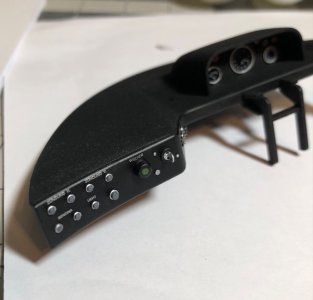
A close up above of the knobs redone with silver bezels. I also added a key in the ignition. We have to be race ready.

Then the rest of the parts were painted and assembled…
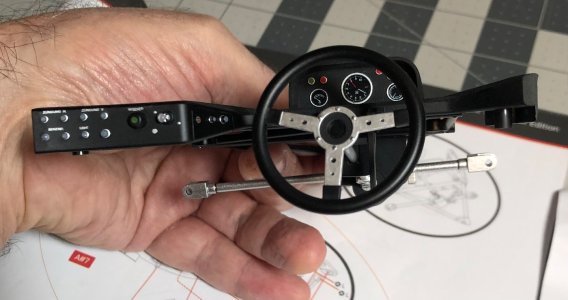
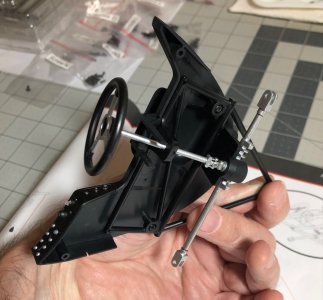
I painted the steering wheel silver for contrast, it was black too.
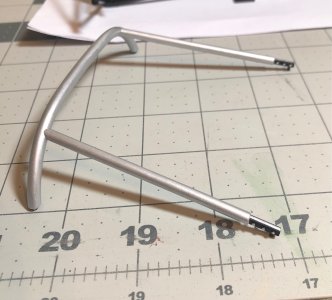
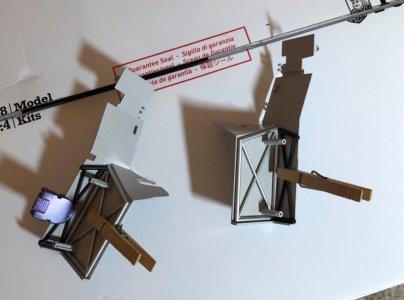
Then it was time to build the two sides, which were all metal and just needed gluing.
Next step…
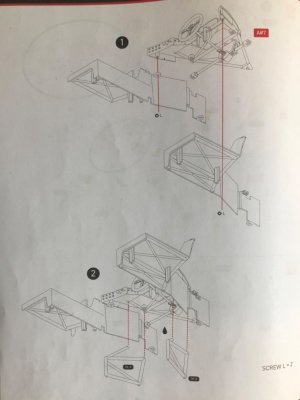
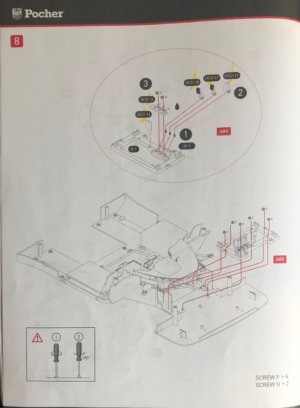
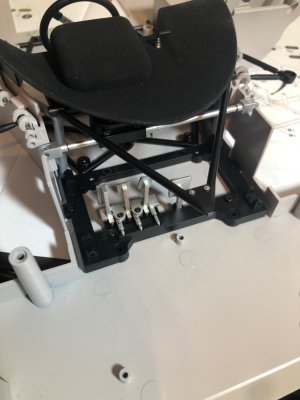
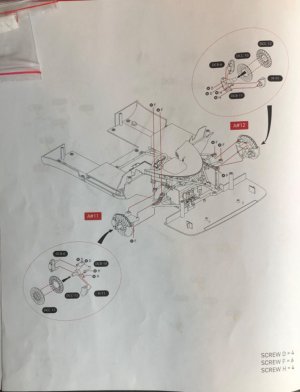
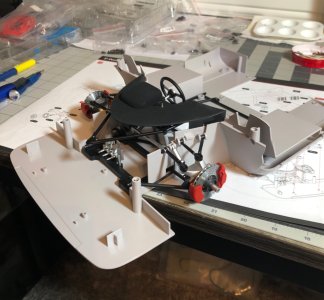
The two sides were screwed to the dash frame and two additional pieces were glued to it.
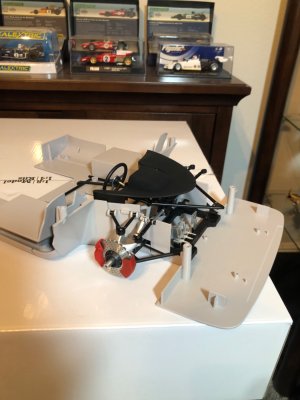
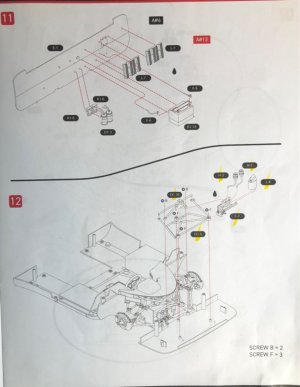
Then it was time to screw all of that to the lower body panel, which entailed aligning about 10 different things at once. Then you had to try to hold all of that together while putting the screws in…sigh. Not a fun step.
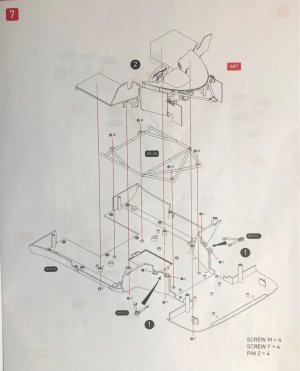
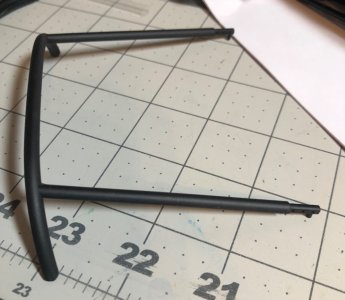
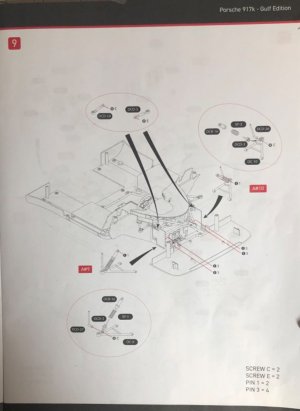
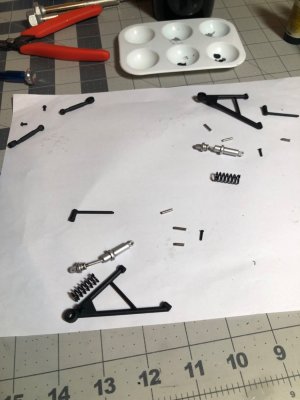
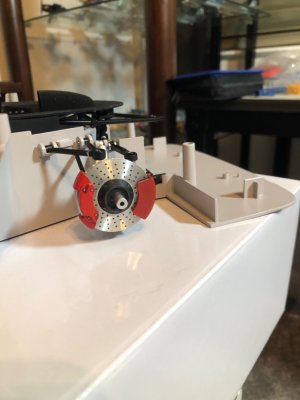
First the lowers tubular chassis was added. And afterwards the upper front control arms. The control arms are installed with 2 pins each. They were very difficult to get in, but I finally managed!
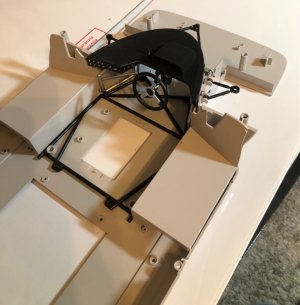
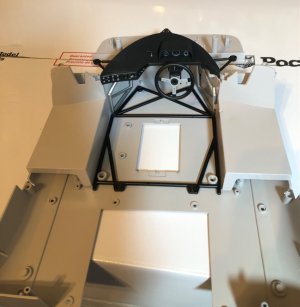
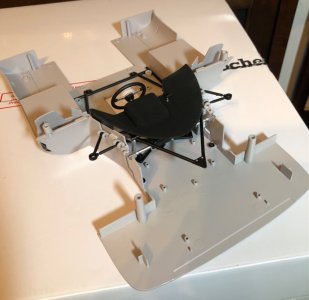
Next will be building the gas, brake and clutch pedals.
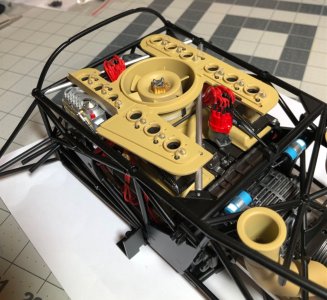
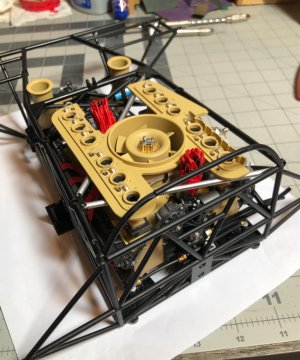
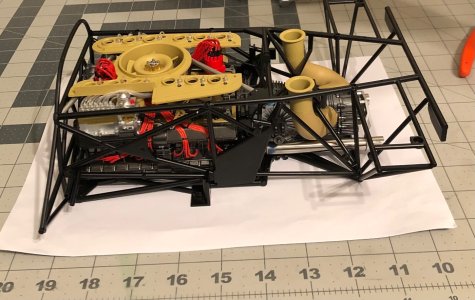
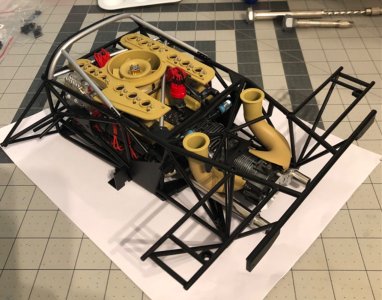
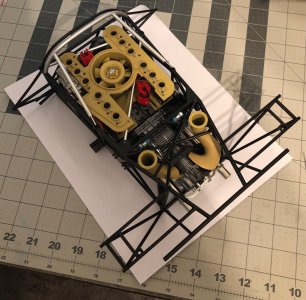
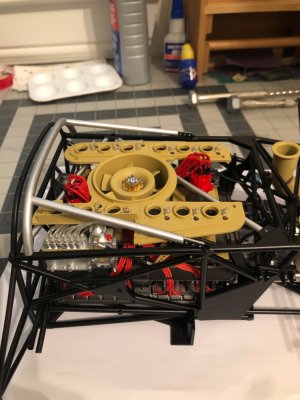
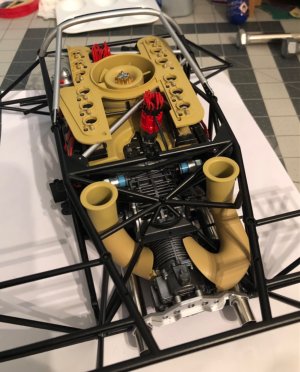
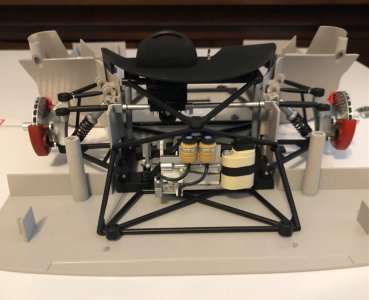
Then I decided to get a sneak preview of the rear chassis and motor sitting in this assembly…
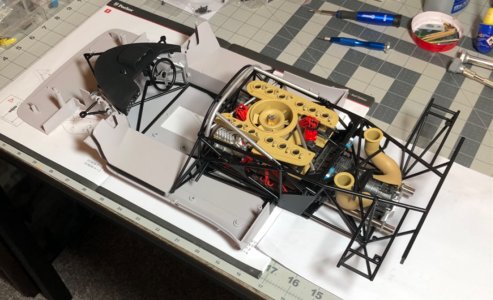
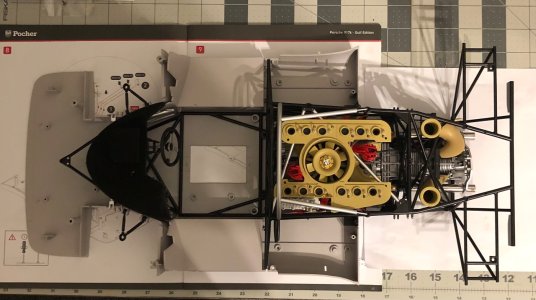
In the top view above, there are two compartments above and below the motor. Later these will house the gas tank, fuel pumps, etc. and there will be many tubings and fittings to be plumbed for those to the motor. Can’t wait to see that come together.
Happy modeling!

