-

Win a Free Custom Engraved Brass Coin!!!
As a way to introduce our brass coins to the community, we will raffle off a free coin during the month of August. Follow link ABOVE for instructions for entering.
-

PRE-ORDER SHIPS IN SCALE TODAY!
The beloved Ships in Scale Magazine is back and charting a new course for 2026!
Discover new skills, new techniques, and new inspirations in every issue.
NOTE THAT OUR FIRST ISSUE WILL BE JAN/FEB 2026
You are using an out of date browser. It may not display this or other websites correctly.
You should upgrade or use an alternative browser.
You should upgrade or use an alternative browser.
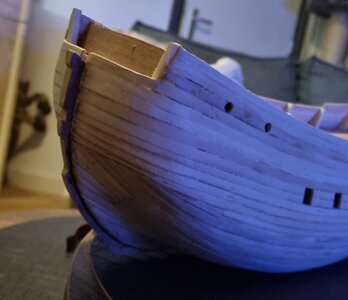
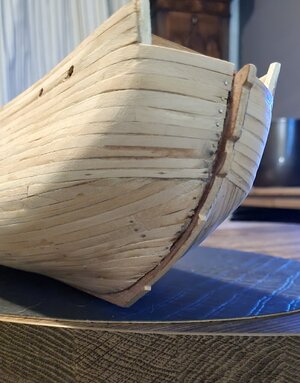
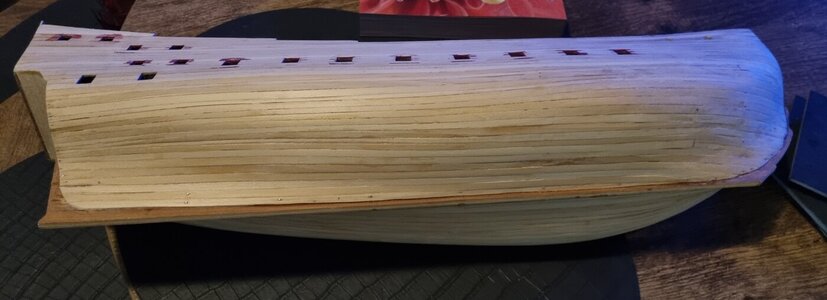
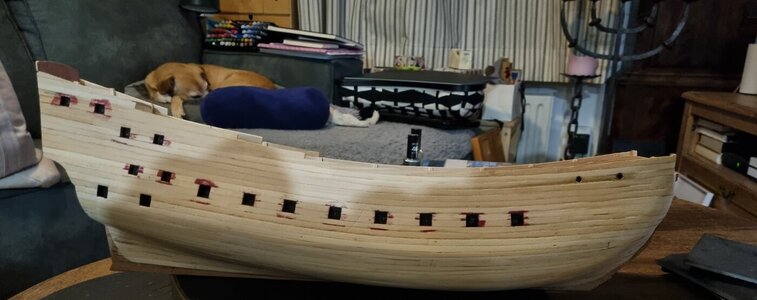
Prins Willem V.O.C 1651 from Corel.
- Thread starter JDS73
- Start date
- Watchers 18
-
- Tags
- corel prins willem
Not sure what are you guys talking about, but I like your planking job very much!Hahaha @Steef66 don't give a @#$% abouth F1.
Aha...nice model,We are talking abouth Formula 1 Racing.
- Joined
- Jan 9, 2020
- Messages
- 10,566
- Points
- 938

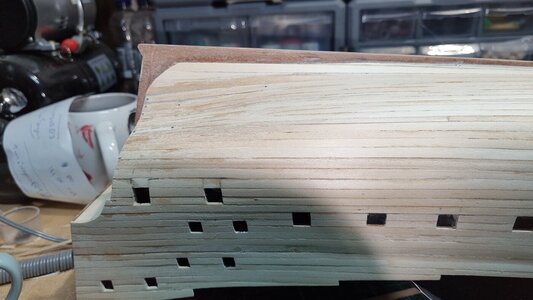
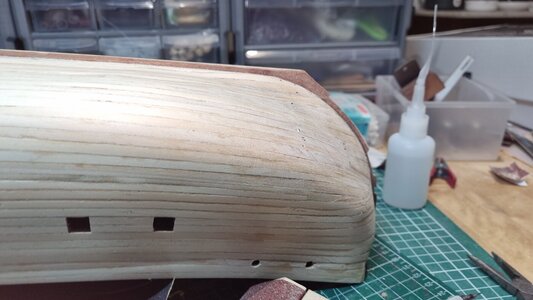
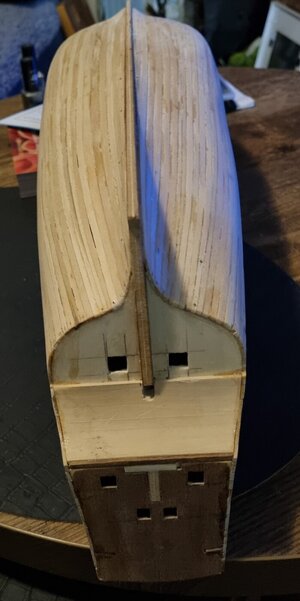
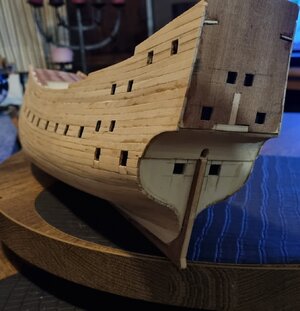
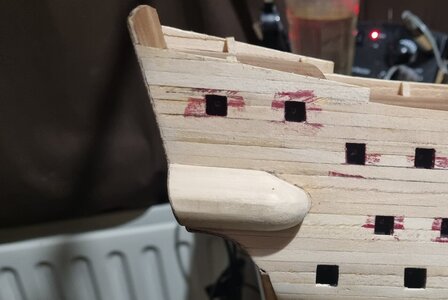
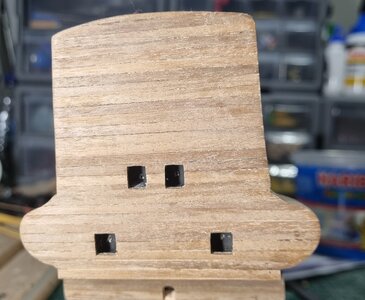
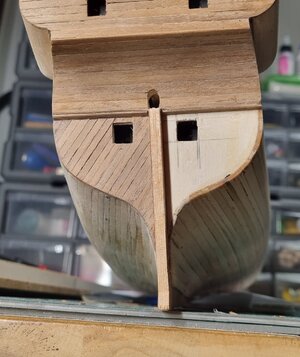
The stern work is very good Dirk and your build is taking on the very definitive shape of the Prins Willem beautifully. The only recommendation I would make is that you create a sanding stick which is the exact measurements of the gun ports to ensure perfectly square ports.
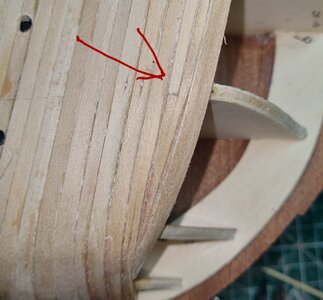
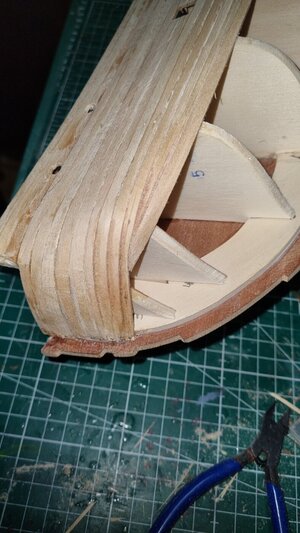
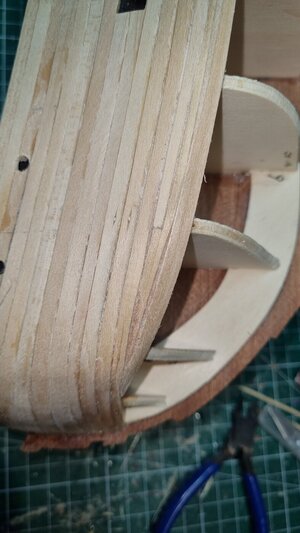
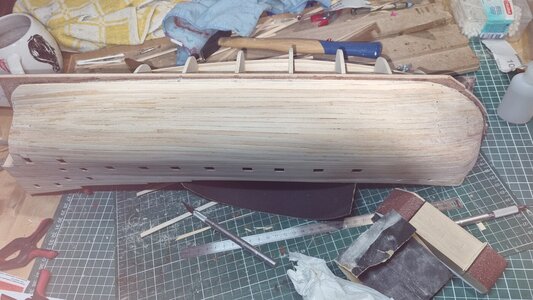
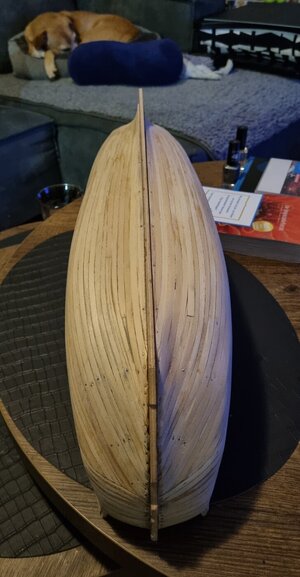
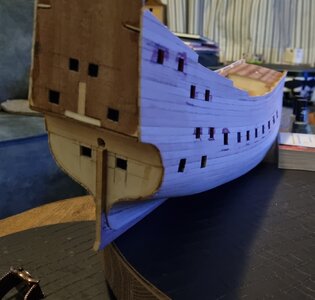
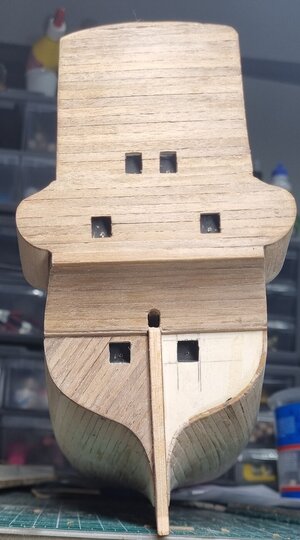
Excellent work so far. May I recommend that on your next ship, you plank both sides in even pairs of planks, port and starboard. Doing one side completely runs the risk of causing a small bend or twist in the keel that when you look at the hull end on, becomes evident, and very disappointing. Now that the first layer of planking is done, look for non-symmetrical bumps or eggs in the hull as well as flat spots. Try to raise the flat spots with filler and sand those areas to blend them in with the curves of the hull in adjacent spots. The more time you spend filling and sanding and staring at the hull until your eyes fall out and locate every bump and flat, the better your hull shape will look when you add the final planking. Shortcuts create visible flaws that will eat away at your satisfaction with the work, especially since you as the builder always will be the harshest critic of your model. Looking forward to following the rest of this build log!
I have anough nailpolishing sticks(200/320) from wood. I will cut one in shape and go sanding again. Grrrrr.that you create a sanding stick

I did..you plank both sides in even pairs of planks, port and starboard.
But to halfway the hull, and than I finished one side.
The problem you describe comes if the planks are soking full of water and the wood gets bigger. When the planks dry's, the wood gets smaller and the hull comes under a big tension.
I only wet the panks for 5 minutes and only the parts that I have to bend. So I'm not scared that the hull gets warped.
@Heinrich @DARIVS ARCHITECTVS
Thanks for the positive feedback
- Joined
- Aug 8, 2019
- Messages
- 5,568
- Points
- 738

The advice of Kurt is a good advice, (@DARIVS ARCHITECTVS ) because that is the only way you keep both side the same. You can also work quicker because one side is drying and you can go on to the other side. Also the tension between both side stays the same. Reason is not the wet wood but the glue that dries up.
@Steef66
Is the ship I make bended?
I do not use woodglue for planking. I only used woodglue for the inside of the hull for extra firmness. For the rest I use superglue.
That is drying so fast that before I start the next plank ist already dry (but etleast in less than 10 seconds).
I made all of my ships this way an non of them are bended.
Thanks for the tip again.
It's not only the shrinking of planks and the drying and tightening of PVA glue that can bend a hull, it's the fact that each plank you add places more stress on the framework. Think of each plank as a rubber band. One or two planks seem easy to bend and hold in place with glue. The sum of all the planks applied to only one side may bend or twist the entire hull out of position. That's the fastest way to ruin your model before you get very far in construction. The old timers tend to make sure that each plank is pre-shaped with as little bending forced required as possible before gluing/pinning it to the frames. Many of us (me included) tend to band the planks over the frames with a preforming performed only at the bow and pre-twisting only at the stern for the deadwood. This is usually not a problem if the framework is reinforced with blocks or filled with balsa, or the planks are installed in pairs, port and starboard. Examine the hull from bow and from stern to detect any twist early. Adding strategically placed reinforcement blocks to the framework and allowing them to dry may correct a bad twist even after a few of the first pairs of planks have been laid near the waterline or above or at the keel. Steef66 made a great point when he also mentioned that adding the planks this way allows you to work much faster. The plank on the opposite side you are working on is dry before you go back to that side to add the next plank. First layer planking is fun for me, more than making dozens of cannon assemblies. You can see the ship taking shape before your eyes.@Steef66
Is the ship I make bended?
I do not use woodglue for planking. I only used woodglue for the inside of the hull for extra firmness. For the rest I use superglue.
That is drying so fast that before I start the next plank ist already dry (but etleast in less than 10 seconds).
I made all of my ships this way an non of them are bended.
Thanks for the tip again.
JDS73, you're off to a great start, judging from the pictures. The Corel models, being smaller than average at 1:100, tend to have just enough frames in the hull design to create curves without too many hard bends or flat spots, but only just enough. Larger models kits occasionally require balsa fill blocks or tween frames added to keep the shape clean.
Last edited:
Great explanation.
Thanks
Thanks

I don't know if there is any Prins Willem in 1:100 scale beside the scratch models.The Corel models, being smaller than average at 1:100
This is my first model from Corel so I don't have enough experience with this brand to decide if there models are smaller or bigger.
Until I started this model I only made Spanish brands like Occre and Artesania Latina.
Corel is different in all ways.


