-

Win a Free Custom Engraved Brass Coin!!!
As a way to introduce our brass coins to the community, we will raffle off a free coin during the month of August. Follow link ABOVE for instructions for entering.
-

PRE-ORDER SHIPS IN SCALE TODAY!
The beloved Ships in Scale Magazine is back and charting a new course for 2026!
Discover new skills, new techniques, and new inspirations in every issue.
NOTE THAT OUR FIRST ISSUE WILL BE JAN/FEB 2026
You are using an out of date browser. It may not display this or other websites correctly.
You should upgrade or use an alternative browser.
You should upgrade or use an alternative browser.
Kurt Konrath
Kurt Konrath
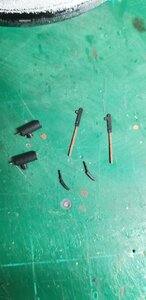
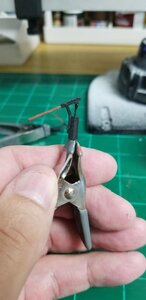
Quality looking pump build, now to add the bottom of the pump shaft.
- Joined
- Mar 27, 2019
- Messages
- 823
- Points
- 403

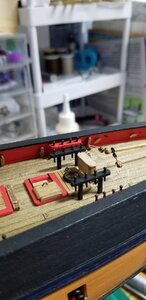
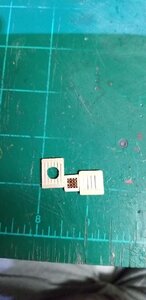
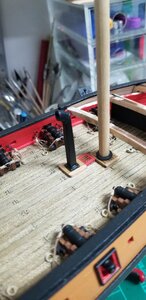
Four ladders to the quarter deck and from the rail to the gun deck constructed and installed. Mizzen mast and main mast platforms and mast coats. Also a small scuttle right behind the main mast platform.
I'm going to delay installing the elm pumps until I know how much room I'll have with the longboat mounted. The handles are rather longish and I'll place the pumps where it makes the most sense. The plans have them jammed in under the overhang of the quarterdeck. I'm also installing a fife rail between the main mast and gallows bits (platform for the longboat) and really don't know how much room I'll have back there.
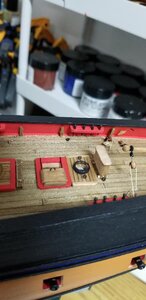
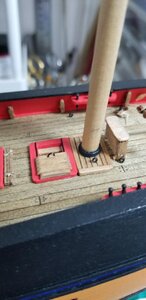
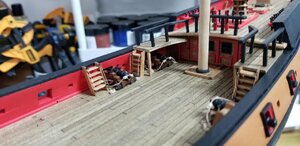
I'm going to delay installing the elm pumps until I know how much room I'll have with the longboat mounted. The handles are rather longish and I'll place the pumps where it makes the most sense. The plans have them jammed in under the overhang of the quarterdeck. I'm also installing a fife rail between the main mast and gallows bits (platform for the longboat) and really don't know how much room I'll have back there.


Kurt Konrath
Kurt Konrath
Details coming along quite nicely!
- Joined
- Mar 27, 2019
- Messages
- 823
- Points
- 403

- Joined
- Mar 27, 2019
- Messages
- 823
- Points
- 403

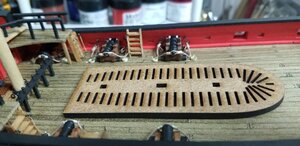
This is the footprint of the Russian longboat mini-kit I purchased from Ebay. Total cost including shipping was $11. After I finish rigging the last four cannon I'll get to the longboat. This boat is 20mm shorter than the kit provided longboat. I think it's much more in scale and it does allow room for the fife rail in back and (possibly) the elm pumps up front more towards the bow. I'll probably leave installation of the elm pumps last just before I start rigging the masts and place them where it makes the most sense.
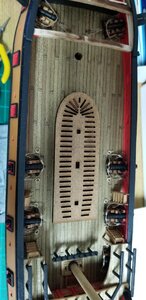

- Joined
- Mar 27, 2019
- Messages
- 823
- Points
- 403

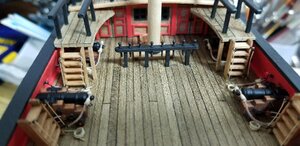
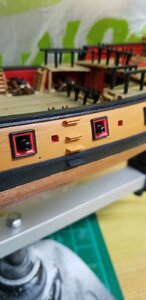
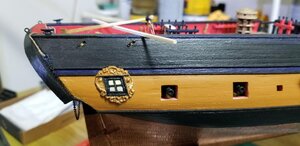
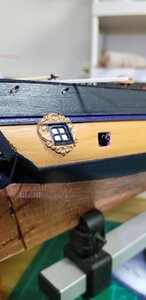
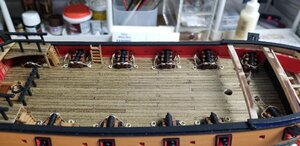
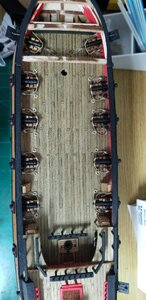
The last four cannon rigged up. You can see in the last picture a subtle difference in spacing between the second and third cannon on the starboard side compared with the port side. This is evidence of imperfect bulkhead fairing and imperfect planking. There is a very slight curve to the hull on the starboard side as opposed to the port side. After the masts and all the rigging is installed it will be impossible to see this imperfection, but I know it's there...and now you too I suppose.
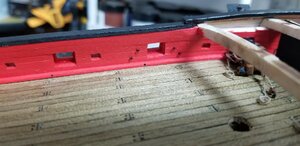


Kurt Konrath
Kurt Konrath
I don't think anybody besides you will ever notice the difference in gun port position, as you show, only visible when looking straight down, and most models are not viewed from that angle.The last four cannon rigged up. You can see in the last picture a subtle difference in spacing between the second and third cannon on the starboard side compared with the port side. This is evidence of imperfect bulkhead fairing and imperfect planking. There is a very slight curve to the hull on the starboard side as opposed to the port side. After the masts and all the rigging is installed it will be impossible to see this imperfection, but I know it's there...and now you too I suppose.
View attachment 151773View attachment 151774View attachment 151775
- Joined
- Mar 27, 2019
- Messages
- 823
- Points
- 403

I don't think anybody besides you will ever notice the difference in gun port position, as you show, only visible when looking straight down, and most models are not viewed from that angle.
Thanks Kkornrath. I probably won't mess with it. Probably....
- Joined
- Mar 27, 2019
- Messages
- 823
- Points
- 403

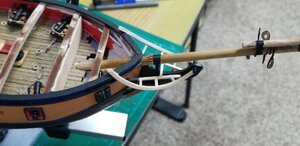
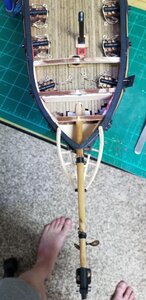
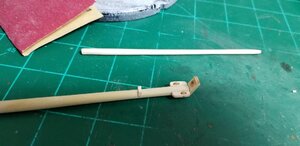
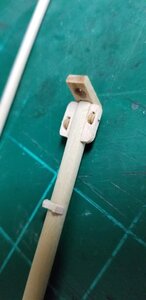
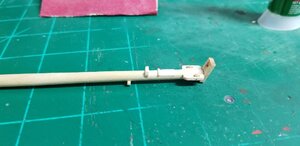
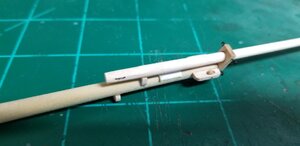
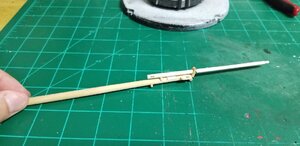
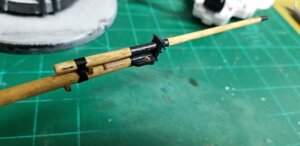
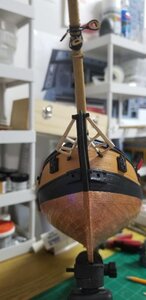
I'm going to fab the bowsprit before I close up the forecastle with planking....was what I was going to say. Now I'm back to it. Bowsprit and jib fabricated and painted. I still have to add the open heart rigging for the forestay and some blocks on the end of the jib and several closed hearts for further bowsprit rigging then I can mount the whole thing, tomorrow.
The main problem is it's really tough to slide the bowsprit assembly through the hole in the bow and into the slot for the bowsprit without being able to see the slot and glop on some resin to hold the thing. So once I get it actually mounted then I can close up the focsle' and install the deck planking. This open deck up forward has been bugging me so I went ahead and got the bowsprit and jib done.
Fairlead under the bowsprit and saddle for the spiritsail yard not called for on the plans. But I added them anyway. Gawd, I can't believe how bad these plans and practicum are.


- Joined
- Mar 27, 2019
- Messages
- 823
- Points
- 403

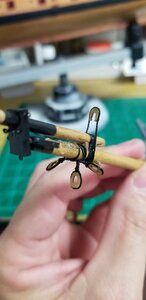
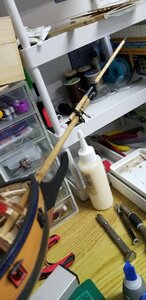
Bowsprit and jib rigged up with the mainstay open heart, and bowsprit stay closed hearts, and bobstay open heart. I also pre-installed several eyebolts for use in later rigging. Simulated sheaves also for the aft and fore end of the jib. I mounted the whole assembly, now I can close up forecastle. But first I'm going to tackle the head timbers as I've been putting this off, it's time to her 'er done.


- Joined
- Mar 27, 2019
- Messages
- 823
- Points
- 403

- Joined
- Mar 27, 2019
- Messages
- 823
- Points
- 403

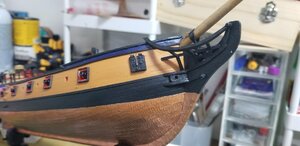
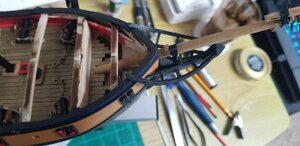
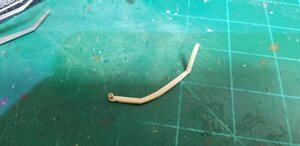
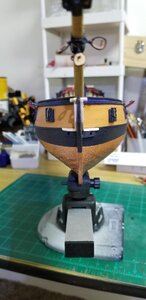
I started by completing the cheeks. I've seen blogs that have both cheek rails under the hawser holes and I've seen blogs, and these plans, that have the cheek rails on either side of the hawser holes. I went with the latter. The bottom rail is just straight with some extra stock glued to the end and a decorative thingy on the very end, lots of sanding of course. The upper rail I soaked in water then edge bent appropriately.


- Joined
- Mar 27, 2019
- Messages
- 823
- Points
- 403

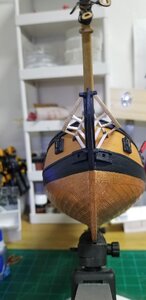
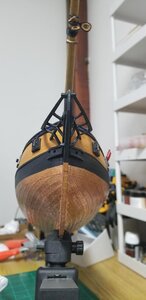
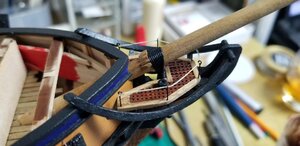
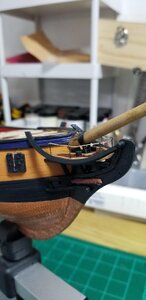
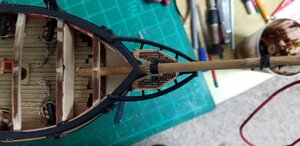
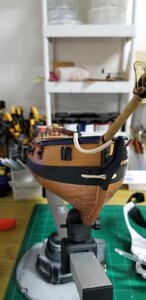
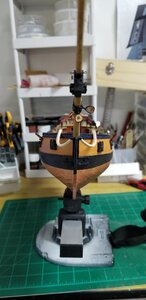
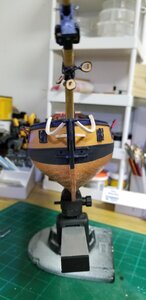
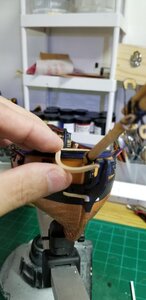
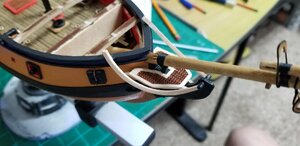
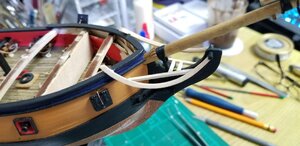
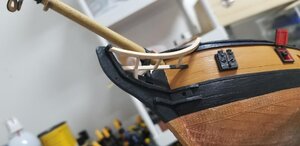
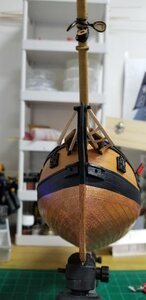
Two full days working on the head rails. I used as a keystone for the whole apparatus the top rail. All rails are made from square stock but the top rail is slightly larger. Also, the connecting timbers between the top rail and middle rail ended up more rectangular on purpose as it just looked better.
I soaked the top rail stock in water then wrapped extra long pieces around a spray paint can. When dry I cut out identical sections and then further sanded down the end where it connects up to the upper cheek.
The middle rail is straight as well as all the connecting timbers. Not perfect but all in all I like the finished product. This is by far the most difficult part of the build so far.
I also started work on the platform that will support the seats of ease.


Kurt Konrath
Kurt Konrath
Good looking work done on the bow. Keep it coming!

