-

Win a Free Custom Engraved Brass Coin!!!
As a way to introduce our brass coins to the community, we will raffle off a free coin during the month of August. Follow link ABOVE for instructions for entering.
-

PRE-ORDER SHIPS IN SCALE TODAY!
The beloved Ships in Scale Magazine is back and charting a new course for 2026!
Discover new skills, new techniques, and new inspirations in every issue.
NOTE THAT OUR FIRST ISSUE WILL BE JAN/FEB 2026
You are using an out of date browser. It may not display this or other websites correctly.
You should upgrade or use an alternative browser.
You should upgrade or use an alternative browser.
Glad to see you back at it. Looking fantastic.
Looking good!
- Joined
- Jun 27, 2019
- Messages
- 47
- Points
- 48

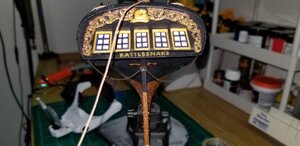
This is the kind of detail I get off on. You can look at it and imagine looking in the windows and what it was like to be there!
Hello! I just found this build and will follow along. I do have one minor issue that I only mention kindly. The Rattlesnake was a privateer in the American Revolution, not a national ship. She was not "USS Rattlesnake", but, rather, Rattlesnake. In fact, there was no "United States" during the Revolution. Please accept my comment kindly. Thank you!
- Joined
- Mar 27, 2019
- Messages
- 823
- Points
- 403

Hello! I just found this build and will follow along. I do have one minor issue that I only mention kindly. The Rattlesnake was a privateer in the American Revolution, not a national ship. She was not "USS Rattlesnake", but, rather, Rattlesnake. In fact, there was no "United States" during the Revolution. Please accept my comment kindly. Thank you!
Yep you're absolutely right. I've been meaning to change the thread topic and just haven't gotten around to it. Gracias.
Prego! (ce Italiano)Yep you're absolutely right. I've been meaning to change the thread topic and just haven't gotten around to it. Gracias.
Bill
- Joined
- Mar 27, 2019
- Messages
- 823
- Points
- 403

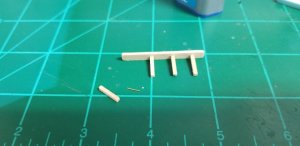
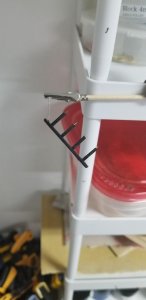
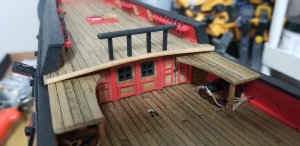
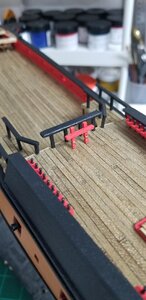
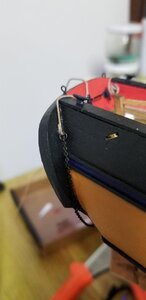
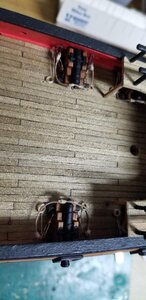
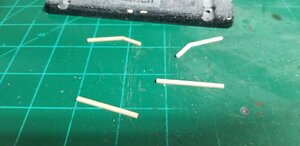
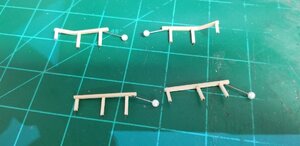
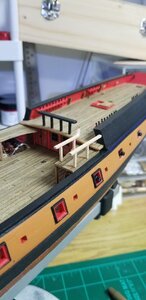
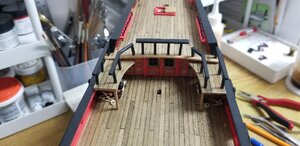
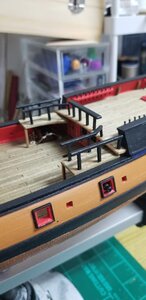
Spent most of the day alternating between napping and scratching out the gangway railing. Square stock for the pillars and only slightly larger rectangular stock for the rails. Pillars pinned to the rails and each railing framework pinned to the deck. I won't do the ladders until I rig out the next cannon in line on the main deck, I want to make sure the ladders fit between the existing cannon. And it'll be easier to rig the cannon without the ladder already in place.


- Joined
- Mar 27, 2019
- Messages
- 823
- Points
- 403

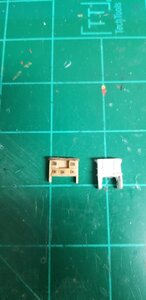
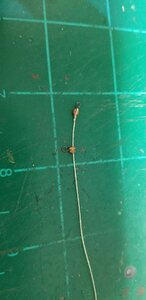
Fore Brace bitts. This will go directly behind the quarter deck railing. Square stock with rectangular openings cut out for brass pulley wheels inserted. It's a bit more work but I like the effect of an actual pulley for the sheave rather than a simulated sheave (drilled out holes and a slash cut in the middle of the holes). I used my last two ultra small pulleys so I ordered some more from the Aussies.
This is the smallest of the bitts. All other will be with either larger square stock or a combination of larger square stock and rectangular stock. I barely got the openings cut and didn't have to trash any mistakes by cutting through. I'll take it.
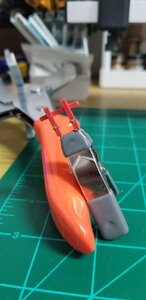
This is the smallest of the bitts. All other will be with either larger square stock or a combination of larger square stock and rectangular stock. I barely got the openings cut and didn't have to trash any mistakes by cutting through. I'll take it.

- Joined
- Mar 27, 2019
- Messages
- 823
- Points
- 403

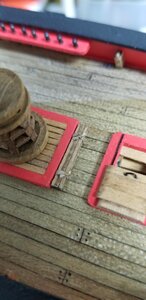
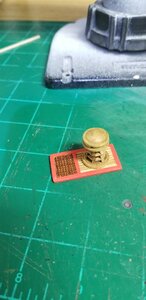
Also finished the platform for the capstan today. Again, construction was simple but time consuming. It sure seems the mini-kit capstan is oversized for the deck of Rattlesnake but before I mounted it I confirmed that it's actually a tad bit smaller than the cast one provided in the kit. This one on the quarter deck combined with the capstan below deck must have brought up the anchors in record time. I think I'll also scratch up some capstan handles and lash them together and place the bundle just behind the platform.
I really like the provided material for the hatch grating. It's about half the height of any other 1/64 scale kit and already a dark brown color.
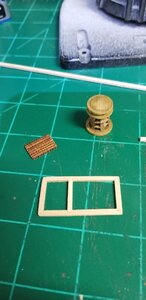
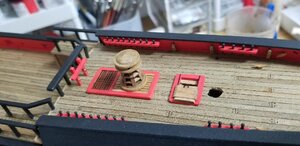
I really like the provided material for the hatch grating. It's about half the height of any other 1/64 scale kit and already a dark brown color.


- Joined
- Mar 27, 2019
- Messages
- 823
- Points
- 403

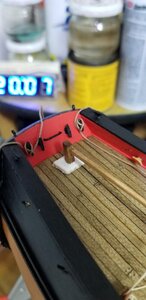
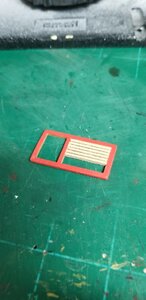
Had an idea for the opening where the rudder comes up through the deck. I have no idea what is historically accurate but it seems to me that with all the weather and waves and rain about that an opening that lets water down into the ship is, well, not a good idea. How about some canvas surrounding the opening? This is a first try at it. The opening needs to be expanded a bit but I think I'll just slide it down over the rudder after I finish with the rudder and expand the opening bit by bit.
This kit also does not have anything on rudder pendants. Wasn't that standard? Anyway, I'll add them as well. I'll need two more cleats on the inside of the transom to accept the pendant rigging.
The rudder is my goal tomorrow.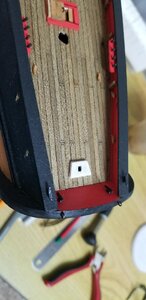
This kit also does not have anything on rudder pendants. Wasn't that standard? Anyway, I'll add them as well. I'll need two more cleats on the inside of the transom to accept the pendant rigging.
The rudder is my goal tomorrow.

- Joined
- Mar 27, 2019
- Messages
- 823
- Points
- 403

Finished the rudder. I went about this very slowly and methodically. Adapting an after market pintel and gudgeon to some random ship model can be tricky if you rush. The cast pintels and gudgeons just were not up to snuff. This brass setup worked out nicely. I did have to paint them copper prior and after installation. You can see I have not yet coppered the starboard side straps yet.
Tomorrow I'll do the rudder pendants and tiller.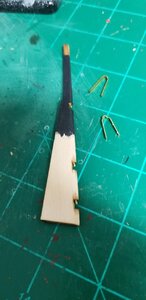
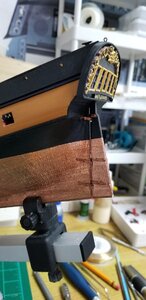
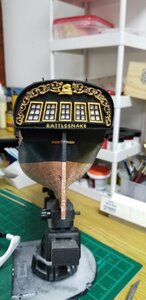
Tomorrow I'll do the rudder pendants and tiller.


- Joined
- Mar 27, 2019
- Messages
- 823
- Points
- 403

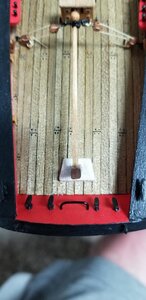
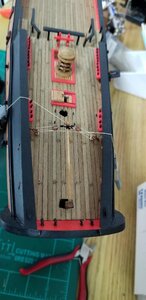
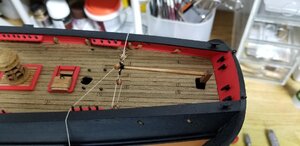
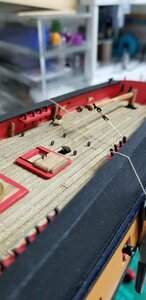
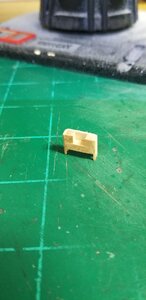
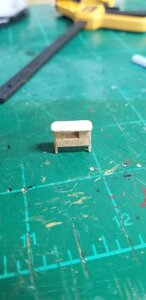
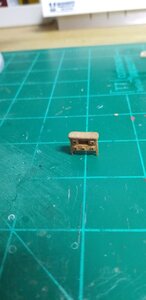
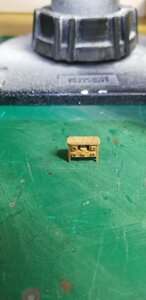
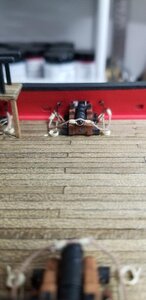
Tiller and binnacle installed. I did decide to add some rigging to the tiller. A simple "auto pilot" tying the tiller to cleats. The blocks looks too big under magnification but with the simple eye they look fine. If it continues to bug me I'll rig it up again using smaller blocks. Oh, and the iron horse mounted but not glued yet, it may be easier to do later rigging if I don't glue it up yet.
